Patterned Wood Floors! | How to Stain Hardwood Floors
Considering staining the floors? Spice up a room by adding a patterned floor! Here is how to stain hardwood floors step by step!
This post is sponsored by The Home Depot. As always, all opinions are my own.
Also check out these other Classy Clutter favorites:
- How to Paint a Room
- Styling a Bookshelf
- DIY Wood Trim Accent Wall
- How to Organize a Fridge
- How to Paint Floor Tile
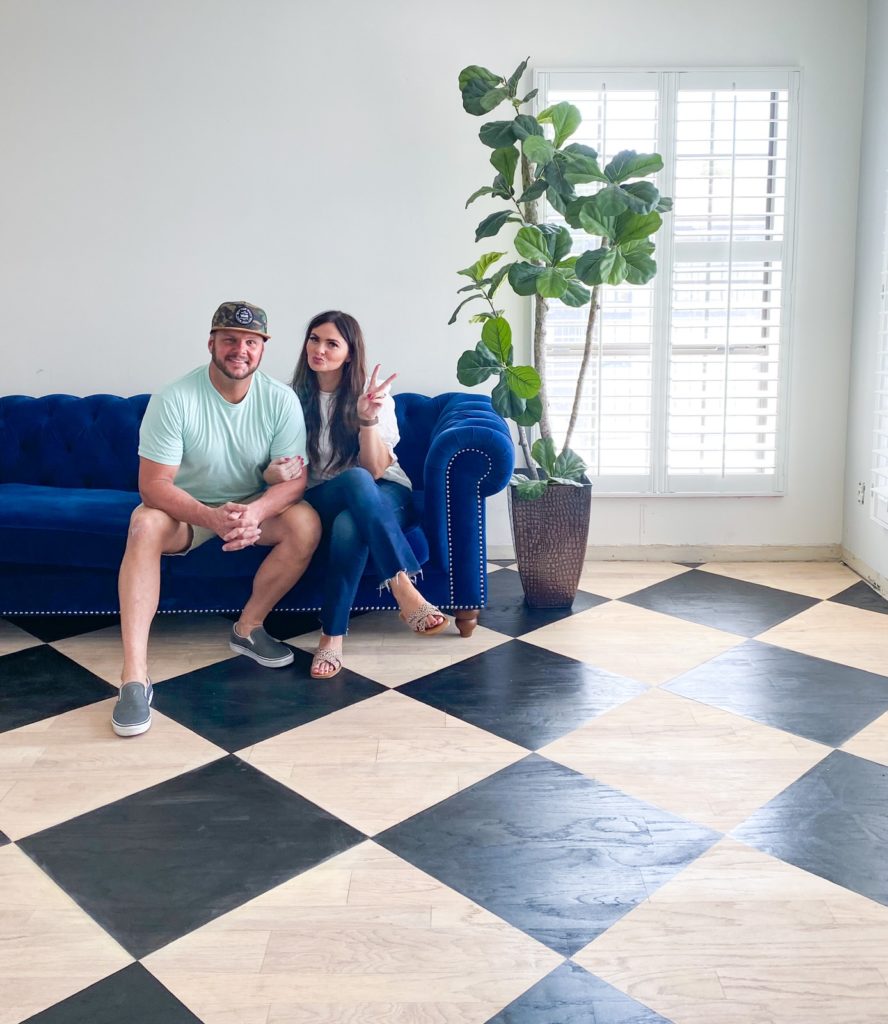
We finally did it and now we are going to teach you how to stain hardwood floors!! This has been a dream of mine for years….patterned wood floors! In my 10+ years of DIYing, this is a first for me and lets just say it turned out better than I could have ever imagined! Check out this post for how to do it!
Why Start this Big Project?
Our house was lacking a space that inspired us all! A few weeks back I revealed the accent wall in this space and I am BEYOND thrilled to show you the update to the floors!
After a trip to The Home Depot, I came home with a quart of Varathane Premium Wood Stain to achieve the rich black color in just one coat! Can you even believe it?
How to Stain Hardwood Floors
- Sand the Floors.
Start by sanding down all of the floors until the top layer of flooring is off and the wood no longer has a shiny coat.
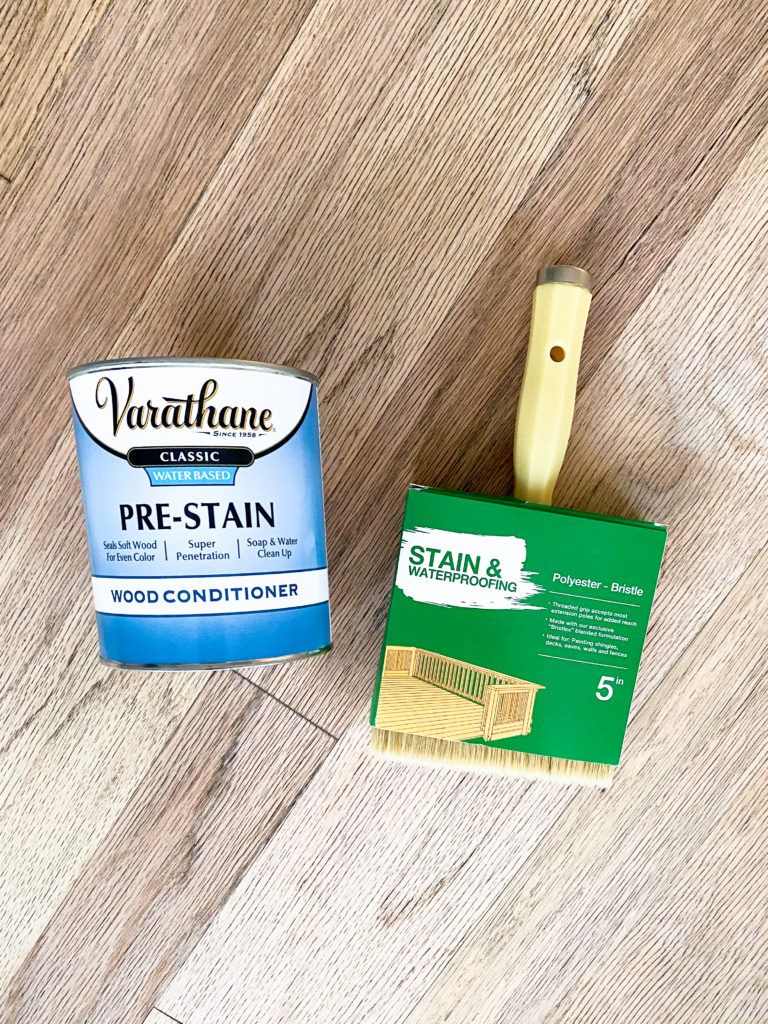
- Use Pre-Stain Wood Conditioner.
Brush on a pre-stain wood conditioner and wipe off any excess with staining rags. Let it dry overnight for best results.
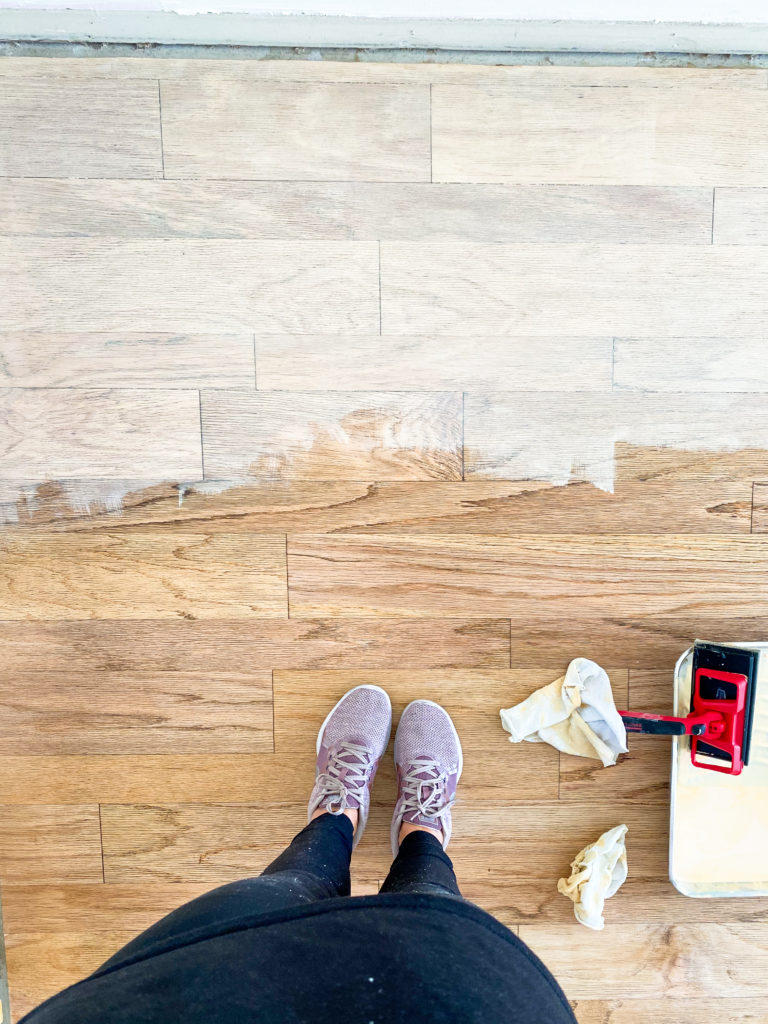
- Stain the Base Layer.
Put a thick layer of the stain on the floor and let it sit for a few minutes to soak in the wood. Next with a staining rag, remove the excess in the same direction of the wood. Let the whole thing dry for 1-3 hours.
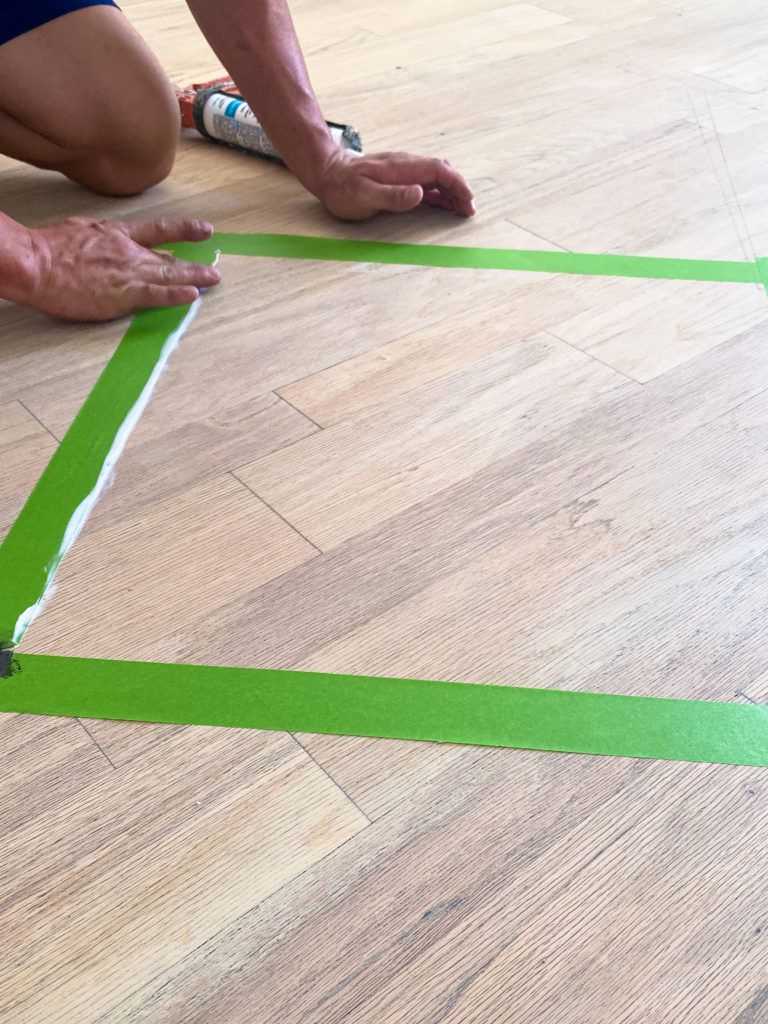
- Add a Pattern.
Find the middle point of the room and start taping out your design from there! Make sure the painters tape is secured and everything is measured out correcting before moving on.
- Apply the Oil Based Stain.
Brush on the stain and go light on the edges. Wipe off the excess with a rag and let it sit for a few minutes before pulling off any tape.
- Clean the Floors.
Before adding the finish, make sure the floors are completely clean and vacuumed!
- Apply the Finish.
Pour on the wood finish once the stain is entirely dry and make sure it is all leveled out! Let it dry and enjoy the new beautiful hardwood floors!
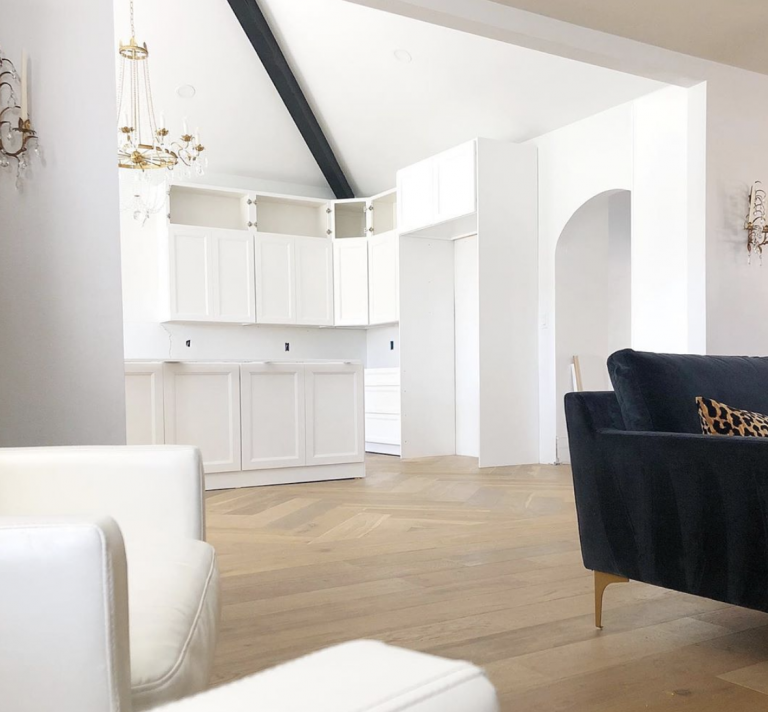
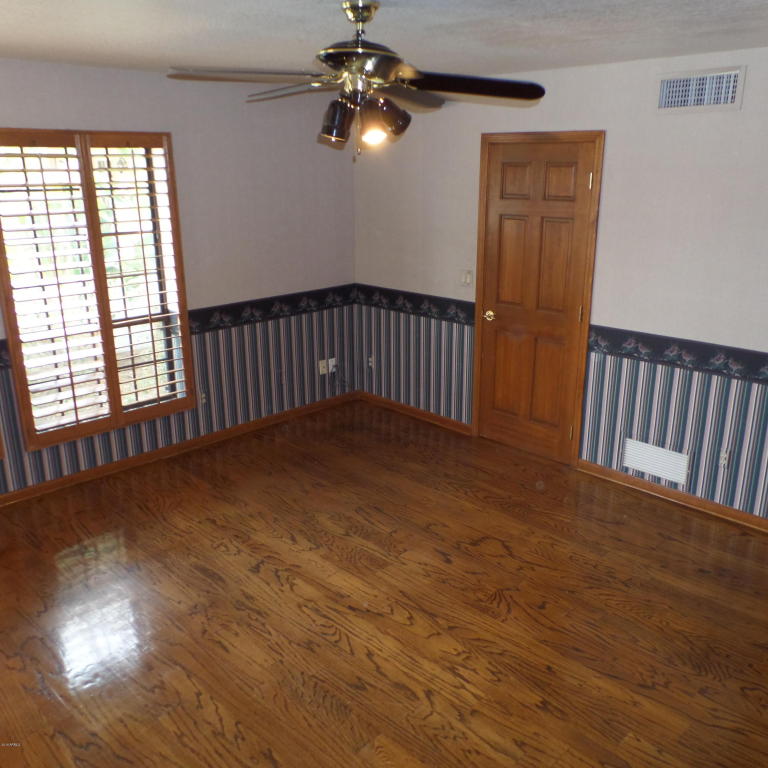
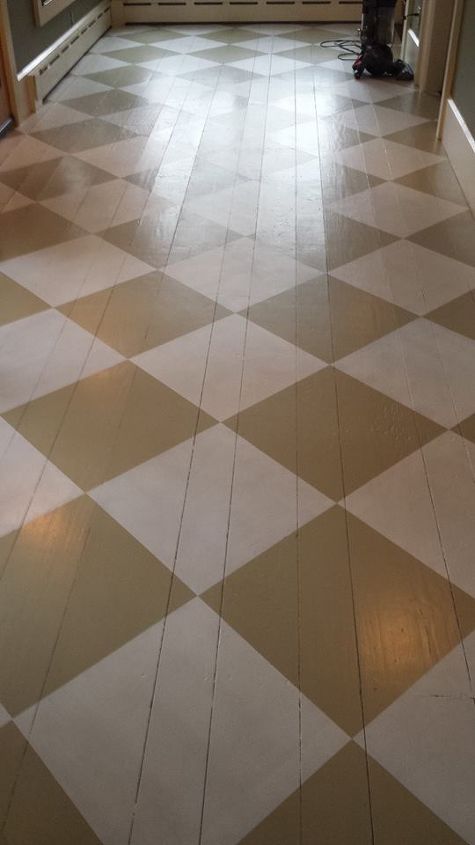
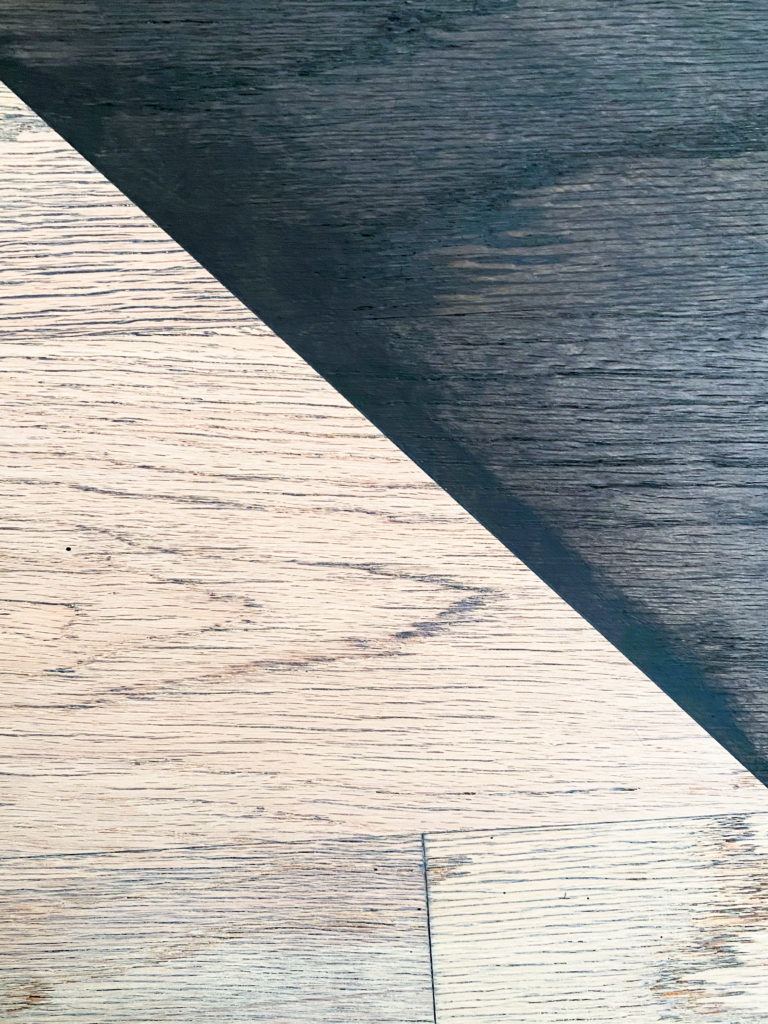
Before
This is the original wood flooring that I was working with! I’ve always known I wanted to switch this up but I was so nervous to damage the hardwood!
The Inspo
I saw this photo on Instagram and I knew I had to make this happen in my school room! It’s such a fun and bold print!
I believe paint was used to create the pattern in this look and since I love the texture of wood floors, I knew I would lose that with paint.
Could I accomplish something similar with a stain?! I had to test this out!
About the Stains
Of course, my first stop was The Home Depot to look at the options for staining! The first thing I noticed was that there are two different types of stain – water based and oil based.
I chose to use Varathane Premium Oil Based Wood Stain for a few reasons:
- The color selection is amazing
- It dries in ONE hour!
- You only need one coat to get a great color payoff
I’m new to working with stains and these were so easy to work with while giving me the end result that I was dreaming of!

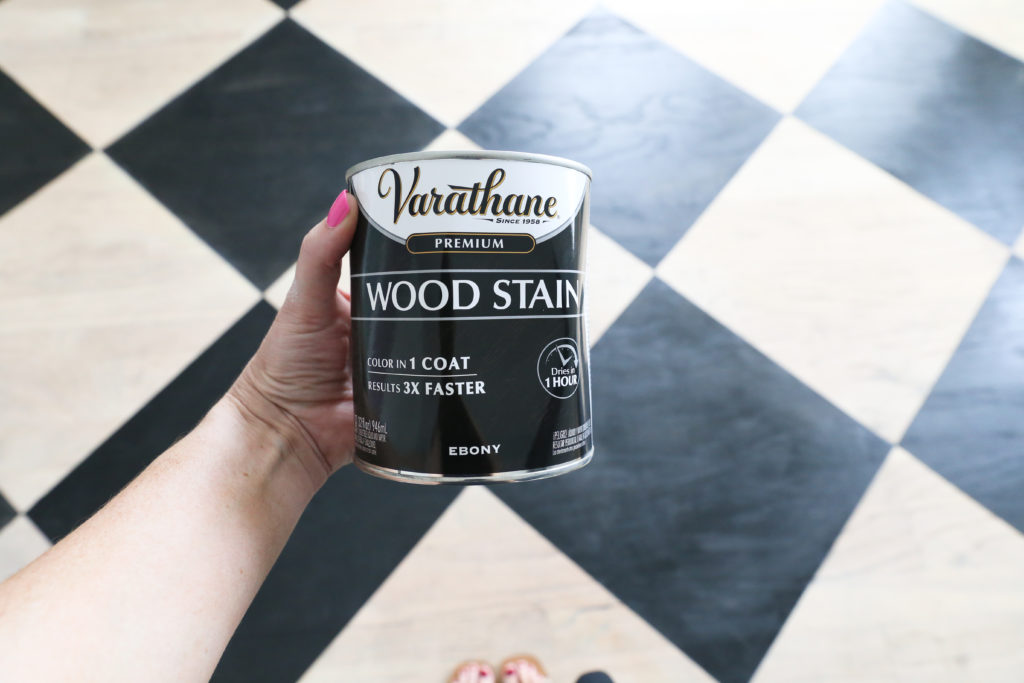
The Black Stain:
Varathane Premium Wood Stain in Ebony
Why I Chose Varathane Premium
What initially drew me to Varathane’s Premium line is that it just needs one coat to achieve the rich color I was looking for! It dries in just one hour which is great for bigger projects like this. Waiting for a stain to dry can cause delays in your project and that is not fun for anyone!
Colors
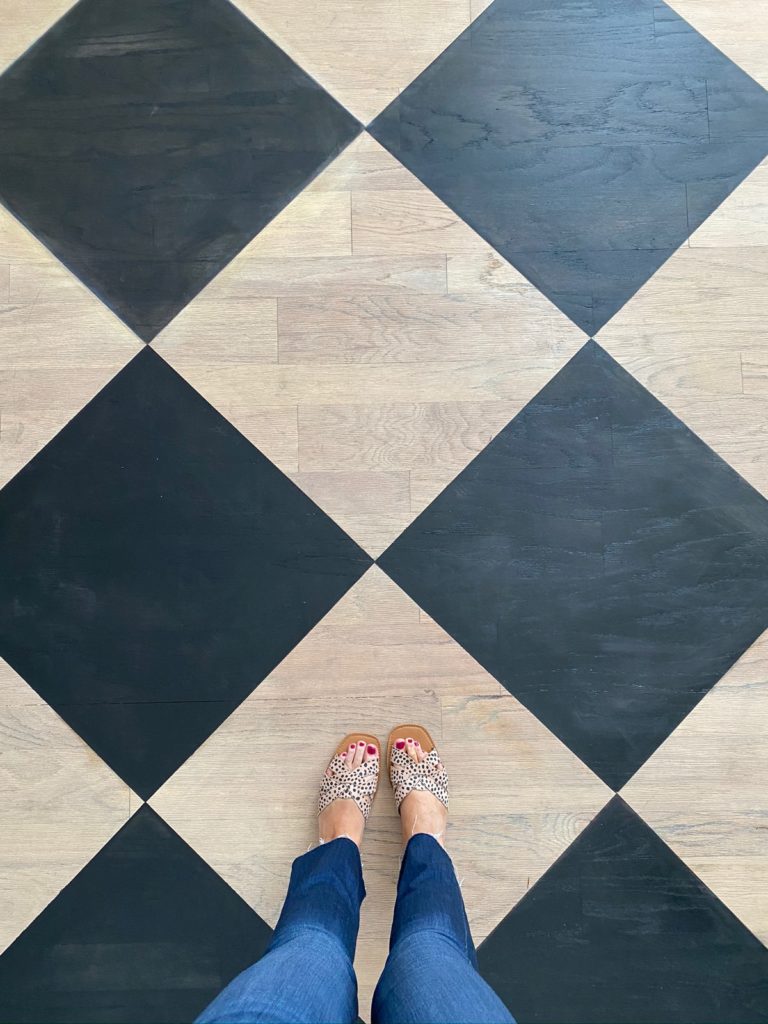
I chose the color Ebony, which is a very dark, almost black color that appears black when dried. This is an oil-based stain, which means the color is very pigmented when you first apply it to the wood. After a few minutes, you remove the stain with a cloth until it reaches your desired pigmentation. I found it very easy to achieve the level of color I was looking for, even with such a high contrast. You could easily take more of the stain off for a less opaque look.
Another amazing benefit to Varathane Premium is because the color is so rich, for this entire room, I only used ONE quart of the wood stain!
Varathane Premium has such a wide range of stunning colors available at The Home Depot. I would highly recommend trying this line out for your next staining project. Or, if you’re like me, your first staining project!
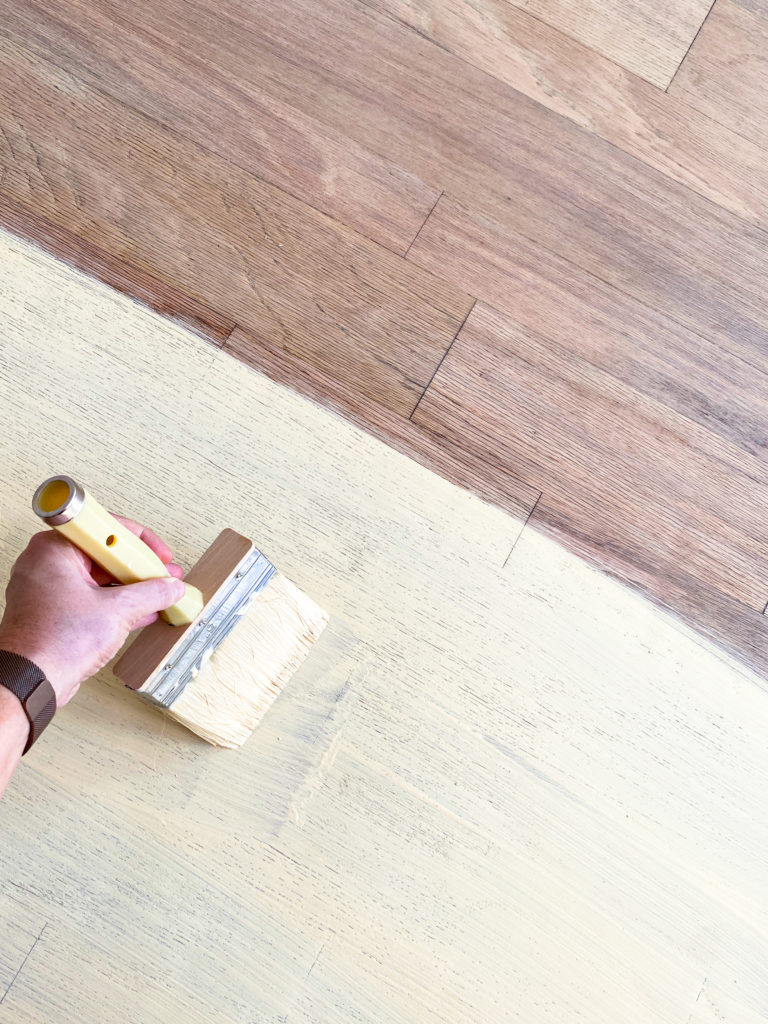
The Natural Wood Stain
For the natural wood color, I used the Varathane Classic White Tint Base in the color OVERCAST. This is water based stain and the combination of the two for this pattern was too good to be true!
See below for a detailed step by step!

Materials and Supplies
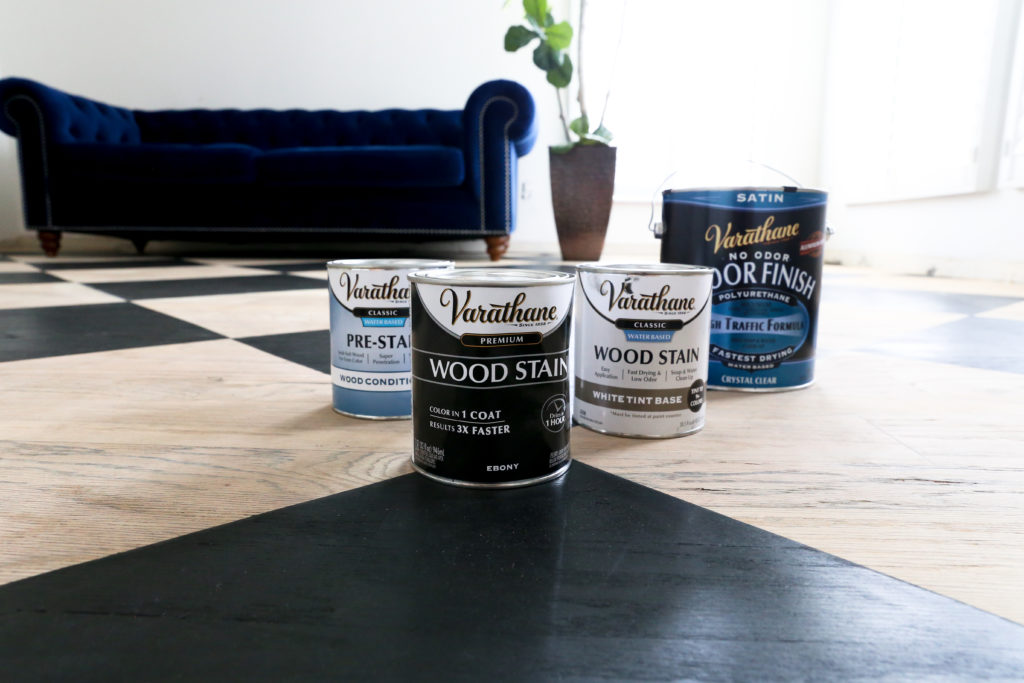
- Black Squares: Varathane Premium Oil Based Stain in the color Ebony
- Base Layer Stain: Varathane Classic Water Based Stain in the color Overcast
Varathane Pre- Stain Wood Conditioner - Varathane Polyurethane – Floor Finish in a Satin Finish
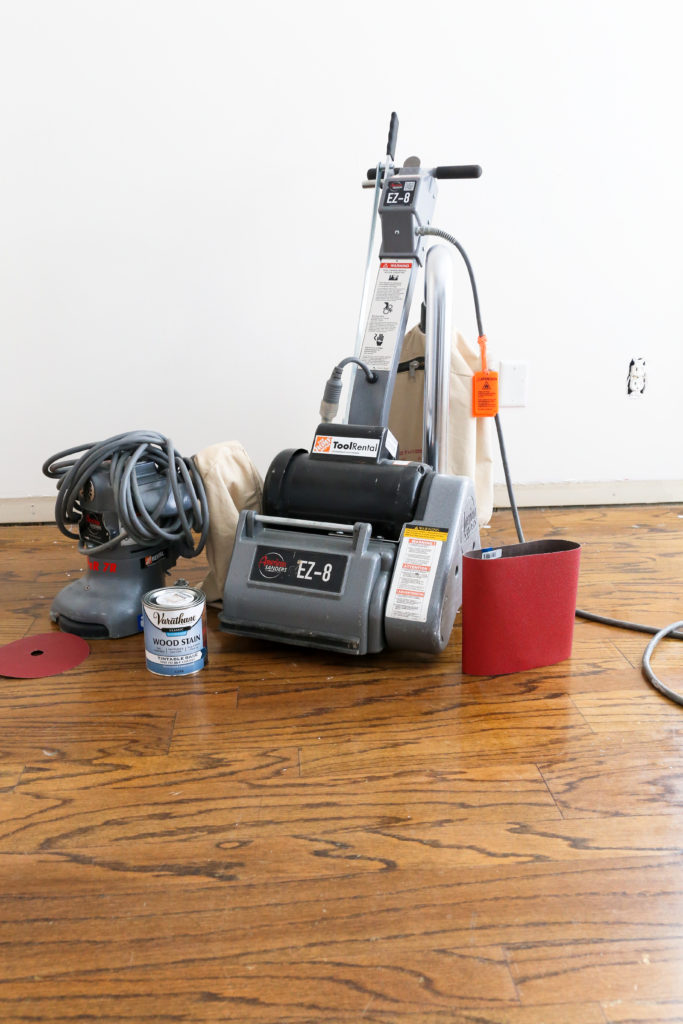
- EZ-8 Drum Sander (rented from The Home Depot)
- Floor Edger 7″ Sander
- Laser level or Tape Measure(something to find the center of the room)
- Shop Vac
- Sandpaper for the sanders
- Tape
- Laser Level
- Staining Rags
- Staining Brushes
- Lambskin 10″ Applicator
- Wood Extension Pole
- Paint Tray
Step-by-Step Patterned Wood Floors
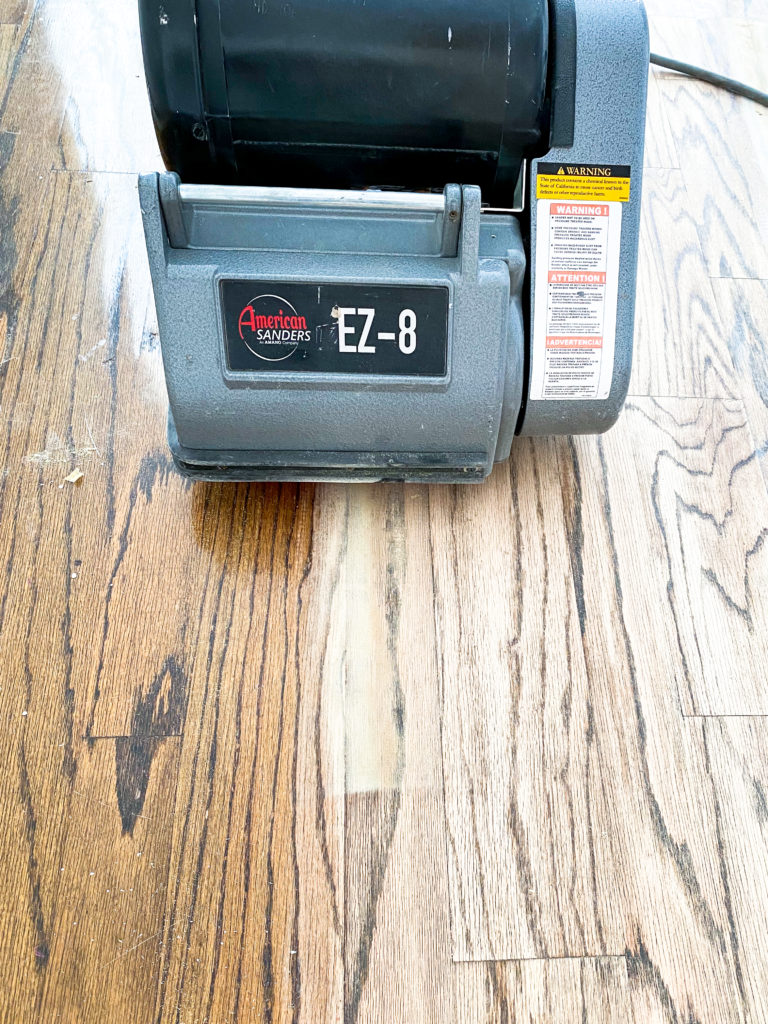
Step 1: Sanding the floors
To tackle and entire room, we needed a large sander! We headed to The Home Depot to rent this sander for the weekend!
Start with the EZ-8 sander using grit sandpaper to do the main areas of the floor. The sanding bag on the sander kept most of the dust in the bag but we ended up attaching a shop vac to the sander and it took care of all the dust. Go around the outside edges with the floor edger sander.

Step 2: Use Varathane Classic Water Based Pre-Stain Wood Conditioner
We brushed the pre-stain wood conditioner then wiped off the excess off with the stain rags. We let it dry overnight.
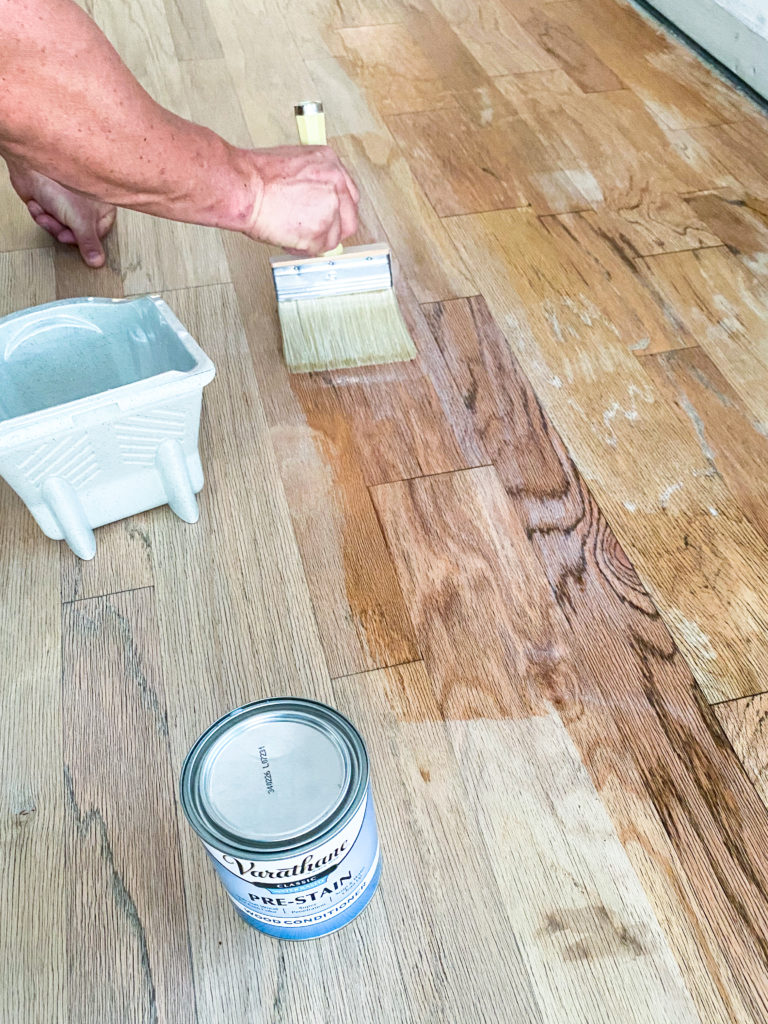
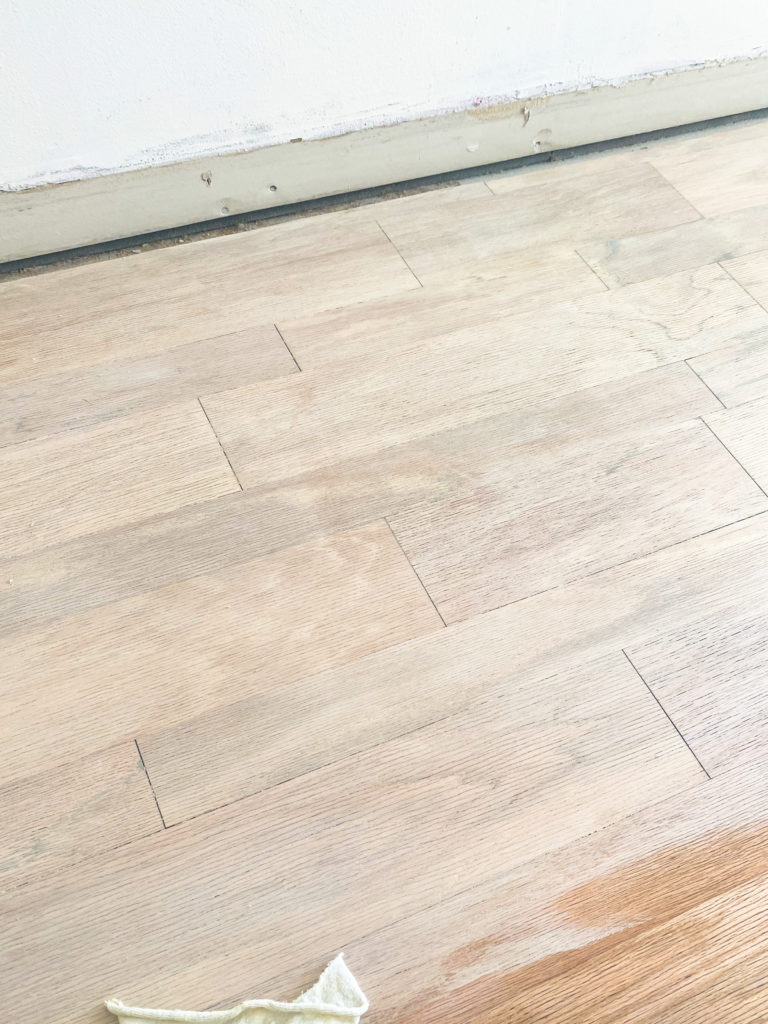
Step 3: Stain the base layer
For this project, we used Base Layer Stain: Varathane Classic Water Based Stain in the color Overcast!
Brush a thick layer of the stain onto the floor and let it sit for 3-5 minutes. Then, with a rag, remove the excess in the direction of the stain. Let it dry for a minimum of 1 hour – but I like it leave for 2-3 hours to fully dry.
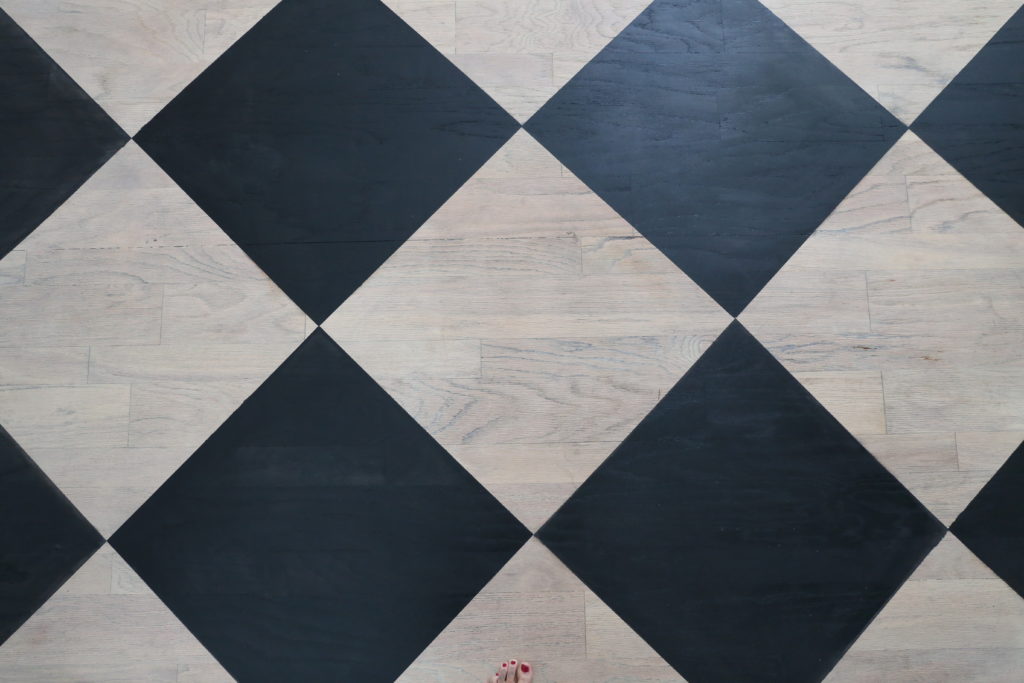
Step 4: Add The Pattern!
We used a laser level to find the middle point of the room and started there. Then, we went square by square to measure and tape out each square.
Next, we cut a 24inch x 24inch square template with a piece of scrap wood we had at home and tapes around the template. This was a game changer and made it go by so much faster!
TIP FOR CRISP LINES – Use Caulk!
After we taped off the square we caulked the edges of the square and wiped off the excess with a very damp rag. The caulk will make sure you have crisp line for a nearly perfect edge!
Removing the tape is SO satisfying, right?!
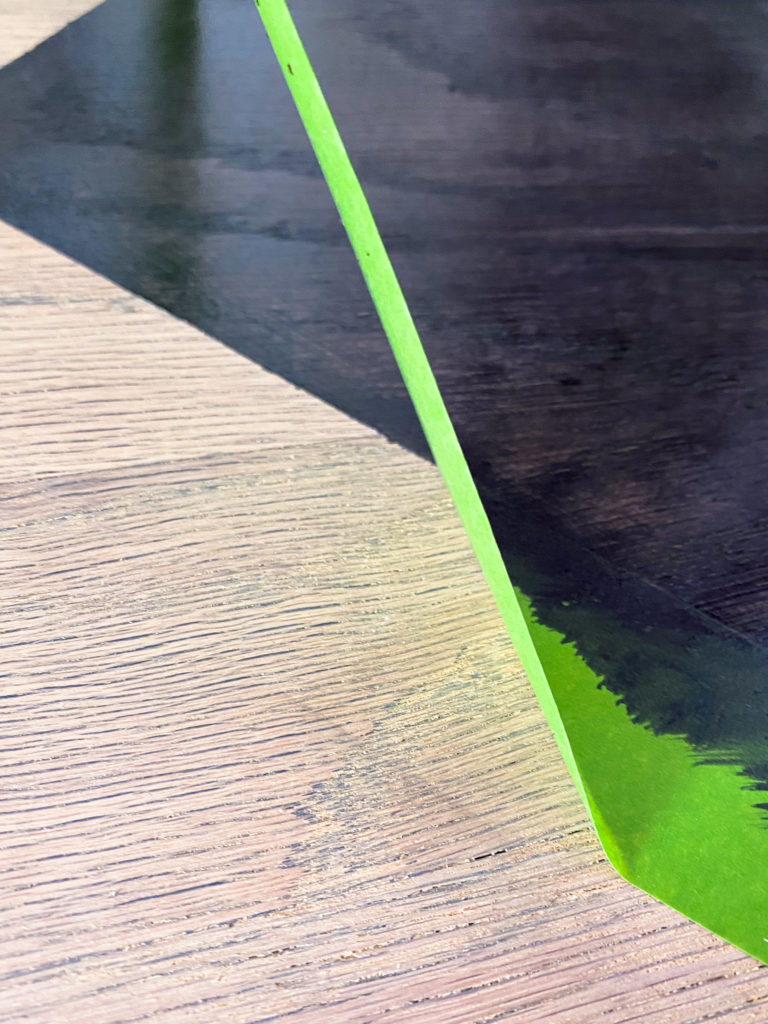
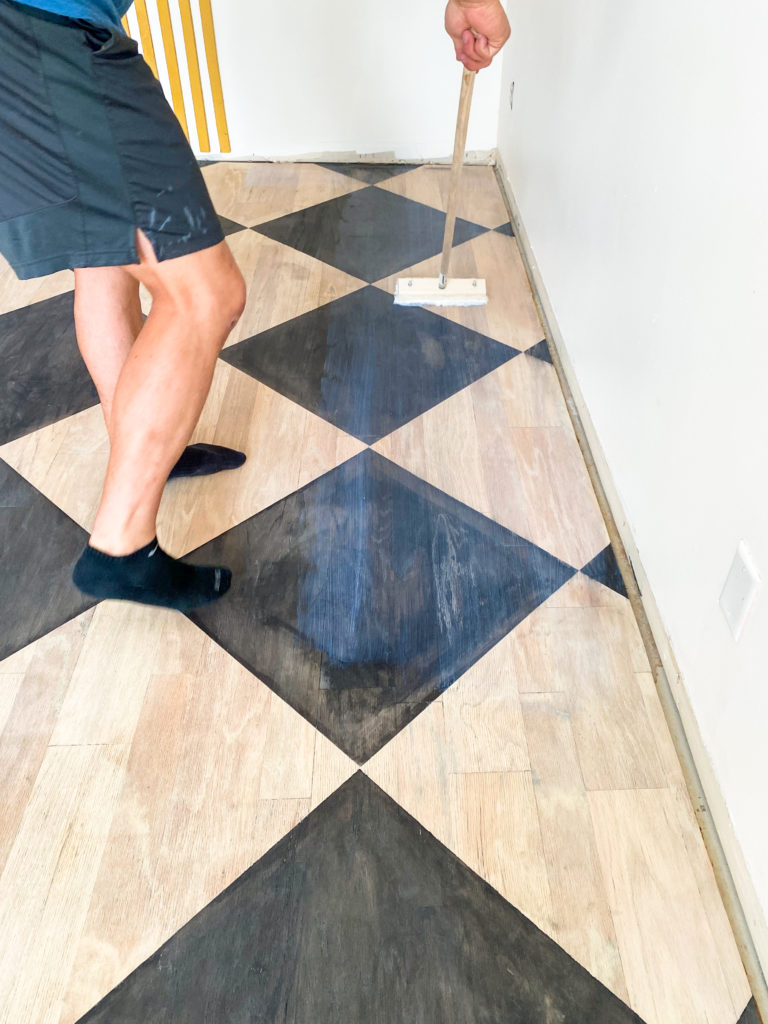
Then we applied Varathane Premium Oil Based Stain in the color Ebony with a staining brush then did a light coat on the edge of the square. Let it sit for a few minutes before wiping it with a rag!
Because this the Varathane Premium line, your color payoff is going to be AMAZING and dry very quickly. After a few minutes, wipe the stain with a rag. Give it another 2-5 minutes to sit, then remove the tape!

TIP: If you have any bleed marks you can use a sanding block to remove the bleed!
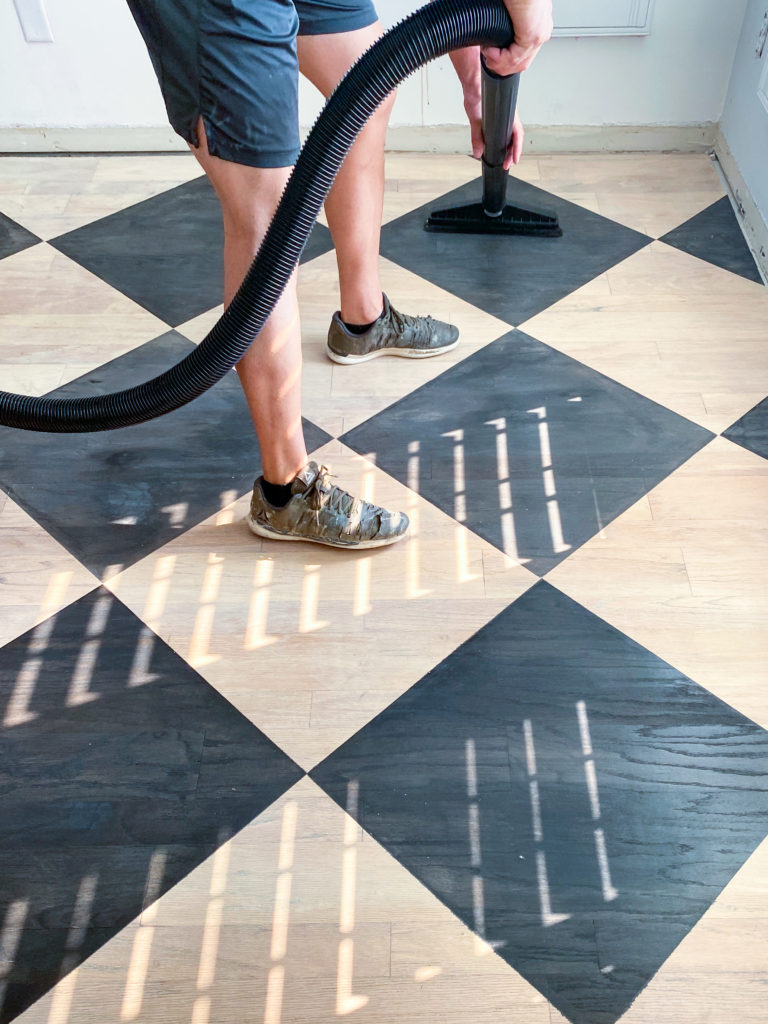
Step 5: Clean the floors well
Using the shop vac we cleaned the floors really well to prepare for the Varathane Polyurethane Floor Finish.
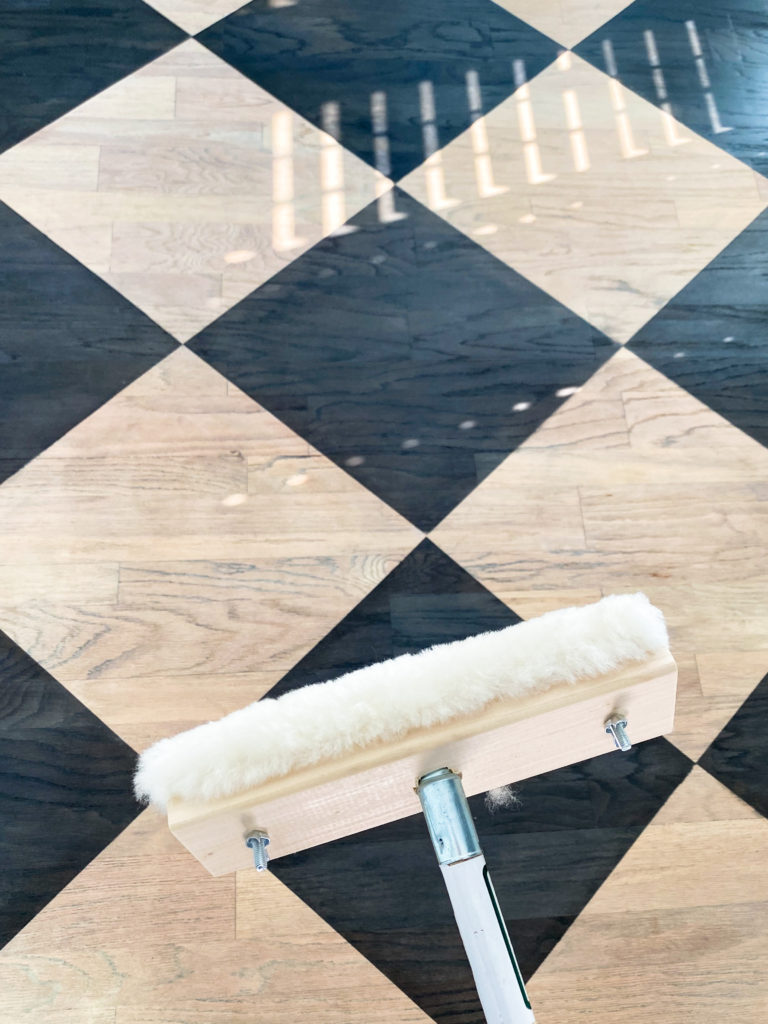
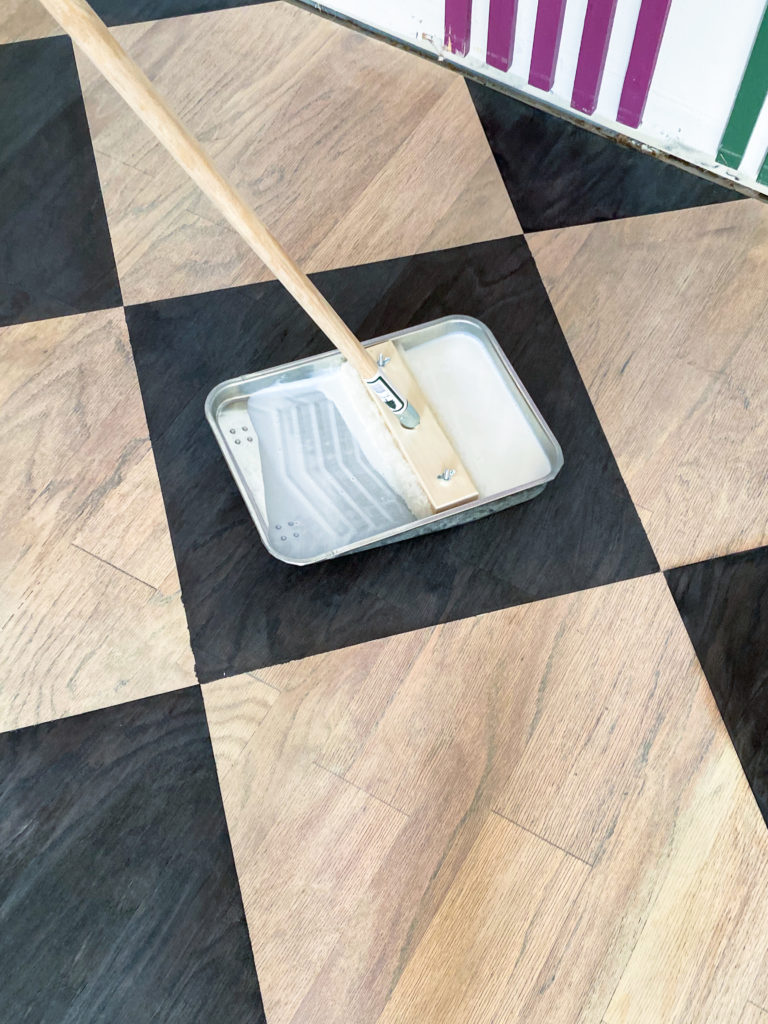
Step 6: Apply Floor Finish
The Varathane Premium Oil Based line dries in just an hour! We were able to apply the floor finish which helped make this project go by in a flash.
Using the Lambskin 10 inch applicator and a rod and a tray we started in the back of the room and started to apply the Varathane Polyurethane Floor Finish in a satin finish.
Step 7: Enjoy!
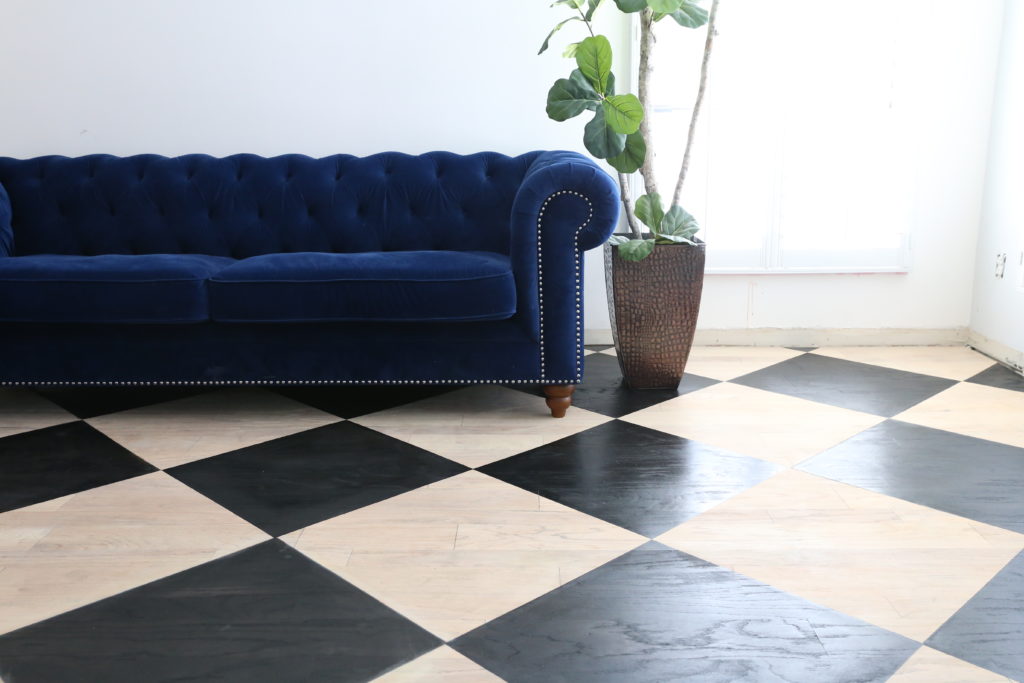
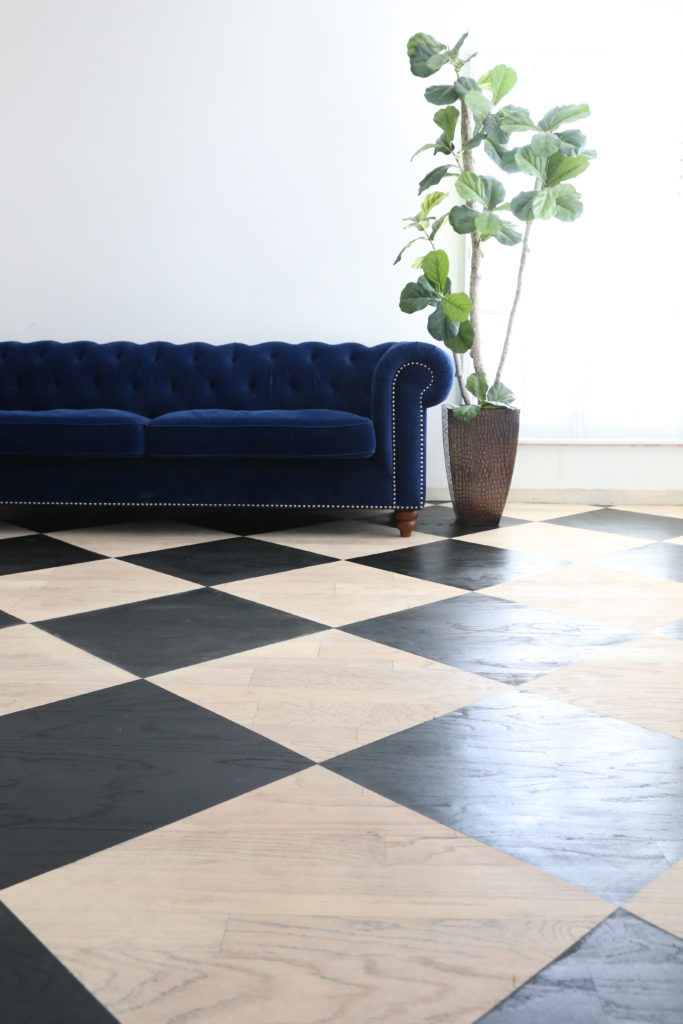
I really hope you give staining your wood floors a try because the process is so much easier than I imagined! Now you know how to stain hardwood floors! Thank you to my husband, Kyle, for implementing my crazy ideas!