How to install laminate flooring – tips for installing laminate flooring
Installing laminate flooring is one of the more simple flooring options to install. Even beginner DIYers can learn how to install laminate flooring.
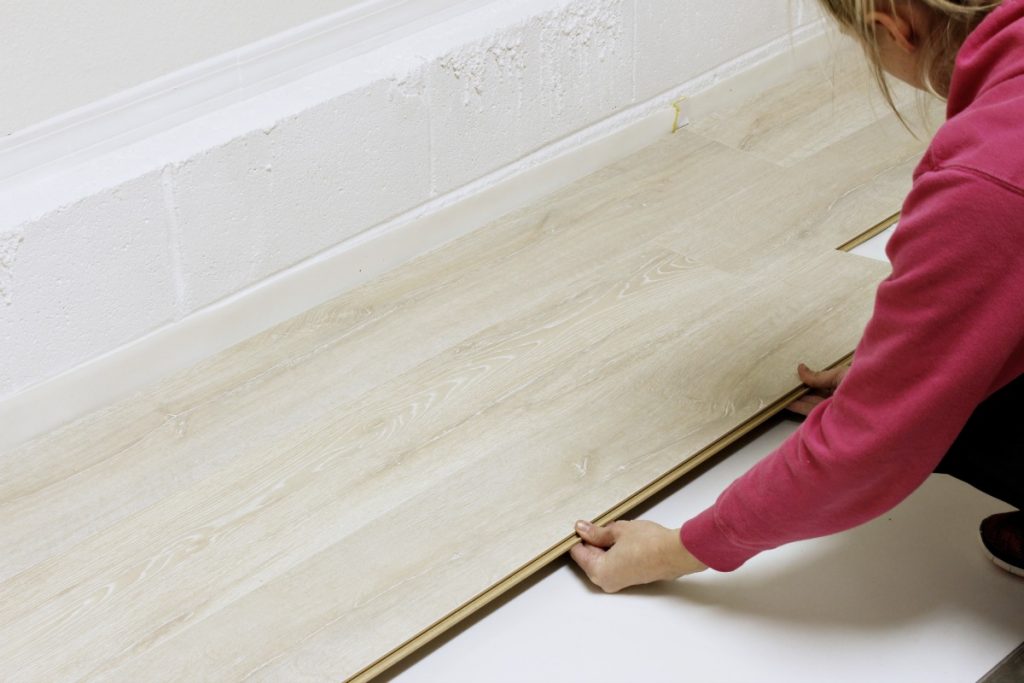
Materials needed for installing laminate flooring
- Laminate flooring to cover square footage of your space + 10% extra.
- Underlayment (if not already attached to the flooring you chose) – Must use as a vapor barrier if installing over concrete. Underlayment also helps to buffer the sound after installation.
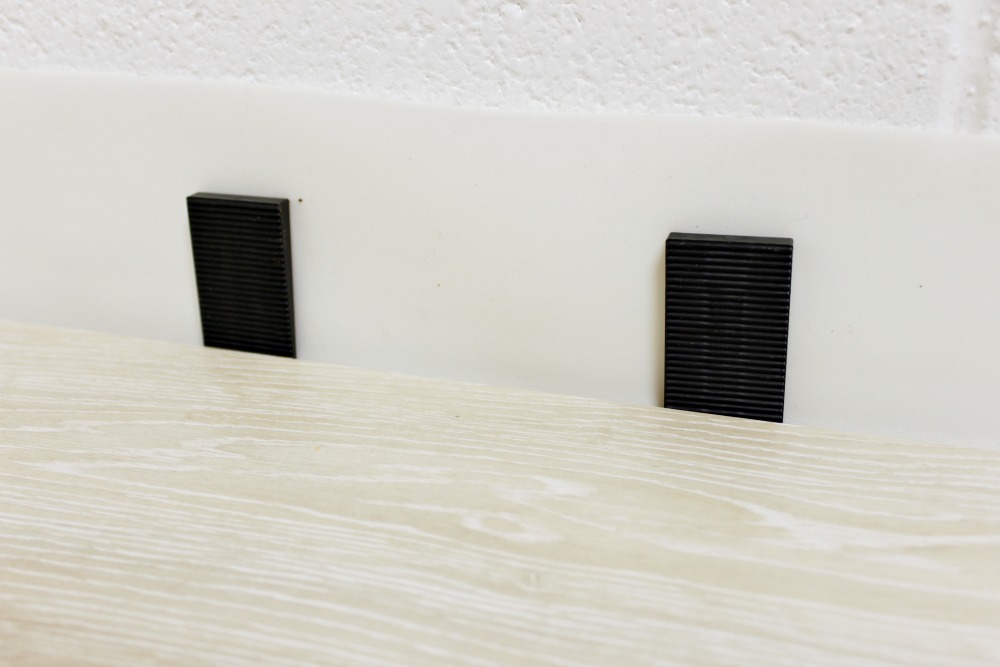
- Spacers for expansion Use 3/8″ spacers for expansion around the perimeter of your space.
- Rubber Mallet
- Tapping Block
- Pull bar
How to install laminate flooring
Step 1: Buy your laminate flooring. Always measure the square footage of your space PLUS 10% extra to allow for cuts and mistakes. It happens.
Prepare your surface: Remove door and base moulding. If removed carefully, it can be reused in the space after installing laminate flooring. Remove carpet, carpet pad and carpet tacks. (if necessary)
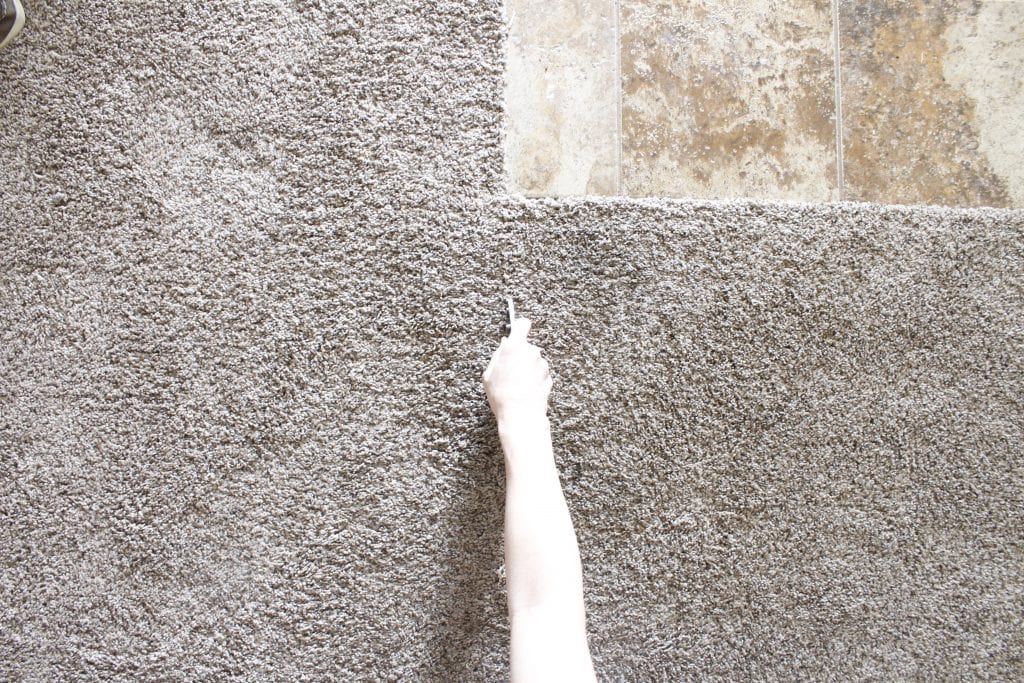
Laminate flooring can be installed directly over most existing flooring, except carpet. If you are installing directly over a hard surface (wood, tile, linoleum), you will want to install underlayment to buffer sound after installation. If you are installing over concrete/cement, make sure you install a vapor barrier (underlayment) or use a laminate floor that has it attached underneath. Many products come with underlayment attached. Read your product instructions if you’re unsure.
Step 2: Place new flooring in the space that it is to be installed for 48 hours prior to installation. This allows the product to acclimate to the temperature and climate conditions of the space.
Step 3: Begin first row – Remove tongue using a table saw, use spacers around the perimeter to allow for expansion.
TIP: Place box of flooring on first row to hold it in place while you tap subsequent rows into place. Something heavy placed on installed floors can help hold everything until all flooring is locked in.
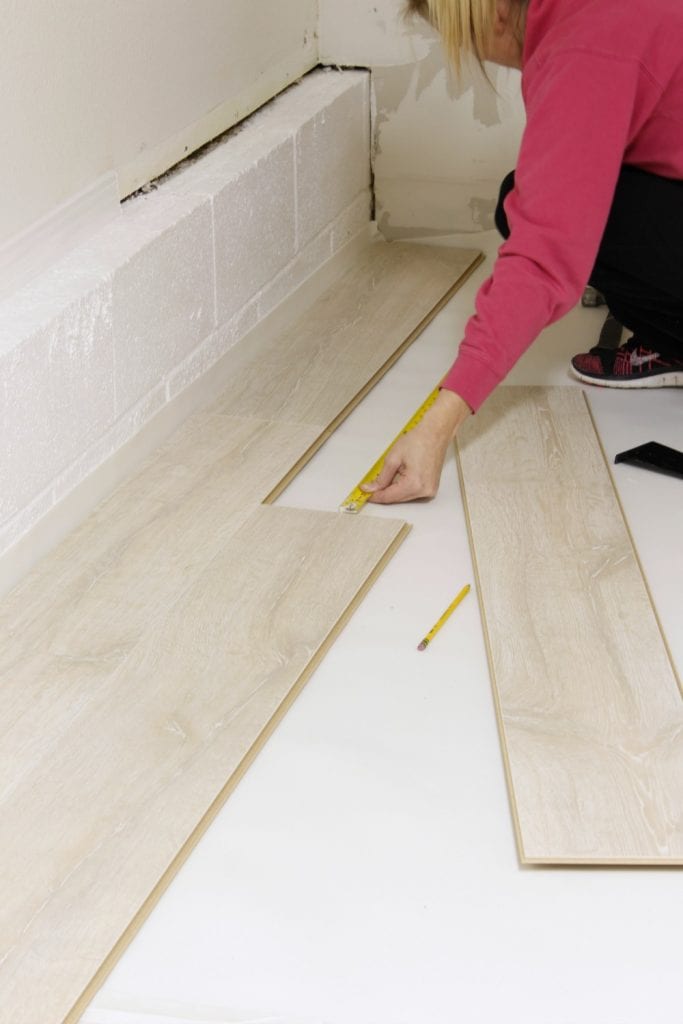
Step 3: Install remaining rows of floors. With tongue and groove installation, you’ll want to stagger the joints so they do not line up in each row. To achieve this, cut the first board of each row at different lengths and so the joints don’t line up.
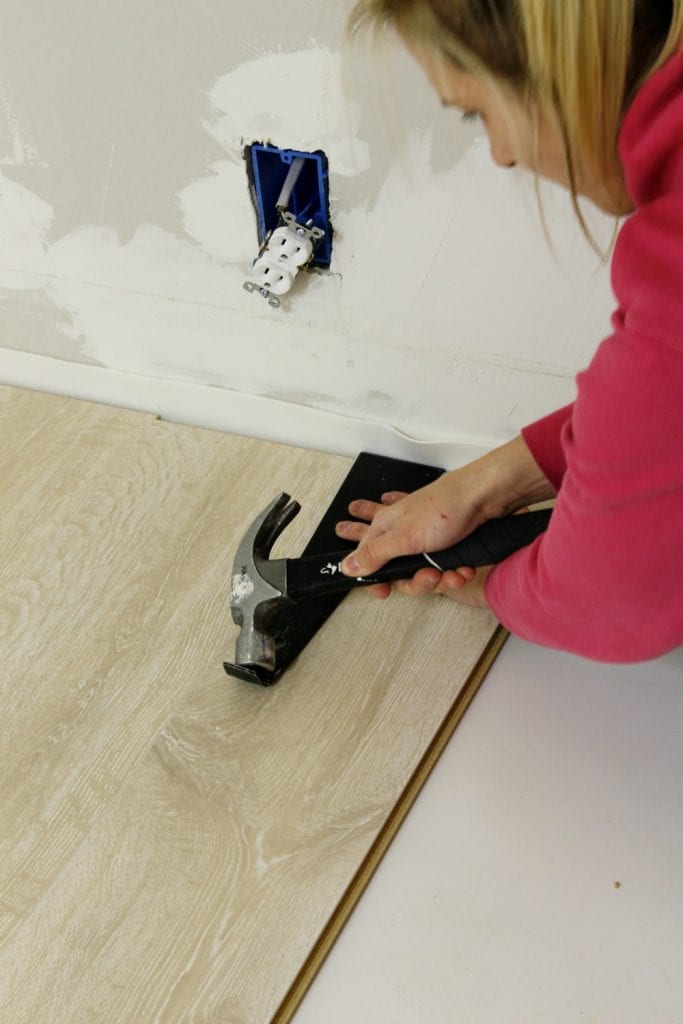
Step 4: Install final row – use a pull bar and rubber mallet to pull final row of planks to lock into place and you are done installing laminate flooring in your space!

Step 5: Reinstall (or install new!) door trim and base moulding.

If you liked this tutorial, check out:


