Painted Tile Gone WRONG | My kids bathroom!
SKILL LEVEL: Intermediate – 6/10
MY DIY COST: $400
PROFESSIONAL INSTALL COST: See breakdown below!
TIME: 2-3 Days
TOP LINKS:
This is…..a little hard to share!! This what we refer to as the “kids bathroom” because my four kids share this space.
You could definitely say that this is a DIY fail haha but I want to redeem myself here! I LOVE painting tile. I think it is a great way to spruce up a bathroom on a budget and I stand by it 100%!
What the heck happened?!
Okay so you know that panic when company is about to come over?! At 10pm the night before our Classy Clutter Collection launch party at my house, I decided to use some leftover paint to paint the bathroom.
I didn’t prep it.
I didn’t seal it.
It just…..was! And right after it was done, it looked amazing! But is slowly chipped over the last two years and until it looked like this! Yikes.
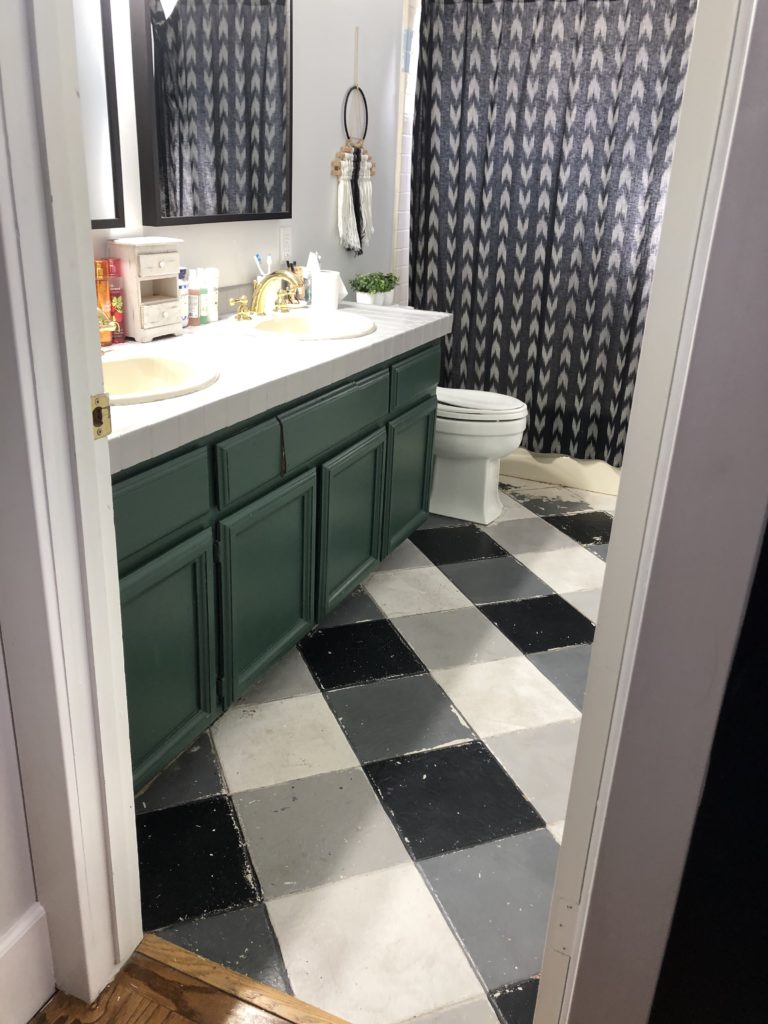
Didn’t you paint your other bathroom?
I have another bathroom in my house that I painted years ago and it has held up SO WELL! With the right prep and sealing, painted floors are awesome!
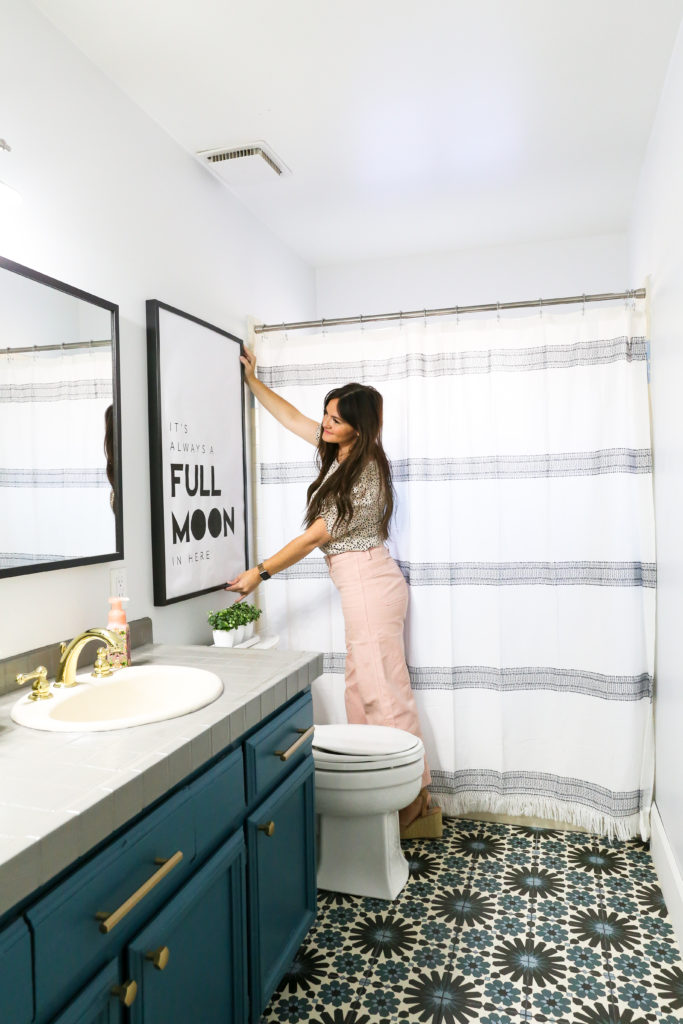
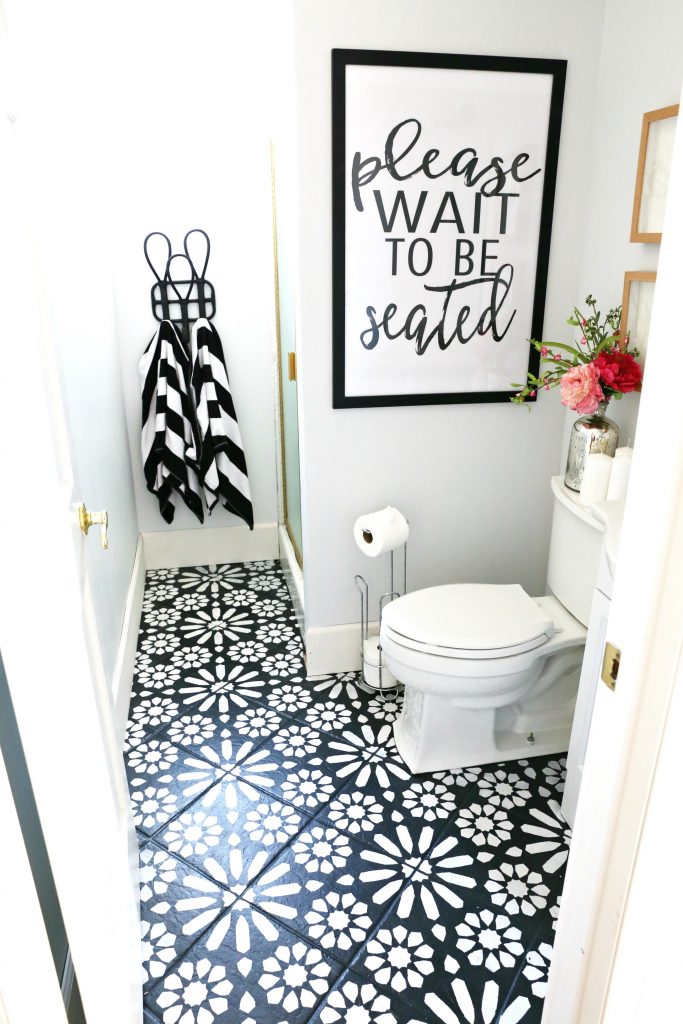
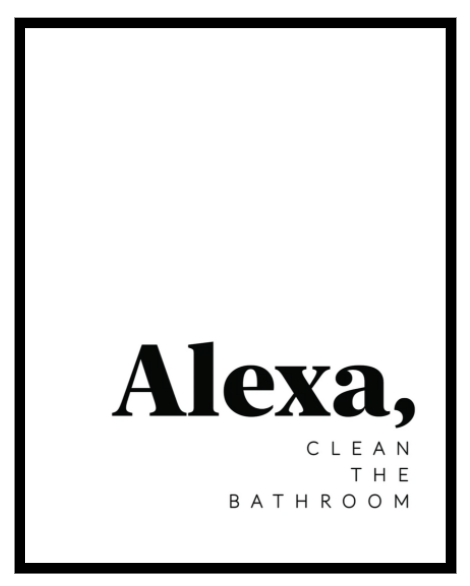
Please Wait to be Seated Download
A few weeks ago I was getting ready to repaint it when Kyle offered to rip up the tile altogether and put down new tile! I was over the moon!!
Why is this a big deal?
Kyle is a licensed contractor (mostly commercial projects) and is gone most days working on projects. He doesn’t typically come home at the end of the excited to do more home projects so when he offers – I ALWAYS take him up on it!
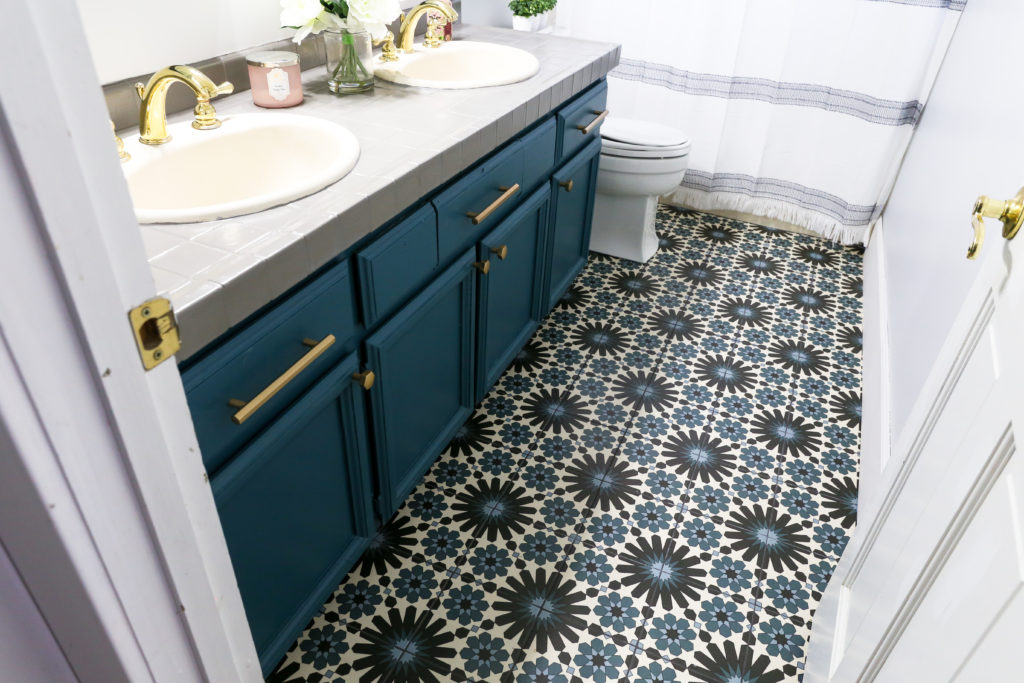
What tile did you pick?
Moda Del MarFiorella Matte Ceramic Tile
I wanted to pick something with a cream base because I didn’t want anything that would make the tub look too yellow! I found this at Floor and Decor and I was just obsessed!
Tell me about the vanity!
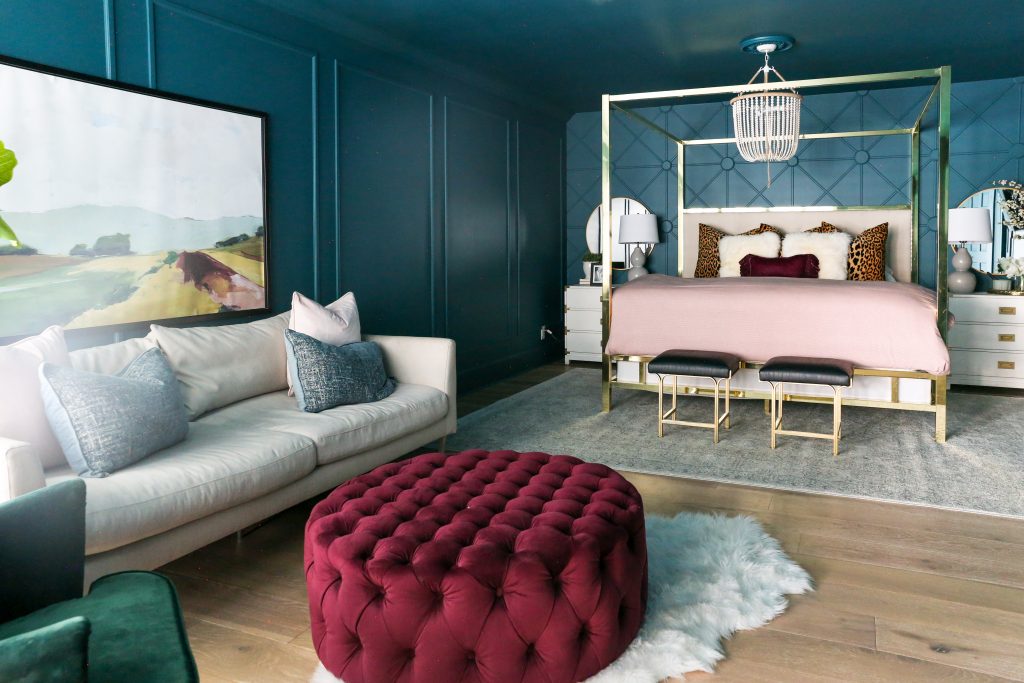
I decided to paint the vanity the same color as my Master Bedroom – BEHR’s Wanderlust! I already had the paint leftover and let’s be real, it’s the prettiest blue I’ve ever seen!
Savannah’s Master Bedroom Reveal
Then, we decided to paint the countertop…
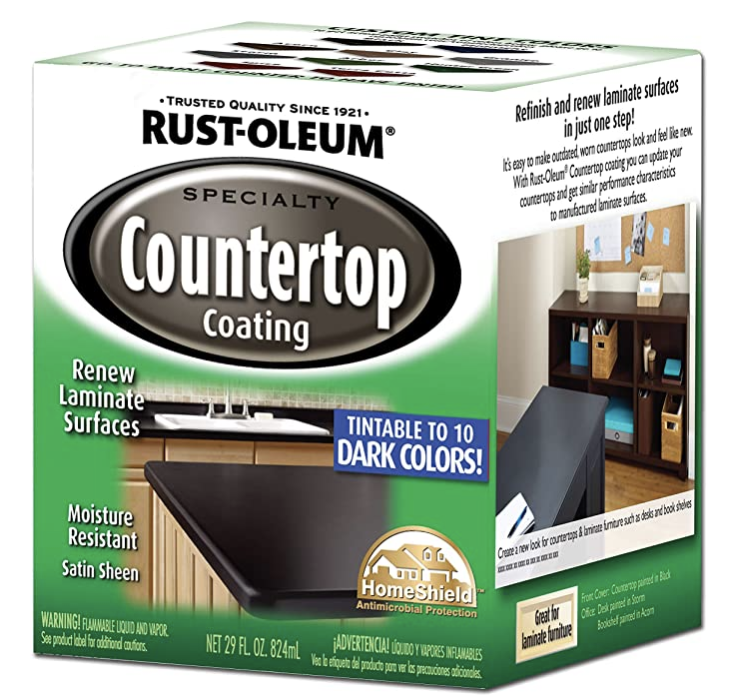
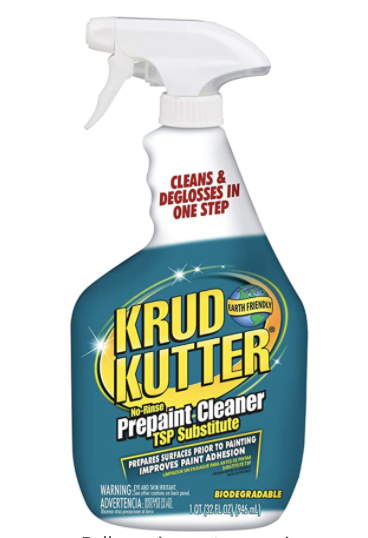
This was so simple and made such a huge difference! The counter was a stark white and the tile definitely has cream tones in it so painting was for sure the most cost effective way to go. I love the outcome! Below is what I used to paint and prep!
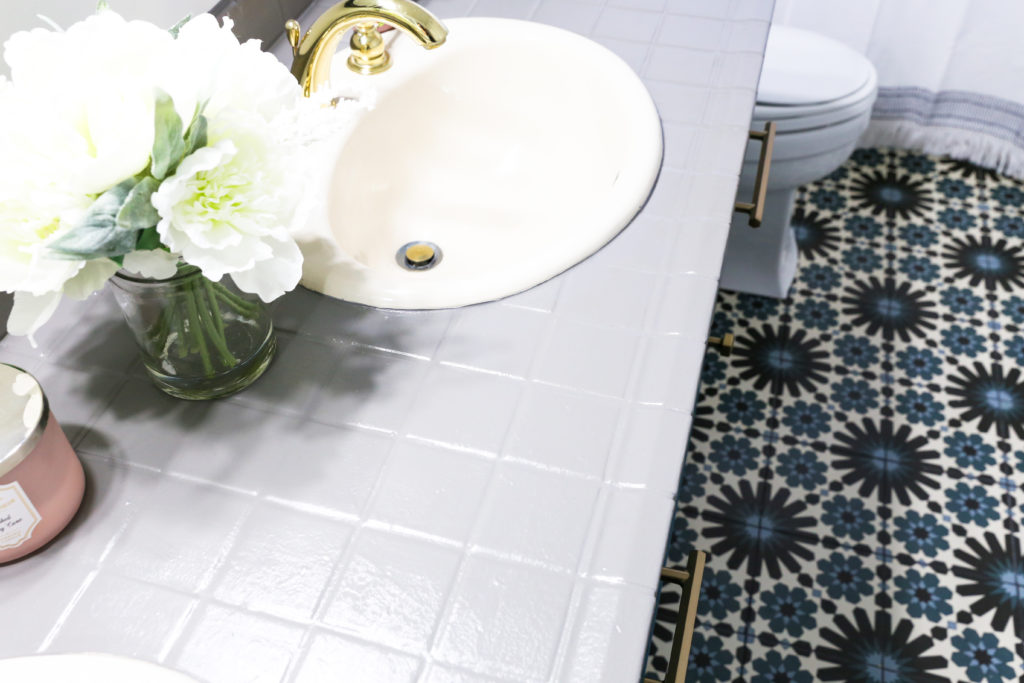
COUNTERTOP PAINT | CLEANER TO PREP SURFACE
Why didn’t we demo the entire bathroom?
Our game plan is to completely remodel the bathroom at some point because we want a shower instead of a tub in this room. We budget for ALL of our projects and this one just isn’t a top priority at the moment. But someday, we will! This is a great fix for now.
Next step – decorating!!
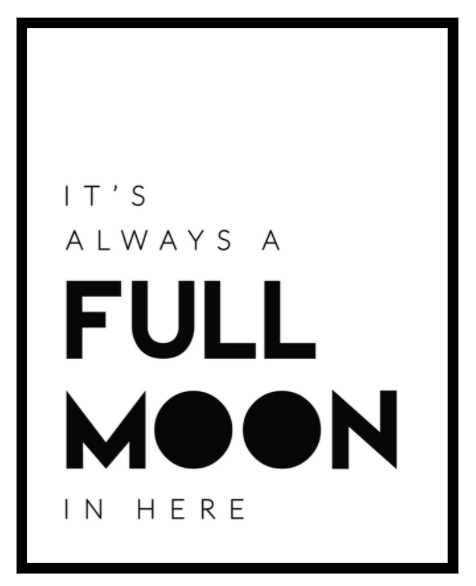
PRINTS LINKED HERE:

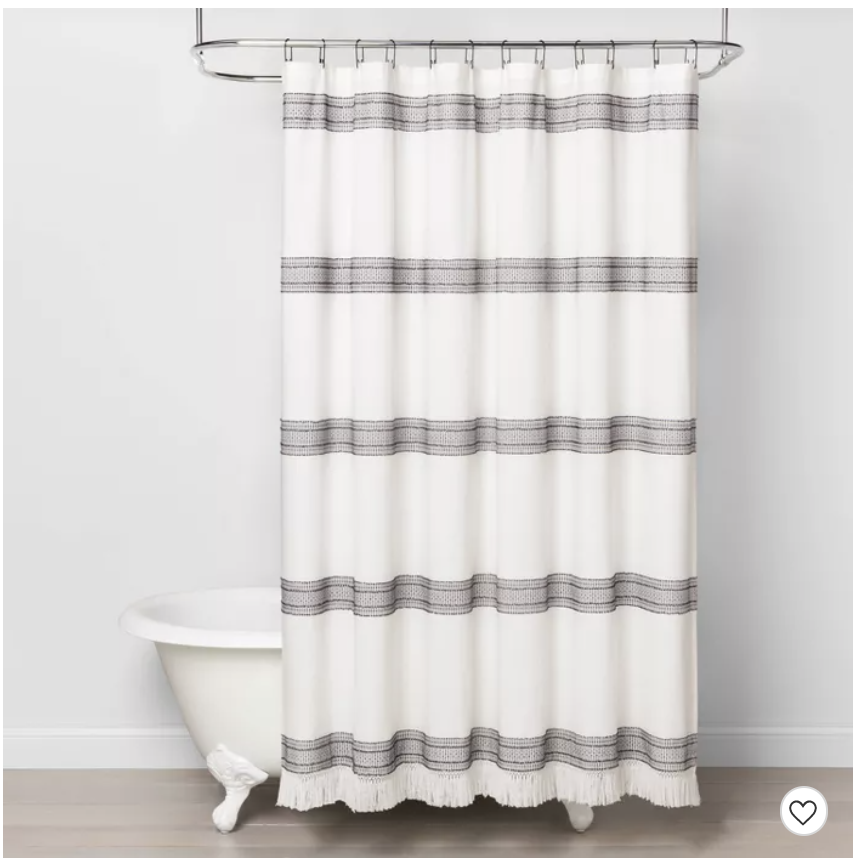
My existing shower current is just a tad too busy with the new tile. Shower curtains are a great way to redecorate on a budget!
Shower Curtain:
Here are the hooks I LOVE!
How much does this cost?!
How much does it cost to demo bathroom tile and replace it? I talked it over with Kyle and he said that in the Phoenix area, this is what you could expect to pay for a project like this:
- Demo – $2 per sq ft (Kyle did it himself)
- Tile install – $2.75-$3.50 per sq ft (Kyle did it himself but most installers have a $500 minimum)
- Cost of Materials (tile) – $300
- Shower curtain – $25
- Countertop paint & prep – $70 (I had the prep on hand)
- Hardware – $75 for handles and $50 for pulls (leftover from kitchen reno)
- Print – $7 from Staples
- Frame – $25 from IKEA (I used one I already had)
Total cost for this project: $887
My girls’ favorite bathroom items:
TOOTHBRUSH CHARGER | SHOWER SPEAKER