
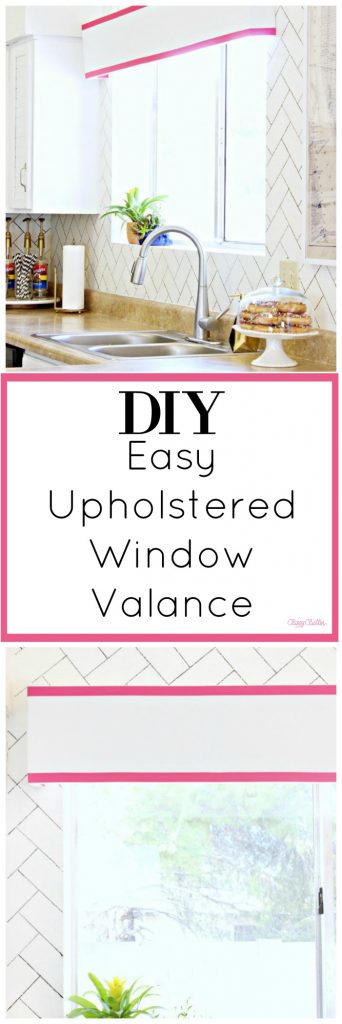
DIY Easy Upholstered Window Valance
DIY Easy Upholstered Window Valance
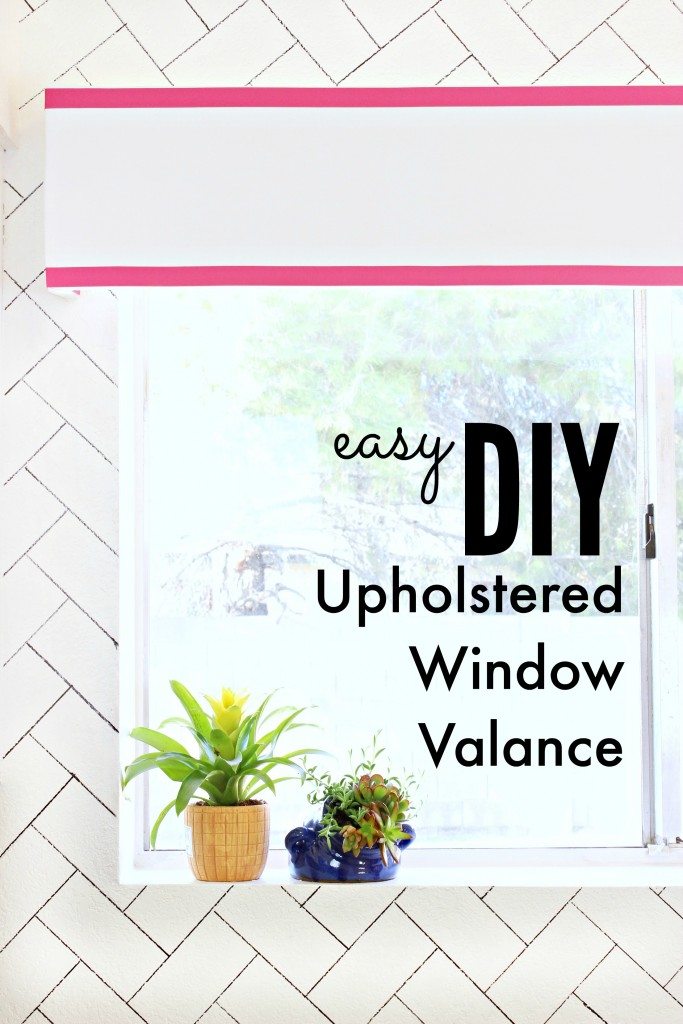
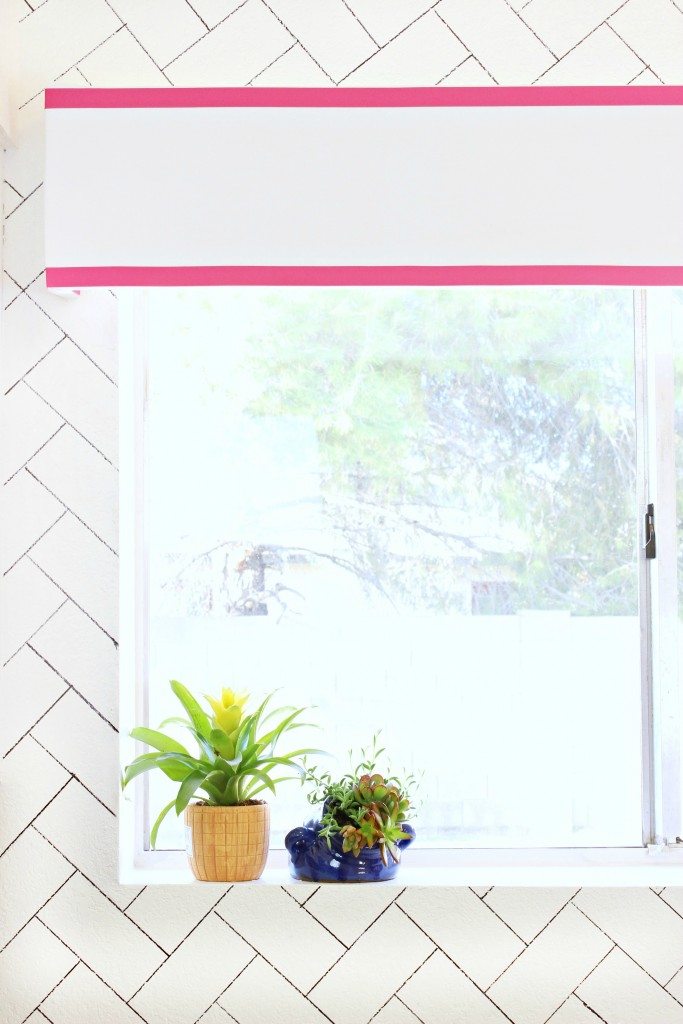
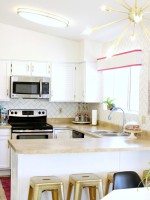
Now that we’re finally revealed my new kitchen makeover, I’m excited to take you through a tutorial for the DIY upholstered window valance! This is an easy, 30 minute – 1 hour project and a great beginner DIY project! Let’s get started!
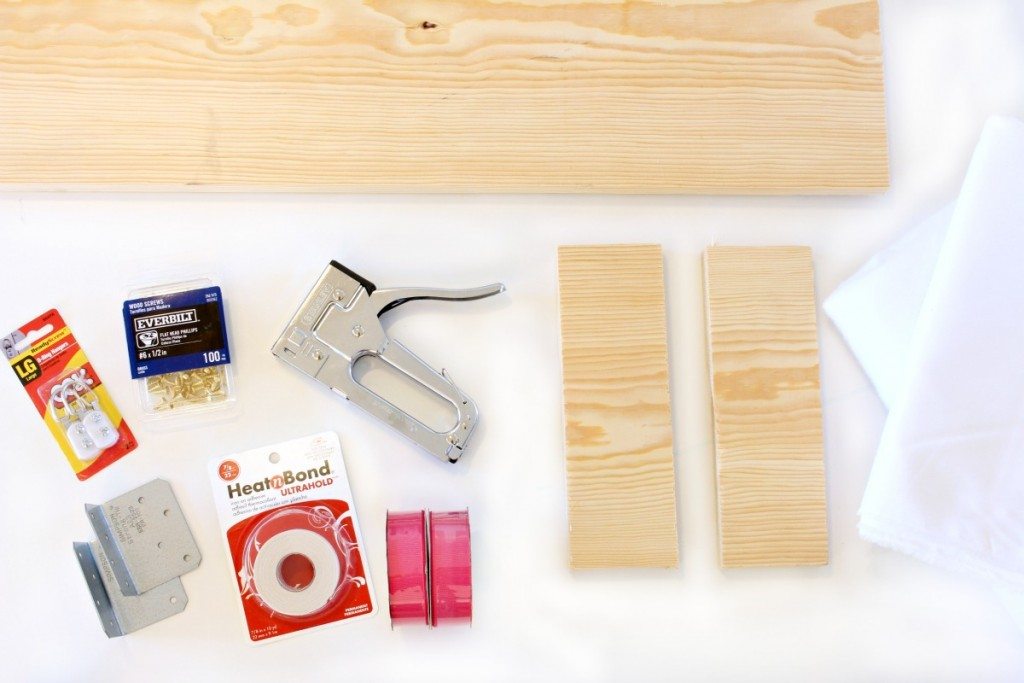
Supplies:
- (2) 1″ x 4″ x 10″ pine board (or similar wood)
- (1) 1″ x 10″ x (length you want/need your valance) board
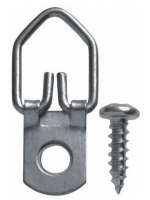
- (2) large D rings
- “L” corner brackets
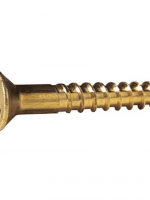
- 1/2″ screws
- 2 yards fo fabric
- 2 yards of batting
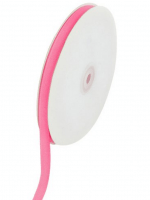
- ribbon (0ptional)
- heat and bond (optional)
- Staple Gun + staples
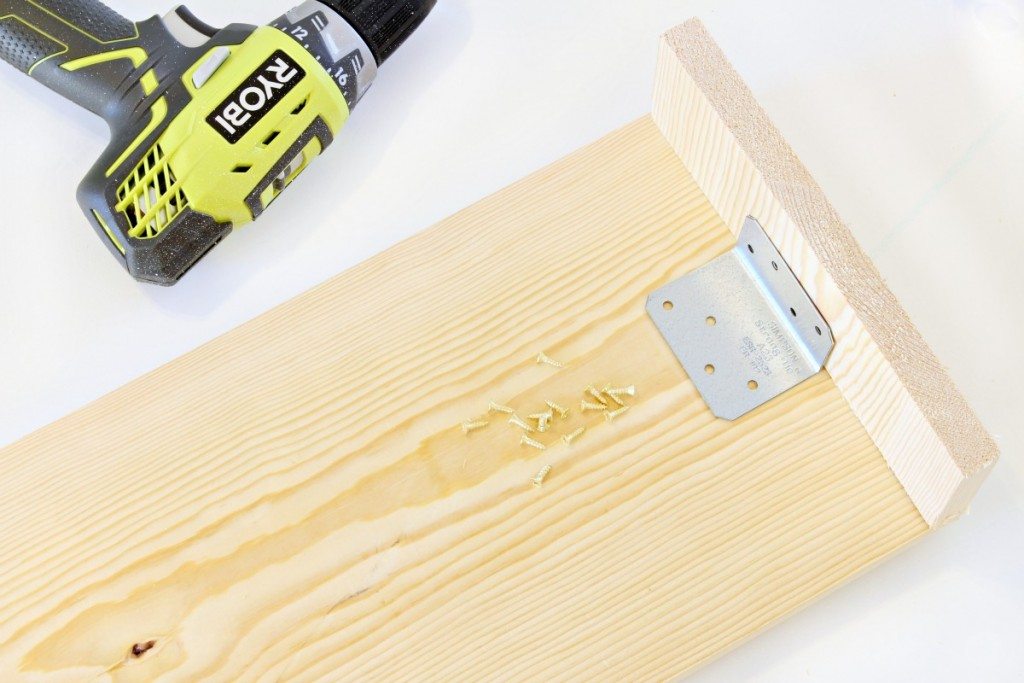
First, you’re going to build the shape of your valance. It’s pretty self explanatory. I just screwed the corner “L” brackets to secure the sides to the long piece of board.
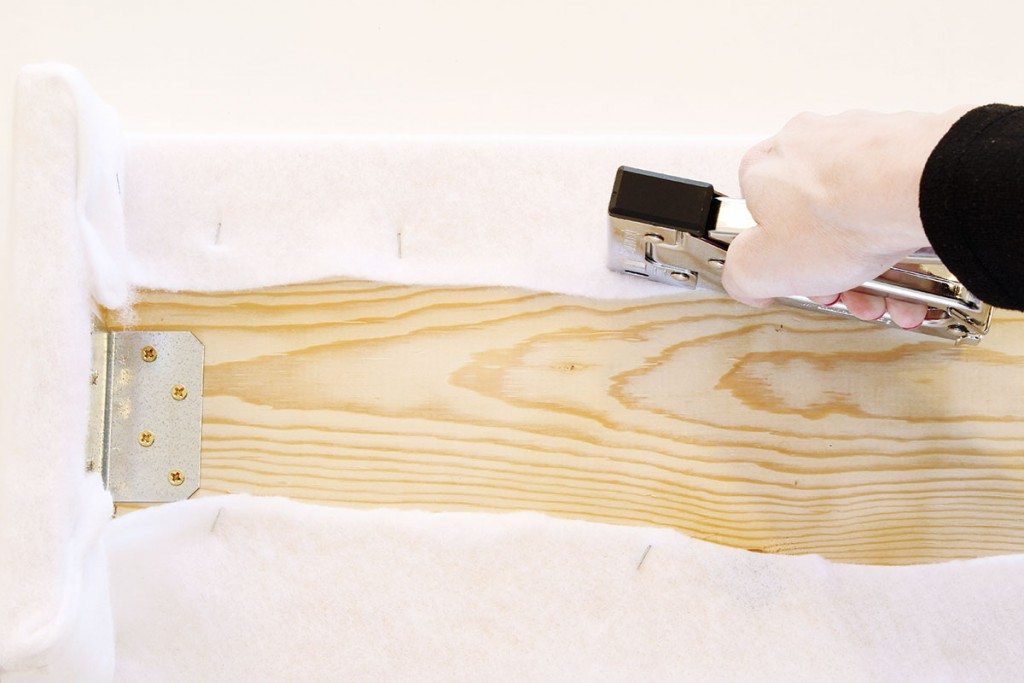
Cover your entire valance (except the back if you want to skip that like I did) with batting. Secure with the staple gun and staples. Repeat the same process with your fabric. I used a thick textured cotton.
 Next, add your “D” rings to the side boards. The screws go right through the fabric, no problem!
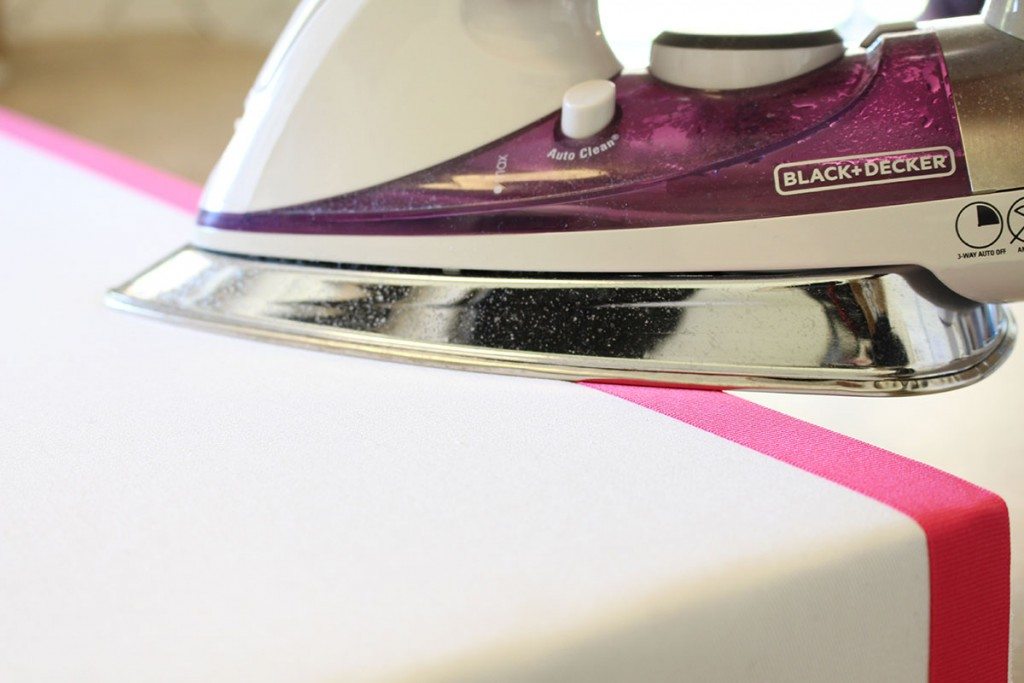 This step is optional but I used heat and bond and 3/4″ pink grosgrain ribbon to trim out the edges. Iron it according to package directions.


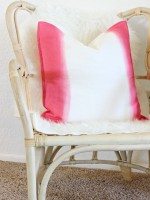


I love this… Thank you for the tutorial. Where do I purchase the ribbon from? (I’m assuming everything else I can get from Home Depot/Lowes.)
We got the ribbon at Micheals craft store.