
Modern Ranch House: Laundry Room Reno Part 3 Flooring
We partnered with one of our favorite companies Floor & Decor to transform our dated laundry room into a sleek, chic and timeless laundry room that is perfect for our family.
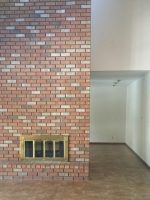
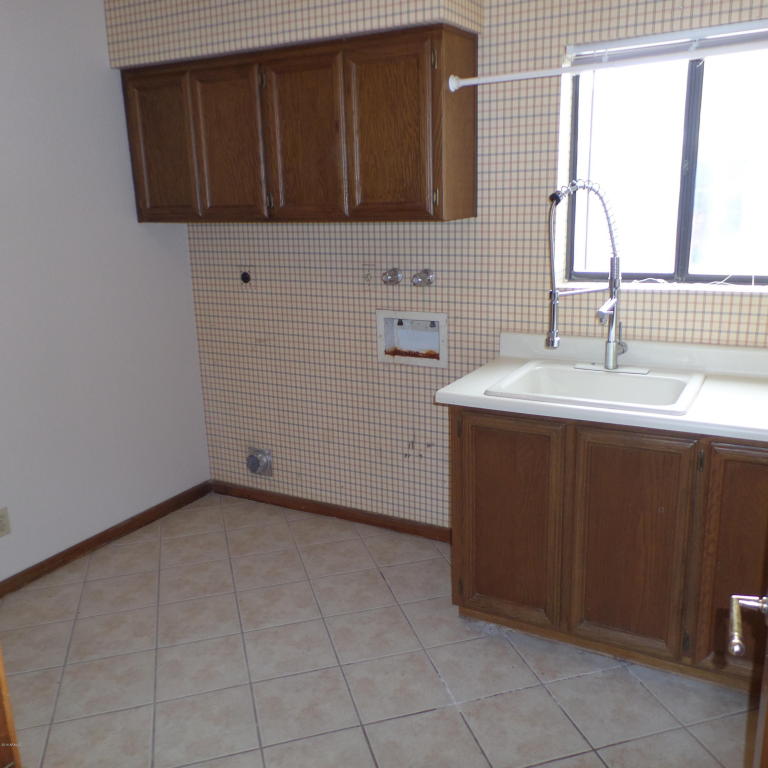 My laundry room was very dated. It had some 80’s wallpaper and plain tile and old cabinets. We had to overcome a few unexpected hurdles that we were not planning and I talked all about it in the demo part of this Laundry Room Renovation in Part 1 of this project HERE

But before we even started the the demo on the laundry room we headed to Floor & Decor to pick out the tile that we would be using for this space. Floor & Decor does not only have incredibly helpful and also very knowledgeable employees in the store, there are SO many in stock options and great prices. You can read all about our Floor & Decor Store Tour HERE.
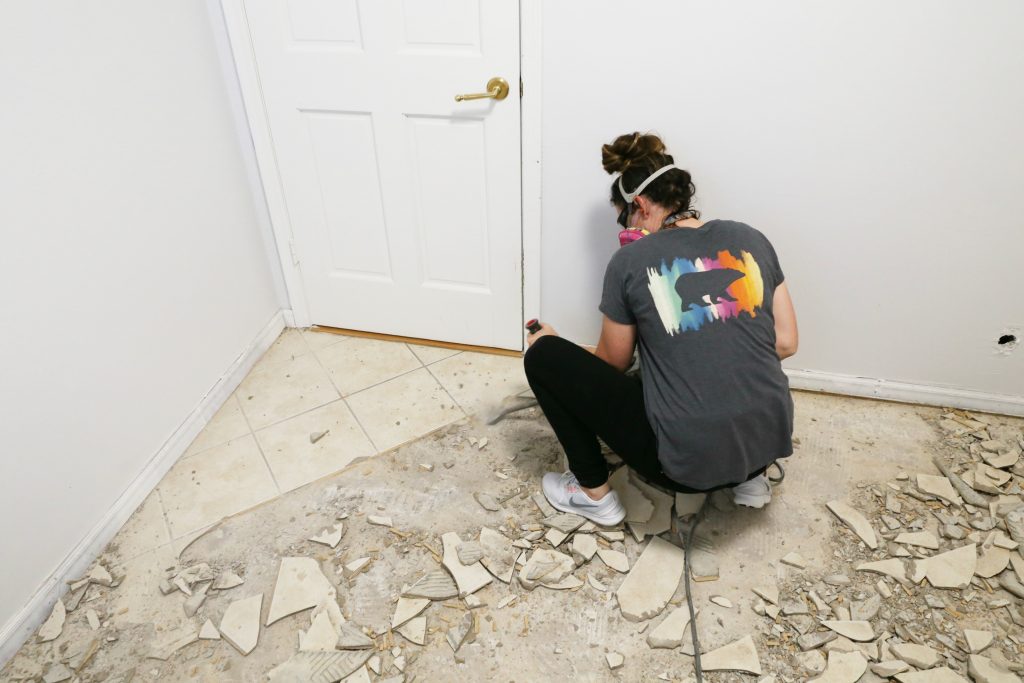
Now on to the dirty work…. Demo. If you already read the Laundry Room Reno PART 1: DEMO then you already got some of details of this picture above. This was no easy task but it was pretty fast and I was really excited to be making some progress. I was ready for some pretty pictures and more of game plan. I need a goal to remember and pictures to reference to when the work was really hard. For this I really like to create a mood board before I start buying anything for any of the spaces I do. I put together this mood board after we had gone to visit Floor & Decor and wanted to see how everything would look together.
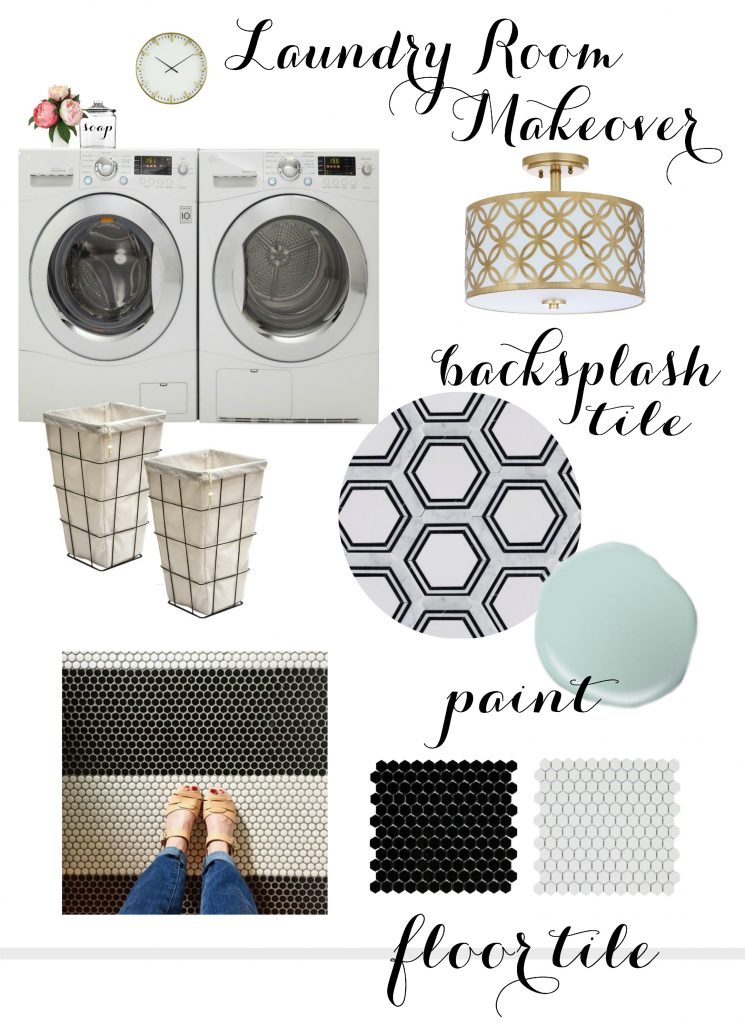
This was the original design that I wanted for this laundry room.

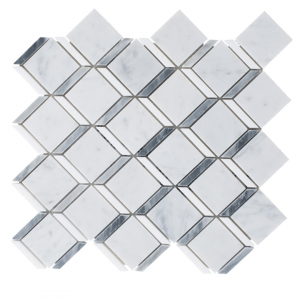
These were the three tile choices that I was going with for the laundry room.
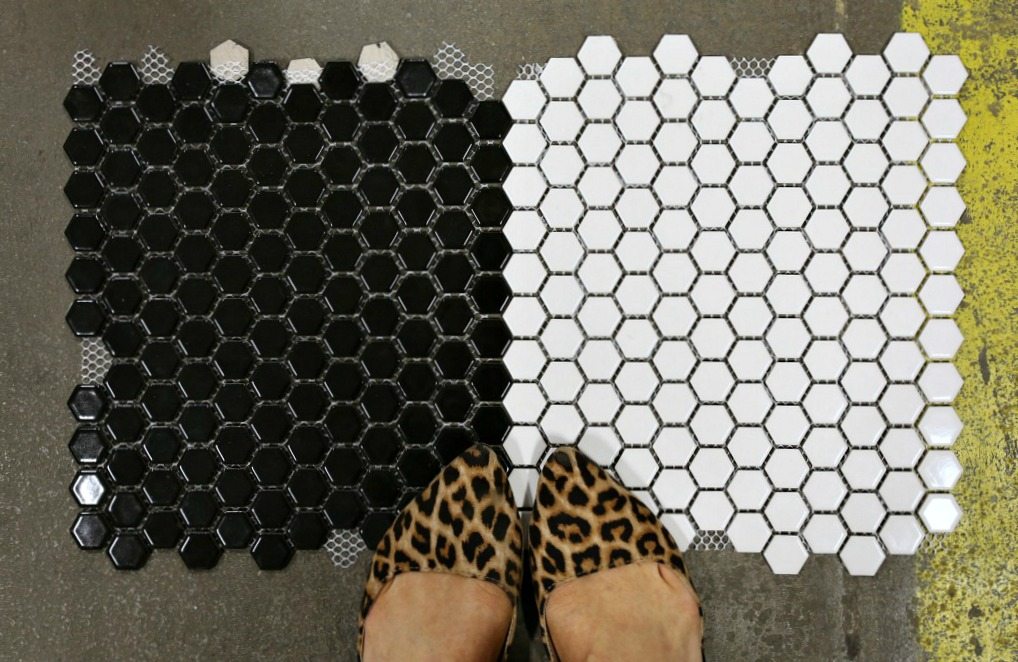
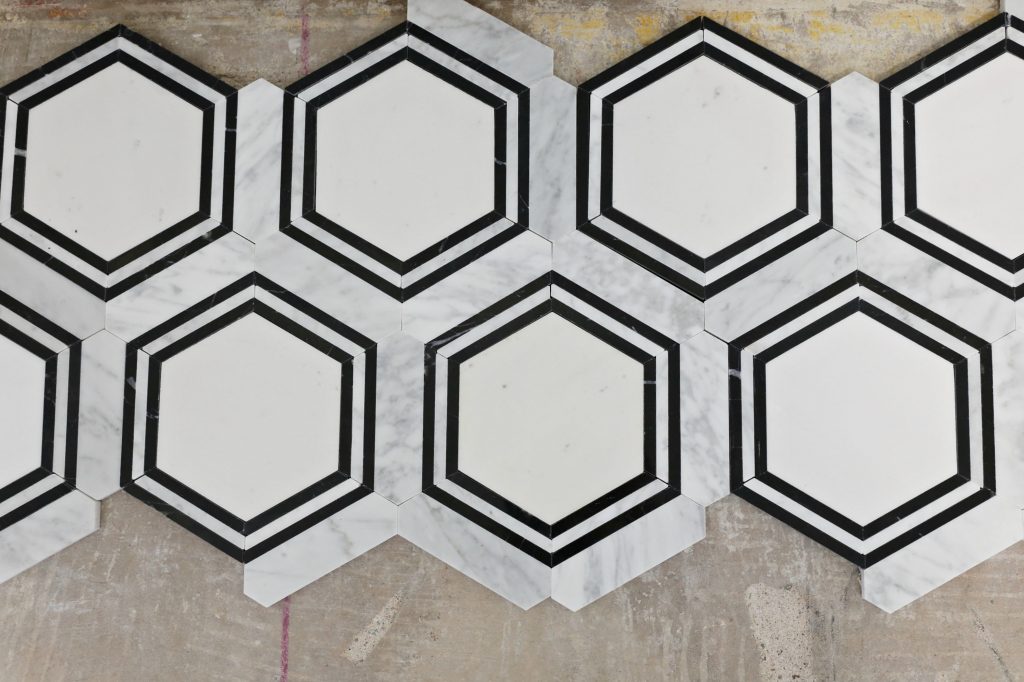
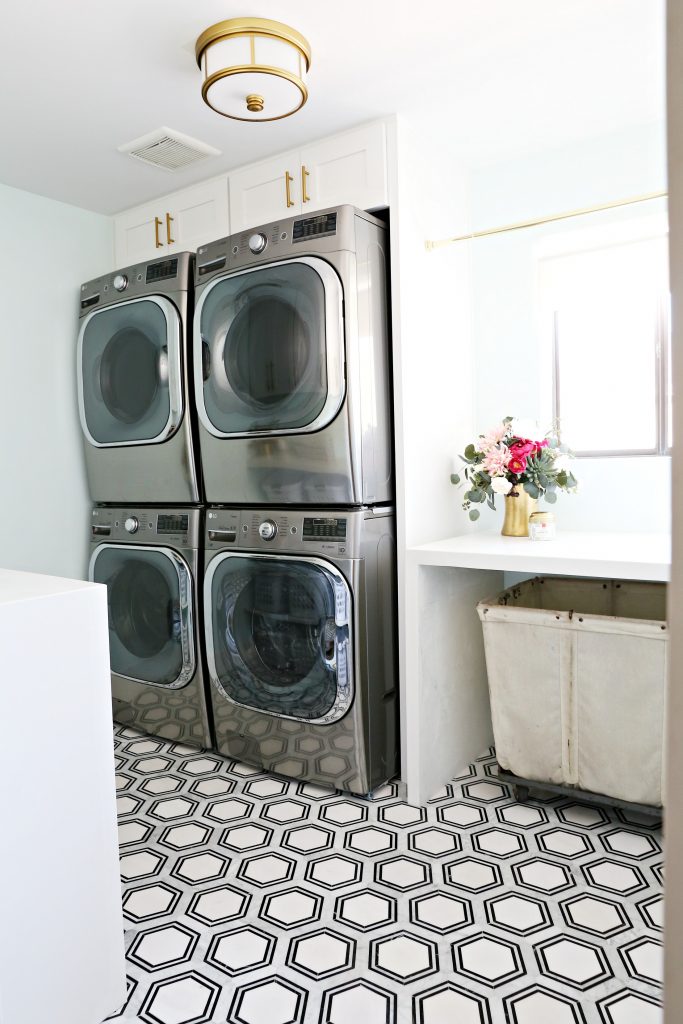
I loved this black and this white hexagon tile and I was planning on doing a stripe pattern on the floor. For the black splash I was head over heels in love with this mixed of black, white and marble hexagon tile. Its called Carrara Thassos Hexagon Water Jet Cut Marble Mosaic I loved that the shapes of the flooring and the backsplash would match but yet they felt very different at the same time. I love the touch of glam that the marble mosaic tile bought to the room. The color scheme was classic and timeless. But then things changed a bit. Remember that big problem in the Laundry Room Reno PART 1: DEMO post. Things had changed and so I need to come up with a bit of a different plan if I want the laundry to have the same feel and vibe that I wanted it to have. I went back and forth with a few different options for the tile with the changes but I just could not get past this gorgeous hexagon marble and black and white tile. I really wanted it in this laundry room. As the laundry room was unfolding and we decided to do a double set of washer and dryers the backsplash area became smaller and the hexagon black and white marble tile was not going to cover as much space as I original wanted to. I LOVED this tile from the second I saw it. I knew I wanted it to be a major part of this laundry room. With that in mind we decided to do the hexagon tile as the flooring.
BEST decision EVER! As soon as the old flooring was out I could not wait to see what the new flooring would look like in the space. It was even better then I could have imagined. I was so happy that we could make it happen and I was beyond excited when the install day came. Here is what we used and what we did.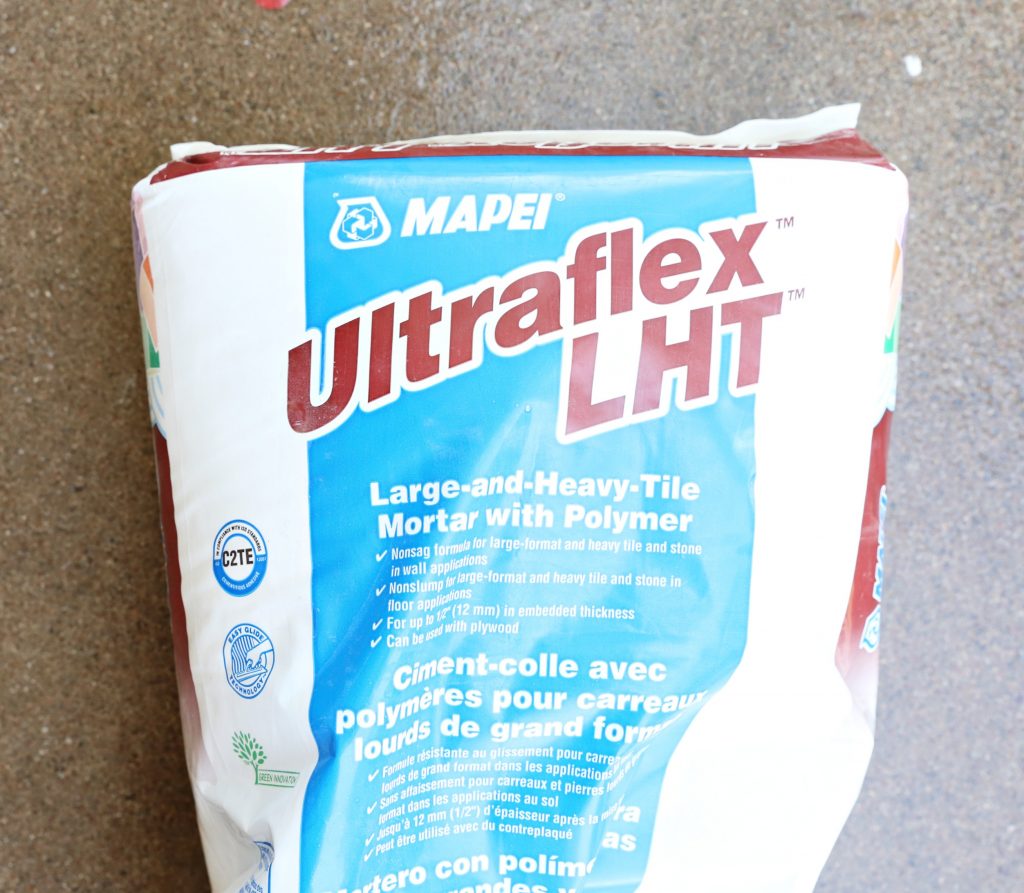
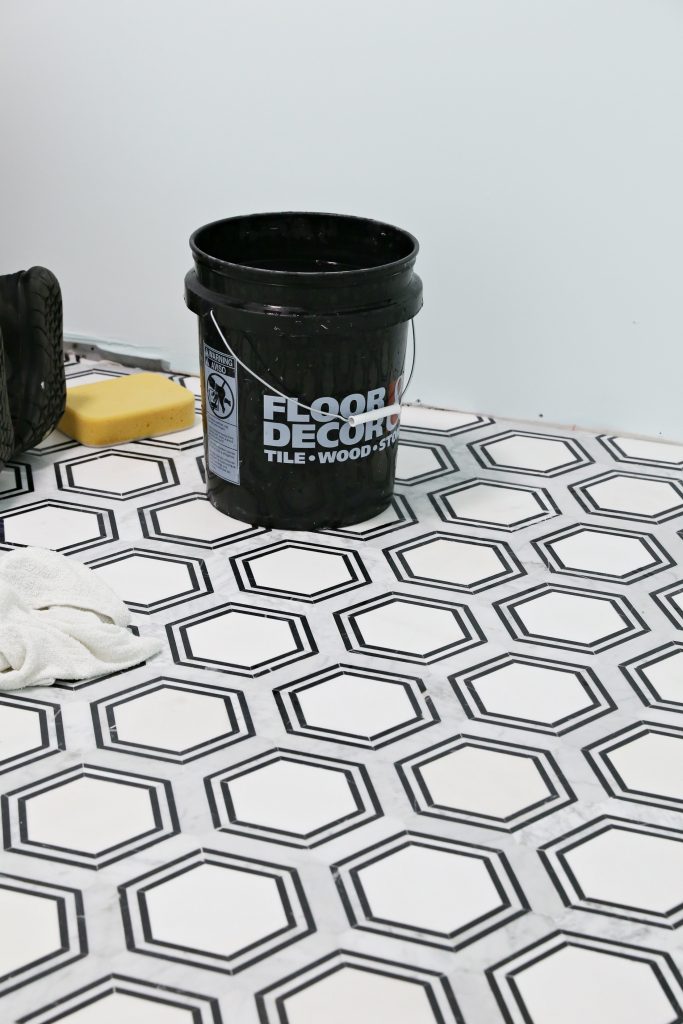
Like I said before the employees at Floor & Decor know what they are talking about!! We told them our game plan and they helped us get everything we needed. We used this Ultraflex LHT Mortar with Polymer.
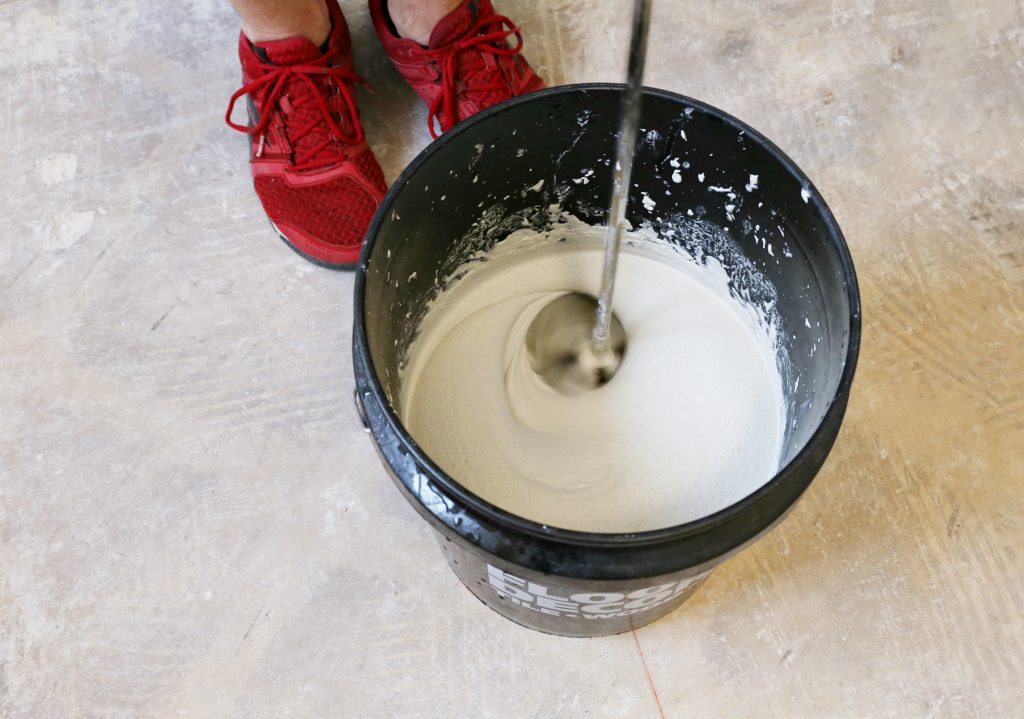
We mixed it up in a bucket using a drill and a mixer. We mixed it so it was about the consistency of a thick milk shake.
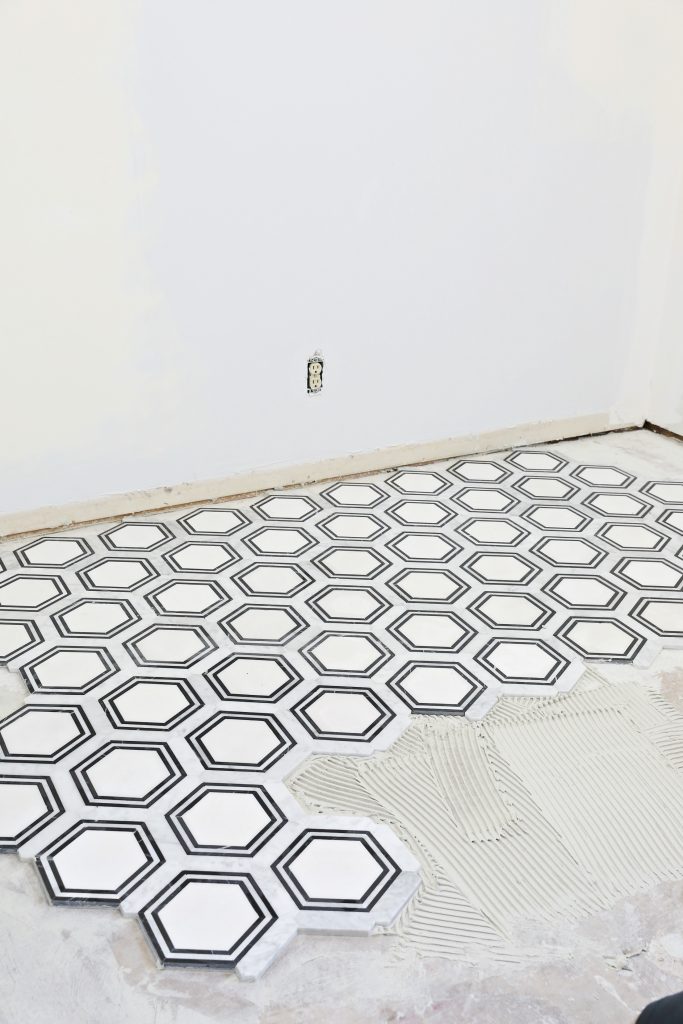
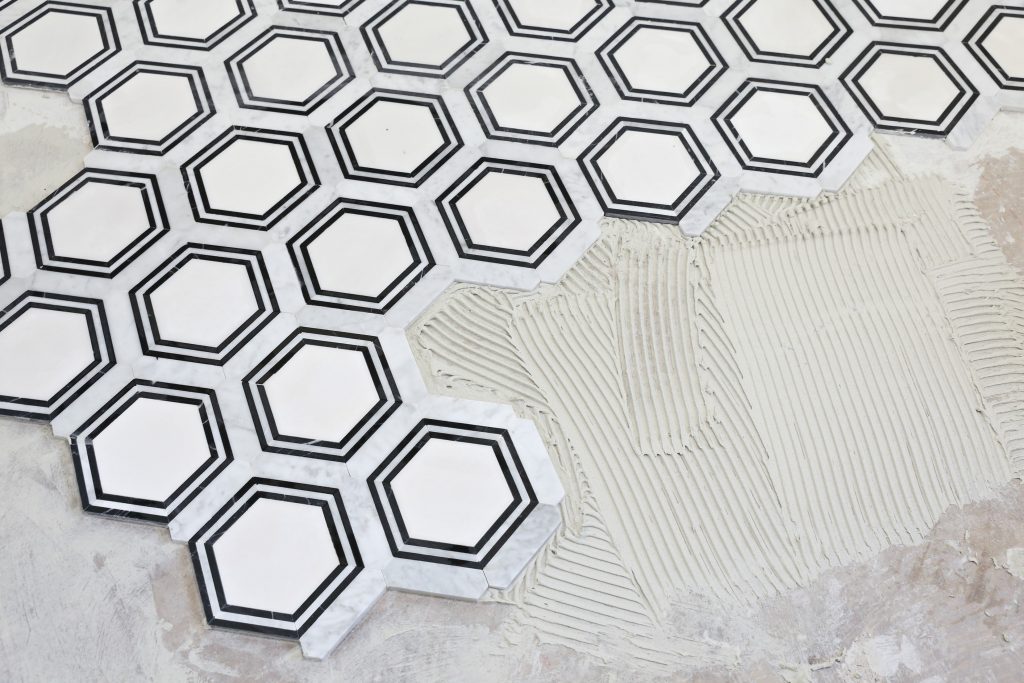
We started off with the full pieces at the top of the room and worked our way down and towards the door. The full pieces went in beautifully. I loved it because it was covering a lot of floor space pretty quickly, and we did not have to think about things so much. We did not use grout spacers because the joints in the mosaic were super tight. We installed the pieces right against one another.
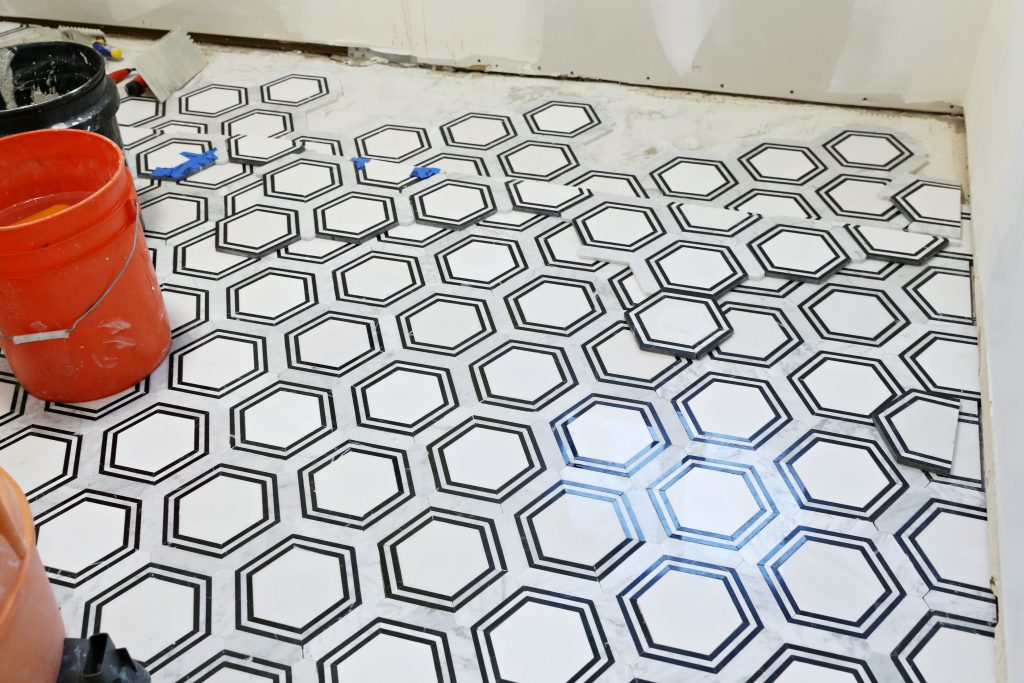
The next day we started on the outside pieces. I love a good puzzle! This part was for sure more difficult than the full pieces, but it was kind of like solving an huge puzzle. Before we placed any tile in thin set, we cut and placed every piece on the outside to ensure proper fit. After we had everything cut and placed we set the pieces in thin set. After giving the thin set a day to cure, we were ready for grout.
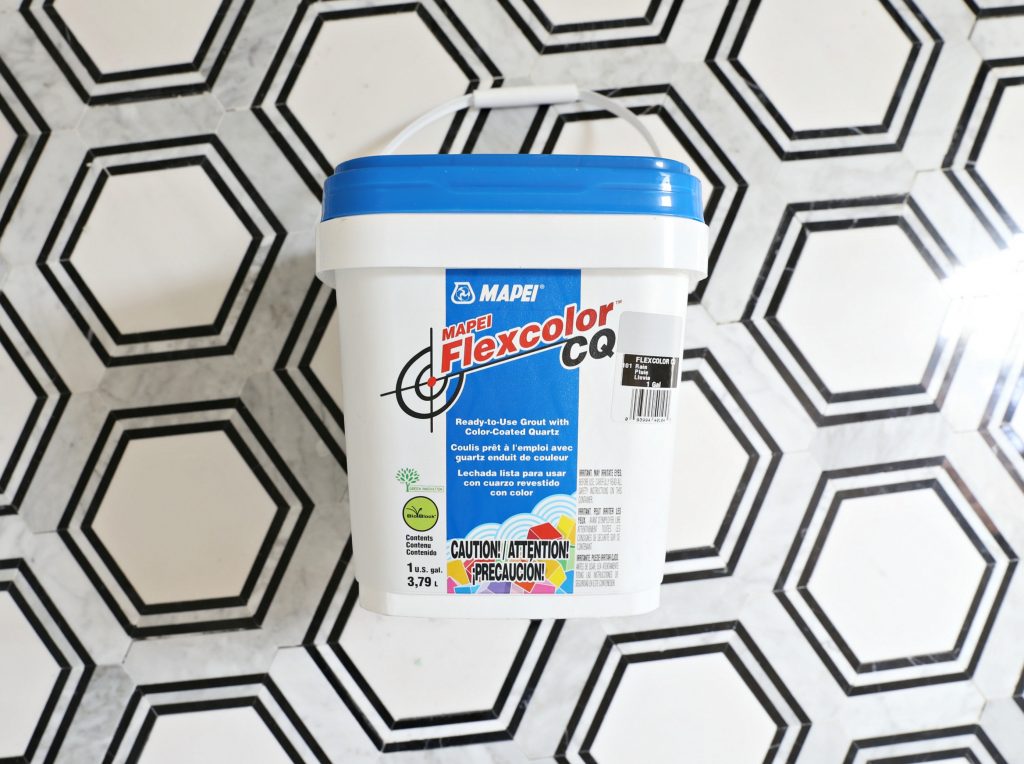
We used this Pre-mixed Flexcolor CQ grout in a different color, for the flooring we installed when we were doing our reno before we moved. in. I love that its premixed so that it I am not having to question myself if I got the texture right, and the color is also totally consistent from bucket to bucket, which I have found is sometimes not the case when you are mixing grout yourself. I especially LOVE the fact that you do not have to seal this grout like you would with traditional grout. We decided on the “Rain” color after discussing our design ideas with the awesome Floor and Decor employees!
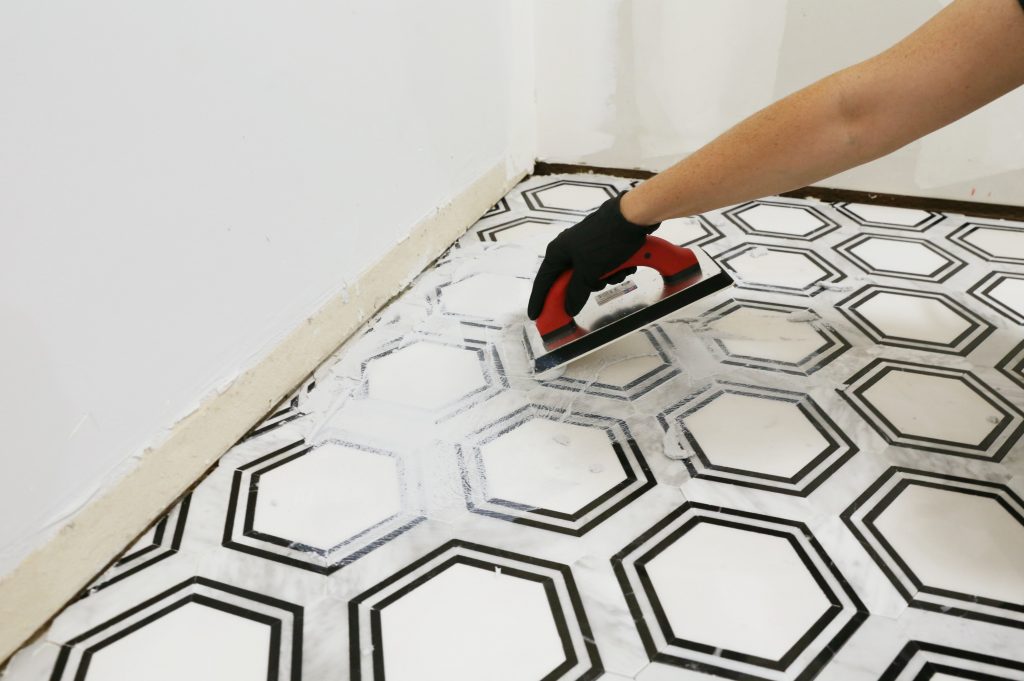
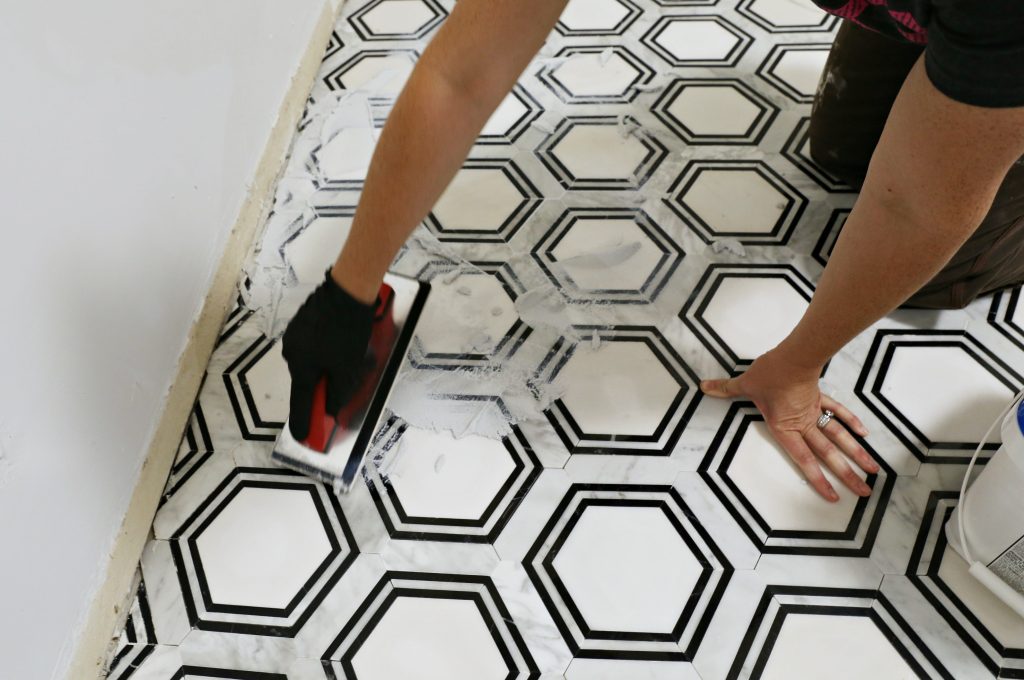
We used a grout float to apply the grout. It is a simple process, but be sure to follow the directions on the bucket. It is best to grout small areas at a time and to clean up the excess as you go. We also used a sponge and a bucket of water to wipe up any excess grout. Be prepared with plenty of buckets and sponges. Also be sure to change your water in the buckets frequently to keep the water you are cleaning up with nice and clean.
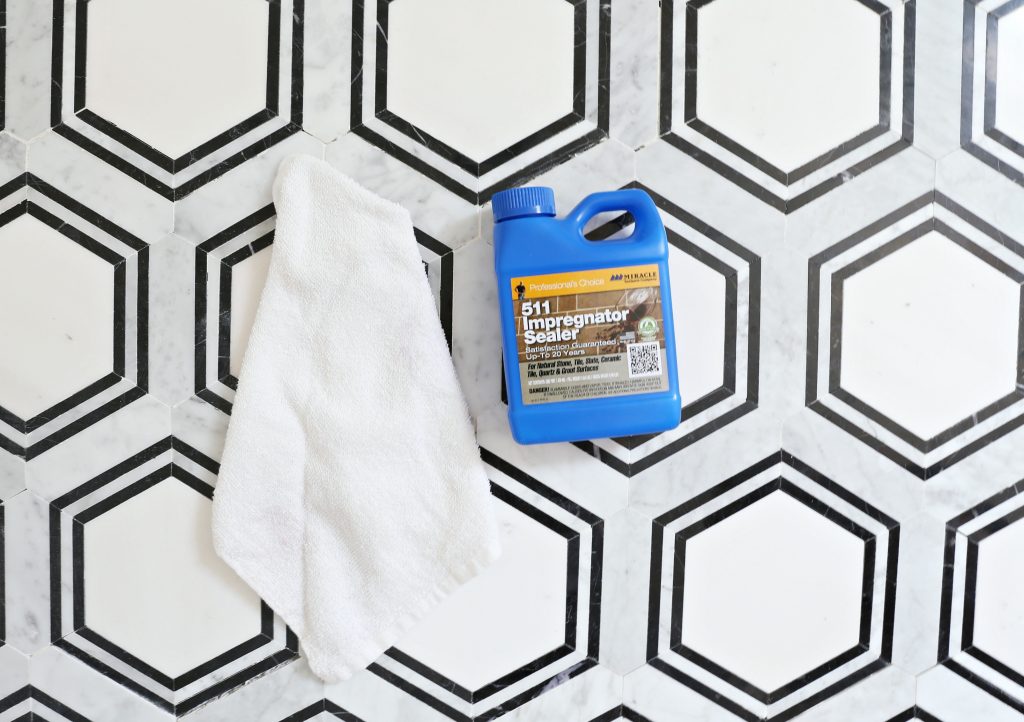
After the floor was completely grouted and cleaned, we let it set up. We were then ready to apply this 511 Impregnator Sealer to seal the flooring. This is highly recommended to avoid anything staining the marble, which is natural stone and therefore has small pores that need to be filled. If not sealed, liquids, chemicals, dirt, etc. may soak into these pores and cause staining.
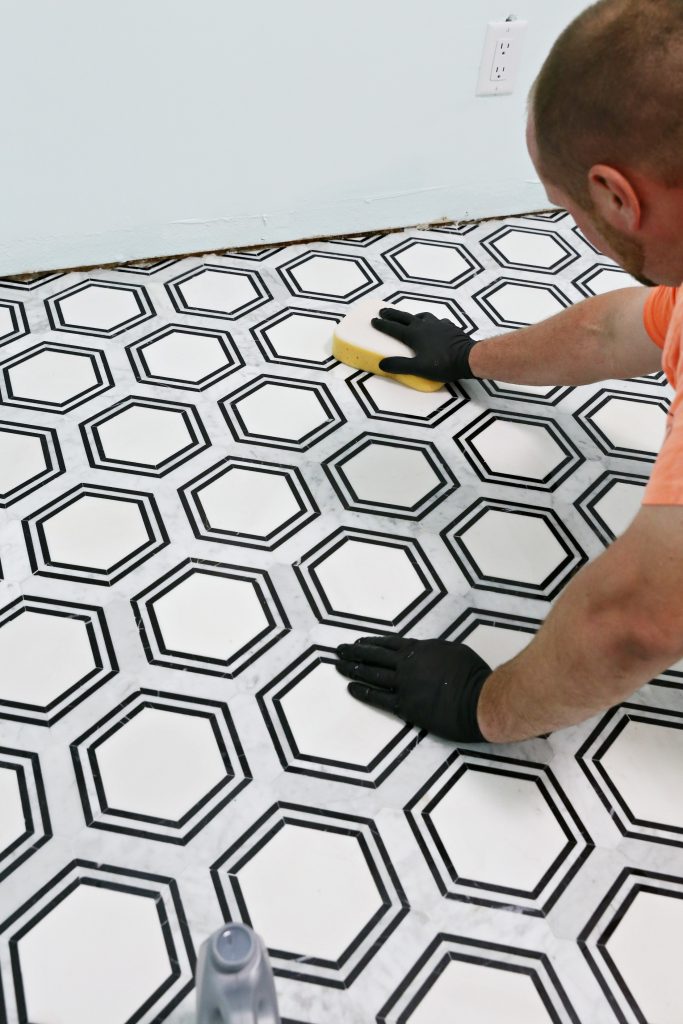
We used gloves and a sponge to apply. Read the back of the bottle for directions on how to apply.
Once the sealer was applied we cleaned up any residue left on the flooring using a sponge and a bucket of water.

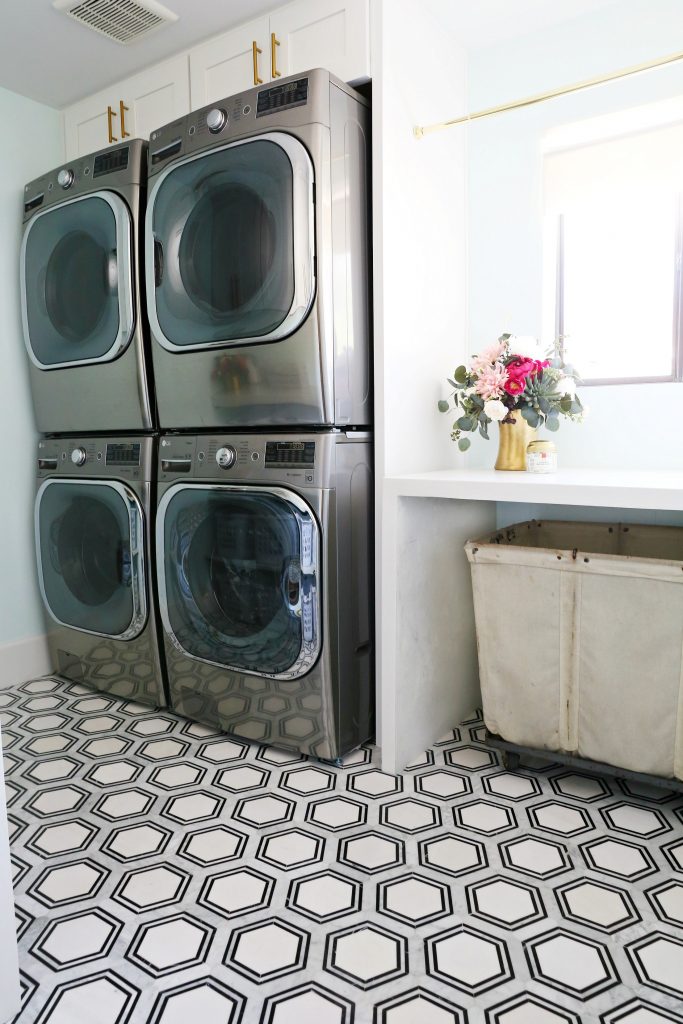
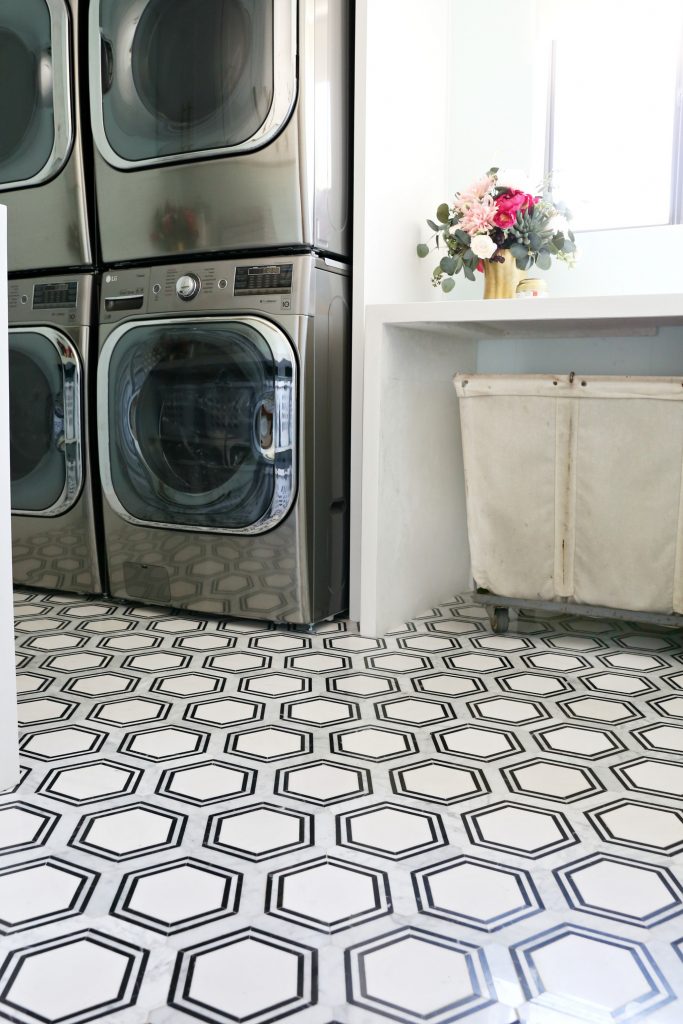
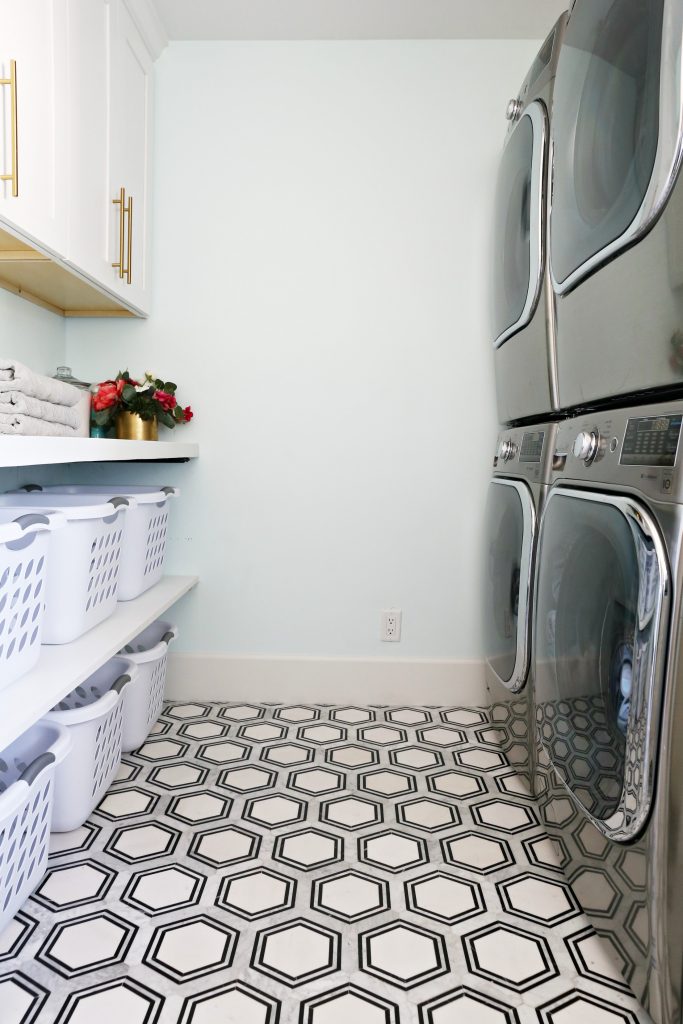
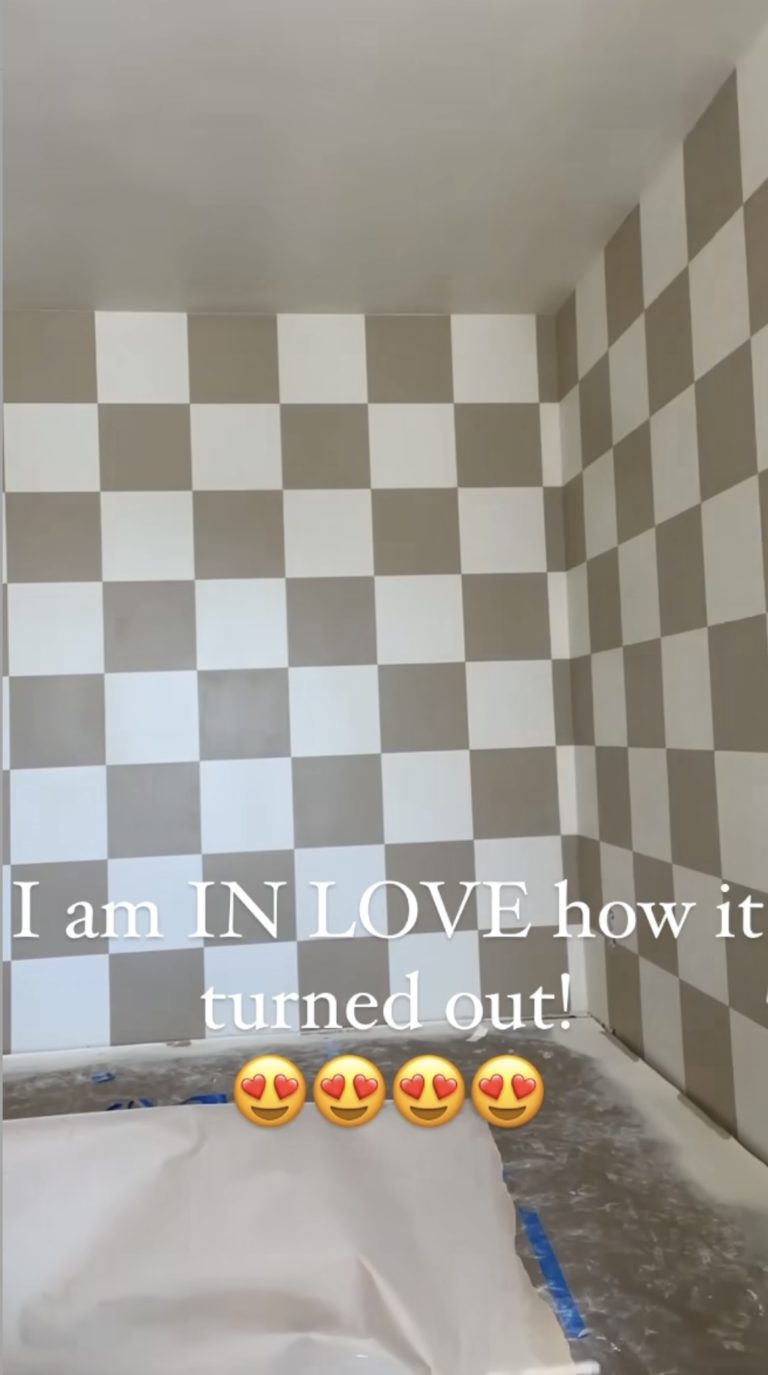
Once the sealer dried, the next morning I took a moment to step back and was beyond happy with how the flooring turned out. After the flooring was complete we installed the washers and dryers and I will be talking more about later on. There are still some things that I want to do to complete this space. I still having plans to add in a decorative backsplash in phase two of tile install which will be Part 4 of this Laundry Room Reno and in part 5 of the Laundry Room Reno I will going into more details on installing the cabinets, countertops, paint and the finishing touches on our Laundry Room Reno. Until then here is a peek of the laundry room so far.
This is my dream laundry room with my dream tile and I did splurge on the tile. But if you are looking for a more budget friendly options here are a few of my favorites.
If you are looking for a marble mosaic product for under $15 per square foot…

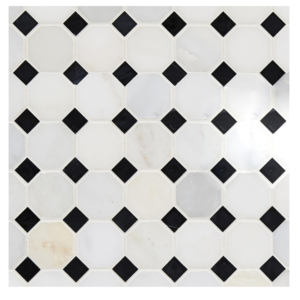
I love this Carrara Thassos Cube Marble Mosaic and the Carrara White Basketweave Marble Mosaic both of these options are $9.99 per piece and if you are wanting a little more black I really love this Carrara White and Black Octagon Marble Mosaic and this options is even lower at $8.99 per piece.
If you are looking for a Glass Mosaic product for under $13 a square foot I really love….

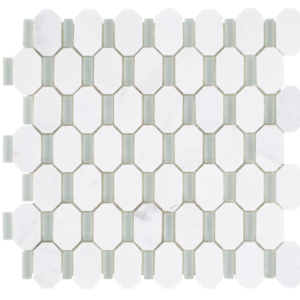
The Axiom Ice Chevron Glass Mosaic is $11.99 a piece and the Glamar Octavia Mint Glass Mosaic is $12.99 a piece.
If you are looking for a porcelain mosaic product for under $3 a square foot I really love…
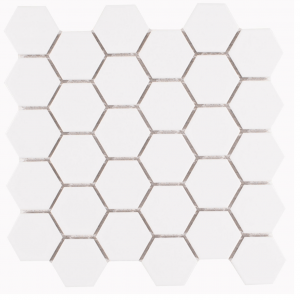
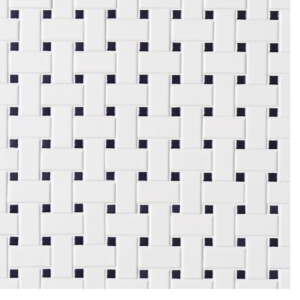
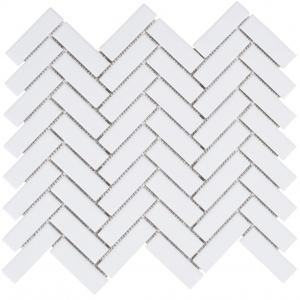
If you noticed the White Matte Hexagon Porcelain Mosaic was the mosaic tile that I originally planned to use the black and white hextile in a stripe pattern. I also love the White and Black Basket Weave II Porcelain Mosaic and the White Herringbone Porcelain Mosaic and all of these options are $2.99 per piece.
I love all of these different options and I really think that you could get the same look and vibe as my laundry with these different tiles.
If you are not wanting to use tile, Floor & Decor also offers water-resistant flooring options that are affordable, and durable laundry room options that are only available at Floor & Decor. AquaGuard – is a water-resistant laminate, NuCore is 100% waterproof flooring with cork backing, DuraLux is a waterproof luxury vinyl and EcoForest is a water resistant bamboo. All of the above products are only available at Floor & Decor.
One of the best things about Floor & Decor is that they has so many different options and can meet the needs of any budget.
You can find you nearest Floor & Decor store HERE and be sure to check them out for your flooring and tiling needs.


We bought a house! 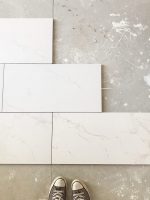
Picking out Flooring 
The Wall that Changed our House 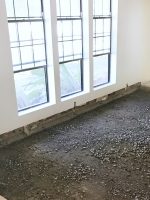
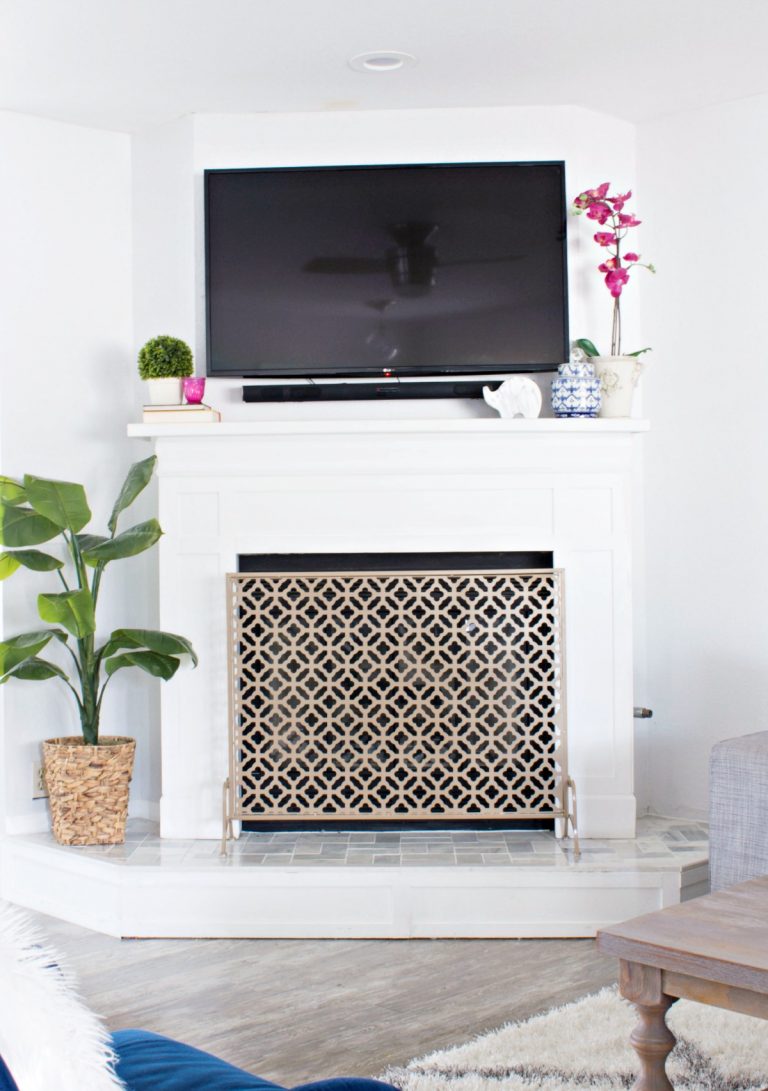
Filling in the Living Room 
Paint Colors 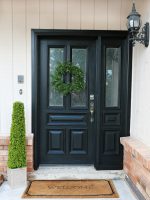
Front Door Makeover 
Black and White Exterior 
Wooden Accent Wall 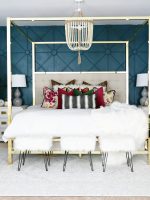
How to Paint a Wooden Accent Wall 
Master Closet Makeover 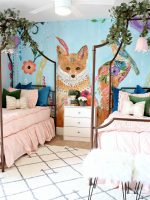
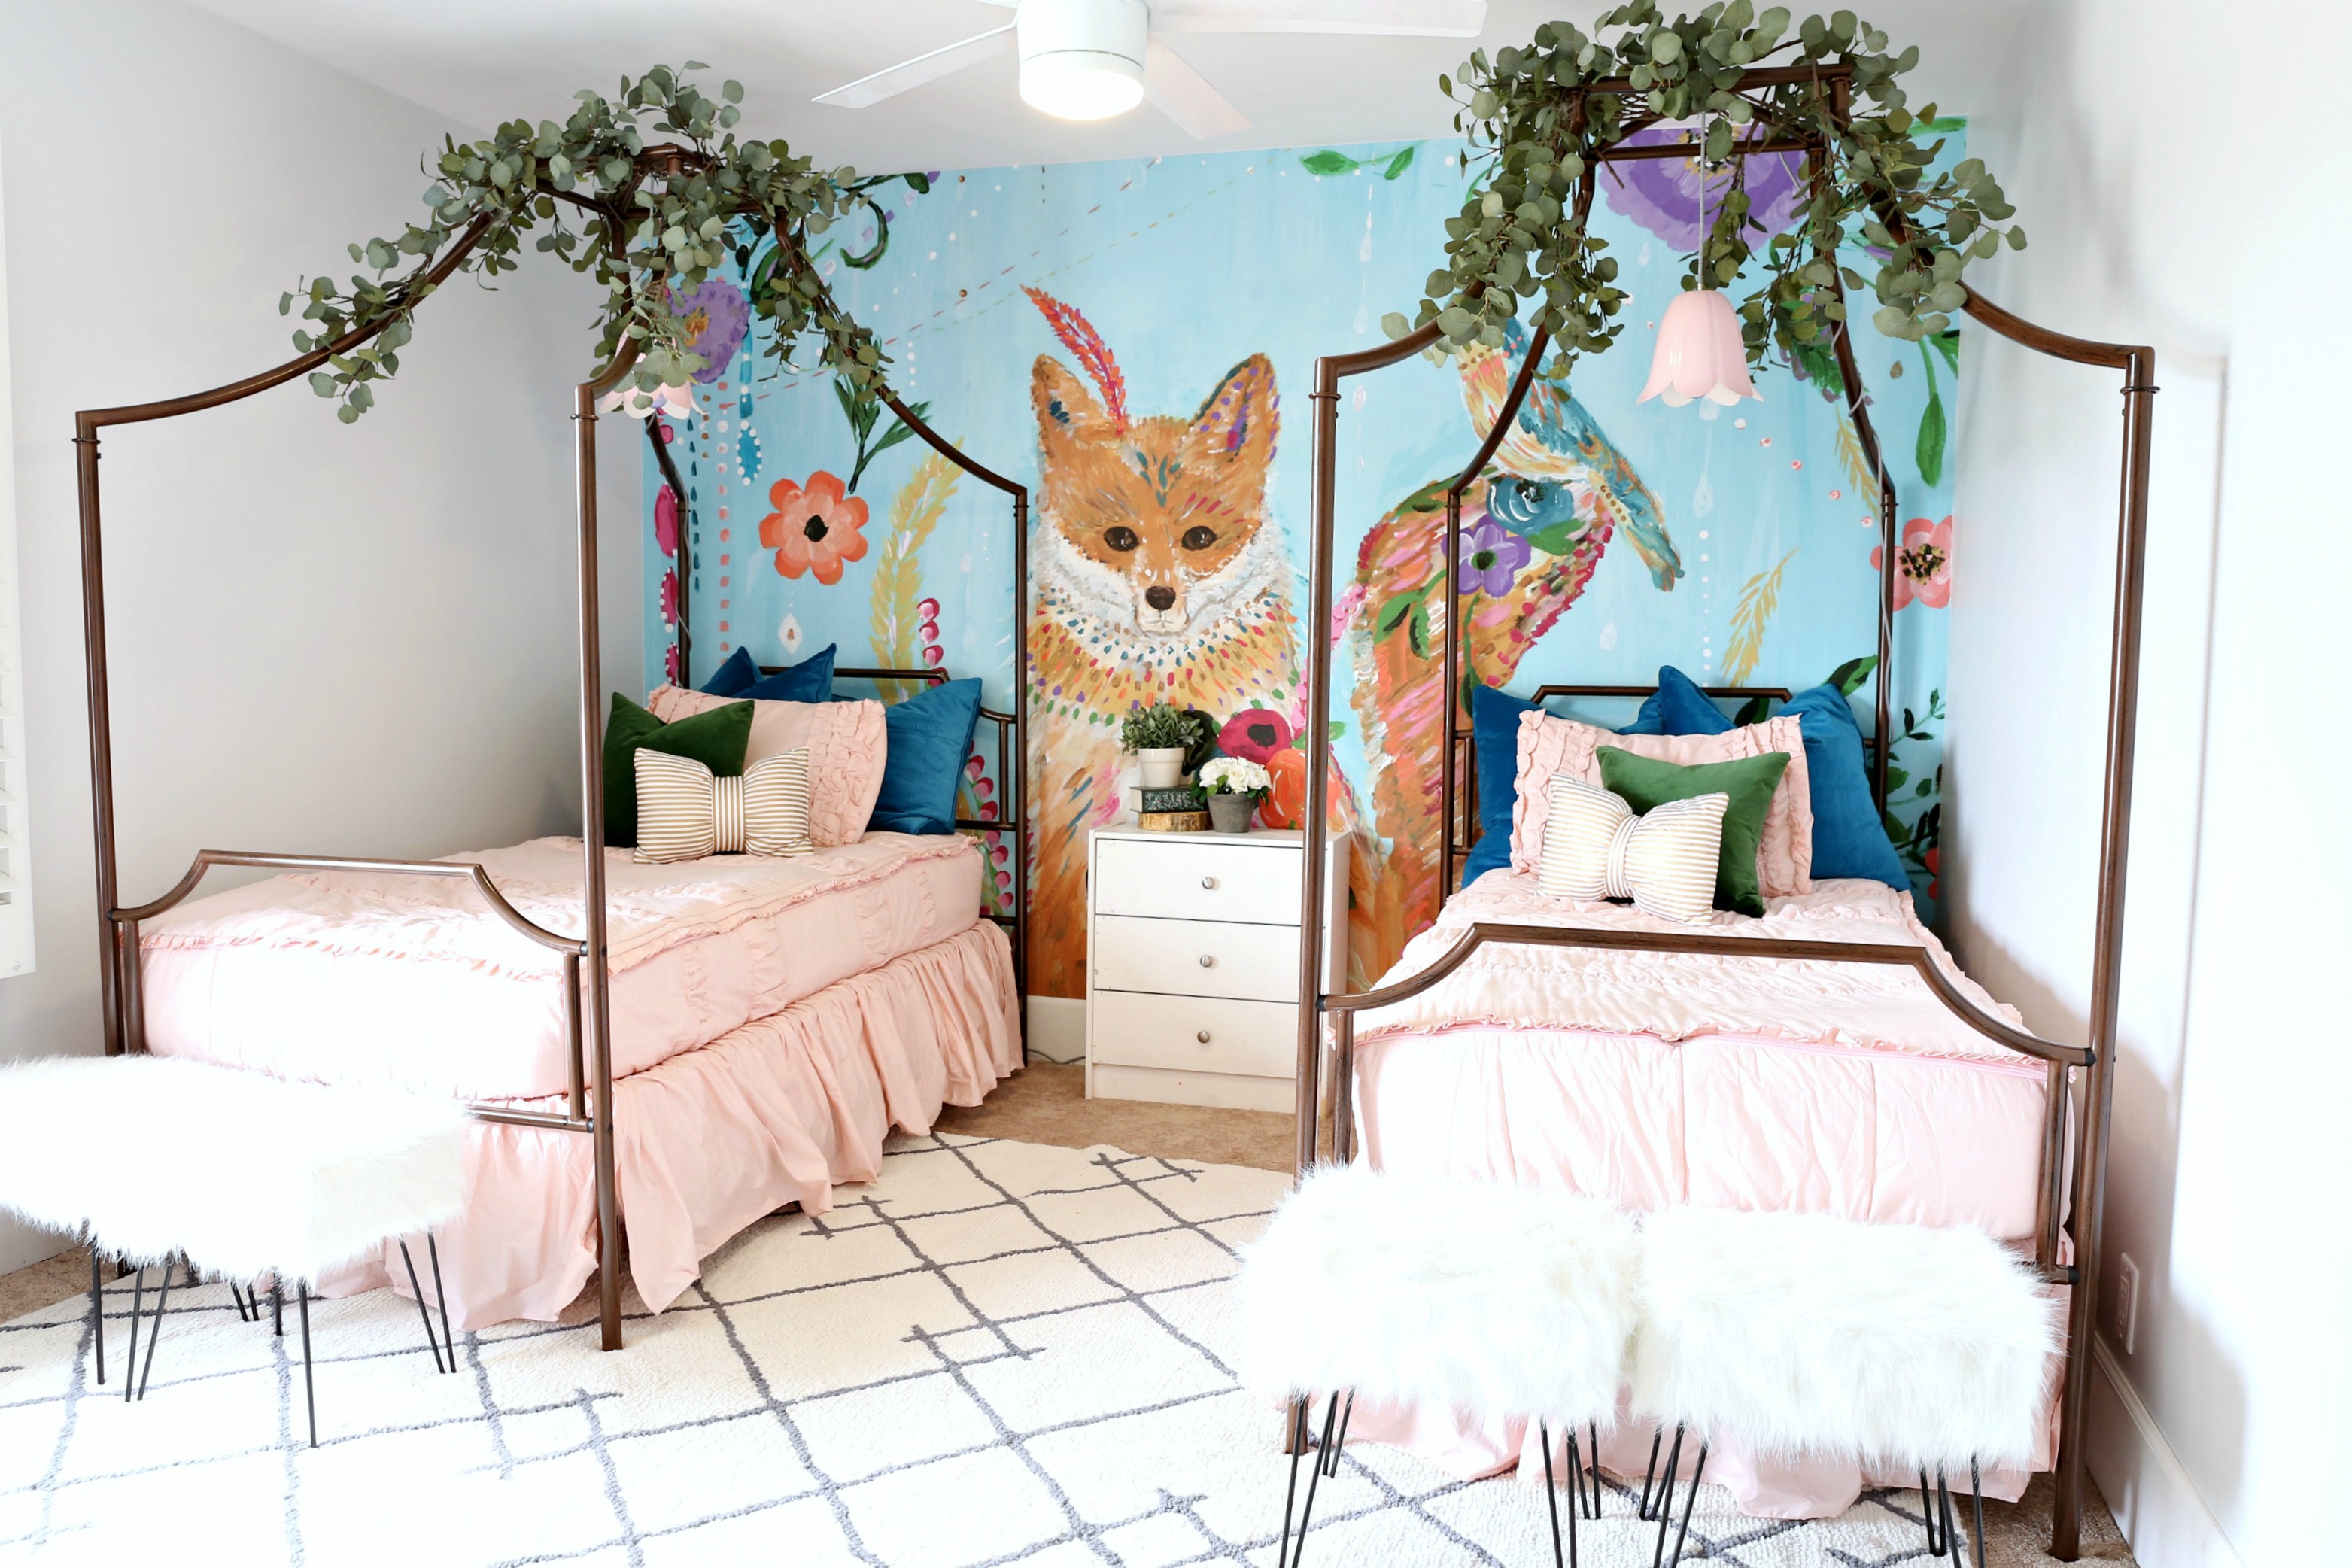
Whimsical Girls Bedroom 
Colorful and Bright Barstools 
Master Bedroom Sitting Area 

DIY Porch Swings 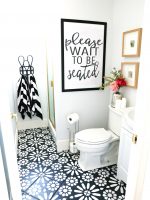
DIY Stenciled Tile 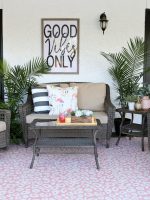
Palm Springs Patio Decor 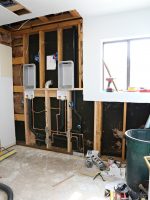
Laundry Room Reno Part 1: Demo
It was beautiful. And you were the ones who did the job? Excellent. Will be checking your blogs for ideas and inspiration. Thank you for sharing.