
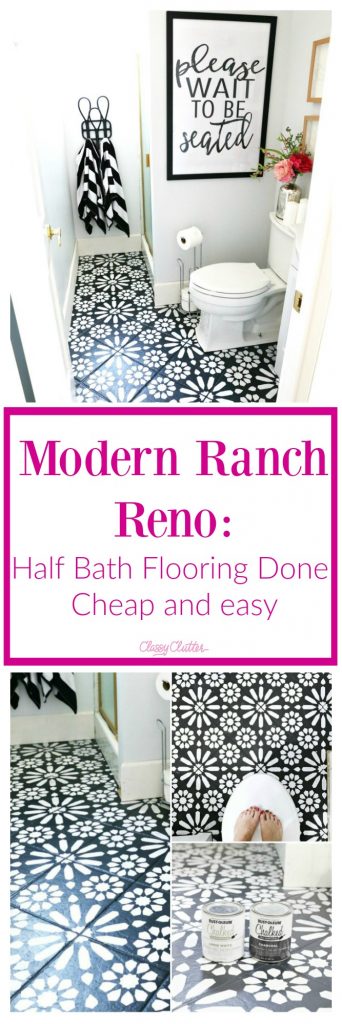
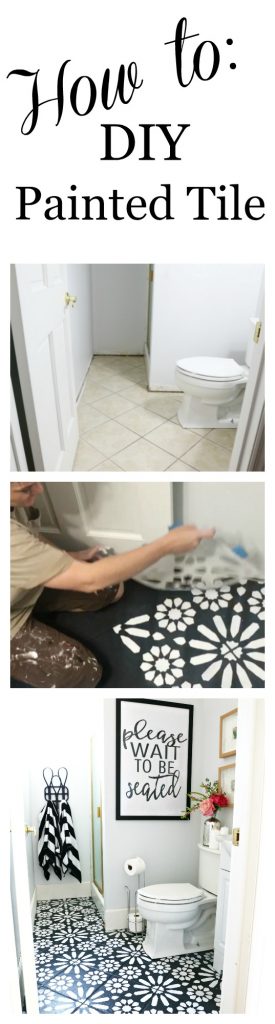
Modern Ranch Reno: Half Bathroom Flooring Done Cheap and Easy- Our $50 Makeover
Stencils (from Amazon!):
In our Modern Ranch Reno we have three different bathrooms. We have the kids bathroom, we have this half bathroom by the office, and we have the master bathroom. We have spent a good amount of our budget throughout the house and on other projects that have had more priority at this time. But I was tired of looking at my plain bathroom and wanting to change up a few things to make it a little bit more fun and a little bit more my style. For under $50 I was able to make over our half bathroom flooring and it changed everything!! I’m really excited to share all the details with you.
Here is a little sneak peek.
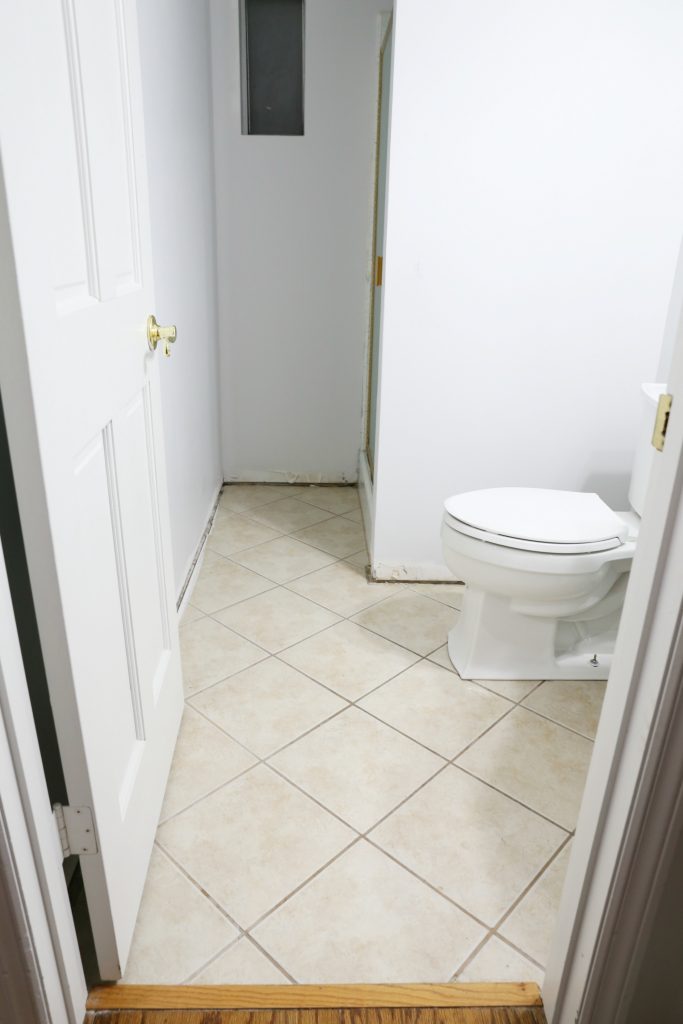
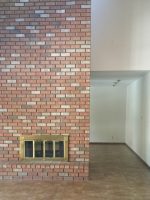
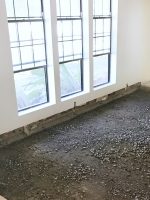
Before I share more details I wanted to show you what the bathroom looked like when we moved in. This bathroom had a nasty pull chain toilet and green wood paneling. The bathroom vanity was in decent shape but it was an orangey wood color and I didn’t love the fact that you really noticed the white bowl.
BEFORE:
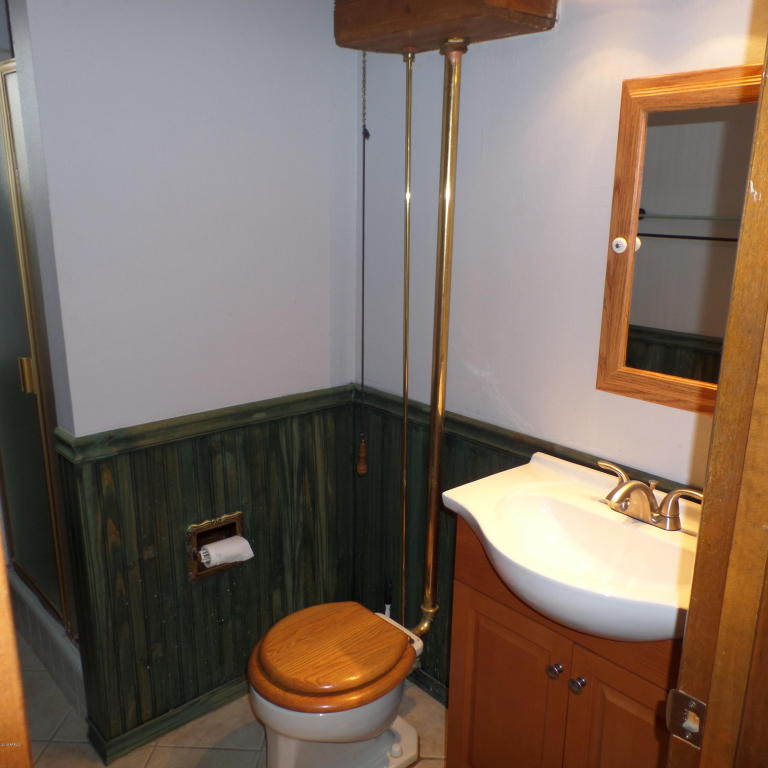
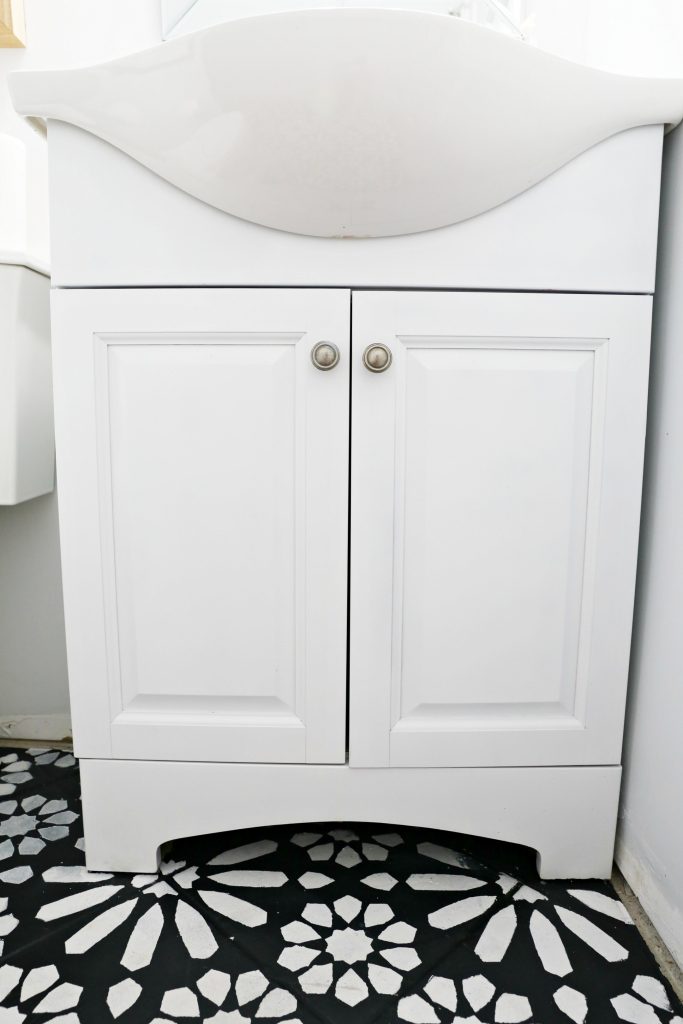
We removed the wood paneling and also changed out the toilet for something a little more current and a little bit newer. I spray-painted the bathroom vanity white and now it looks good as new.
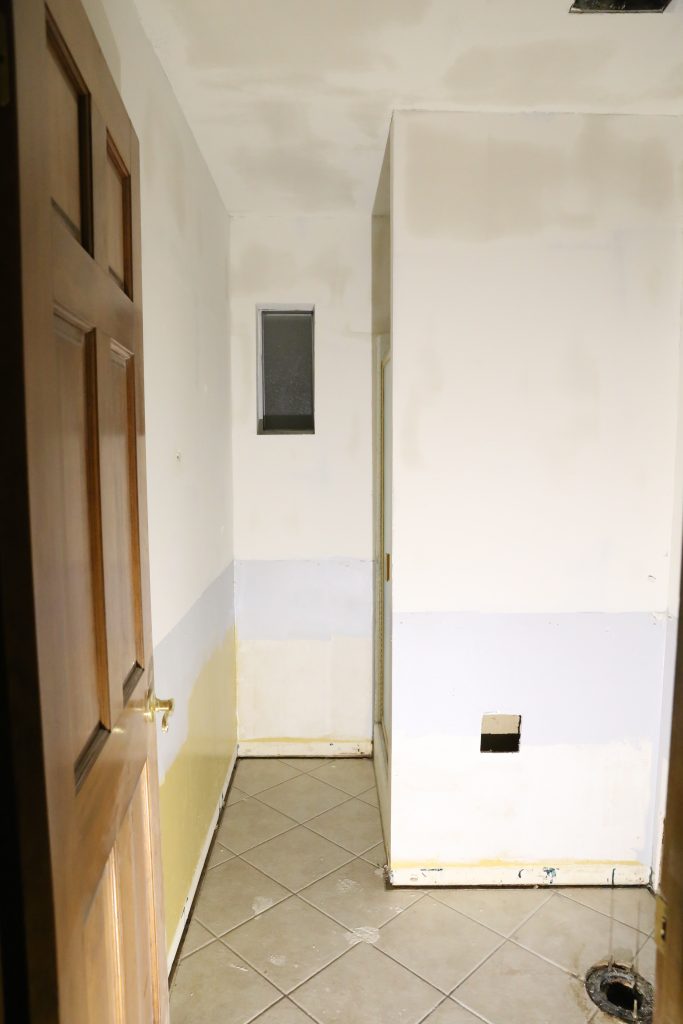
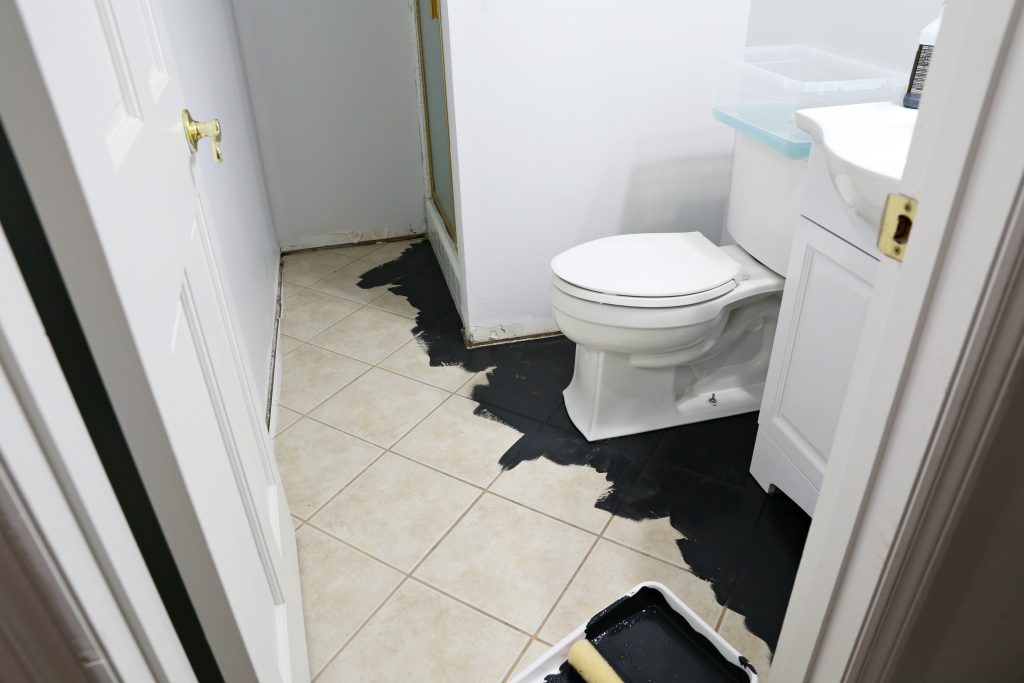
DURING:
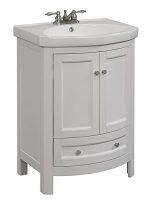
Vanity
The vanity painted white.
The bathroom looked way better but I still wanted the bathroom to look a bit more my style. Painting the floor changed everything about this bathroom.
This is what the floor looked like before.
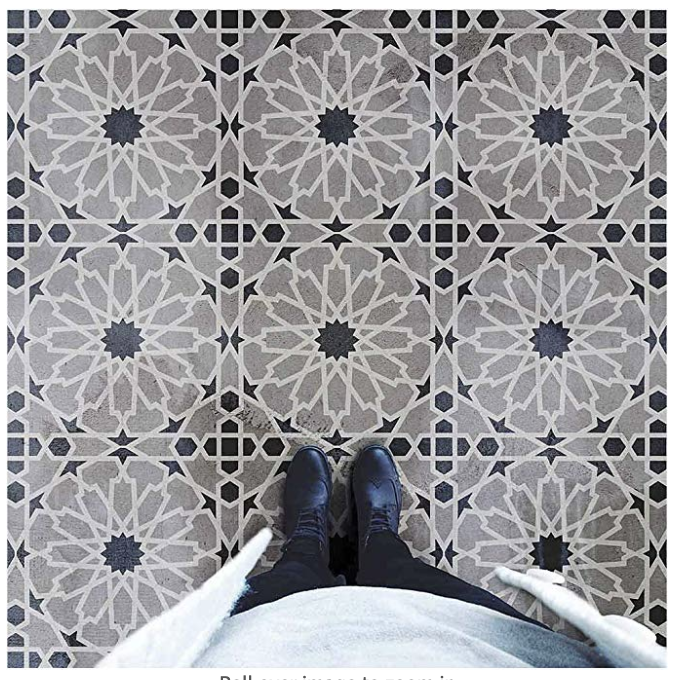
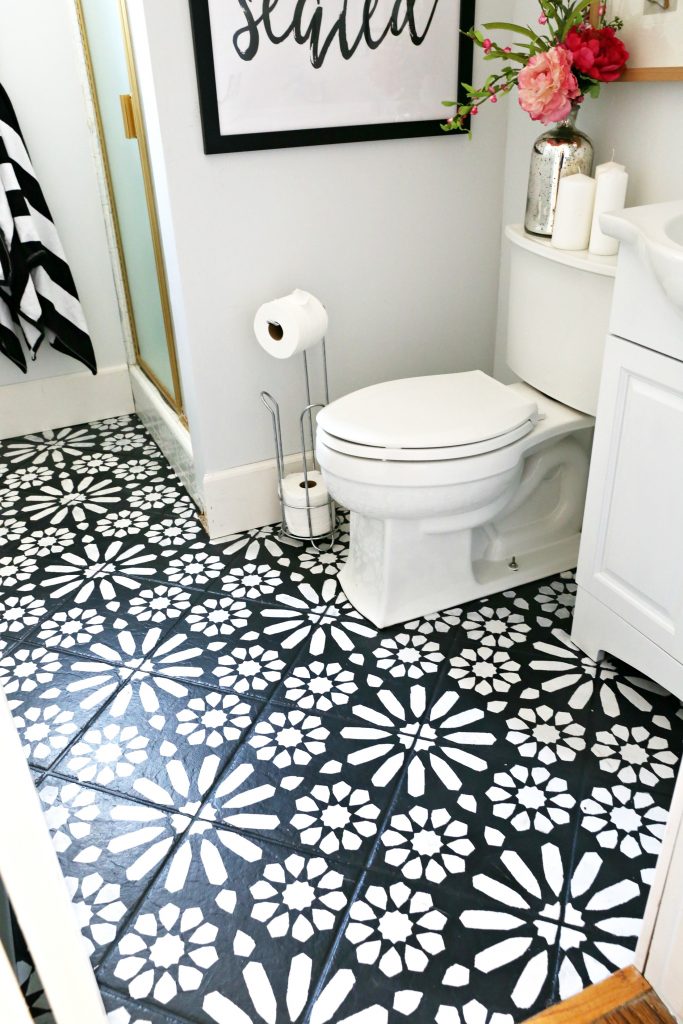
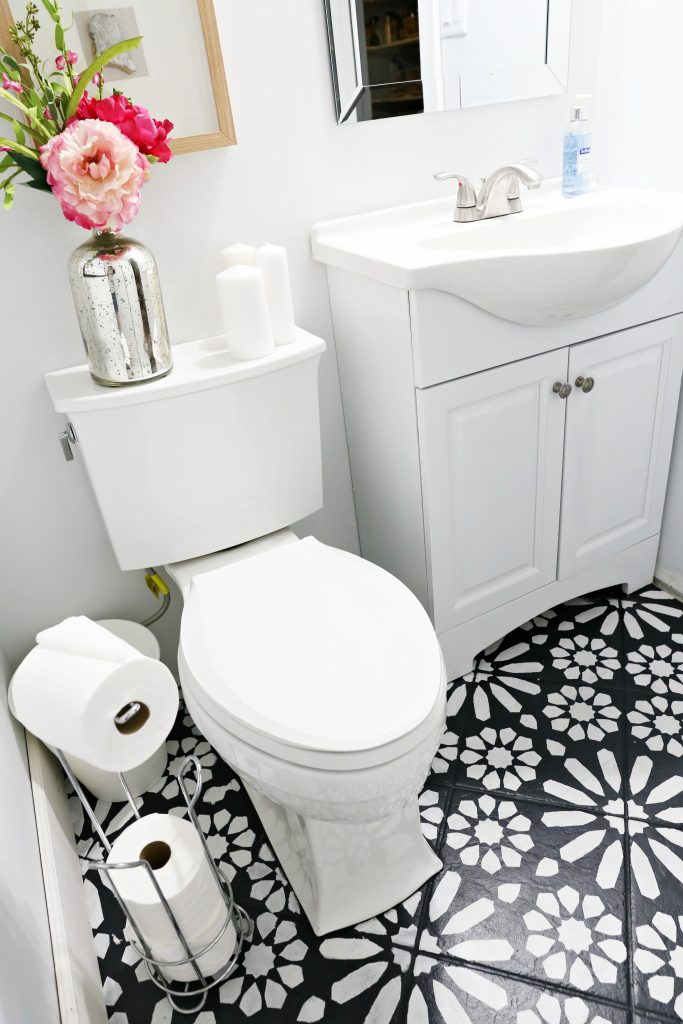
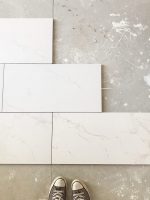
After I painted and stenciled the floor tiles:

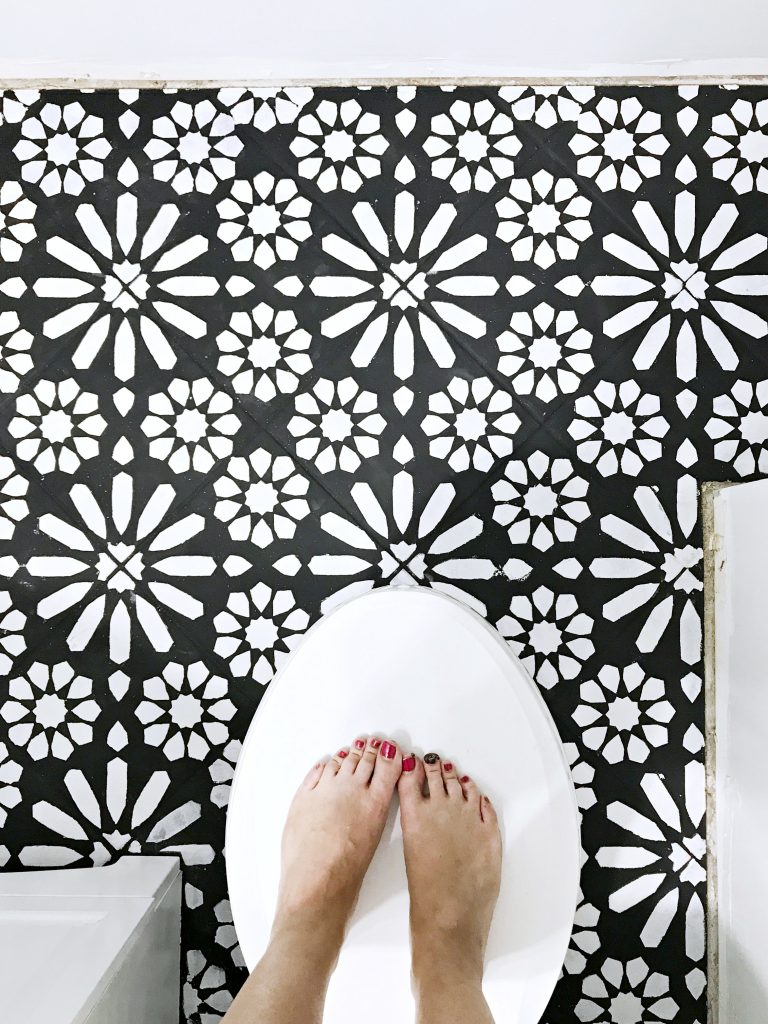
And yes my toe is painted black.
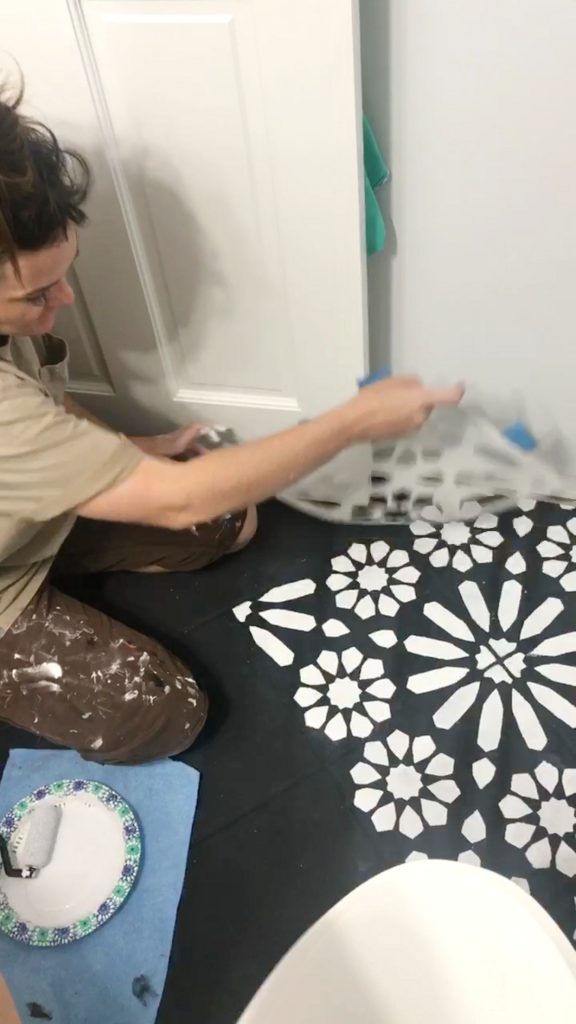
Floor Tutorial
I shared the full tutorial over on the Home Depot Blog and you can find the full tutorial HERE but here are a few things that I used for this project.
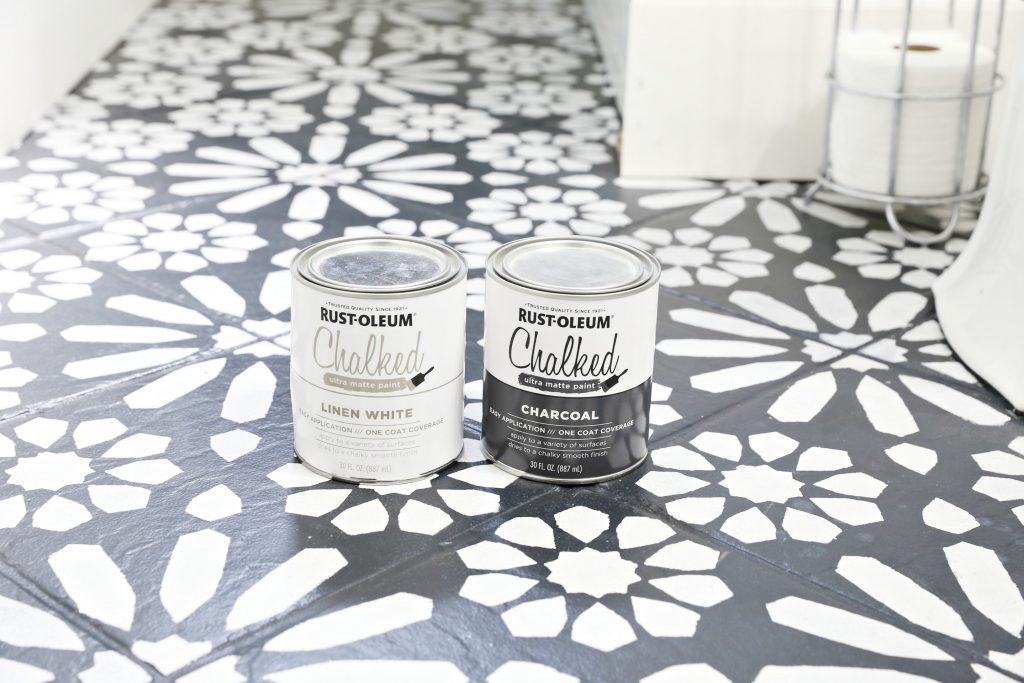
The Paint
The paint I used was the Rust-oleum chalk paint.
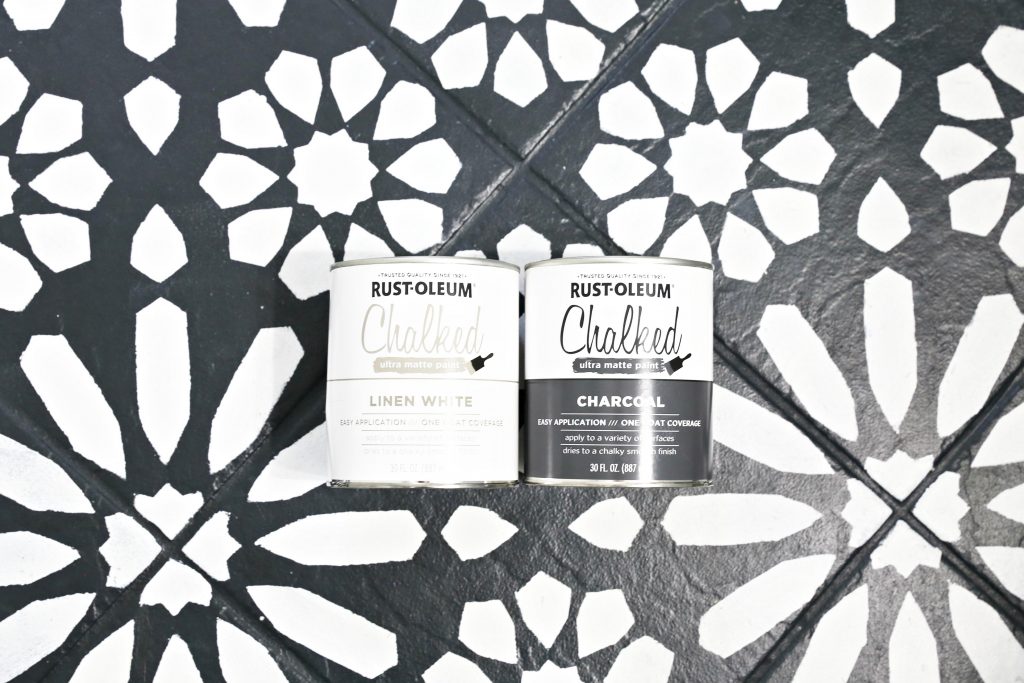
The paint I used was the Rust-Oleum Charcoal color for the base color.
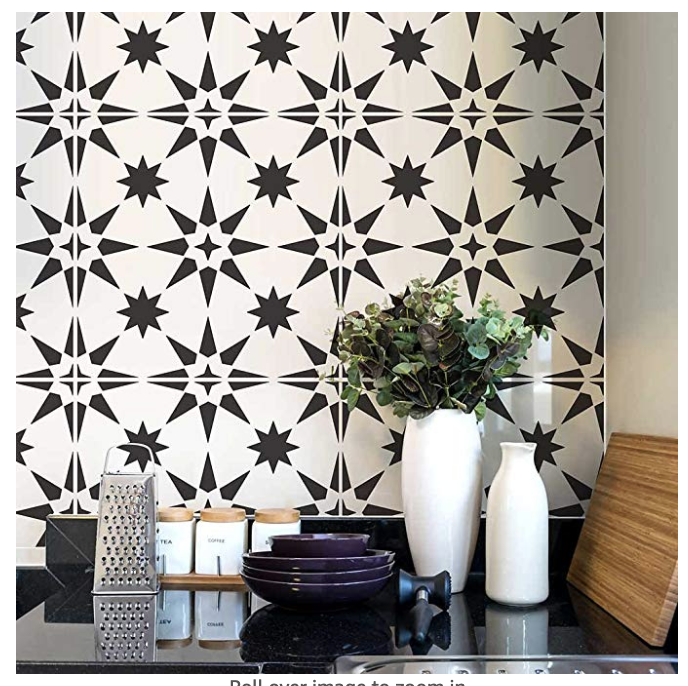
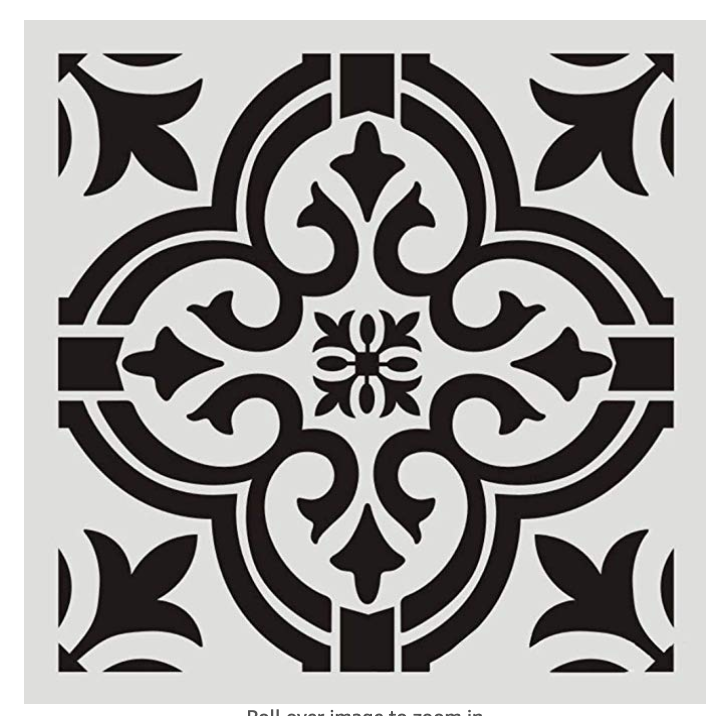
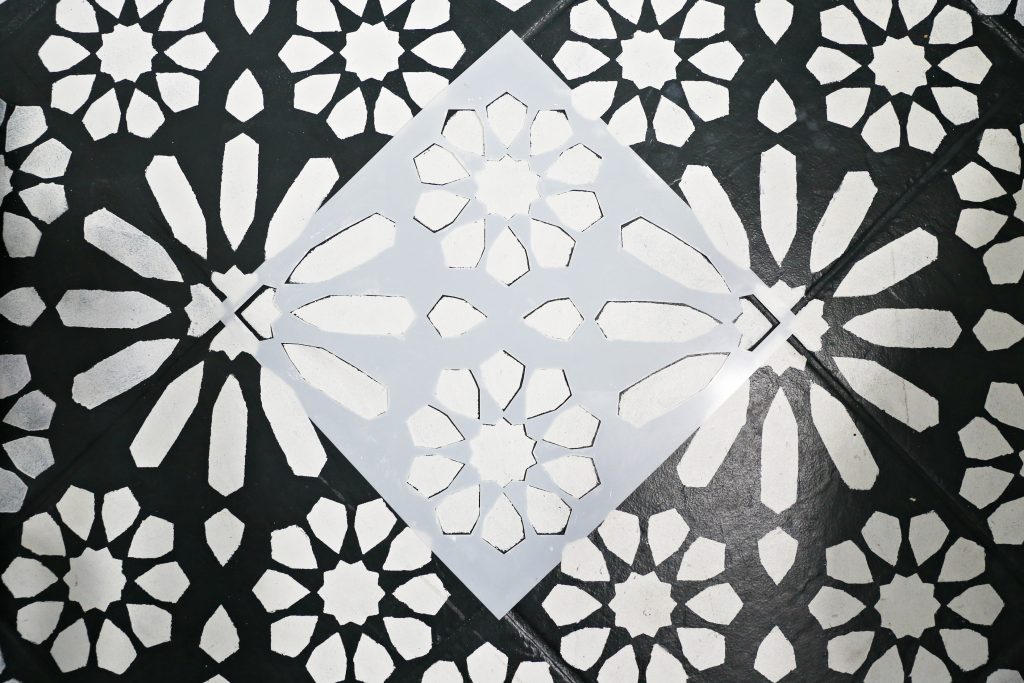
The Stencil
For the stencil I found it online. First, I measured my tile then searched for that certain size of tile stencil. This stencil I found for this flooring is from Etsy and you can find it HERE. You can find similar ones here, here and here.
Stencil Brushes you can find HERE.
For the white chalk paint I used Rust-Oleum White Linen to stencil on top of the Charcoal chalk paint.

More Details
For the rest of the tutorial and also the list of the rest of the products I used for my DIY painted and stenciled my bathroom flooring, visit the Home Depot Blog HERE.
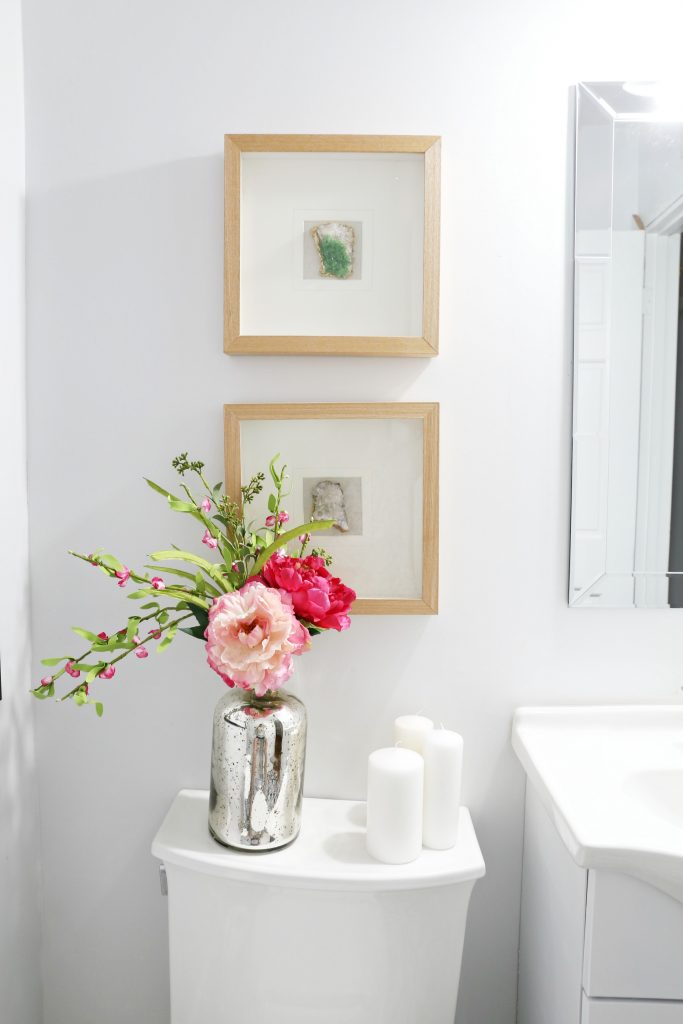
A few more after pictures of how the bathroom turned out.
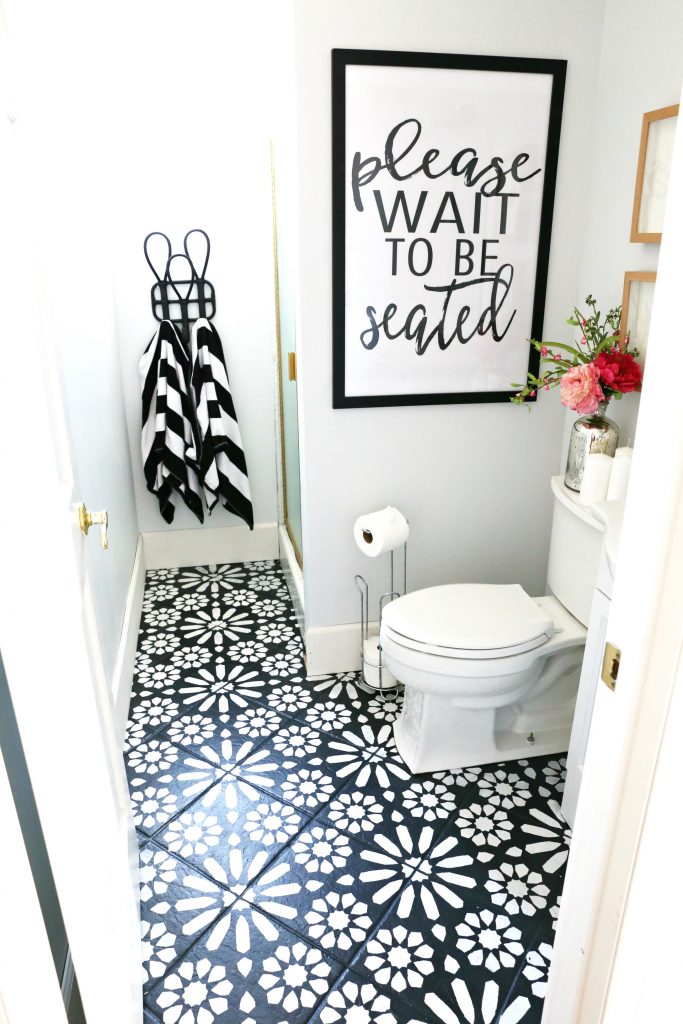
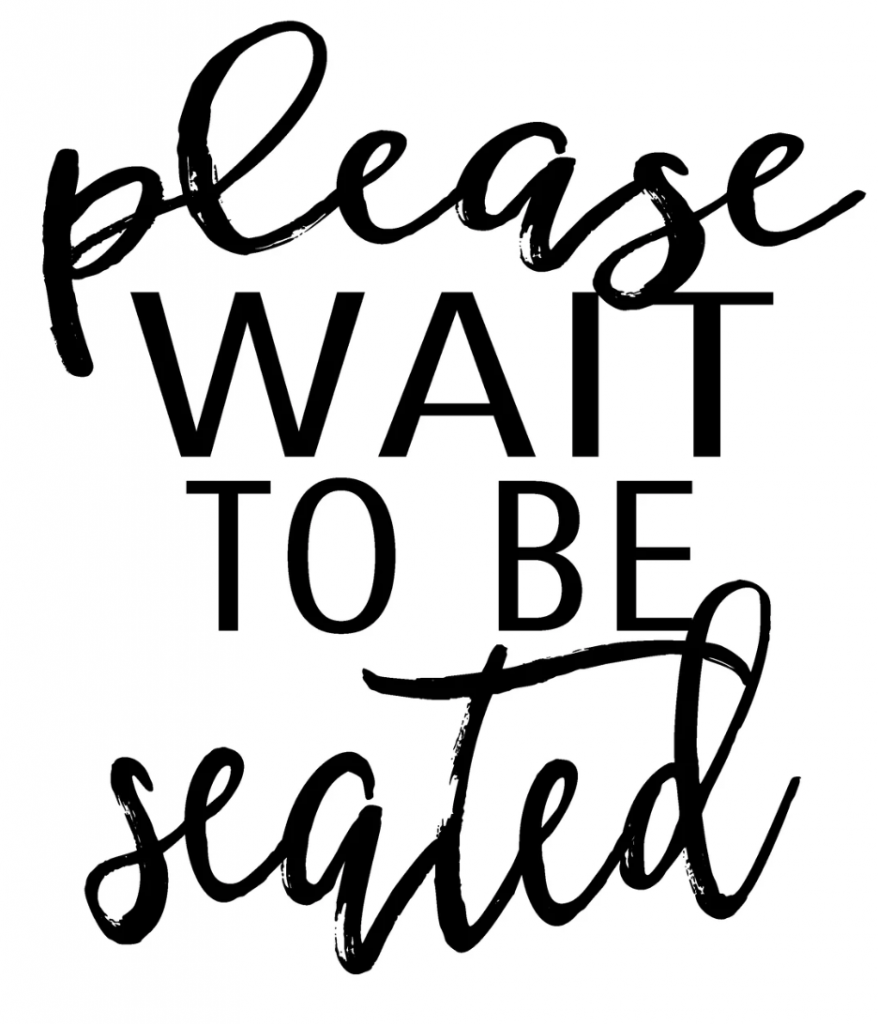
Wall Decor
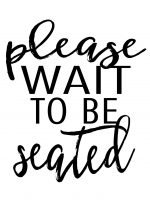
Please wait to be seated print HERE
I found these framed artwork I found at Home Goods. But you can find similar HERE.
I am very excited on how my $50 flooring makeover turned out. My bathroom now is more my style and has way more character.


Love the floor. Where did you get that please wait to be seated print?
Hi! I was hoping you could share the source for the stencil? 🙂
I m fall in love with your floor. I d like to do something like that in my bathroom. Maybe, someday, I will. Congratulations
How did you not have a problem sealing with that polyacrylic? The first tile i used it on bled the black into the white causing a huge mess. Currently waiting on a couple coats of spray rustoleum matte clear finish to hopefully add enough of a barrier to try again.
The paint must be FULLY cured before sealing. Some paints can take up to 2 weeks! Read your can of paint to be sure. 🙂
Your floor is fantastic! How is it holding up?
Where can I find this stencil? I’ve spent 3 night wandering the depths of the internet ??
I found it on Etsy!
Looks great! Does the paint hold up after people walk on it a lot?
So far we have no major scratches or chips! 🙂
Well, that’s a fantastic idea! That looks amazing. Mind if I ask how it’s holding up? I have an ugly bathroom too….
So far it’s held up wonderfully! NO major scratches or chips or anything!
Where did the large please wait to be seated come from?
Can you post the DIY for the painted floor?
Did you have to use any kind of a sealer over the paint?
Yes! All products used are in the tutorial I shared on Home Depot’s blog! Thanks!
Hi. Where did you get the stencil from or did you make it up? It looks incredible.
I read where you say no major … does that mean there are minor scratches and chips? We’re going to do this in our laundry room. We’re excited!
Nothing noticable! Like teeny tiny spots. 🙂
I adore you girls and love all your designs. I’m painting my tile right now and I’ve finished painting but I just don’t think it’s sticking. I’ve put a couple top coats on and each time I’ve had to touch up because the paint has scrapped off. Any suggestions of a stronger finish I can put on it? I’m afraid the first time someone wears shoes and walks on it all the paint is going to chip off. Thank you!
How do I purchase the download to Please wait to be seated? I saw a link a while ago but don’t see it now?? I love it!!
Here you go! https://www.etsy.com/listing/546261633/downloadable-and-printable-artwork?ref=shop_home_active_2&crt=1
Oh no! Why isn’t that link working??? I checked it just a couple months ago (it was there) and now my room is ready to print one and it’s not available?
This is amazing! I want to re-do my girls bathroom to look like this!!!! Thank you for sharing all the deets. I didn’t see where you got the black towel rack, and I’m obsessed. Please divulge that information:)