
Modern Ranch Reno: DIY Wall Decor
Wall decor can be a bit tricky and can also be expensive. I wanted a large scale wall art in my backyard and I also did not want to spend a ton of money. So I did this awesome DIY Wall Art. The best thing about this DIY Wall Decor is that it can be as big as you want it to be. You can also put this DIY Wall Art anywhere. It can be amazing for a DIY baby shower decor, DIY wedding decor, DIY bedroom decor or any DIY Home Decor.
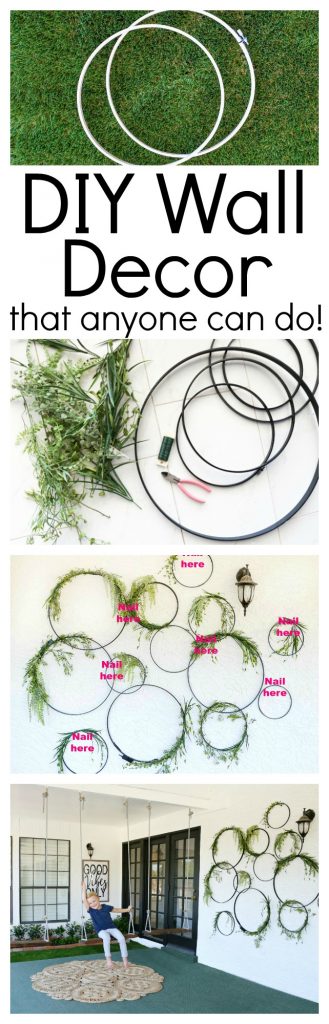
This is a very quick and easy DIY Wall Decor that anyone can do.
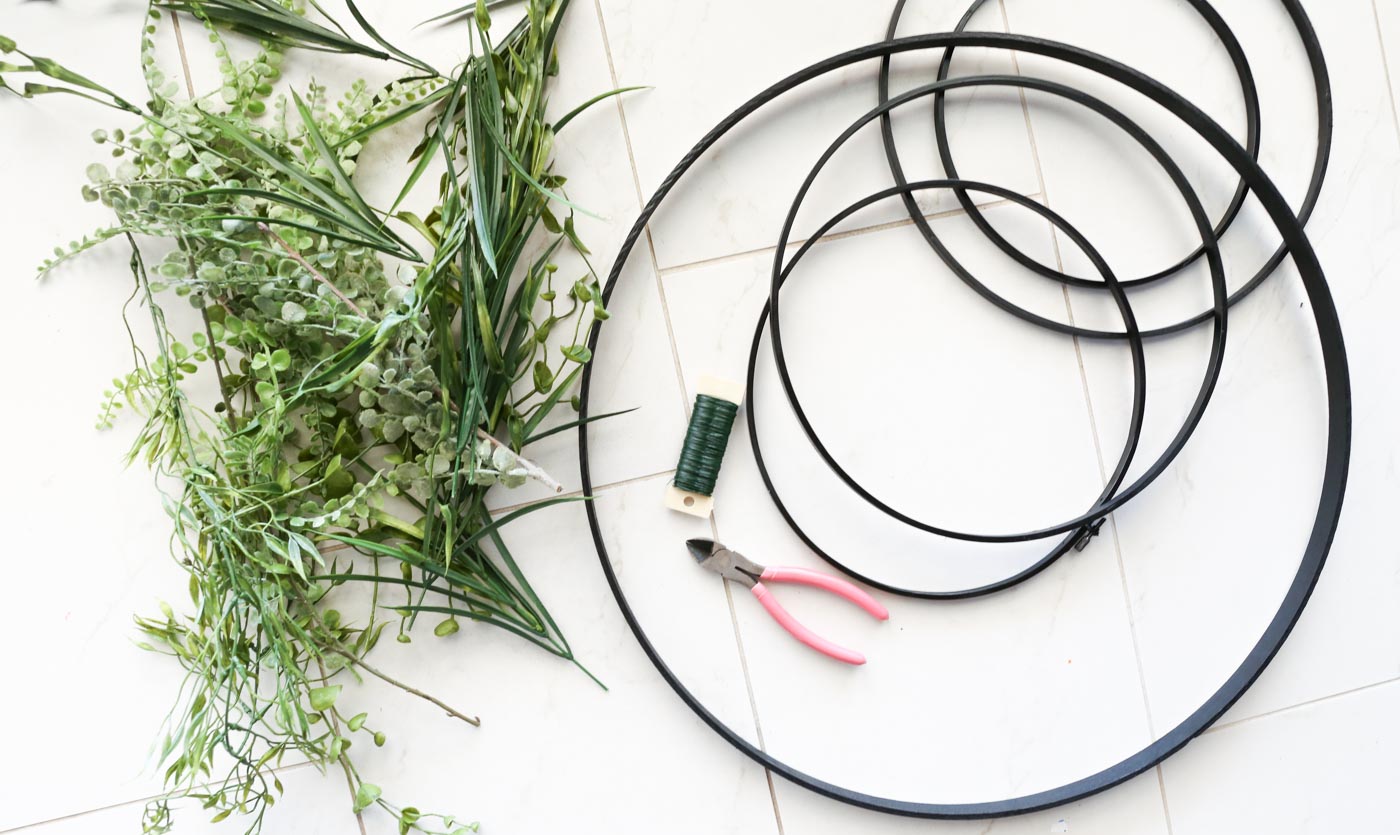
Supplies:
- All different sizes of Embroidery Hoops (Down below I have all the Sizes I used)
- Black Spray Paint Matte or Semi-Gloss
- Drop Cloth
- Floral Wire
- Wire Cutters
- Greenery or Floral Stems (Down Below I will list out the different Stems)
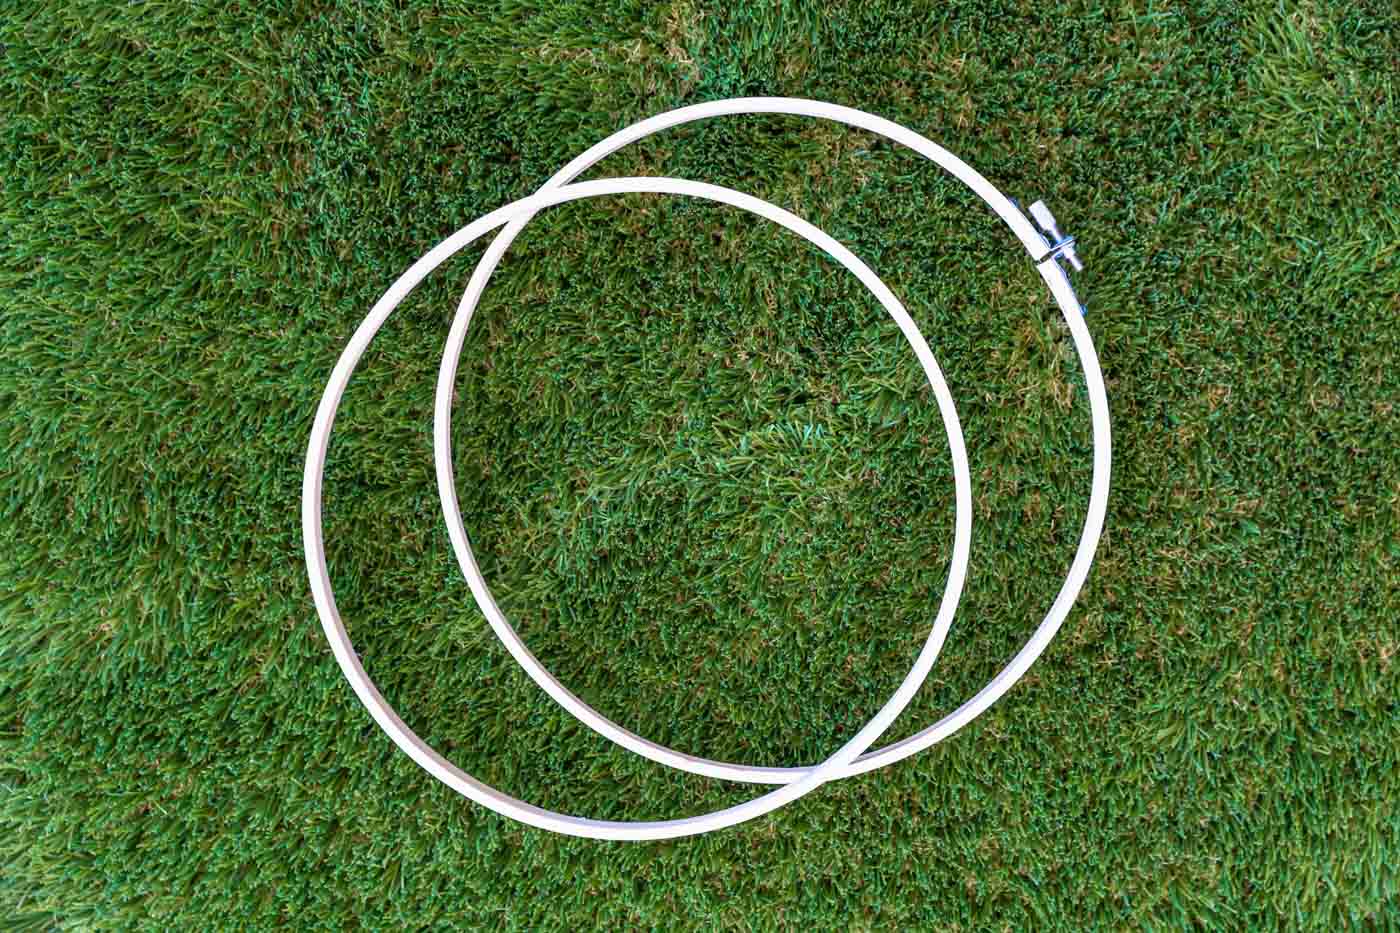
Tips when buying the Embroidery Hoops
When I was buying the Embroidery Hoops I thought I had to buy a million different hoops. I was totally wrong! Did you know that when you buying the embroidery hoops it actually comes with two hoops. It comes with an inside hoop and outer hoop. So you kind of get two for the price of one.
Size of Embroidery Hoops
I bought lots of different sizes of hoops at lots of different places. I first went to Micheals, then Joanns and then Hobby Lobby. They all had different sizes. I went into the store because I really needed the stuff local so that I could buy right now. But I went onto Amazon and I was shocked that you can actually buy packs of the hoops and the packs have all different sizes in it.
Here are some of the different sizes
- 23 inch
- 18inch
- 14 inch
- 12 inch
- then a pack with a 17 cm (6.7 inch), 20 cm (7.8 inch), 23 cm (9 inch), 26 cm (10.2 inch).
For my DIY Wall Art I used a ton of different sizes. The sizes will depend on the space that you have for the DIY Wall Decor.
Tips for Buying the Floral Stems
When you are buying the greenery stems from a project like this buy with purpose. For this project I was looking for feel falling or droopy greenery that will hang and not super stiff greenery. When I am also buying the greenery I am also looking at color. I want the green color to all be different shades and tones of green that way the greenery just looks more real. I have been gathering my greenery stems from all over the place. Micheals has a good sectional and also Hobby Lobby. I have found some greenery that I think look very similar to what I got.
Here are a few I found
The key with the greenery to have it all look a bit different, with the style of leaves and colors. I prefer the hanging greenery but I wanted the greenery to be able to mold around the hoops and not look stiff.
After you buy everything you need for the project now its time to put everything together.
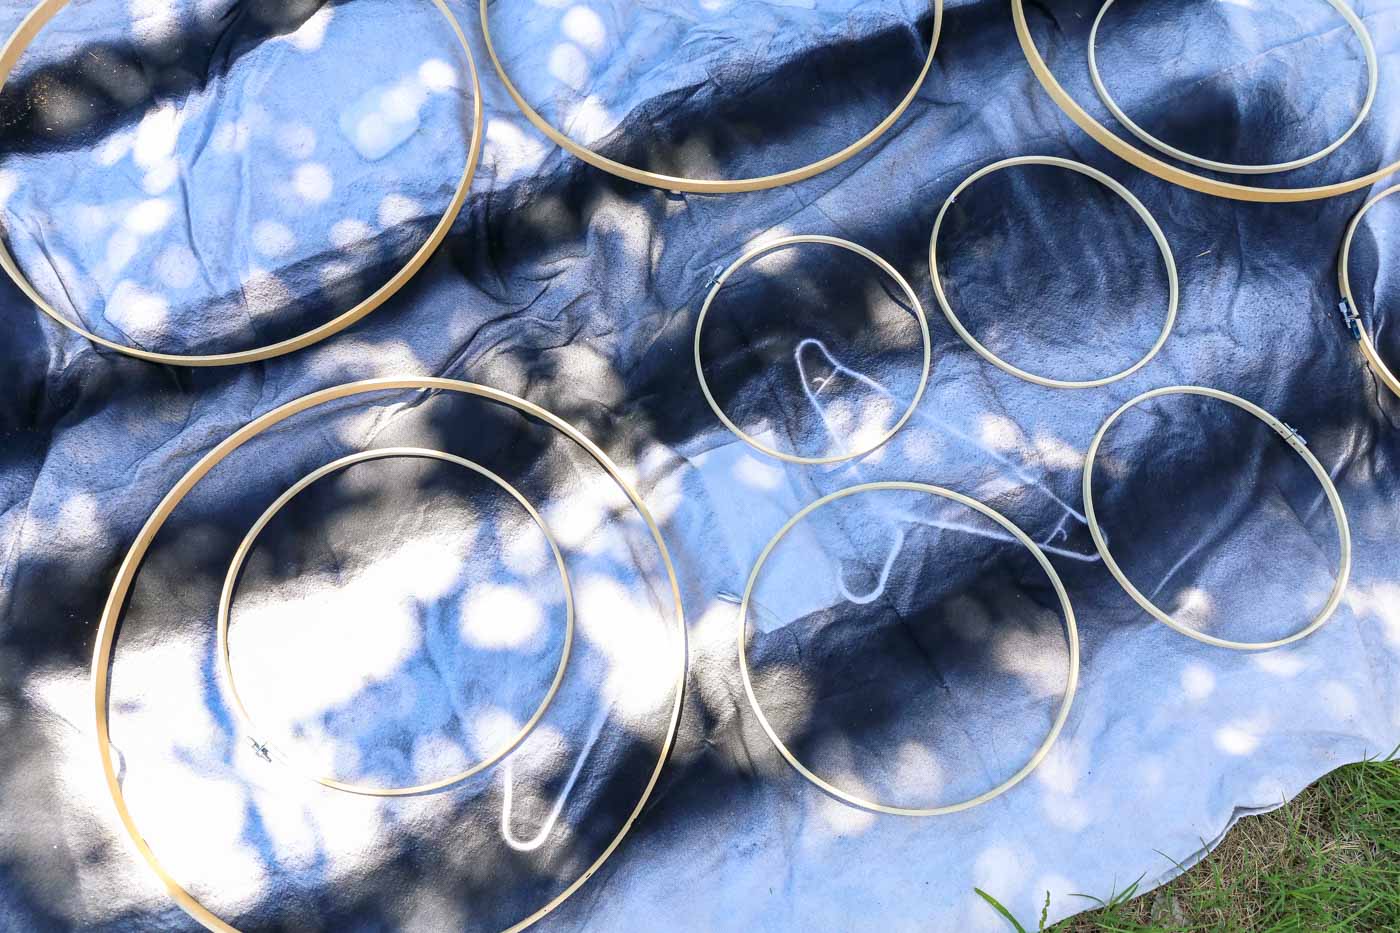
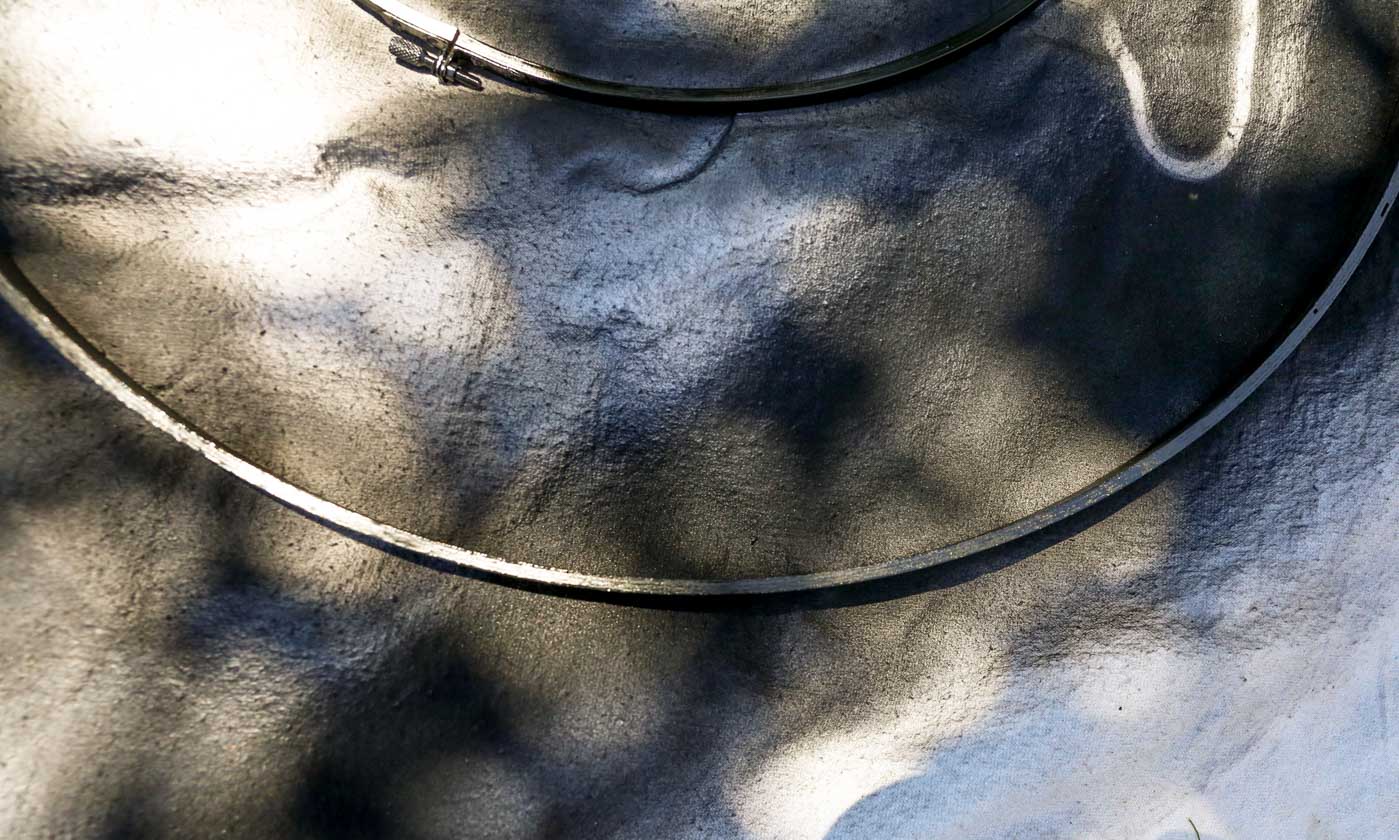
Step 1- Paint the Hoops
Take the inner hoop and the outer hoop and separate them and then lay them all out on drop cloth or something that you can paint on. I used a Matte Black Spray Paint because I did not want the hoops to look really shiny but you can use any finish you want. But I like Matte or Semi Gloss for these kinds of projects. Spray a very light coat of spray paint on the hoops. Make sure you spray the whole hoop. I sprayed one side and the inside of the hoop then after it dried I flipped it over and then sprayed the back side.
Step 2- Lay out the Hoops to get the shape
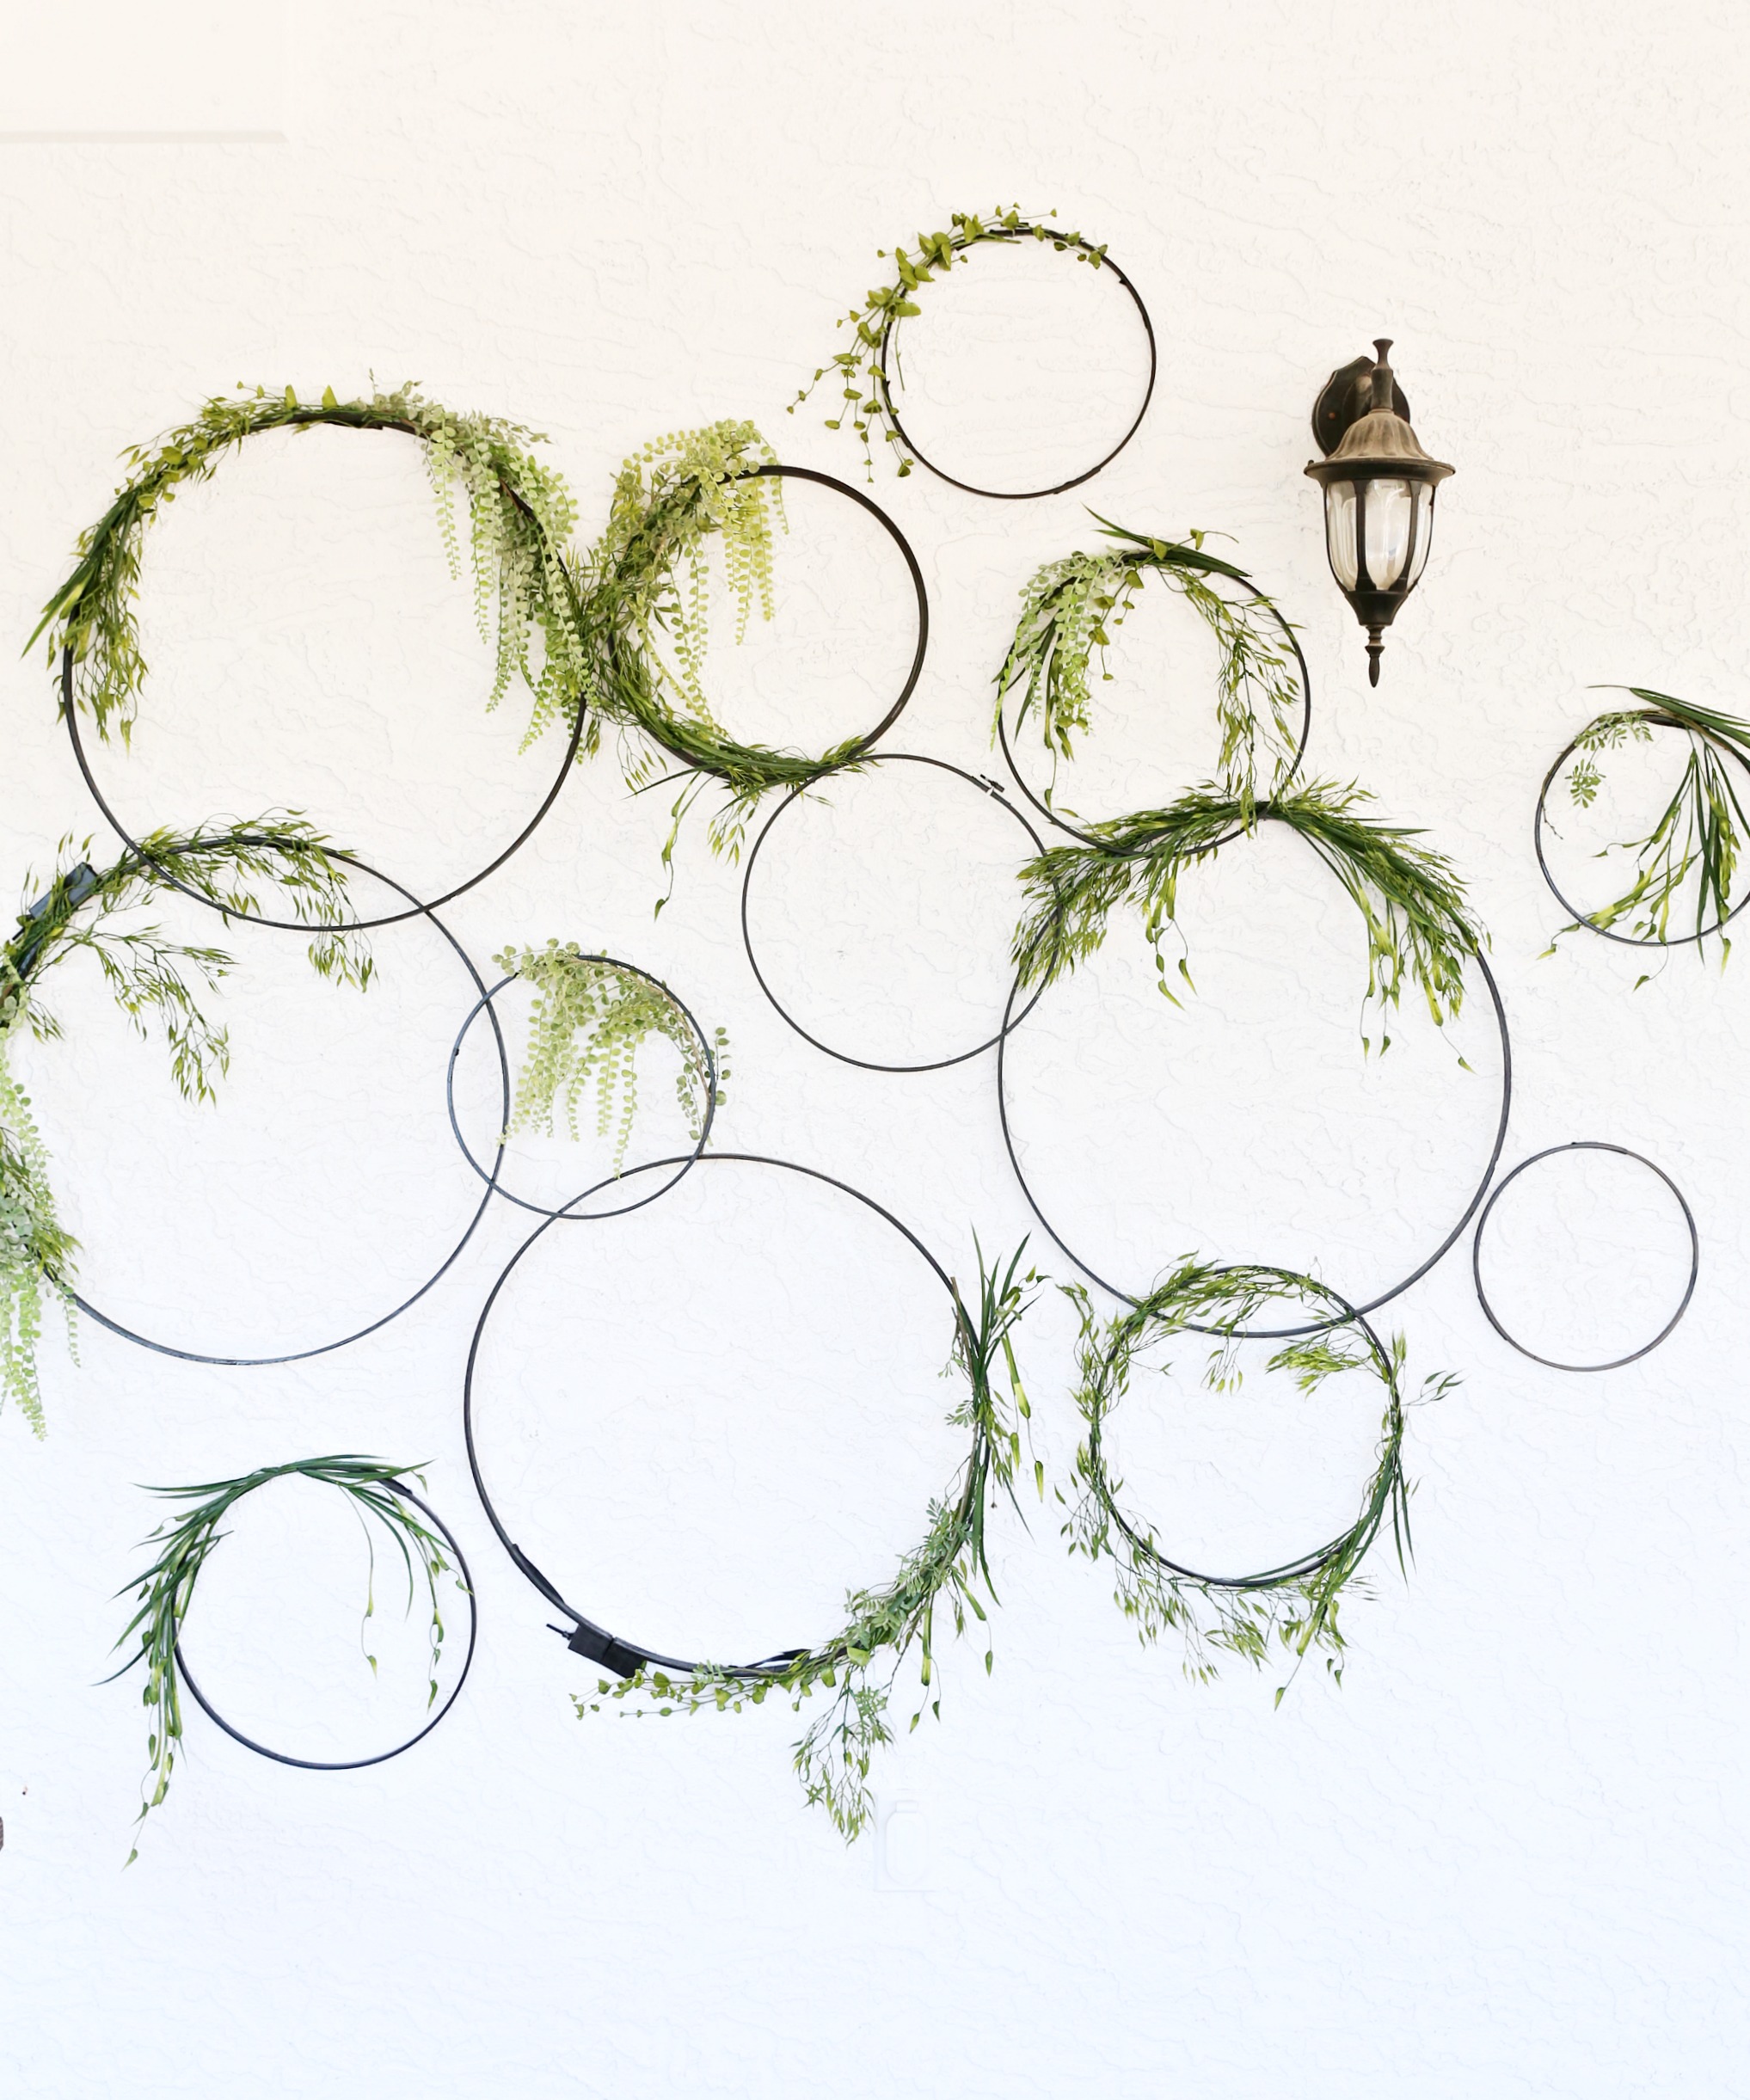
I wanted my hoops to overlap so I laid out how I wanted the hoops to hang on the wall. You will want to do this because it will help you understand where you want the greenery to be.
Step 3- Placing Greenery
Lay out the greenery on top on the hoops. Don’t wire anything yet. You want to make sure that everything looks balanced and that you have enough greenery and everything like that. I wanted some of the greenery to be at the top of the hoop and other times I wanted the greenery to be on the side of hoop. So this step is very important. Move the greenery around until you like the look of it.
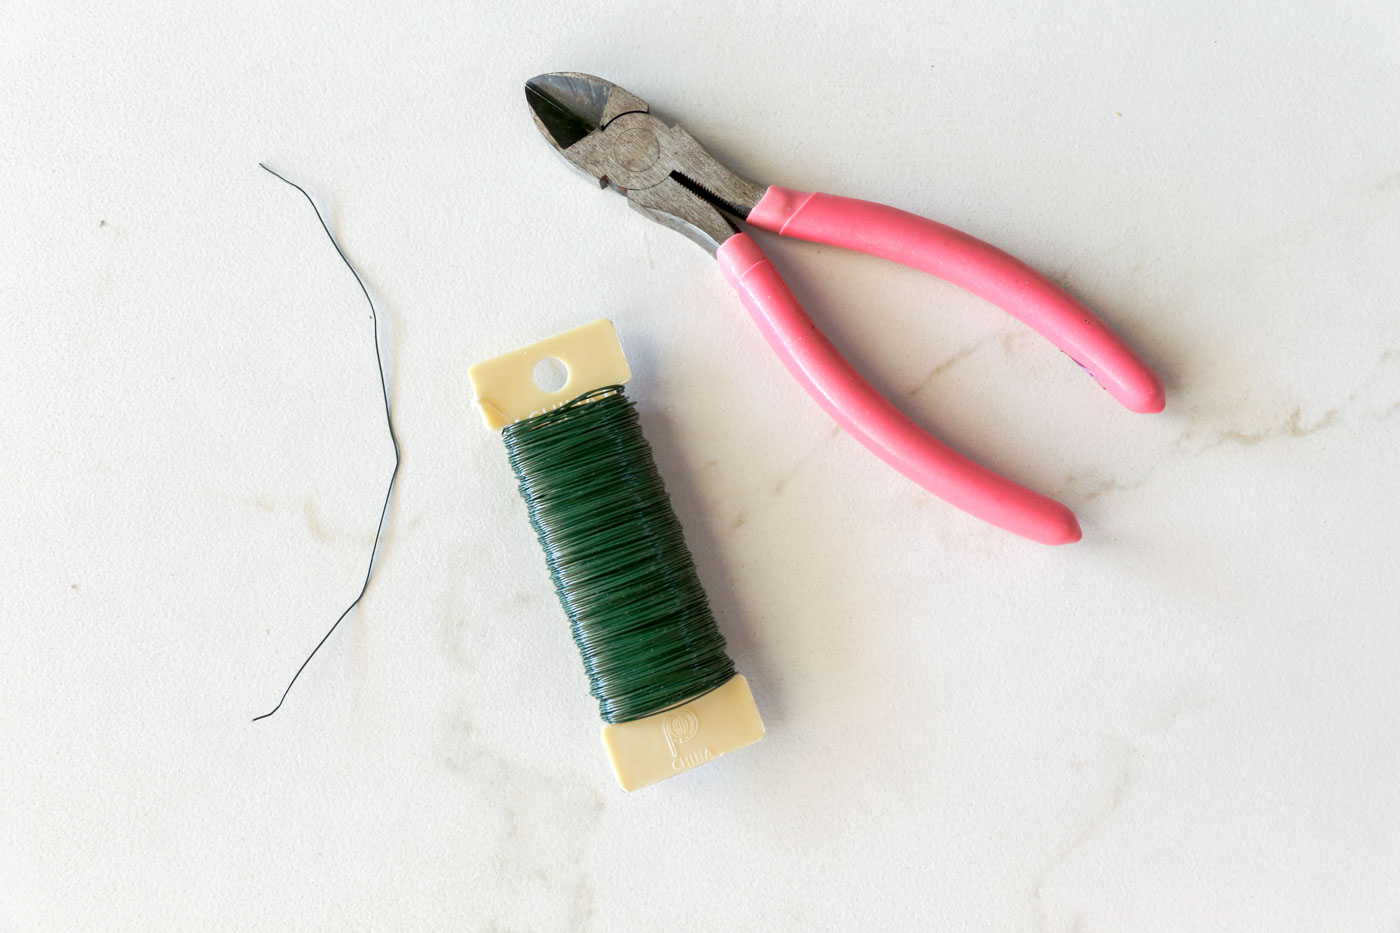
Step 4- Wire the Greenery on
Now that you have the greenery where you want it I used a 26 gauge floral wire to attach the wire onto the hoops. You can really use any floral wire, I just wanted to make sure that it was easy to bend. Some of the greenery was heavier then others but using my wire cutters I just cut 4 or 5 inches pieces of wire. Some of the greenery was really thick and I needed more wire but other pieces were so thin I did not need much wire at all. It will all depend on the greenery. But this is the easy part. Since you already placed all the greenery on hoops now you just wire the greenery on. You can are wiring on you still want the greenery to be droopy and hang so don’t over attach onto the hoops. Wire on the stem part of the greenery then a bit of the end of the greenery so it still has movement if that makes sense. Secure it but don’t over do it. If you have a ton of greenery wire the greenery together before you attach them to the hoops.
Step 5- Connect the Hoops
My hoops that overlapped and connected I wired those hoops together. If the hoops touched at all they were wired together. This is help keep the shape of you DIY Wall Art. It will also help when you go to attach the DIY Wall Decor to the wall.
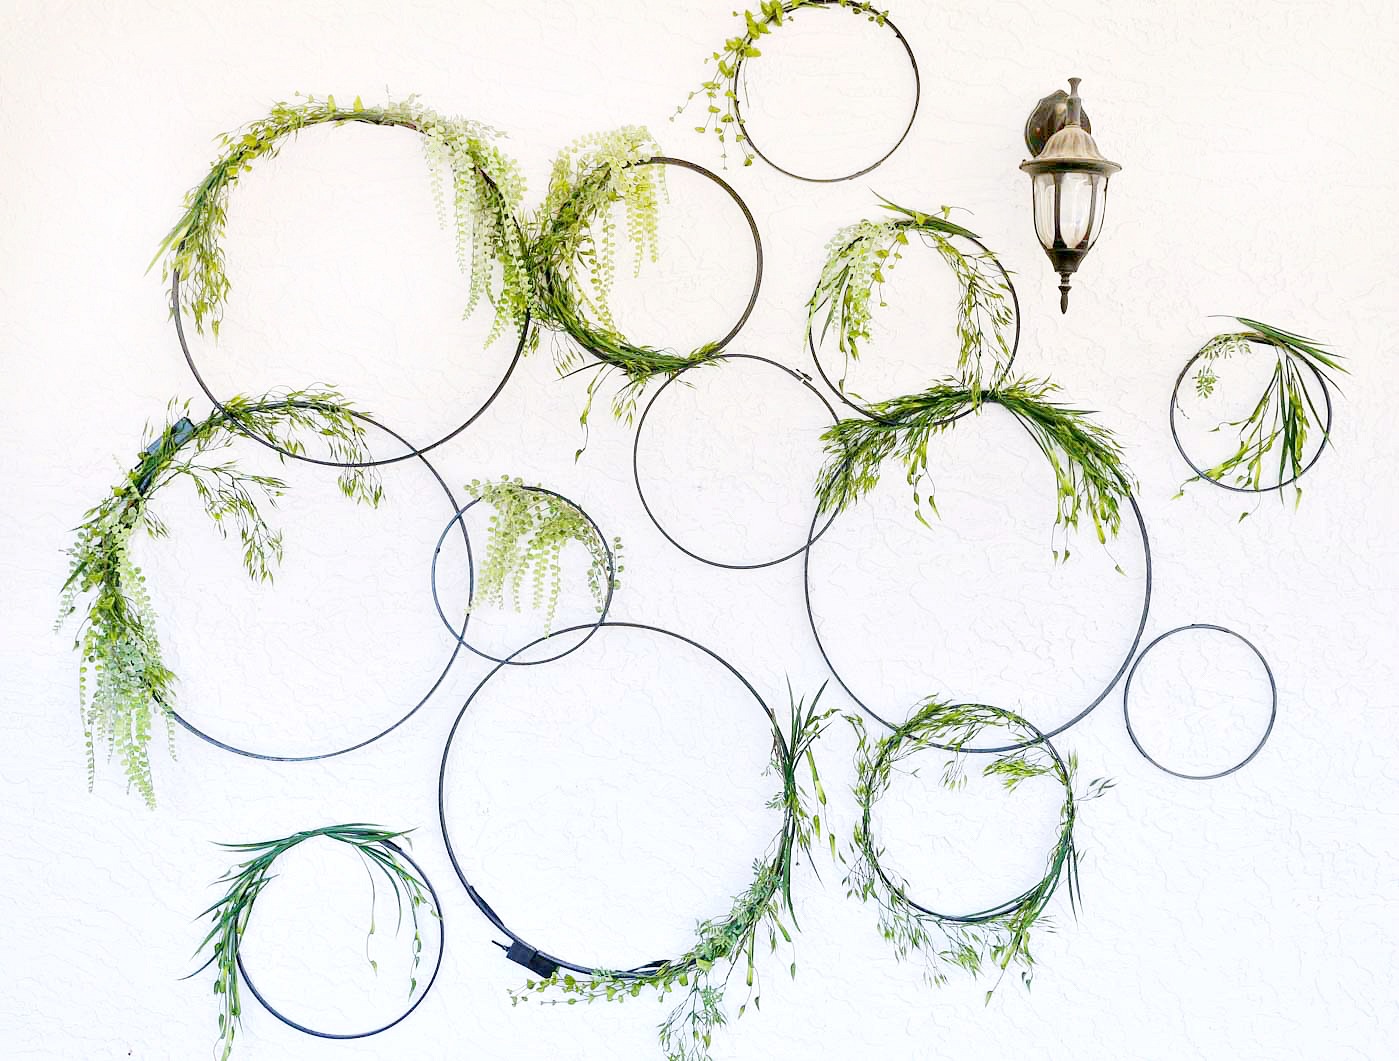
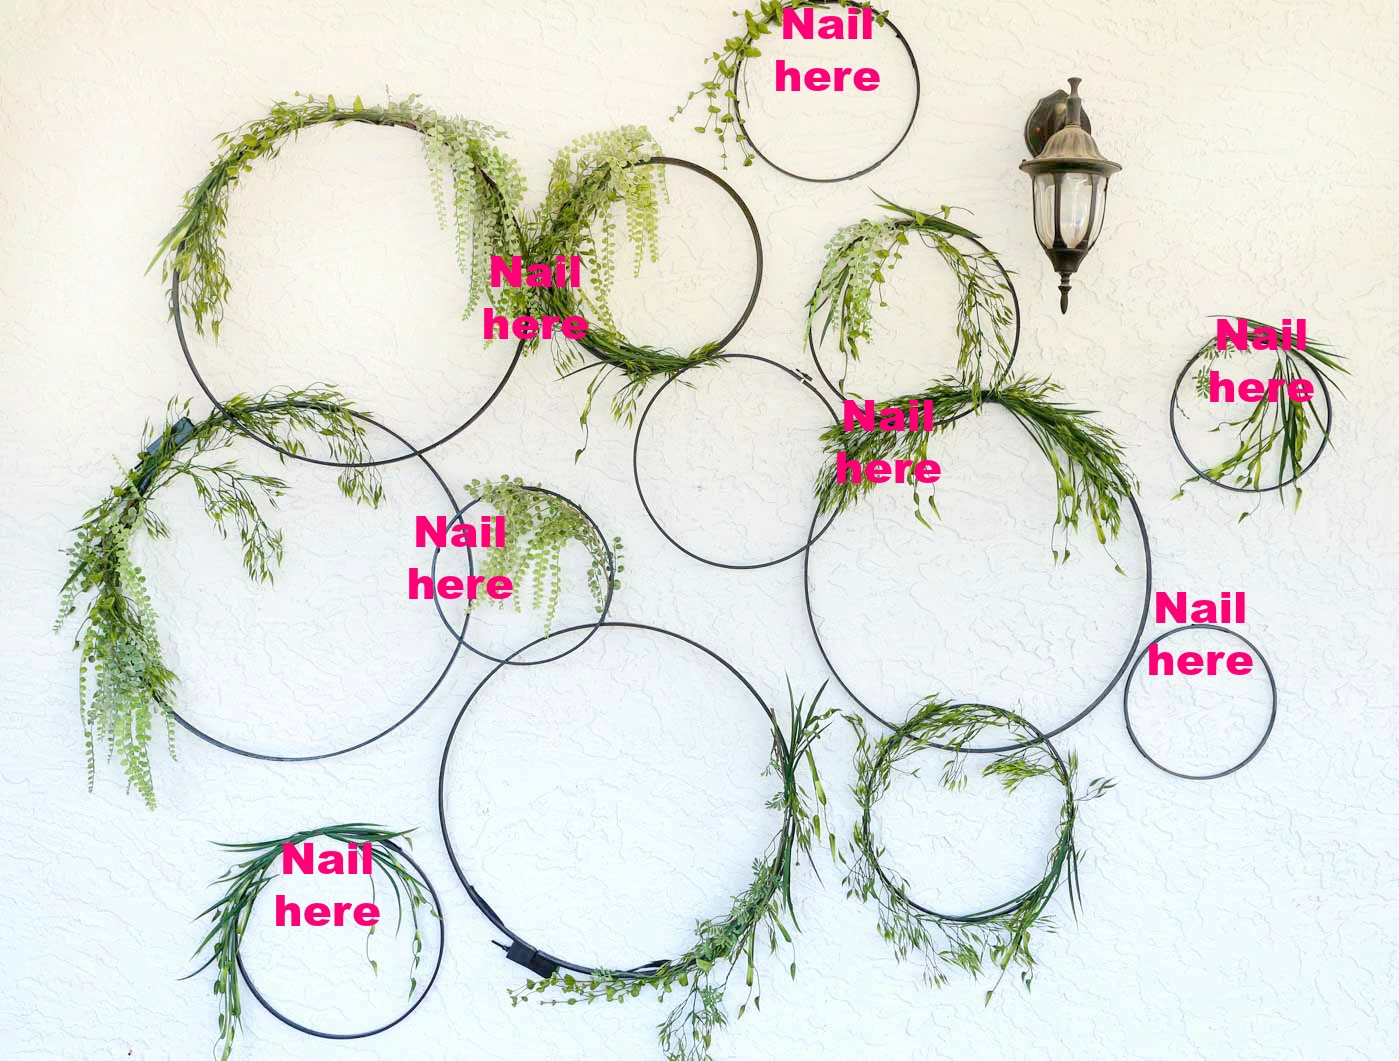
Step 6- Hanging your DIY Wall Decor with only a few nail holes
It’s all about connecting your hoops together. If you have a bunch of hoops and you have a bunch of them connected you may need a hand to hang it. If you look at my DIY Wall Art you can see that I only have a few hoops that are not touching. I did not want to have a million holes in my wall. Using only 7 nails I hung up my whole DIY Wall Art. Use the wire to help. I used a bigger nail on the hoops that had a bunch of hoops connected. On the single hoops I used a very small nail. To make them a bit more secure I wired the hoops onto the nail. If I would have just set the hoops on the nail they would have come off the second my kids touch them. The hoops support each other so it pretty easy to hang.
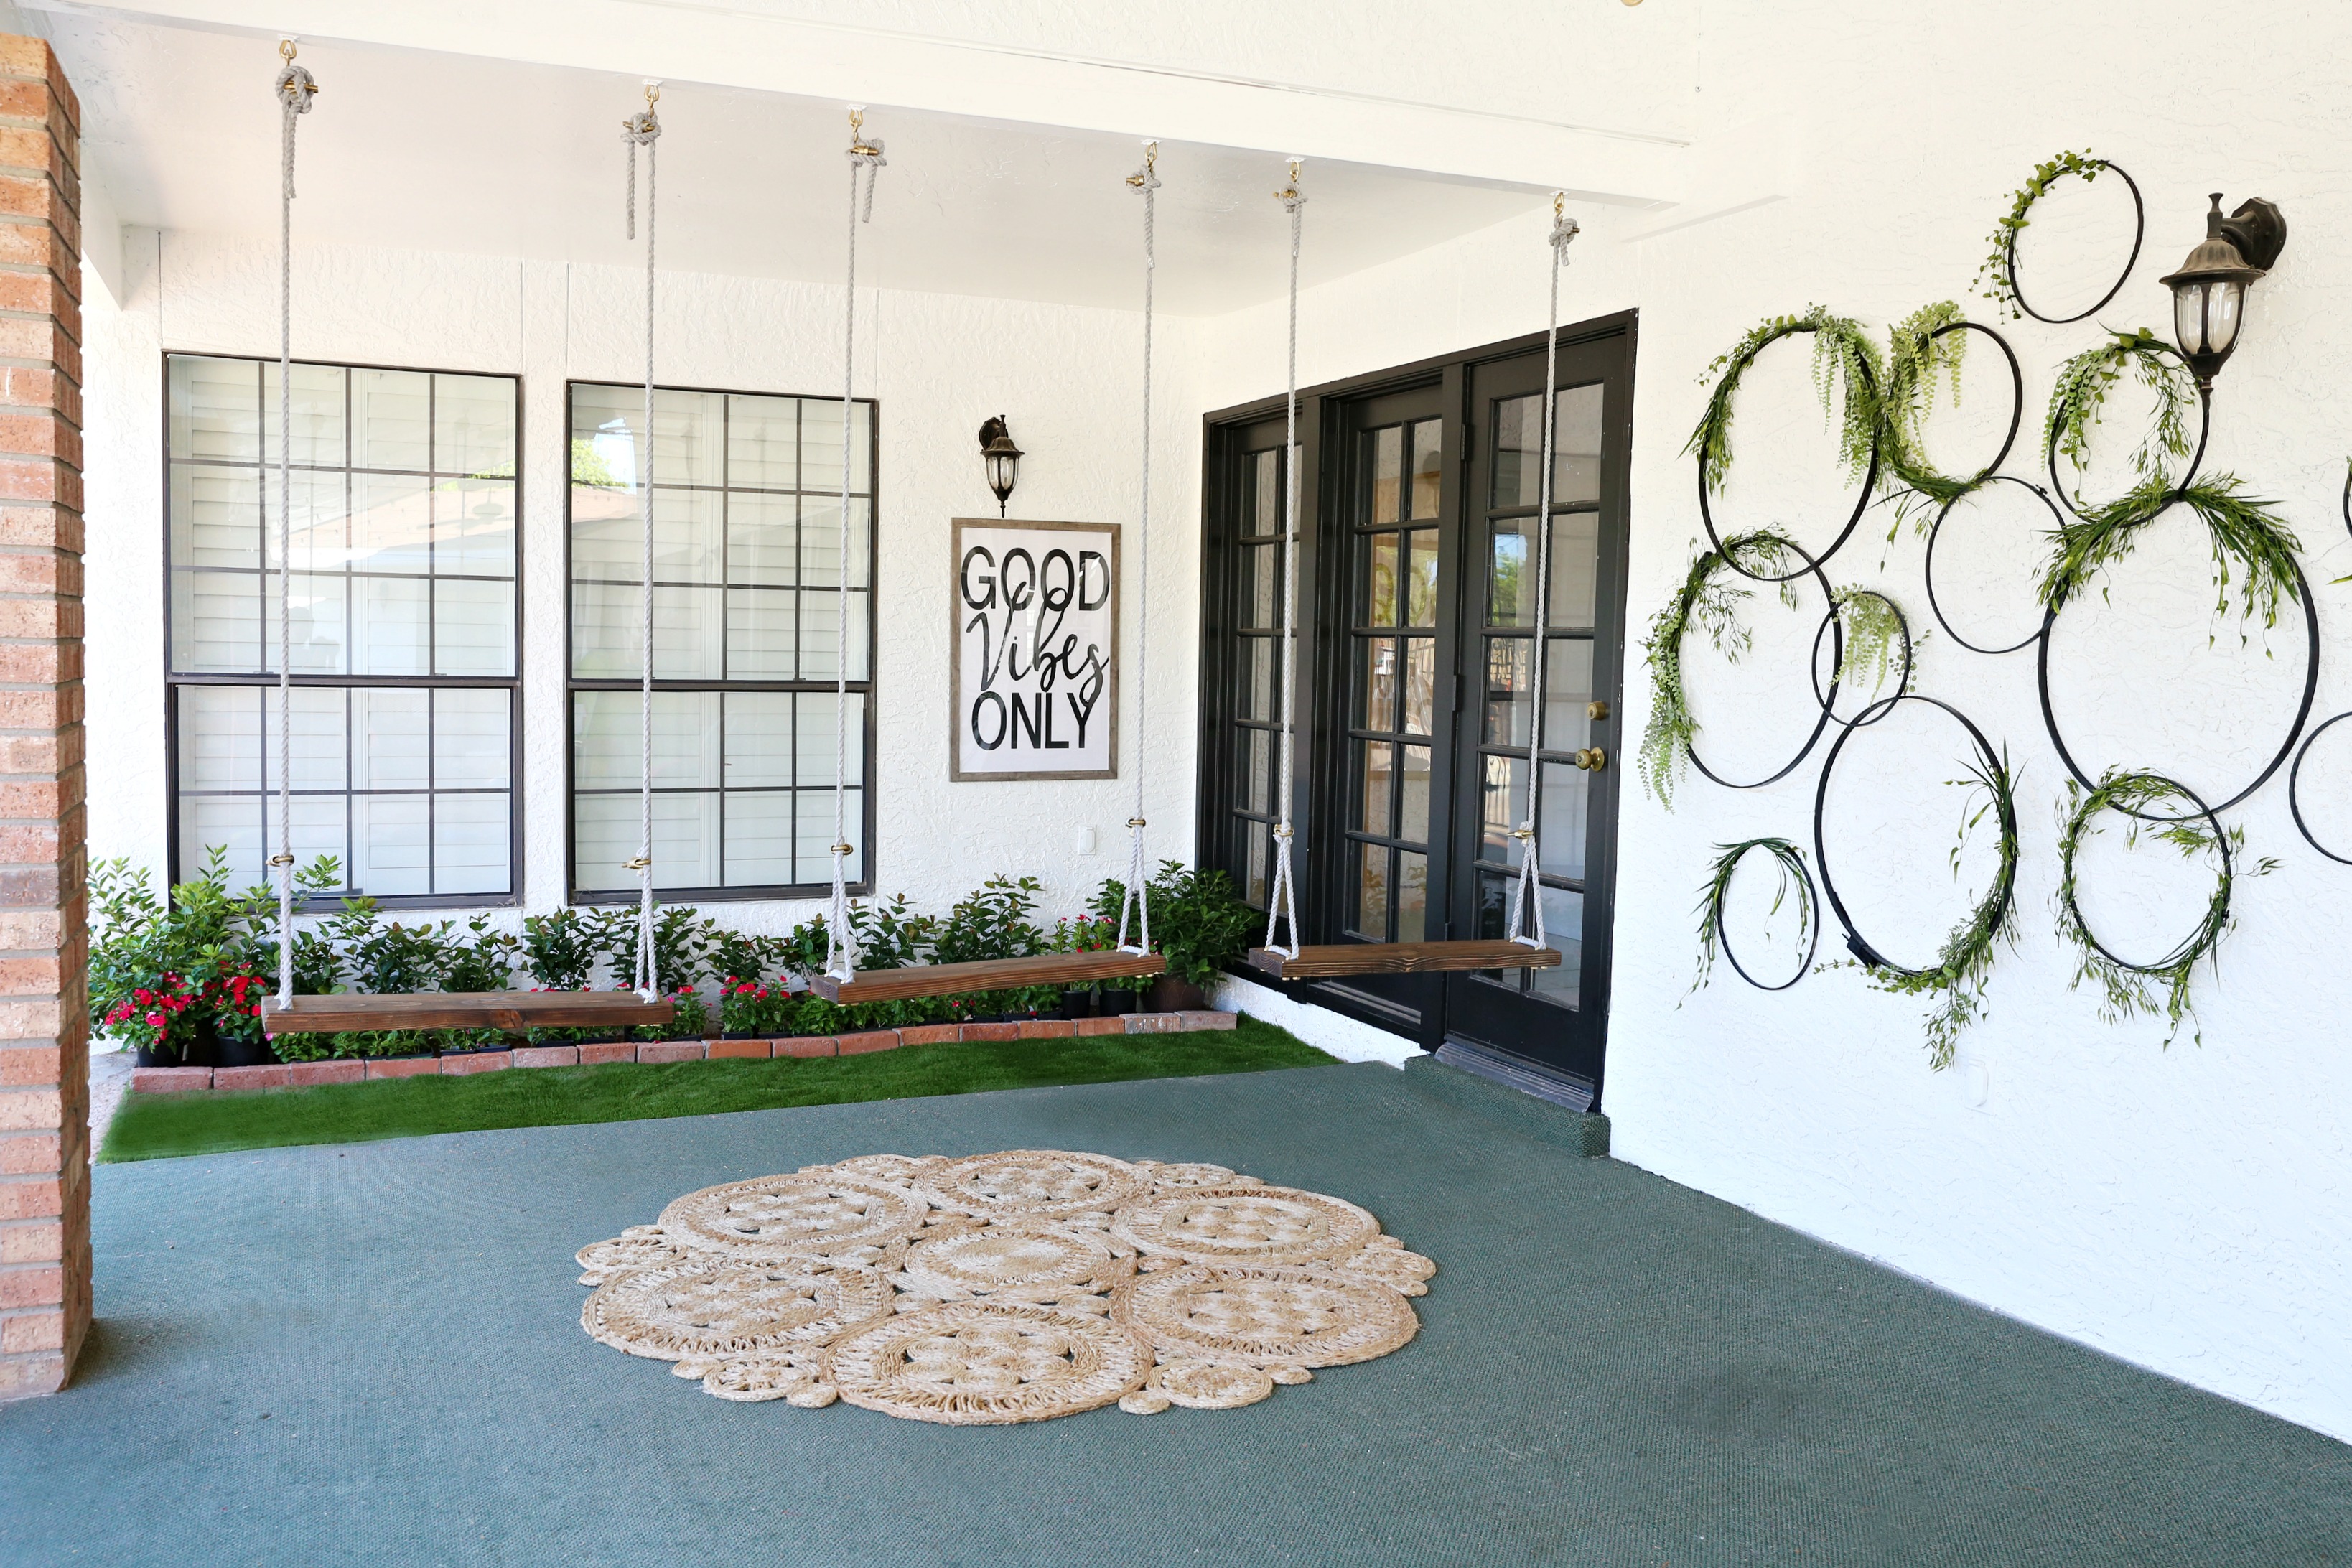
This DIY Wall Decor makes such a big impact. I did the whole project in less then 2 hours. That is after the hoops are painted. But this really is such an easy DIY Project that can be used in so many spaces. It does not take a ton of skill or anything. I really want to add to it my daughters room and I have used it as a backdrop for many projects. The possibilities are endless with this DIY WALL ART Project.

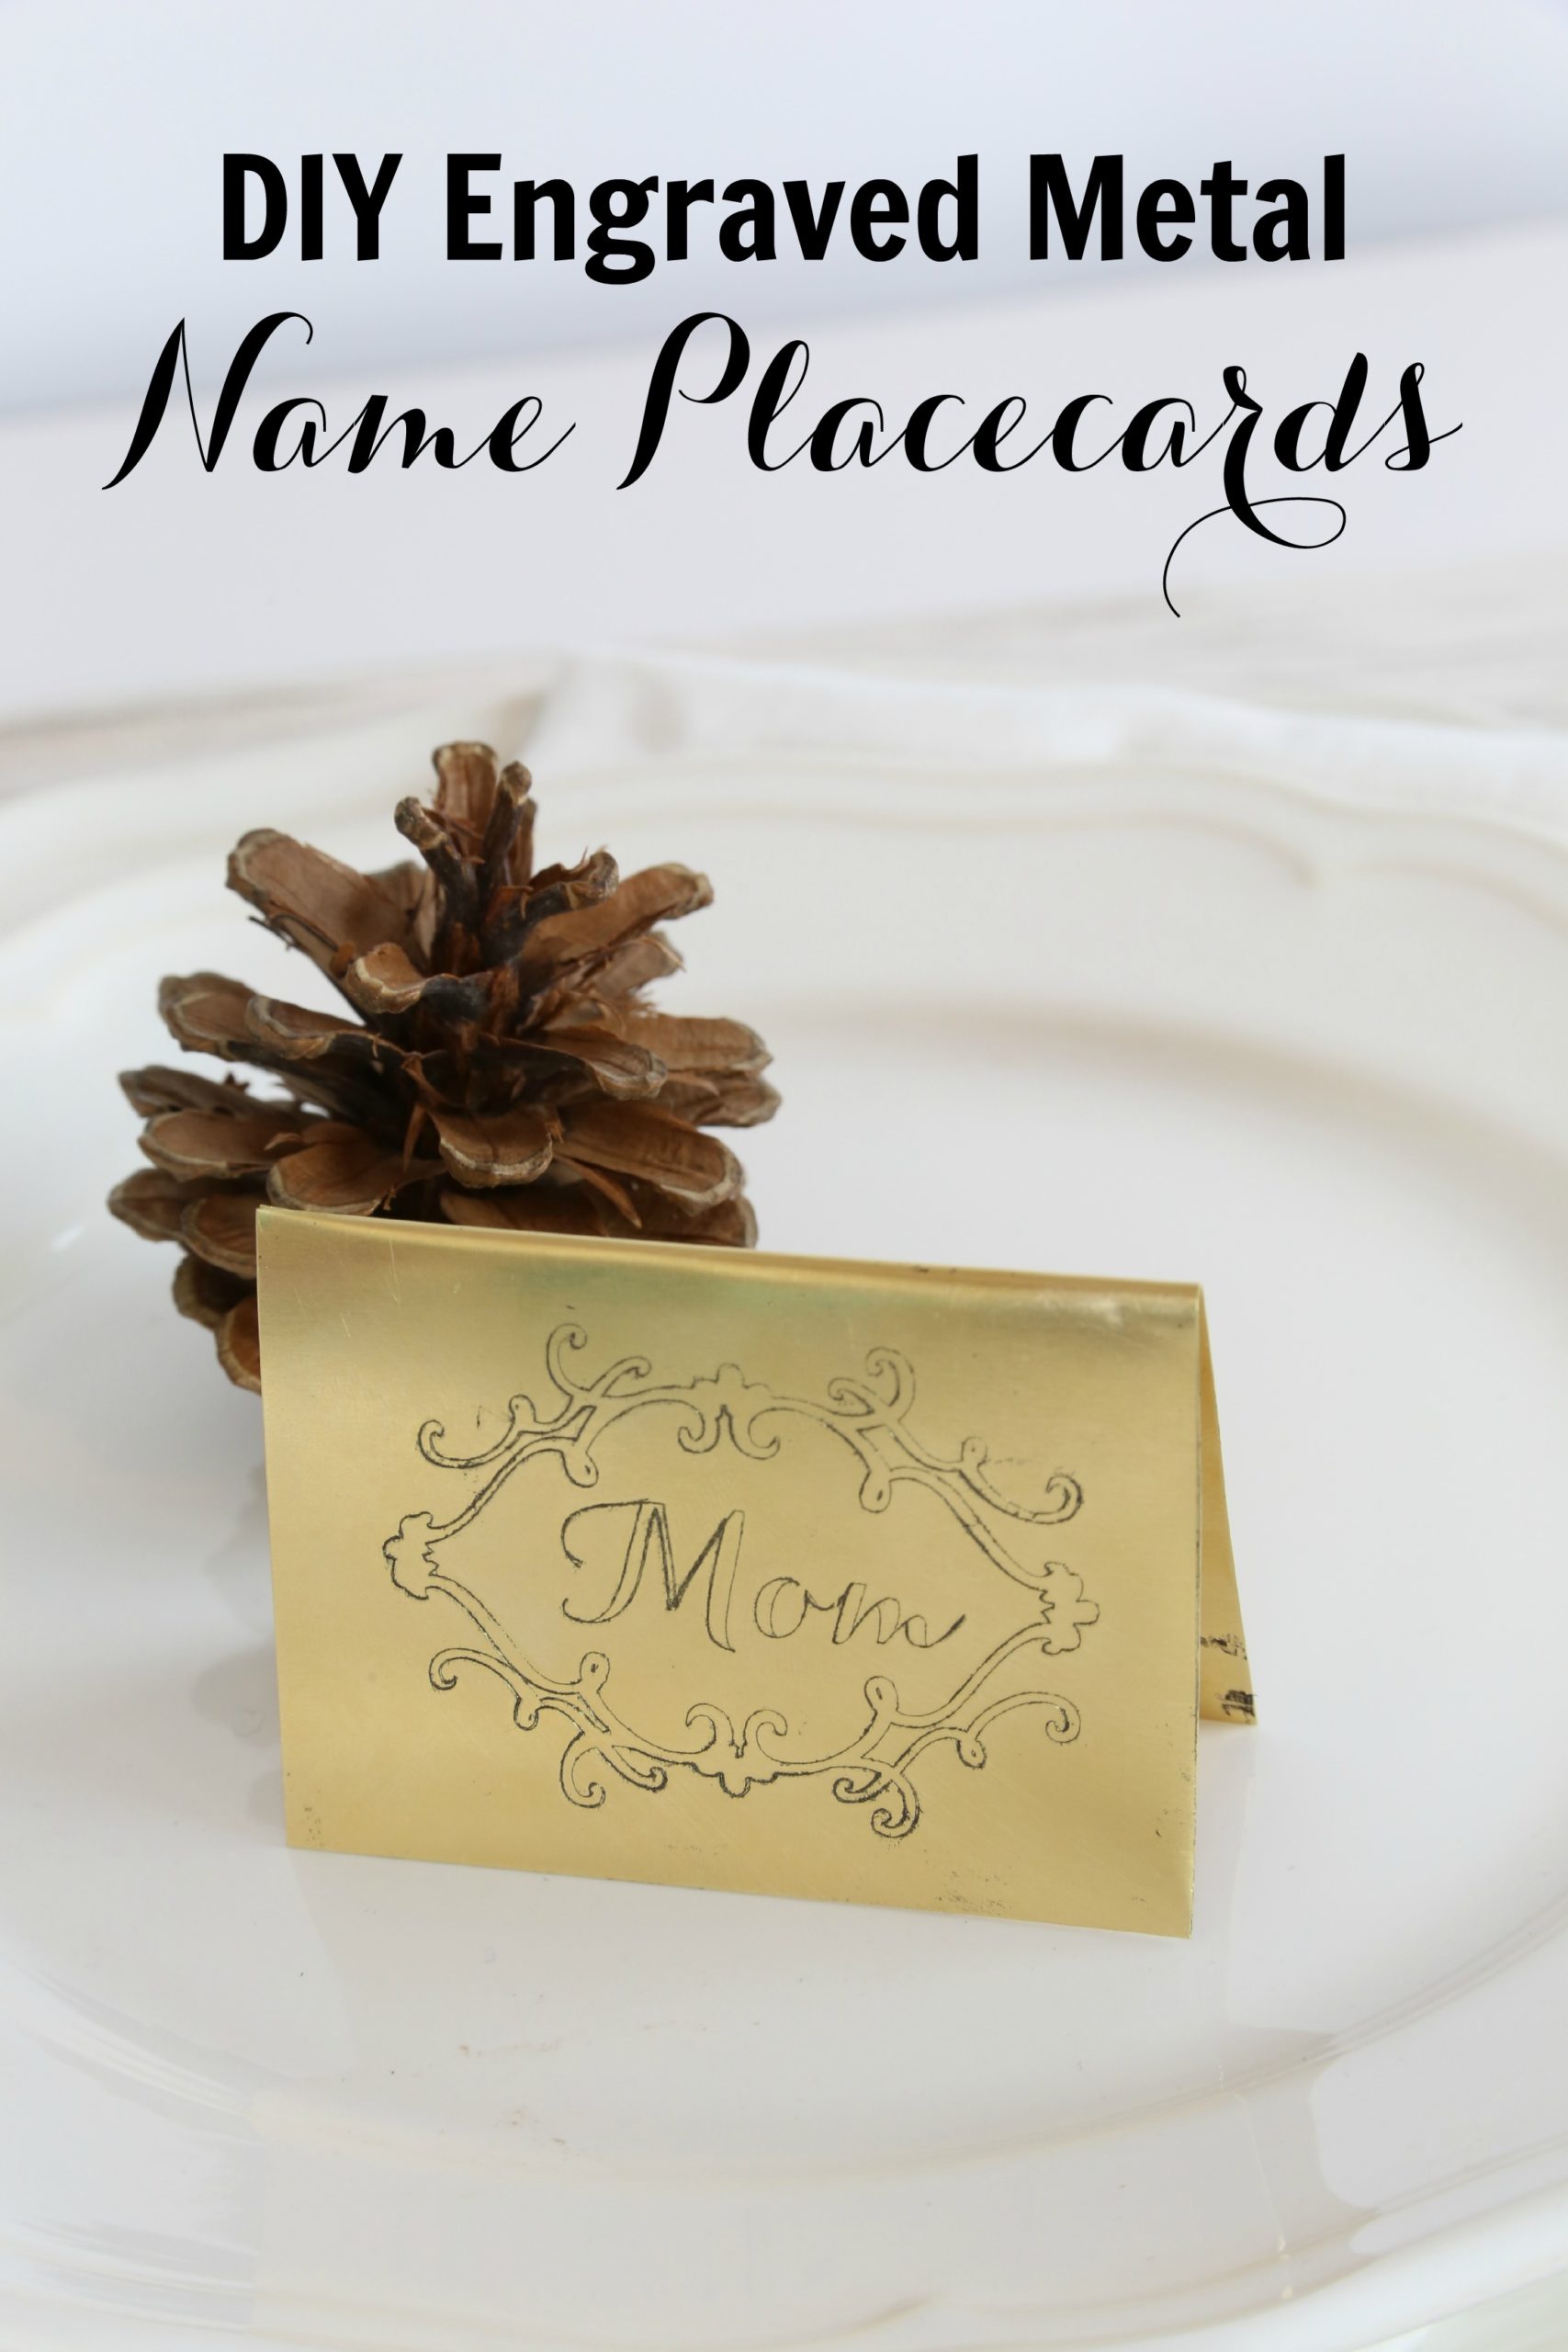
Here are a few other DIY Wall Decor projects you may like:
Thank you so much for this post! We had a boring brick wall as soon as you walked out our front door and now it’s boring No More 🙂