
DIY Fall Centerpiece
Summer vacation is officially over and the weather is cooling off (slowly but surely in Arizona!). We are loving the crisp mornings and cool evenings. That being said, it’s finally that time of the year for all things Fall! We’ve partnered with JOANN to teach you how to make this super easy, super cute DIY Fall Centerpiece that is perfect for Thanksgiving and all season long.
Looking for some other Fall DIY projects? Check out some of these!
- How to Decorate an Entry Table
- 12 Adorable and Free Fall Printable’s
- Fall Mantle Ideas
- DIY Fall Floral Wall Art
- Blue and Orange Thanksgiving Tablescape
DIY Fall Centerpiece
Step-by-Step
- Layer your Table
Layer your table runner (or two)! I used a white table runner in the Simply Autumn Decorative Mesh Ribbon in it Natural Jute from JOANN.
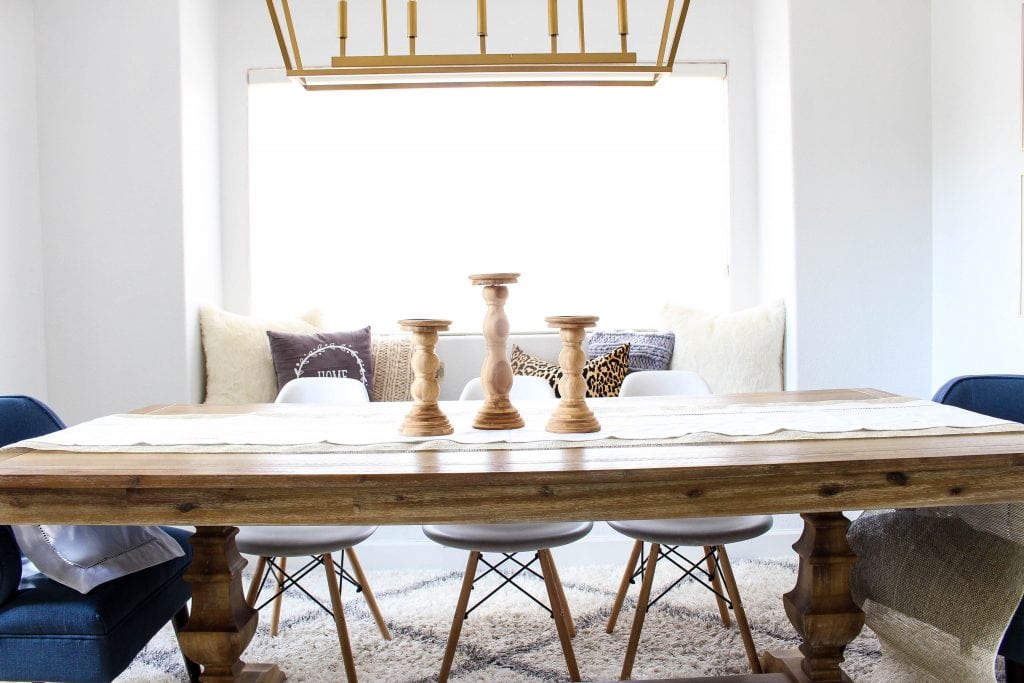
- Add Height
To create the overall shape of the centerpiece I purchased Simply Autumn Bamboo Wood and Iron Candleholders in both small and large.
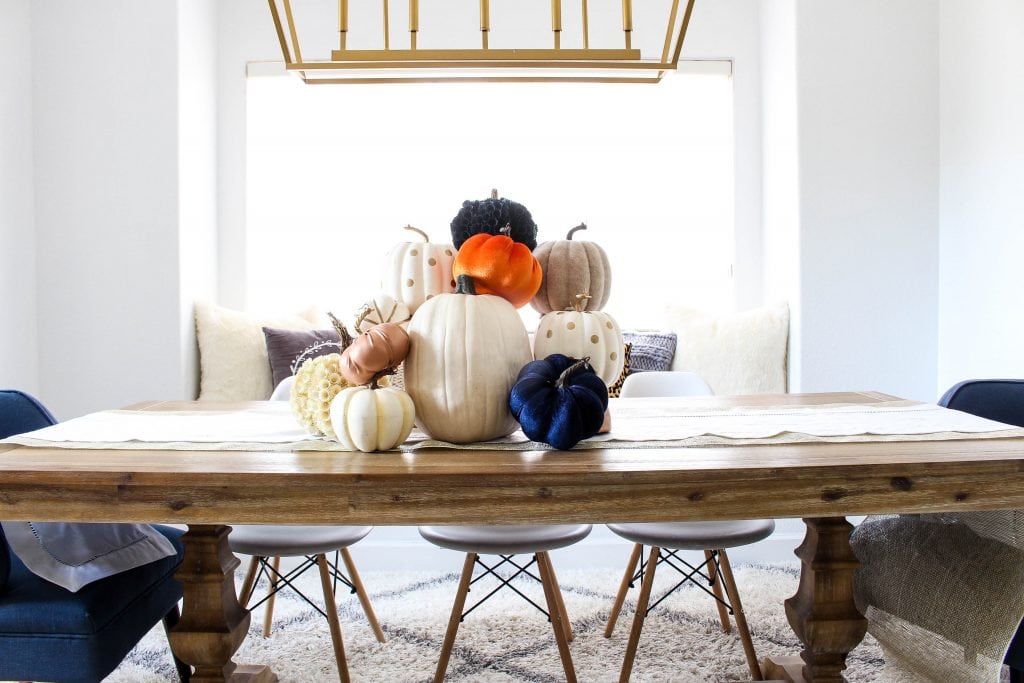
- Start Layering Pumpkins
I recommend starting with the biggest pumpkins first and working around those with smaller ones as you go. Fill in the gaps using medium and small pumpkins to make a triangular shape like a stack of pumpkins!
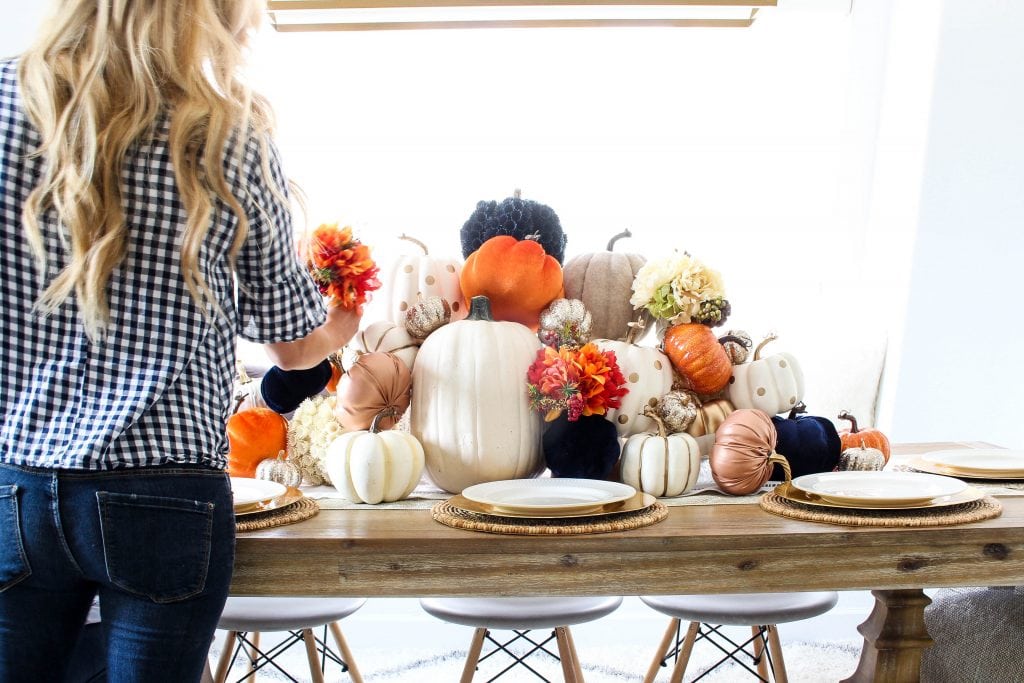
- Add Floral Bouquets
Laying in some small floral bouquets adds to the whole centerpiece and helps fill in small gaps. You can also add in some fake berries!
- Final Touches
Secure everything with glue dots along the way and fill in any empty gaps.
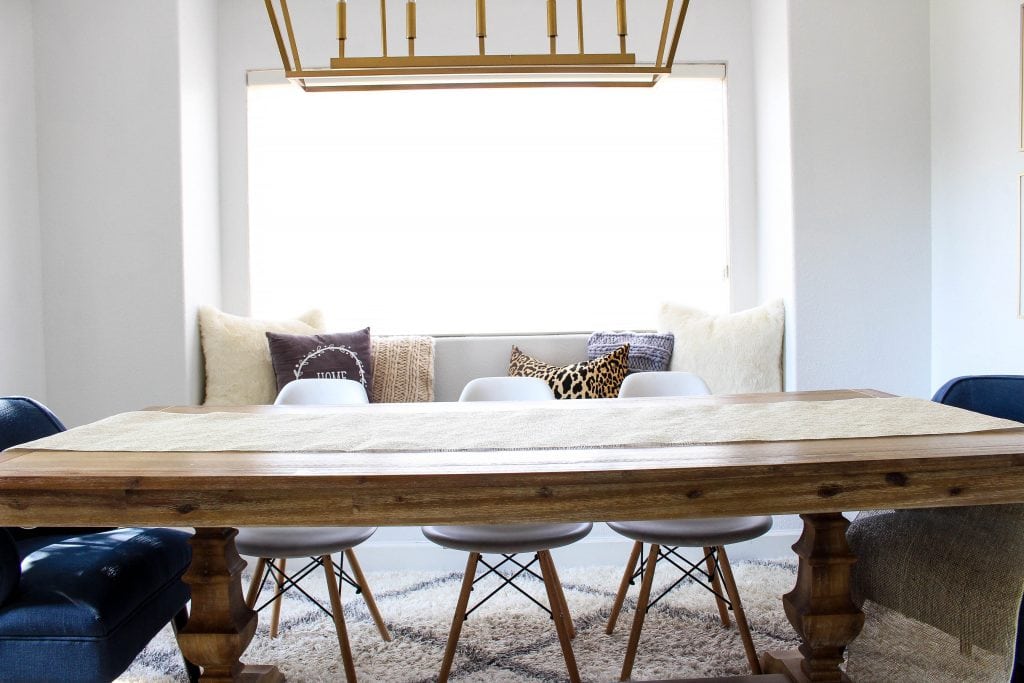
Step 1: Layer your table with a table runner (or two!) I used a white table runner and the Simply Autumn Decorative Mesh Ribbon in Natural Jute from JOANN.

Step 2: Add height and to help create your overall shape of the centerpiece. I used the Simply Autumn Bamboo Wood & Iron Candle Holders in Small and Large.
Step 3: Begin to layer pumpkins using your larger pumpkins first. I start with the larger pumpkins to create the overall shape of the centerpiece.
Here are the pumpkins I used (all from JOANN):
- Glitter Pumpkins
- White Carvable Pumpkins
- Dipped Copper Pumpkins
- Navy Woodchip Pumpkins
- Copper Striped Pumpkins
- White Woodchip Pumpkins
- Polka Dot Pumpkins
- White Leather Pumpkins
- Orange Velvet Pumpkins
- Copper Leather Pumpkins
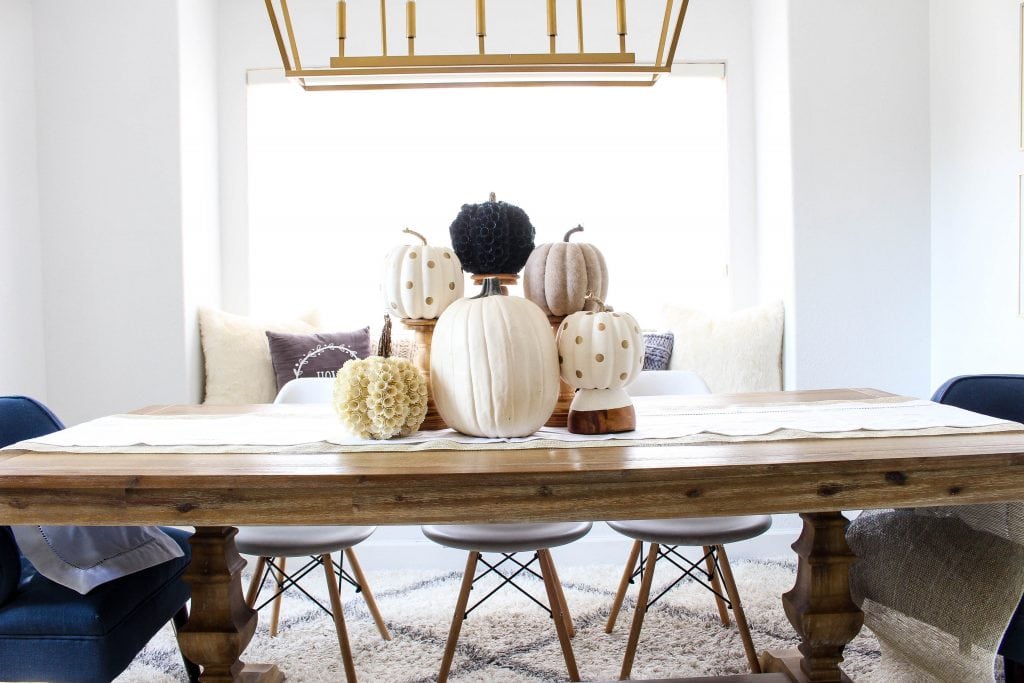
Step 4: Continue to stack a variety of your medium sized pumpkins to fill gaps and to continue to create your overall triangular shape. The goal is to have it look like a big pile of pumpkins
TIP: Secure small and medium pumpkins with glue dots to help them stay in place. The glue dots work best on the smooth finish pumpkins versus the fabric ones.

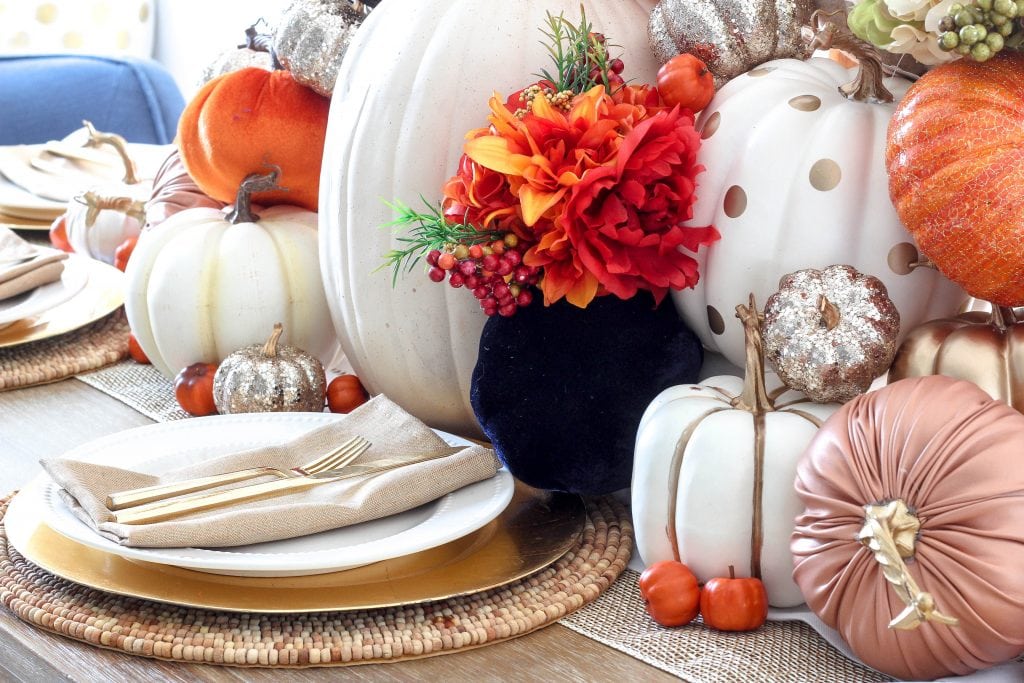
Step 5: Add some variety with some small floral bouquets. I used Blooming Autumn Rose, Peony & Berry Bouquet in Neutral and Rust. I love the touch of whimsy it added. Adding florals, berries or leaves to a project like this really elevates the look.
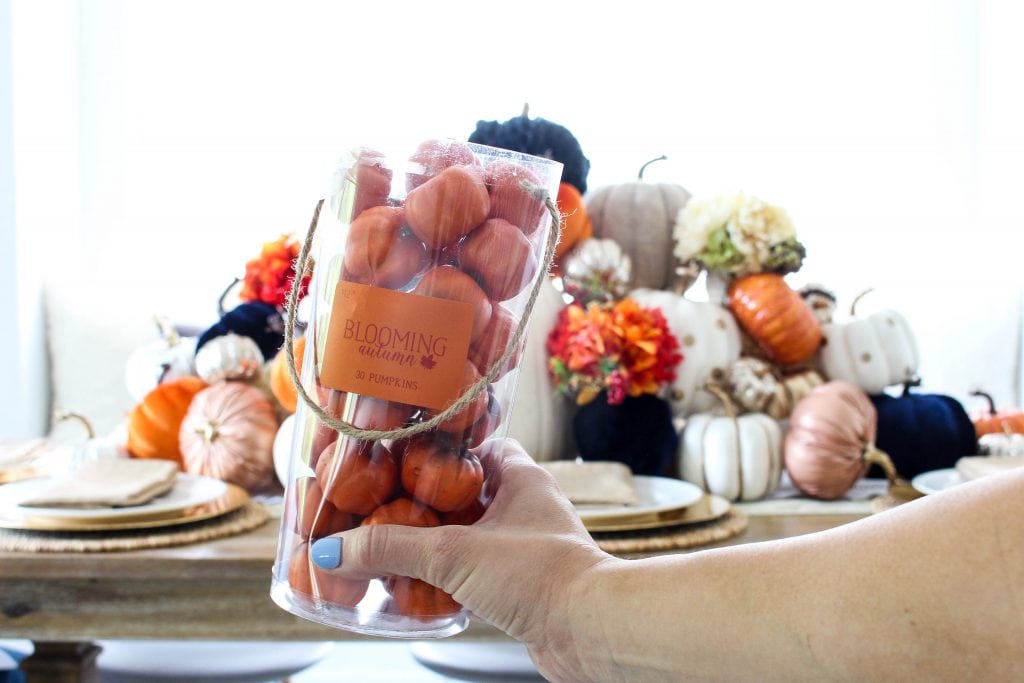
Step 6: Add tiny pumpkins to fill in any gaps and sprinkle about the table. Secure with Glue Dots if necessary. TIP: I set my chargers and plates on the table so I could make sure that my oversized centerpiece allowed room for the dinner plates. Make sure you leave enough space for plates, flatware and drinking glasses.
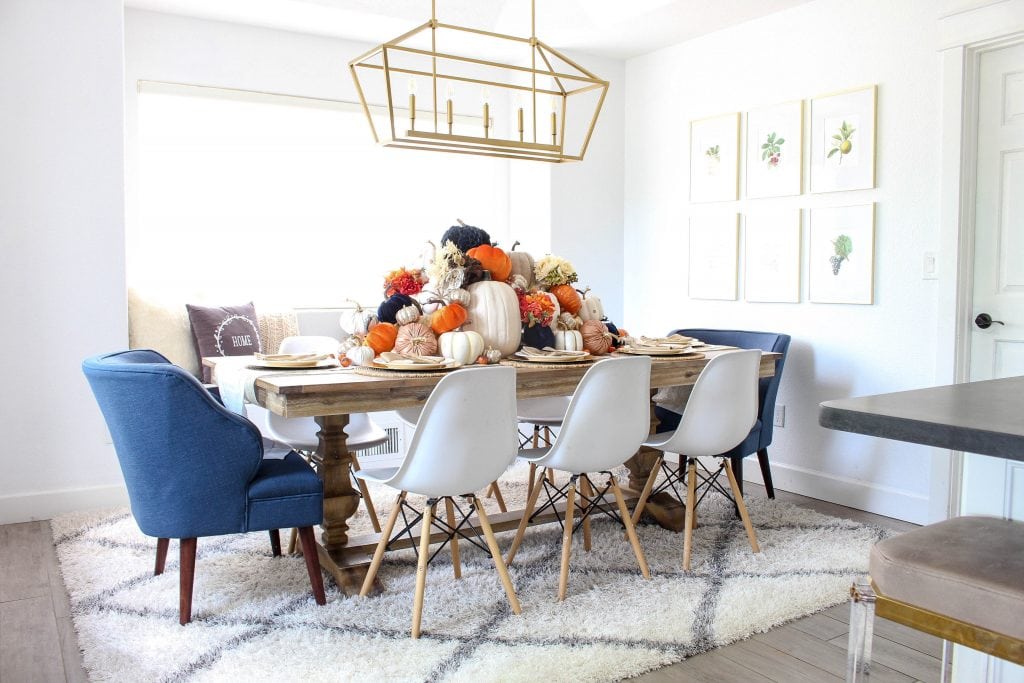
Final Results
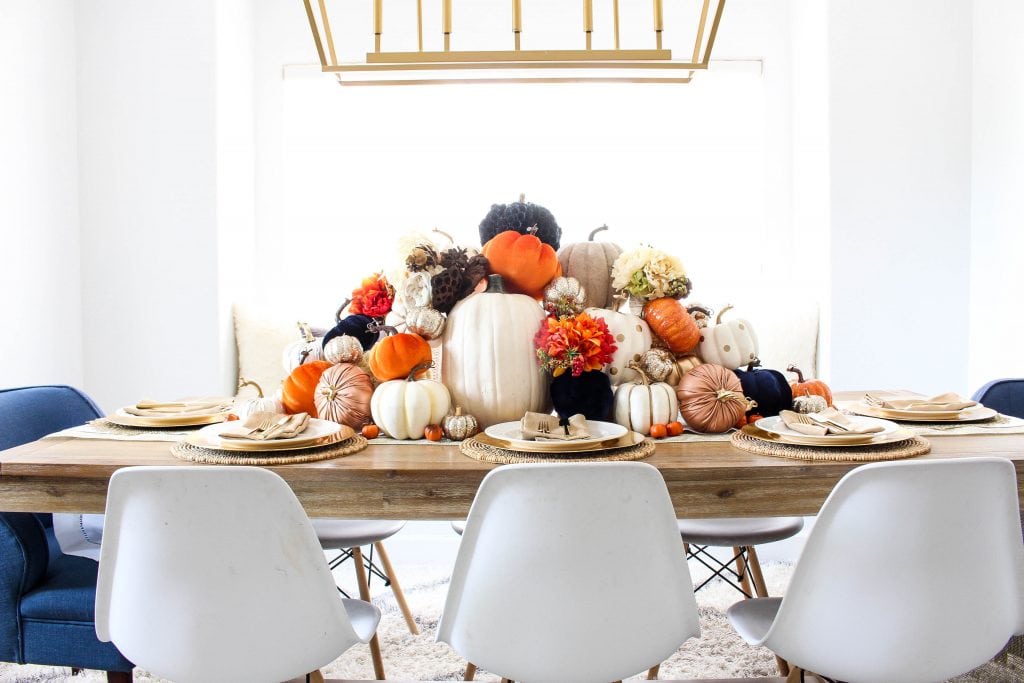

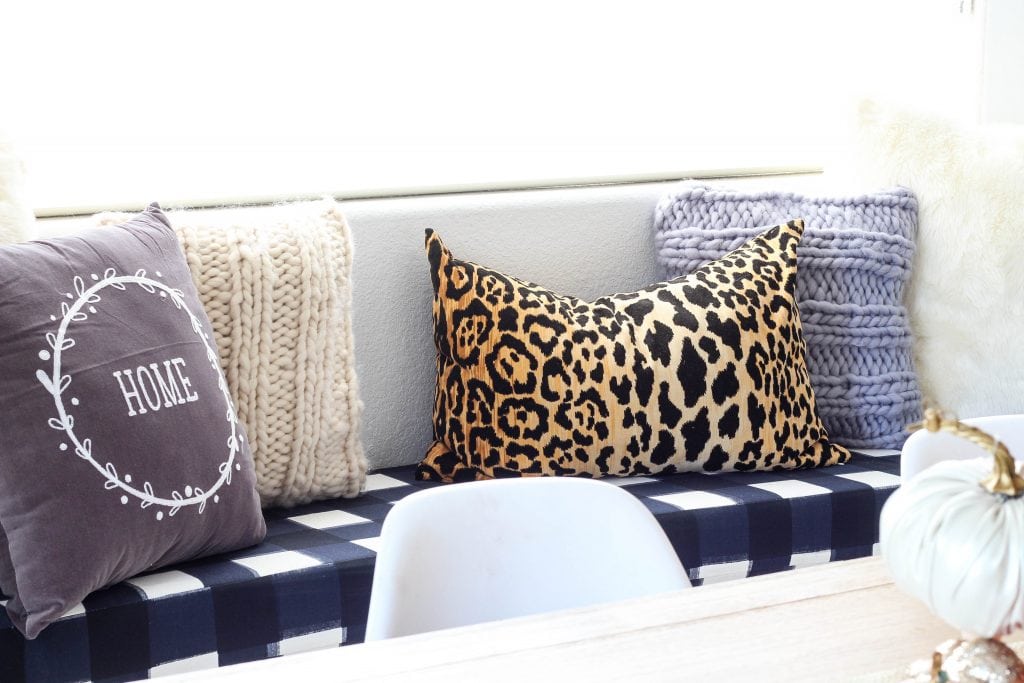
In our dining area, we have these cute little window seats so I added a few fun Fall pillows to the space! I chose this super cute Simply Autumn Velvet Pillow and the Simply Autumn Cable Knit Pillows and I love the cozy look of them.
I am so excited to have my dining room all ready for Fall and Thanksgiving! It was so easy and so fun to create this little space in my home. I am not a huge Halloween decorator but you KNOW I am getting into the full swing of things with fall and Christmas shortly after! I can’t even wait!!!! Do you decorate for Fall?

Huge thanks to JOANN for partnering with us again! We have worked with JOANN for a long time! Check out some of our favorite projects that we’ve done with them!

Very cute! What a fun thing for fall.
Wow! It’s stunning! Awesome!
Thanks for sharing!
xoxo
Where is the space for place settings and eating. I think it looks nice but way too crowded.