
Crafts · Home Decor · Spring
Spring Bunting Banner Tutorial
Two years ago, when we first started blogging, we shared this super cute spring banner tutorial with you. Since it’s the first day of spring, it’s only fitting that we share a Springy post today so we’re gonna show our new friends and followers this tutorial again.
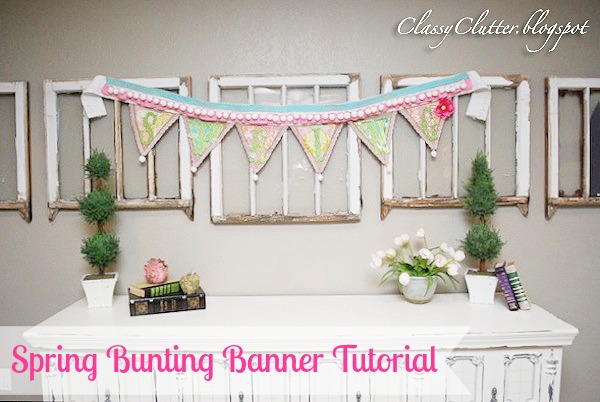
These banners are beyond cute and super easy. The cool thing is you can pretty much use whatever you have on hand to make one. You could also get creative and make one for any occasion!

First things first! You’re going to want to decide what materials you want to use. You really can’t go wrong here. Whatever you like, USE!
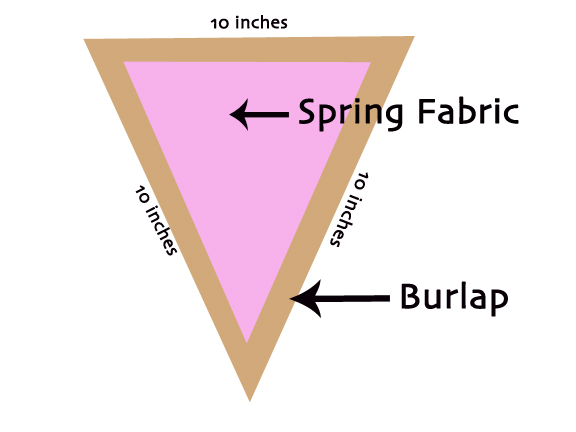
You’re going to want to have one or two fabrics to use as your background, and any embellishments you want. Flowers, Rhinestones, lace, trim, pearls, butterflies, birds, the possibilities are endless! We chose burlap and some fun springy fabrics. Cut those to the size you want your pendants to be.
Here is what we did if you’d like to use it as a guide.

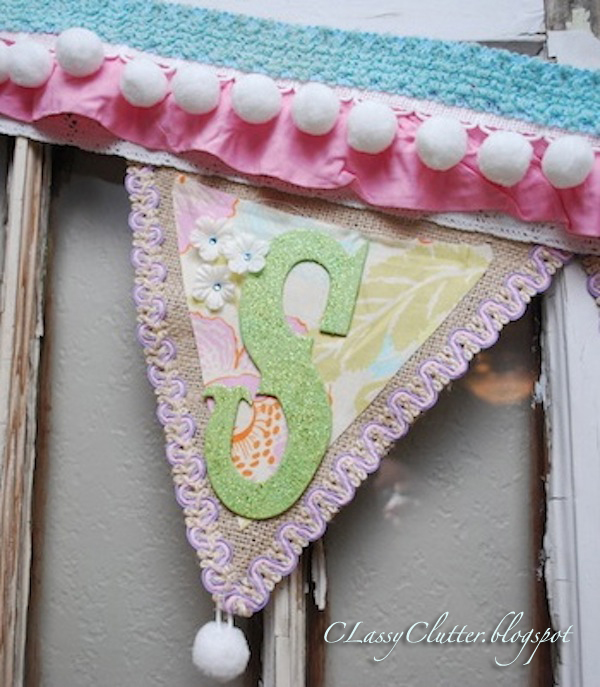
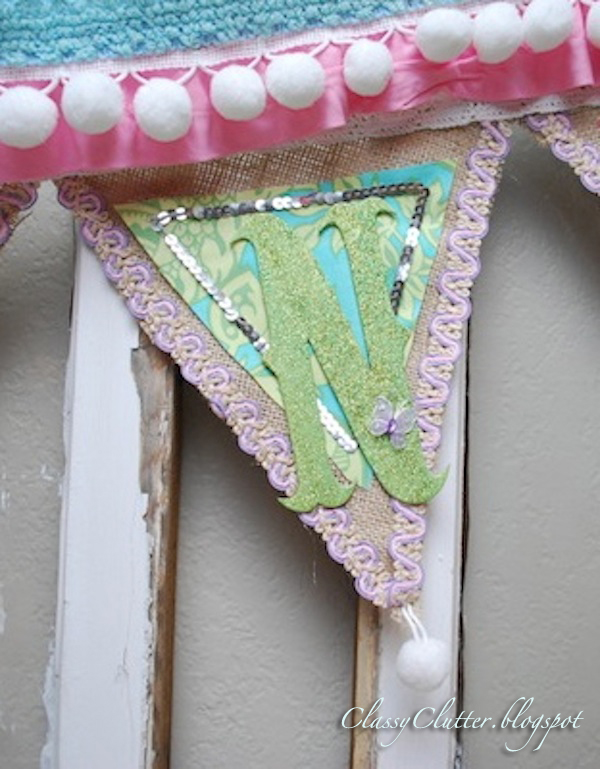
Next, gather some letters, we used pre-cut chipboard letters. You could use fabric, chipboard, or scrapbook paper. Anything would work really, just whatever achieves the look you want. We wanted bold and blingy! Enter Green and GLITTER!
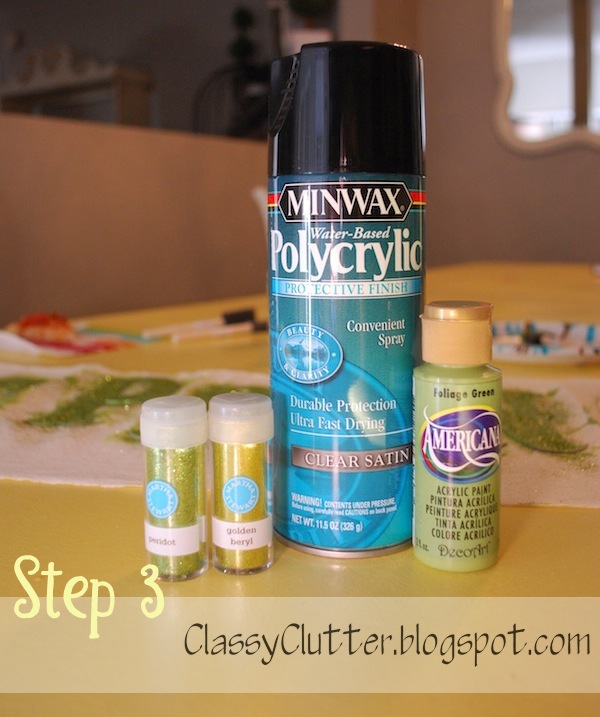
Grab some paint, glitter and polycrylic spray (optional).
Tip: Don’t let your 2 year old princess play with the glitter unless you want to be vacuuming up HOT PINK glitter off of your friends and your carpet 🙂 The Martha Stewart glitter lids do not stay on well when a 2 year old little hand gets ahold of them!
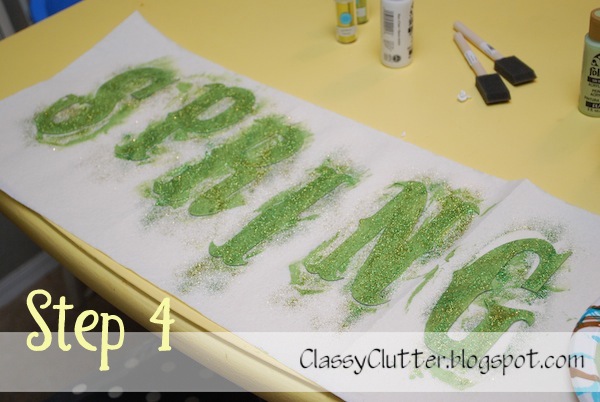
Paint your letters and sprinkle loads of glitter on them! Once they were dry, we sprayed polycrylic spray on them to seal in the glitter so it would last through many Spring seasons without losing the glitter. This also helps keep the mess down to a minimum when hanging it up and handling the banner.
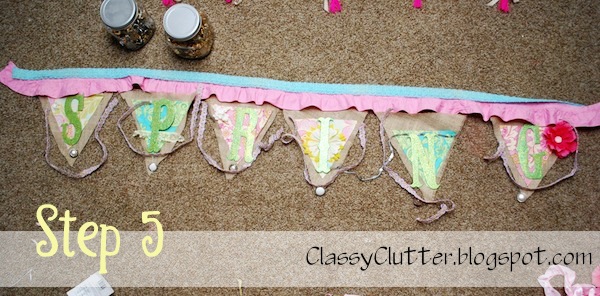
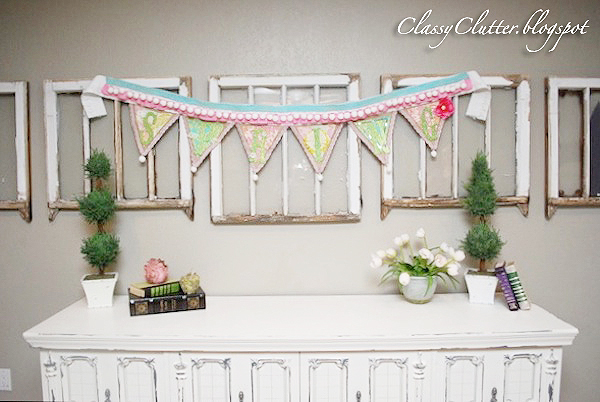
Lay everything out! We used a heavy trim and ribbon for the top (which measured 88 inches) You can make this shorter or longer based on the size of your pendants, the length of your word etc. This is where we decided which embellishments would go where.
We wanted all of the pendants to be different but to coordinate. You could easily do them all the same for a more uniform look. You could even skip the embellishments for a simple banner! We love the bling and the details so that’s what we did! It’s totally up to you!!
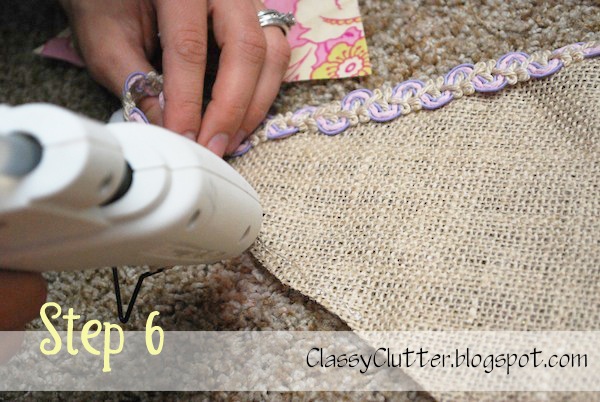
When you have it exactly how you want it, start gluing it all together! We used a hot glue gun and about 10 glue sticks! You WILL go through a lot of glue!
Once, she’s glued together, THAT’S IT! Told ya! That wasn’t too hard!

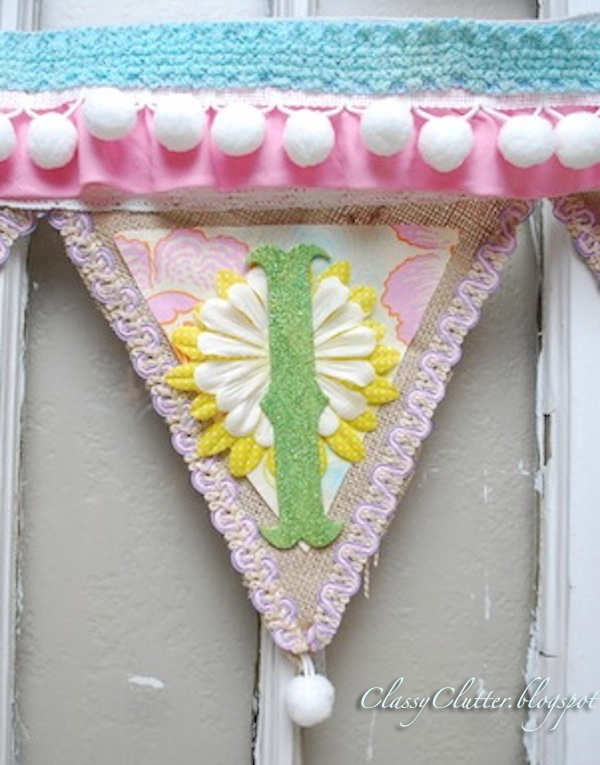
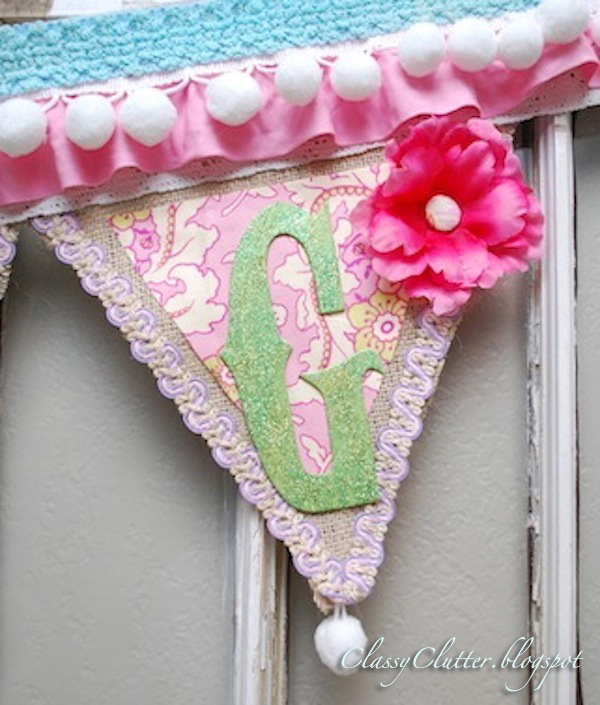
The “G” is my favorite! I LOVE the flower and the fabric covered button in the center.
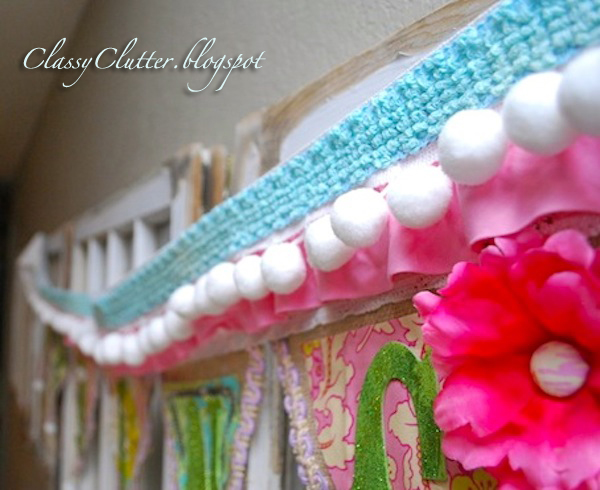
I LOVE the pom-poms!
Love it?? I wanna make one for EVERY season!
Please send us pictures of yours if we inspired you to make one!
classyclutter4@gmail.com
Thanks for the post! Total lightbulb moment. I’ve been wondering how to get the glitter to stay on and keep my floors sparkle free. Thank you!
Gorgeous banner. Love all the embellishments.
Beautiful banner!!! Love all of the colors!!!!!
great spring project! loving the banner is beautiful! one for every season is a great idea too!
I’ve been hesitating to make a banner, just wasn’t ready to decide how I wanted to make it. Not any more, your banner is perfect and I have lots of trims, lace, etc. to use. Whenever I’m at the thrift stores if I see lace or trims I buy them not knowing at the time how I’ll be using them, but know I will use them when the time is right. Can hardly wait to start on my banner. Thanks for the much needed inspiration. Happy Spring
You did a beautiful job with this! Love the colors and the pom poms look great 🙂
This is sooo cute!! May I please Pin it to my Crafts Pinterest board? Thanks so much.
This is super cute! I am pinning this pretty now:)