
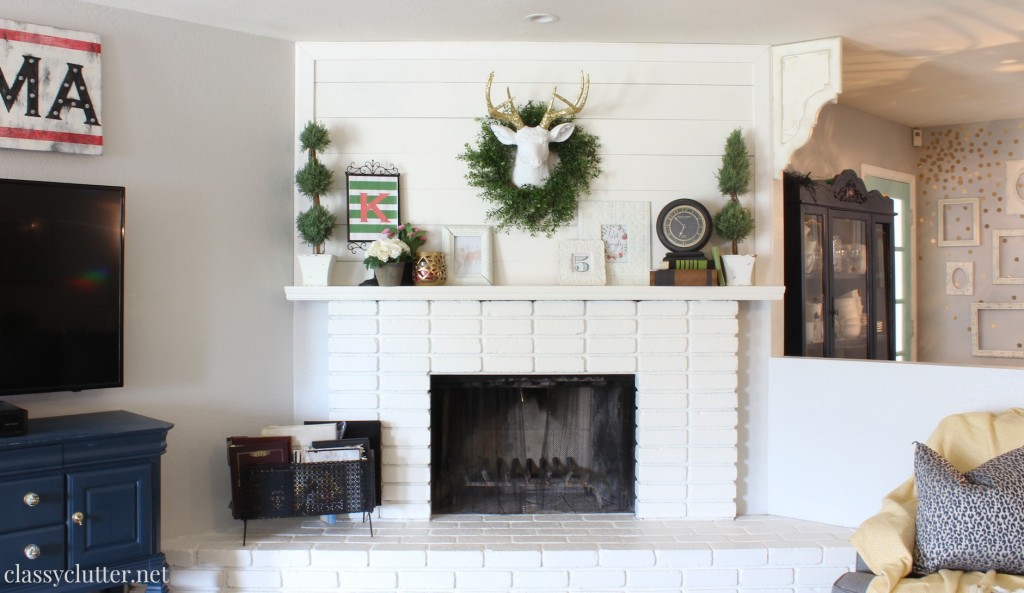
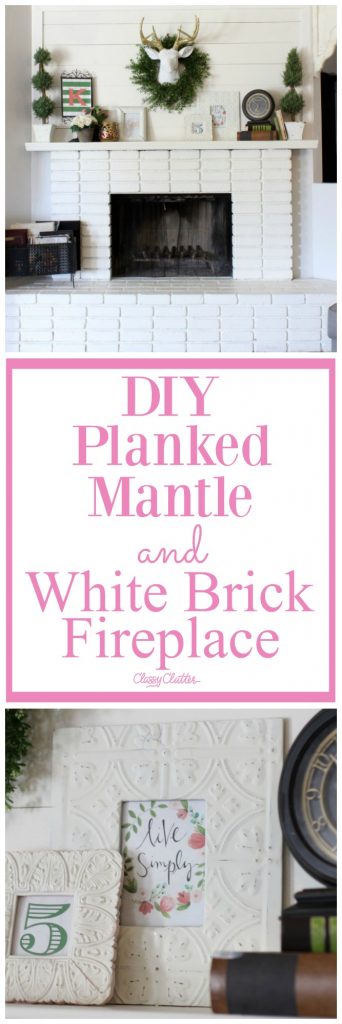
DIY Planked Mantle and White brick fireplace
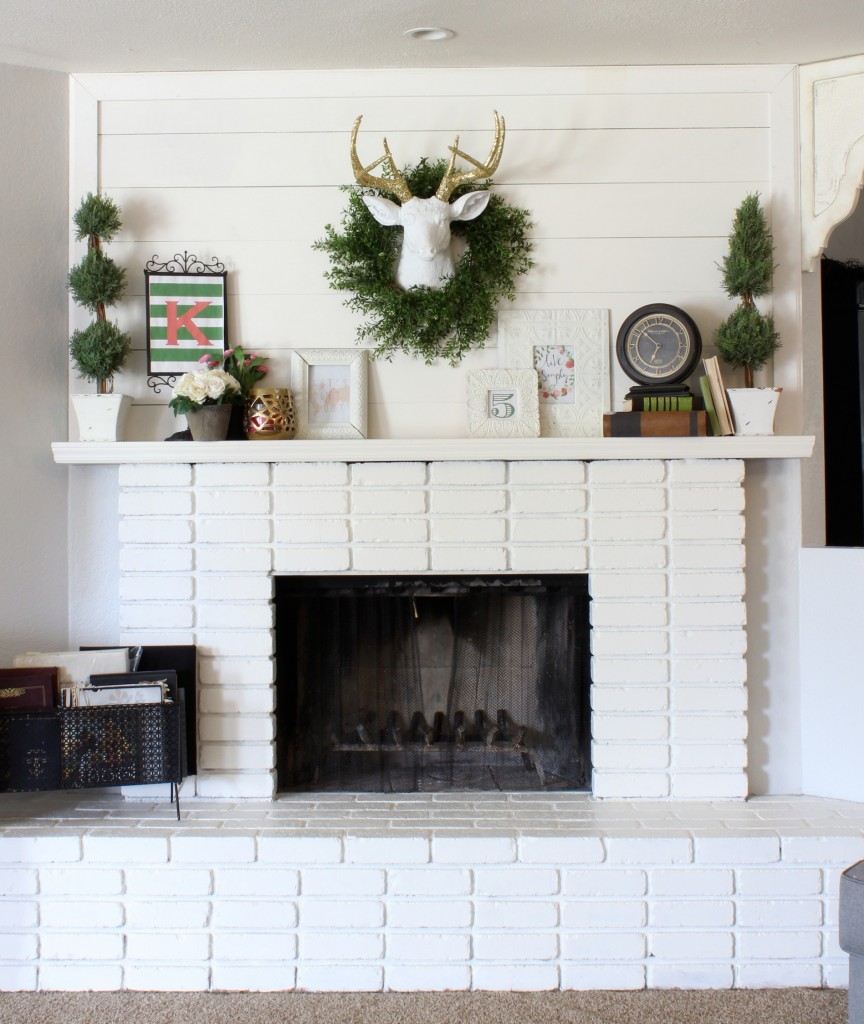
I am in love with every single bit of this brick fireplace and mantle! Once again I have redone my fireplace and this, my friends is my favorite so far! I have always struggled a bit with my fireplace and now I can show it with pride!
This is what my fireplace and mantel looked like before. I had white washed it and I liked how it turned out at the time, but as time went on I was still not in love with it. Since the fireplace was such a big part of my living room I really wanted to lighten it up. After going back and forth for a while I finally decided that in order in really lighten it up I need to just paint the whole thing white. I always wanted to add a little more texture and this is where the fun part came in. I did not want to break the bank or damage the wall too bad. With those things in mind I headed to my second home, Home Depot.


This is what I came up with:
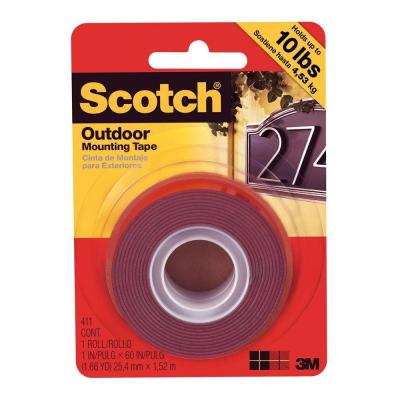
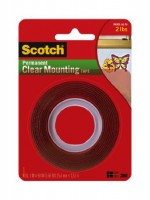
I decided to use 3M Scotch Outdoor Mounting Tape
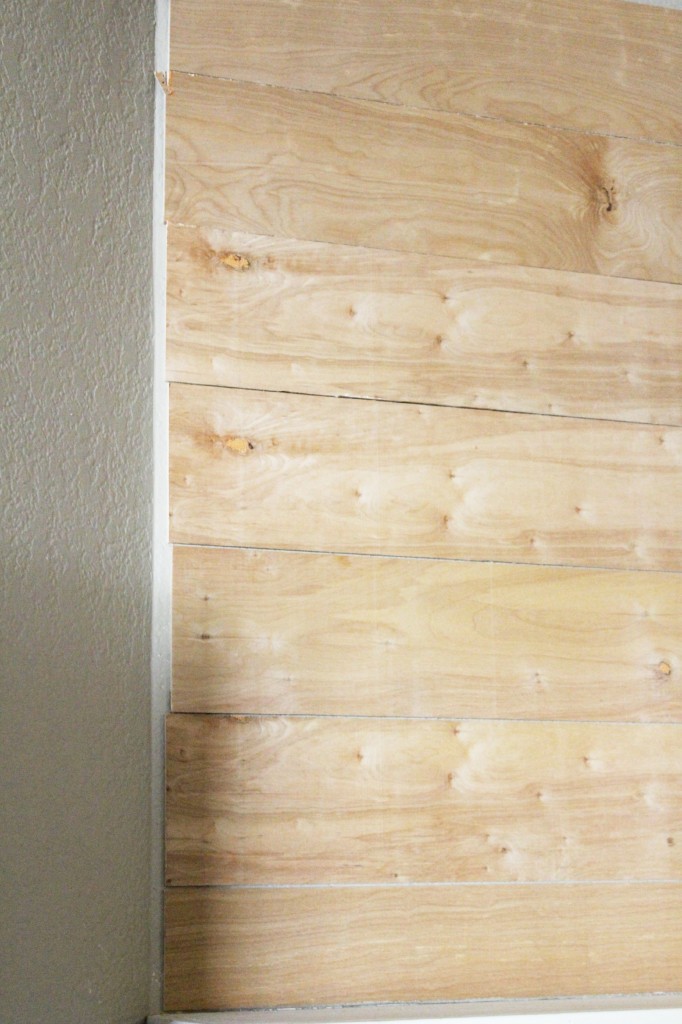
and this Underlayment
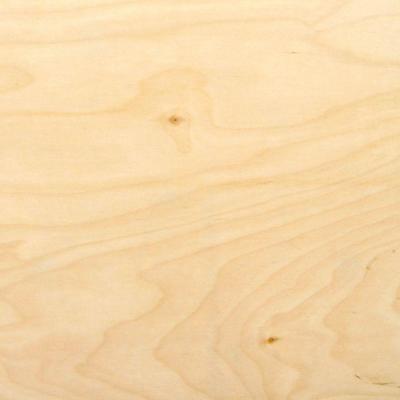
Which I had a good man at Home Depot cut for me in 6inch by 81 inch strips. I love that they are so helpful!
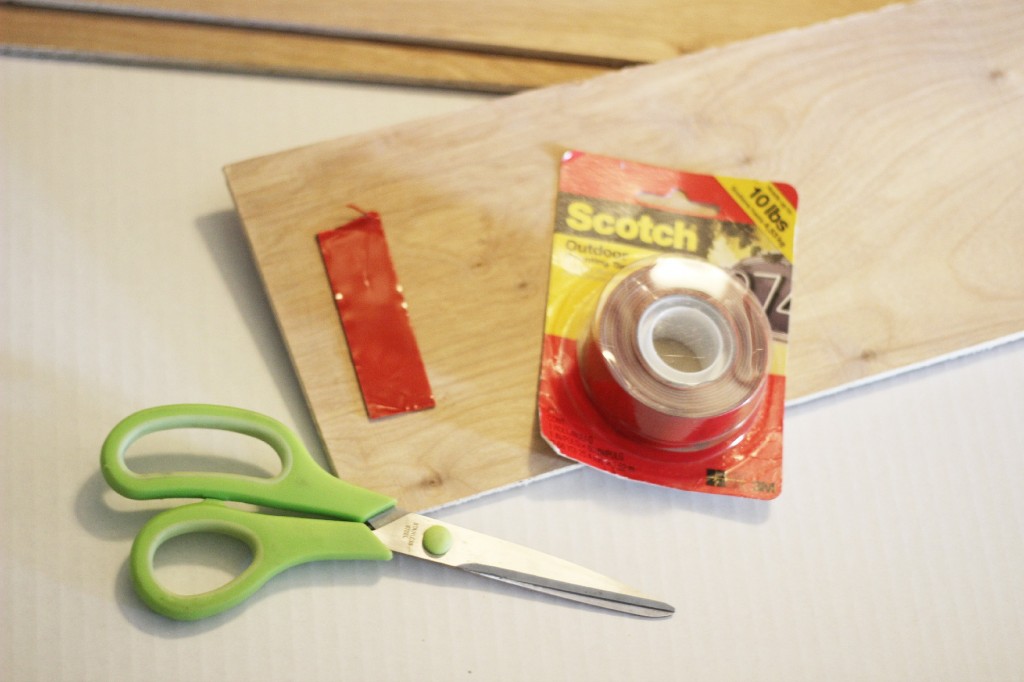
I put a bit of the mounting tape on before ends and one piece in the middle and I started to attach them to wall stacking one on top of the other. I used a nickel in between each plank to make sure they were evenly spaced.
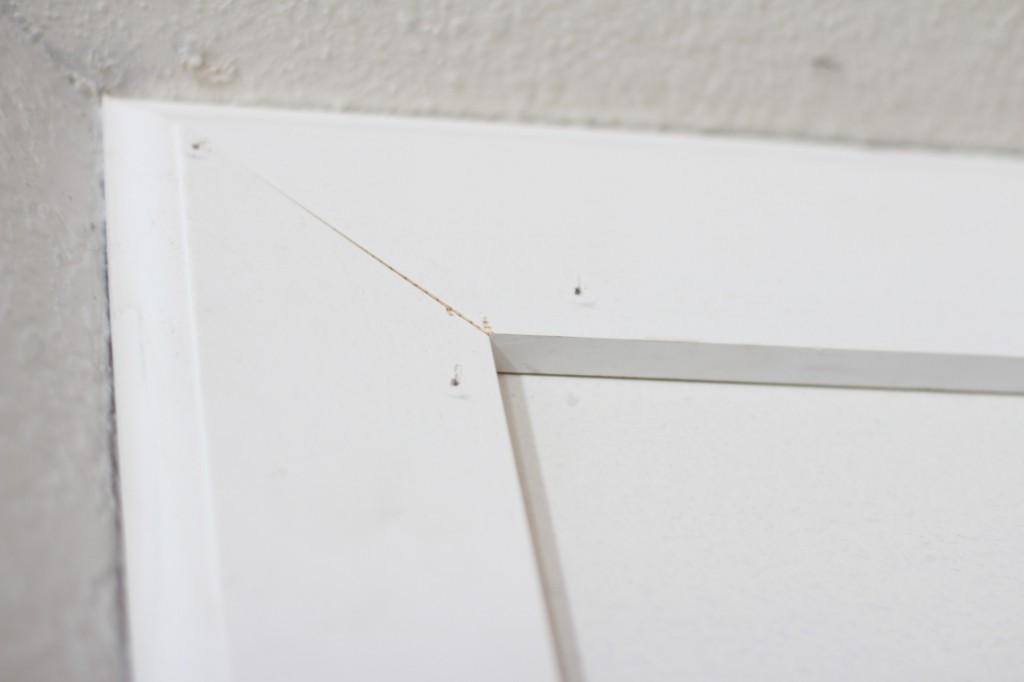
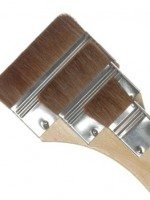
After all the underlayment was attached the wall I painted the edges before adding the trim pieces, only because I was to excited to see how it would look painted. I used a clean looking trim piece and I did mitered corners to make the trim look more professional. Mitered corners can be hard but there are a ton of different tutorials and YouTube videos out there to help make it easier, but I think there are worth the time and effort.
I did use a nail gun to tack down the trim piece and that also helped hold the underlayment in place as well. But I only used a few nails because like I said I was trying my best to avoid a ton of different nail holes on the wall. These small nail holes are really easy to fill if I decide to remove the planks down the road.
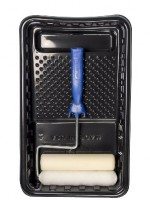
After all the wood working stuff was done I painted the fireplace and mantel with Swiss Coffee by Behr Paint. This is the perfect creamy white.

You can see here that, using a nickel to space out the wood planks. Its nice because you are sure to see the space between each piece, even after they’re painted.

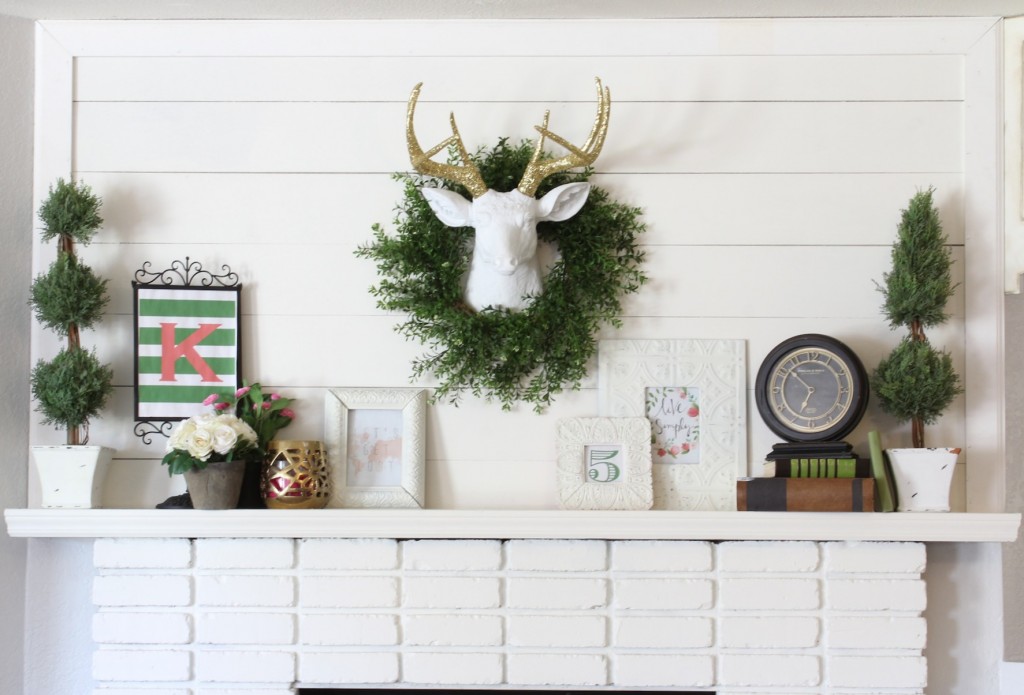
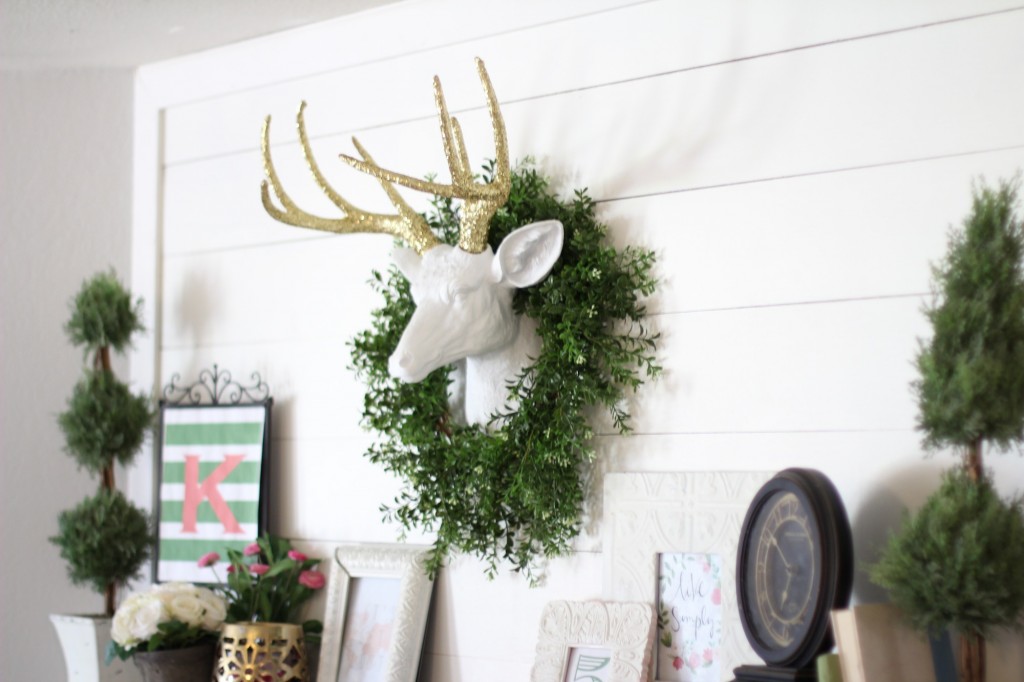
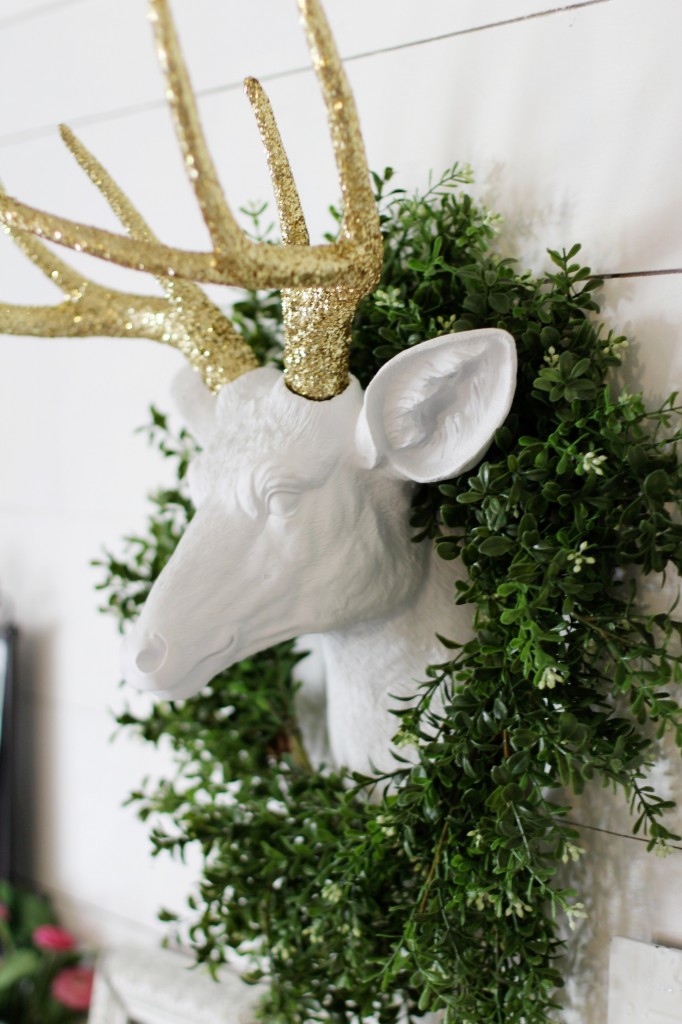
I got this cute deer head from White Faux Taxidermy. Mallory has the same one and you can see how she cute hers is in her Living Room Reveal.

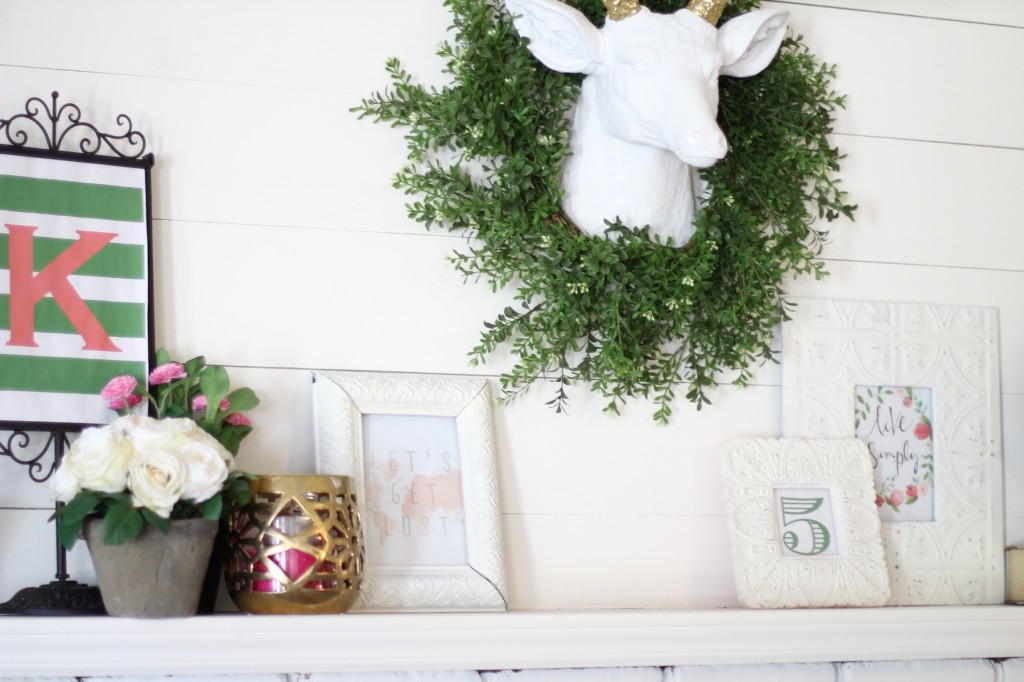
I am head over heels in LOVE with my fireplace now! What are your thoughts? Do you love of hate the white?!
I would love to get some feedback. Love you all!


Beautiful job! I absolutely love this. It added so much to your fireplace. Now, I am thinking something like this would look great at my house too. 😉
I LOVE it! You have definitely transformed the fireplace! 🙂
Love love love love love!! It almost feels as though you brought the outside, in. Very homey! And lots of great texture going on.
Gorgeous. Invite us over to see it in person!
XO
absolutely STUNNING! now I just need a fireplace
What an awesome transformation!!! LOVE it!
Fabulous! I LOVE how it looks – beautiful.
OMG this mantle is perfection!! I love it!
It turned out so great! xoxoxo I love how it looks!
This is great. Wonderful job you have done. Keep it up.
Hi, your white brick fireplace looks awesome. Nice idea. Thanks for sharing.
I am a huge fan of the white fireplace. Thanks for putting this together, you really covered everything!