
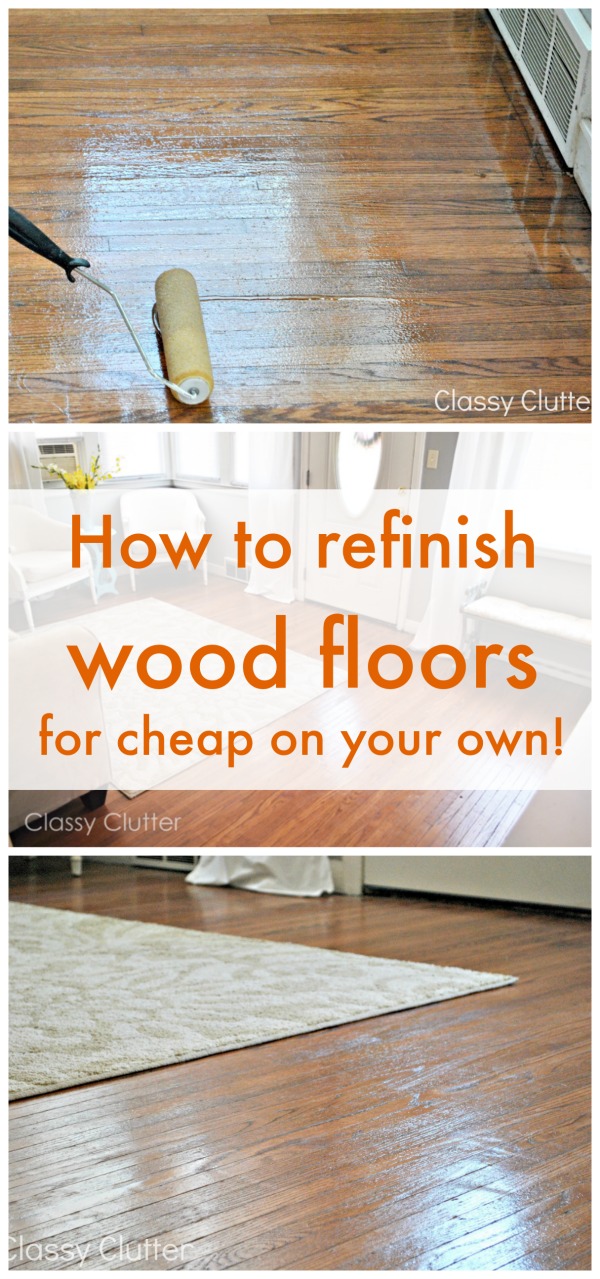
How to refinish wood floors – part 2
Hi! Welcome to part 2 and the reveal of our wood floors! I am super excited to share part 2, how to refinish wood floors, for you because honestly, it was a huge project for my husband and I and it is very rewarding for me to share this with our readers and receive your awesome support. That being said, we are so glad we are done and we LOVE the flooring now.
If you missed Part 1: how to remove carpet and prep your floors, you can check it out here.
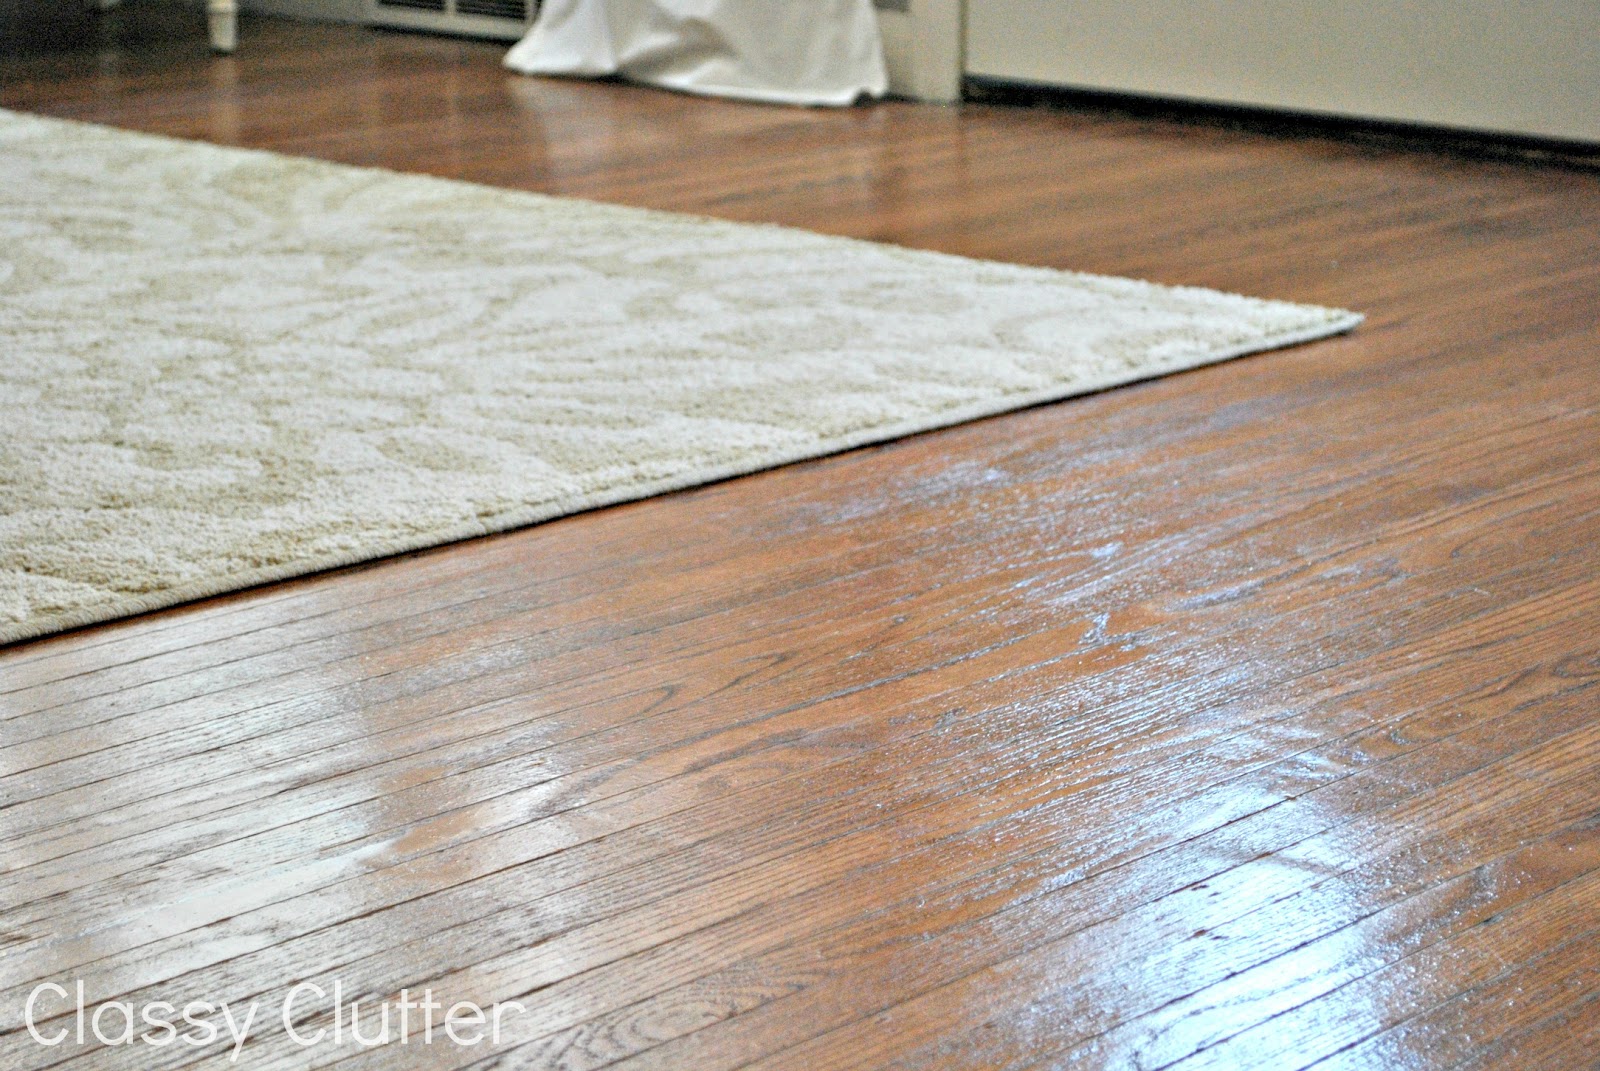
I left you yesterday with this image of our clean, prepped floors. (See part 1 of the tutorial here)
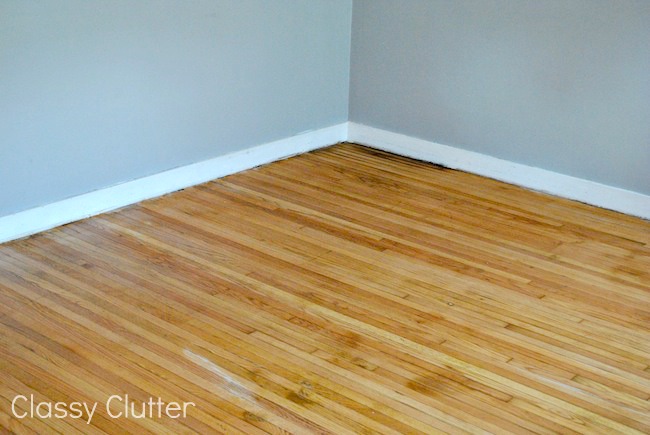
After you’re all prepped and ready to go, you will mop the floors fully to condition the wood. I read that this step opens the wood grain preparing it to be stained. Make sure not to completely saturate the floors, just a light mopping will do just fine. Wait at least 30 minutes before applying stain until wood is completely dry.
Once the floor is dry, it’s time for my favorite part. STAIN! I had an awesome friend give me a gallon of stain that her family used when redoing their floors. It was Minwax stain in Cherry. Thanks Denyse!!! You’re the best! Her floors were gorgeous so I knew it would be great in my home too!
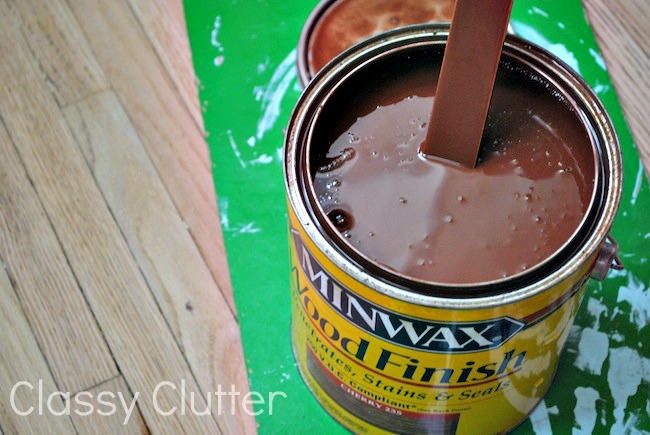
We mixed it up really really well and went to town on those floors. To apply the stain, we used an old rag, a dry “buffing” rag and rubber gloves. Start in the far corner of the room and start applying. You will dip your rag into the stain, basically scrub the floor with it then use the clean buffing rag to get any excess with the dry rag. Make sure to wear rubber gloves because the stain will stain your hands for days and it looks nasty. Lesson learned on a previous project. haha!
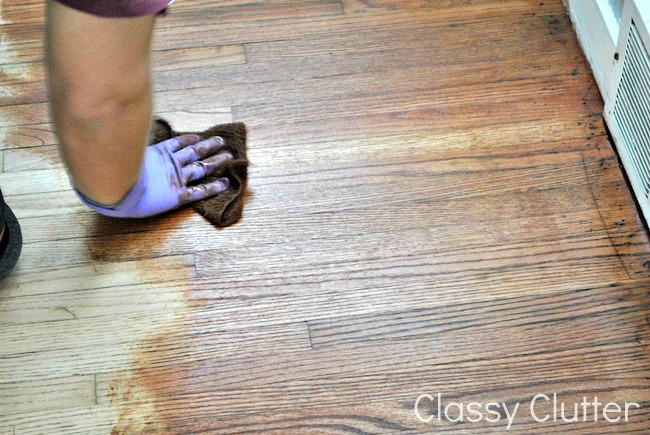
PS. Those are my hubby’s hands in my kitchen gloves. 🙂
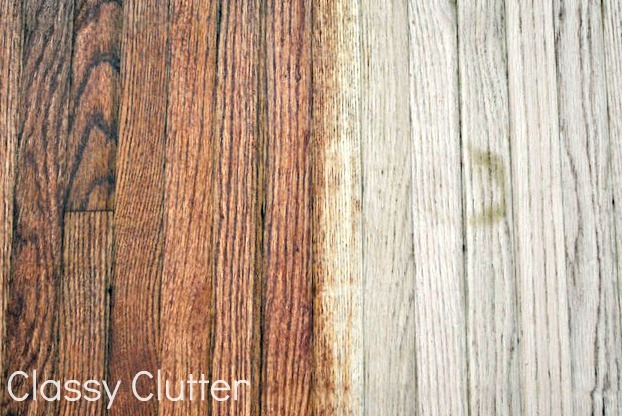
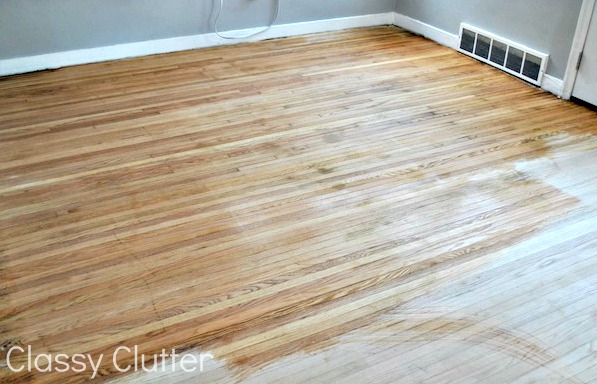
I love the look of the color as it went on the floor. It looked a little red at first but it darkened and deepened in color as we went over it and as it dried.

Here’s the stain all done! One more step! Seal with polyurethane for floors.

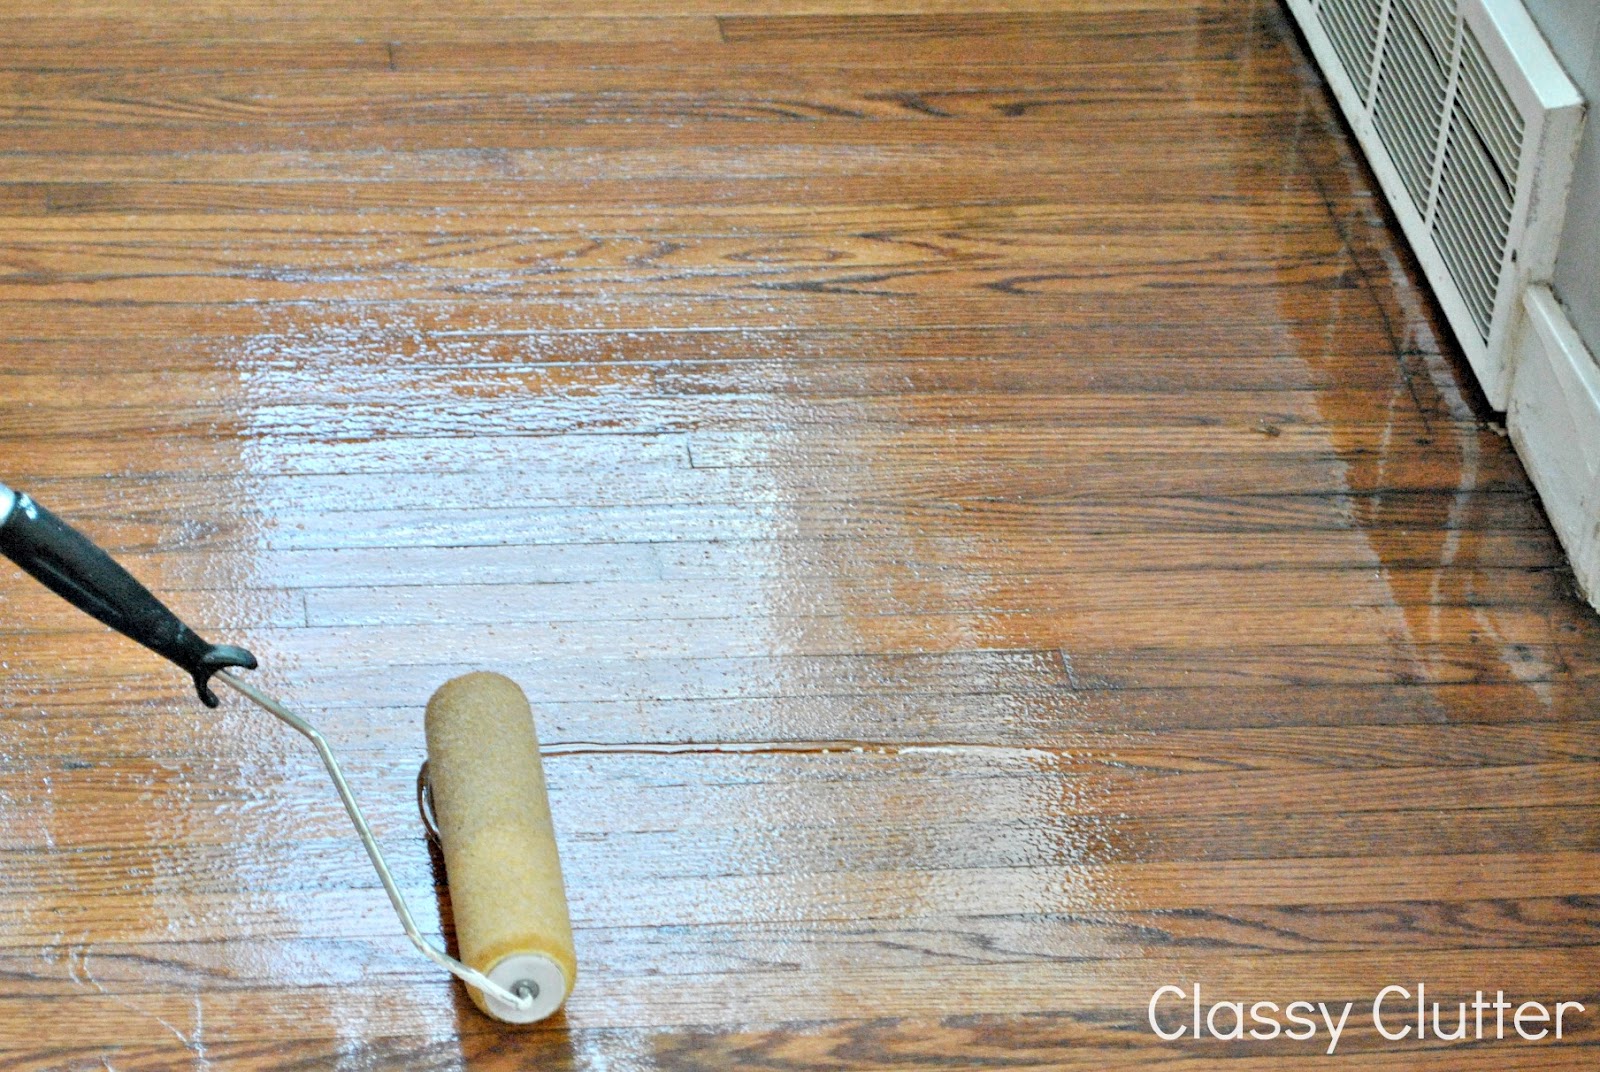
This 1-gallon can runs $29.99 at Home Depot and we really liked it. Be sure to read the directions thoroughly and make sure you work in a ventilated area. We opened all the windows in the room because the oil-based poly is very potent smelling. The water based option is good too but you will have to do more coats but the smell is not as strong… so, pros and cons to both. We had good luck with this one though.
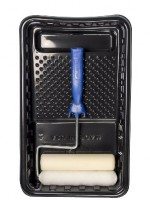
You will want to use a smooth roller to apply the polyurethane just like you are painting a wall with a roller. It’s quite simple!
Let it dry according to the directions but we left the room for a full 24 hours before walking on it and putting furniture back in the room. You want to make sure it’s FULLY dry so nothing damages the floor and so the poly doesn’t damage your furnishings. 🙂
Finally, we repainted the doors, trim and vents in the room so the bones of the room looked like new!
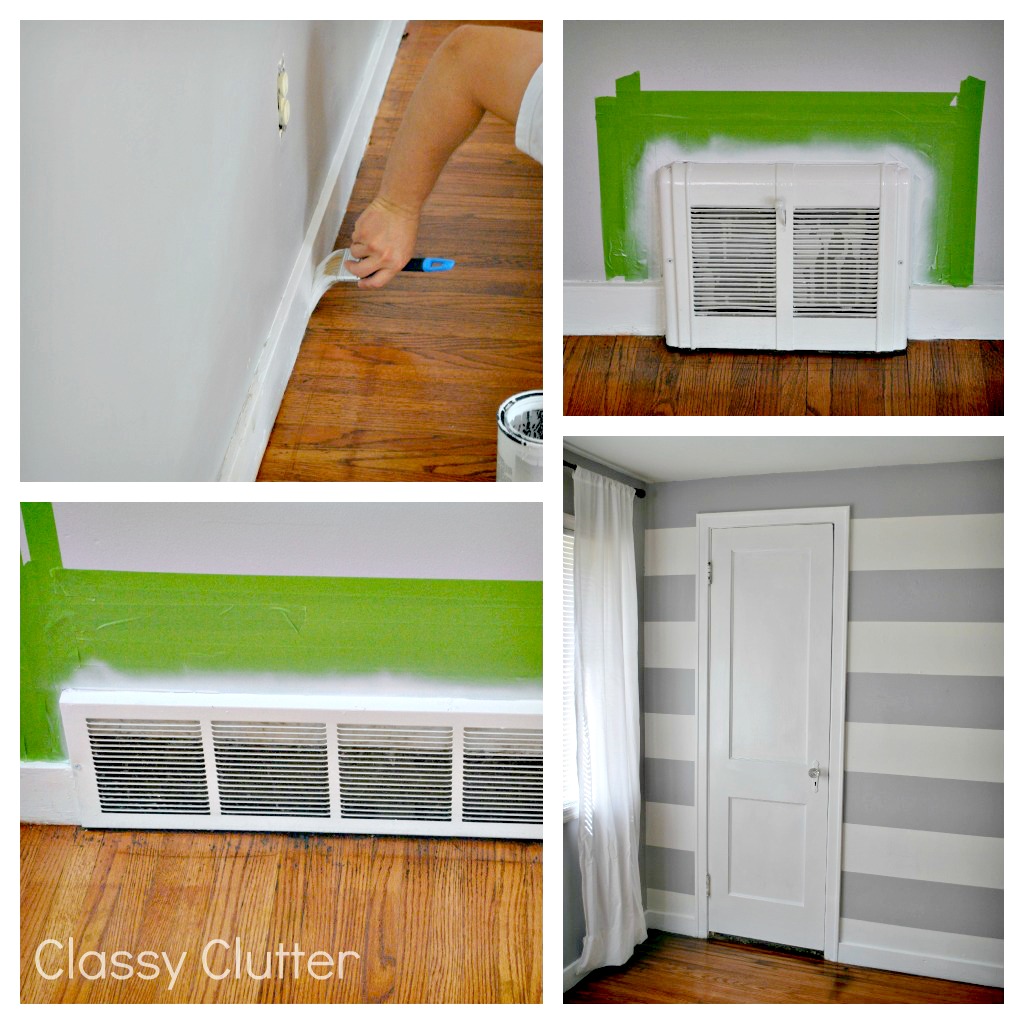
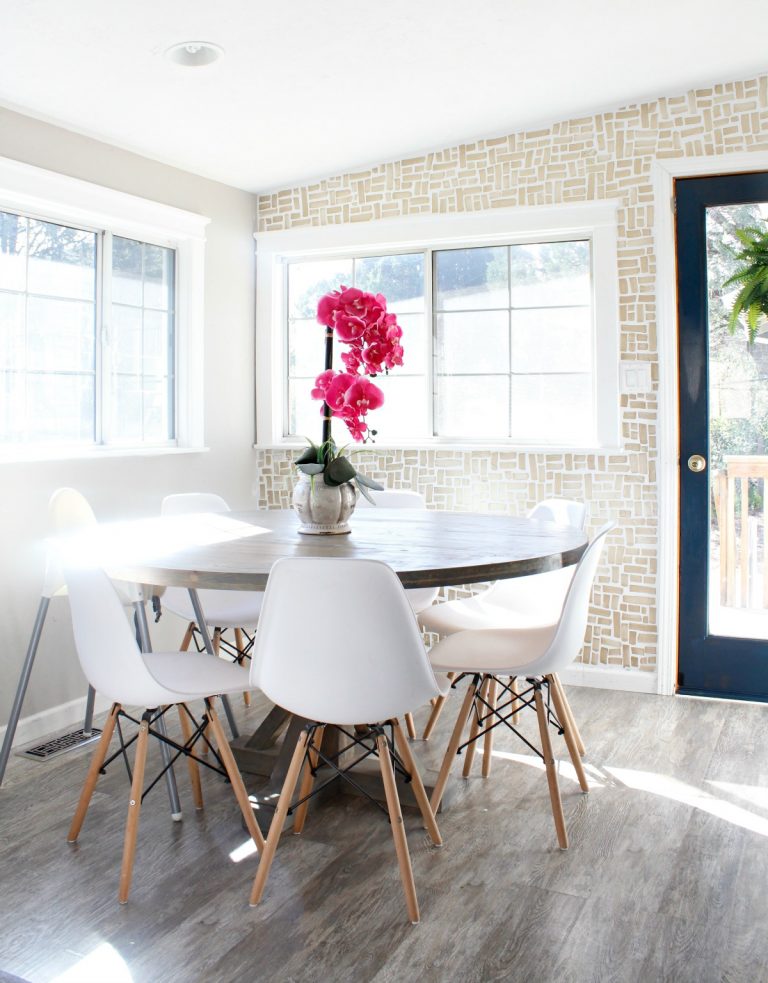
Finally…

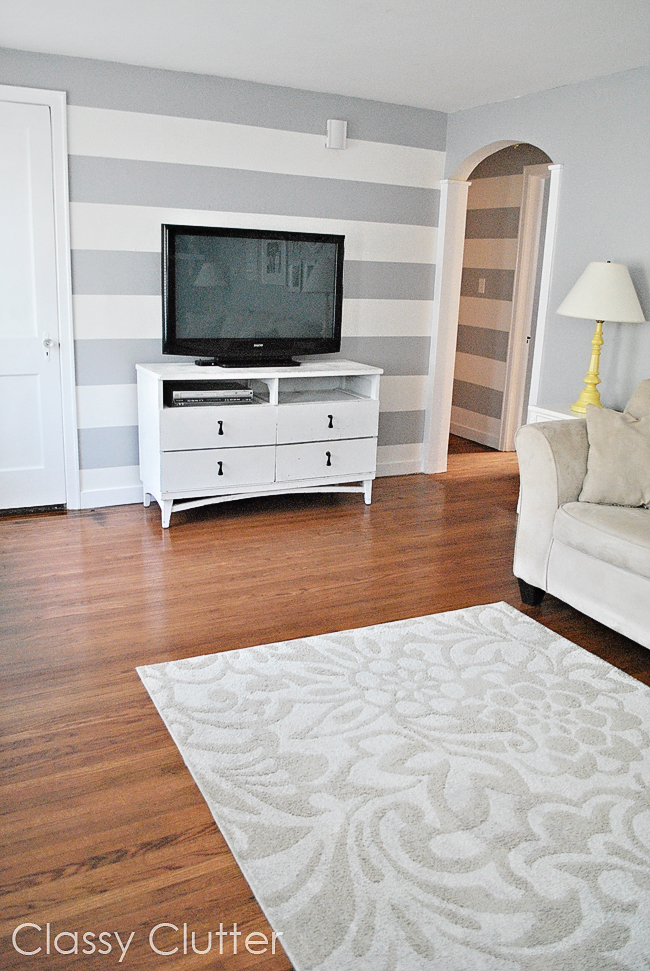
My oh my! I just love it! It makes such a huge difference I think. Just for fun, here’s a progression shot of this room.
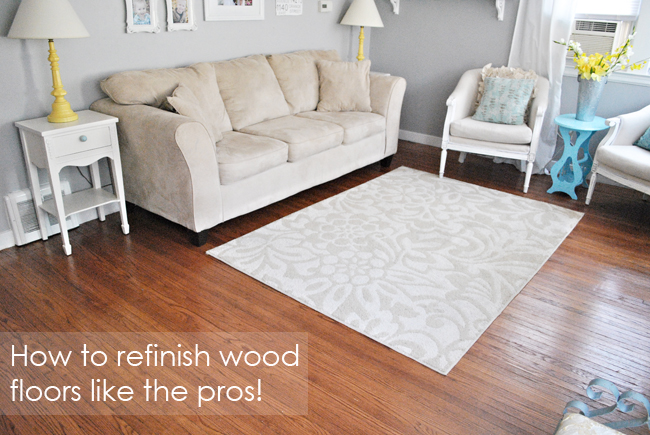
Don’t worry, I’ve got a couple more additions to this room up my sleeve. 😉
So, what do you think? Do you like the change?!


oh how I love your floor!! I so wish mine was in good enough condition to refinish like this, but it’s missing pieces… I think someone must have moved walls in this house or something. Sigh. If you do a post on how to replace missing wood floor sections, let me know!!! 🙂
xox
Did you have any water stain marks that need to be removed and how did you do this if you did?
Luckily we did not have any stains to deal with. Once we removed the carpet, the sanding took care of all of the issues.
They look fantastic, great job! Our house had floors beyond finishing (think patches every.where.) so we wound up laying all new floors. I’m sickly interested in doing this in a future house though!
We’re doing this to our new home! Thanks for giving me the courage to do it myself 🙂
WOW! You are amazing!
absolutely GORGEOUS!!!
it brings your whole living room together!
What a huge undertaking! I wish I had beautiful wood lurking under my carper, but nope, just cement here. It makes SUCH a difference in your lovely room!
You can get ceramic tile that looks like wood. I have seen it put down and it looks quite nice.
I love it, it looks amazing!!!
Wow, great job! What a huge undertaking but the results are amazing.
Love the warmth it adds!
Amazing accomplishment! Great work, it looks beautiful! You have definitely inspired me to refinish mine 🙂
Thanks for posting this! We need to refinish our floors and this is a great tutorial. Barb
Great job you guys! You have inspired me to do the same on my floors. I stained them dark 4 years ago. Lately I have been wanting them lighter (actualy white)again but was not looking forward to all the mess. But now I think it’s doable.
I have no experience staining wood.
I have teakwood floors that are the golden oak color. I hate orange. Is it possible to get rid of the golden oak orange utilizing the above process?
It looks truly amazing! All that hard work, wow – well done.
It looks Ah-MAZING!!!! Good work!
The floors look awesome – worth all of the work it looks like you put into it!!
wow this turned out so fantastic! I am thoroughly impressed.
marissa
http://raegunwear.blogspot.com
Wow, the made really made the Wooden Floor shine again.
I’ve done both– refinished the hardwoods downstairs and installed them upstairs, and they both look nice. The laminate doesn’t have the same authentic look, but it’s probably more durable. Long story short, it really depends on the look you want.
http://www.aaahardwood.com/
I just found hardwood floors under my carpet when my puppy “accidently” pulled up the carpet. They look a lot like yours and I’m wondering if you had any problems with the painted areas? I’m looking forward to doing this in my house!
This was great, thank you! We are planning on refinishing our floors too…I’m a little nervous. Just wondering, how many coats of poly did you apply as well as time between coats? And after the final coat, you put all furniture back after 24 hours?
Thanks for the inspiration, and GREAT WORK!!
Hello sir, Are you ok? You have written a unique content.
I am so fascinated about on classyclutter.net your publishing.It site has become vary popular & demanded site for all the sphere of human being.Actually I like this site.Your considered subject of… is so essential to me also everybody. I going to you can to perspective my At Uniqfloors you can find extensive choice of Wool Carpets surfaces places areas in many colors and designs to go with personal options.
Thanks for your valuable Article.
Hi,
Great article! I have 1 question though. How did you spread the polyurethane towards the edges of the room? Since the roller is round, i would assume that it wouldn’t get the floor where the floor meets the wall. Did you have to get down and do the edges with a brush?
thanks!
Did you only do one coat of polyurethane? I’ve heard that you need at least 3. Just wondering how it has held up?
This looks incredible! Great tutorial and starting point for someone looking to remove carpet and restore wood floors.
Did you know there were hardwood floors under your carpet before you lifted them?
Hi Katie!
We pulled up a corner and we could see the hardwood. We did not remove the carpet before knowing about the hardwood. 🙂
Hugs, Mallory
The link to step one takes me to the home page, that doesn’t seem to have a link to the first step either. I was able to find step 2 in the DIY section, but don’t see the first one when looking manually either. I suppose what I need to know from it is how you prepared the floor for restaining. Your floors look great and I need to know how to do this! Thank you!
Hi Terra!
Someone must have pinned it from our homepage. Here are the links!
Part 1: https://www.classyclutter.net/2012/07/how-to-remove-carpet-and-refinish-wood-floors-part-1.html
Part 2: https://www.classyclutter.net/2012/07/refinishing-wood-floors-part-2-and-the-reveal.html
xoxo – Mallory
A good restoration brings out the classic look without sacrificing the integrity of the item.
This post series makes me so excited, thank you for posting!!
I feel like I can do this, you’ve given me courage to tackle my own floors. Woo hoo, this is going to happen!!
How much did this end up costing if u don’t mind me asking? I’m wanting to do this to my living room and hallway in April, all my bedrooms are hardwood!!
Hi Jessica! For everything it was under $400! Thanks!!!
How long from start to finish did it take?
Wao! you did a amazing job. And I think 400$ is a good price for this look.
Did you come across any bad spots in your wood or missing/damaged boards? I pulled up a corner and have wood floors that look like they would turn out nice, but scared to pull back any further.
Hi Kevin! Luckily we did not have any issues with bad boards. It was a gamble but well worth it! 🙂
I am SO GLAD I came across this post, as we have just yanked up the carpet in the master bedroom and discovered paint-splattered wood floors identical to your first pic. (People are rotten.) We’re going to tackle this next weekend. Fingers crossed!
Wow thank you so much for sharing. We just bought our first house and the living area has an old dirty carpet. We know it’s hardwood floor under it, but we have no idea the looks of it. Your step-by-step wood floor project is helping me prepping and getting ready for our job.
We had new hardwood oak floors professionally installed, using our own boards. The wood shrank some, and we now have separation between some of the boards, much like yours looked at the beginning of your project. Do you think if we applied some poly like your finishing step, it would seal those gaps? I hate the thought of dirt getting permanently stuck in the areas. Your floors turned out lovely!
They look awesome!!!
I am thinking of doing to my new house, Do you have a cost estimate for this undertaking?
Thanks,
Libby
I spent about $350. Thanks!!
I know I’m late to the party but I just found your post via pinterest and I love your floors! We just refinished our upstairs loft areas and used the same polyurethane. Awesome tutorial!
So mopping the floor before staining it can help the wood receive the color better. That’s good to know. I love the darker wood look of your floor against the light color of your walls. Maybe we need to refinish our floors. They are such a light color right now.
Your refinished flooring looks absolutely amazing! I have some really old wood floors, that I am looking to refinish. I will have to test out your restoration methods to be able to get hardwood flooring that looks new and refined.
It sounds a hard work to do by yourself but the result is worth doing, thanks for your share
We have bought a new house. Your post really help me, for my new wood floor. Thank so much
We are wanting to do this in our new home as well and reading this made it seem very doable and a reachable goal! Thank you for sharing! 🙂
I am looking to buy an old house built in the 20’s the floors are covered in carpet but anticipate the original floors are wood…. Thanks for sharing this you made it look rather easy and the finished look is absolutely gorgeous !!
thanks for the tutorial….looks like i have a full weekend ahead of me!
After I sanded the floors , vacummed do i mob up the floor with a wet mop to clean floors do i use soap.
No, water should be fine!
I’m confused about the cost/budget? In the comments you first said $400, then later $350. However, going through the post, I came up with the cost breakdown below which was only $228… including a little padding and paying for the stain. Am I missing something?
Drum Sander Rental = $50
— Paper 8$ each x 6 = $48
Orbital Sander (edger) = $30
— Paper = $10-20
Stain = $30
Poly = $30
Drop cloth, tape, misc? = $20
TOTAL = $228
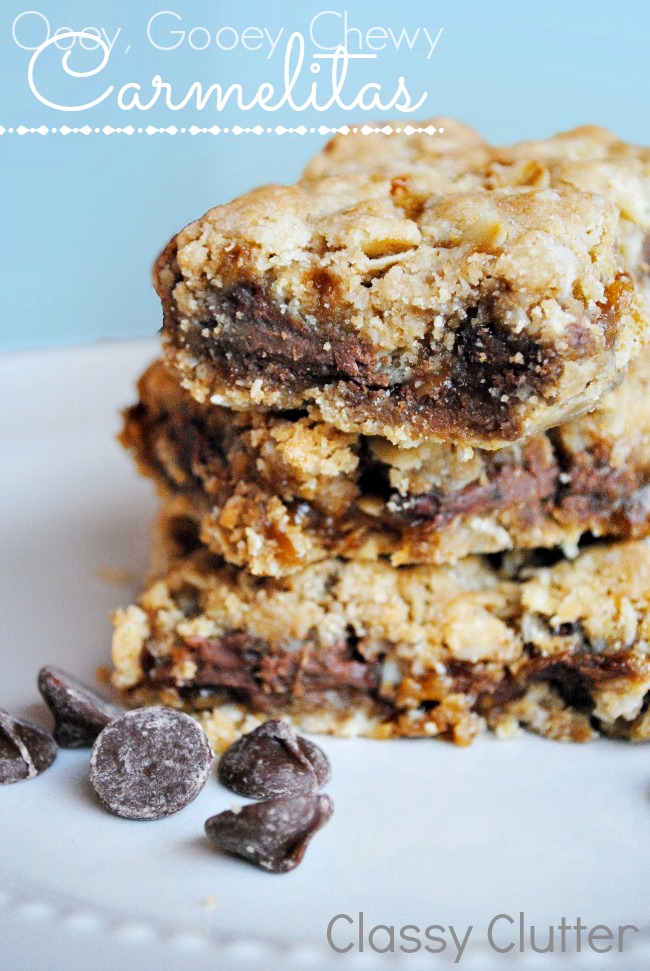
I just love the DIY ideas to renovate the house and this is looking really beautiful, stain looked almost like my favorite sin, chocolate and I was tempted to get hold of it and eat it all :). Results were amazing, you surely saved a lot on labor.
Hi there! the body of your post isn’t appearing for this part II… is there some other way to view it?
Hi, Did you sand between coats?
Yes!
Why do u send in between coats
Did you guys have to remove the baseboards? We’re looking at pulling our carpet up and I’m afraid the baseboards are too high (intended for carpet) and may need to be moved down to look right with bare wood.
So start to finish with everything how much did it cost you