
You’re invited: DIY Rustic Candy Stand with The Home Depot

This post was sponsored by The Home Depot all opinions are 100% our own.
Hello friends! It’s that time again! Time for another DIH Workshop at The Home Depot! We’ve talked about it before but every month on the third Thursday of the month, The Home Depot provides a FREE in-store workshop for women to create something awesome! Usually it is a beginner building project that you can make with materials from The Home Depot! This month’s is in the intermediate category but we think beginners will have no trouble with it! The Home Depot wants to inspire women to be do-it-yourselfers and so we do we! These hands-on workshops help women to be more comfortable with power tools and building materials. It’s SO much fun! 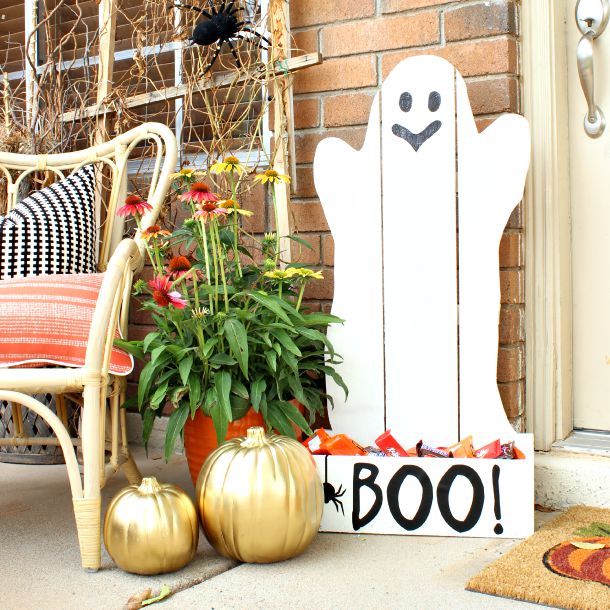
This month we are making this super cute DIH (Do it HERself) Rustic Candy Stand! In the workshop they will be making a pumpkin one but we thought it would be fun to make it into a cute ghost for trick-or-treaters!
MATERIALS:
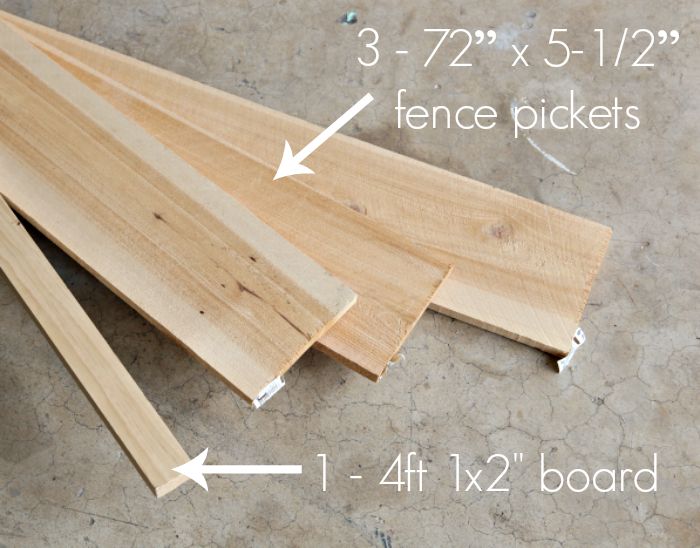
- 3 – 72” x 5-1/2” fence pickets, square edged preferred (You will have some left over.)
- 1 – 1×2 x 4 feet long
TOOLS:
- Measuring tape
- Circular saw or miter saw
- Jigsaw
- Crown Stapler
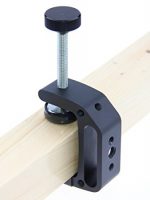
- Clamps
- Solid work surface
- Carpenter’s pencil
- 1″ staples
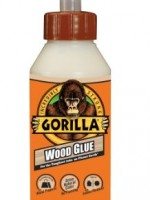
- Exterior wood glue
Instructions:
- First, make all of your cuts with a miter or circular saw. If you’re inexperienced, the Home Depot will help you make cuts and the DIH workshop is a great place to get more experience with power tools.

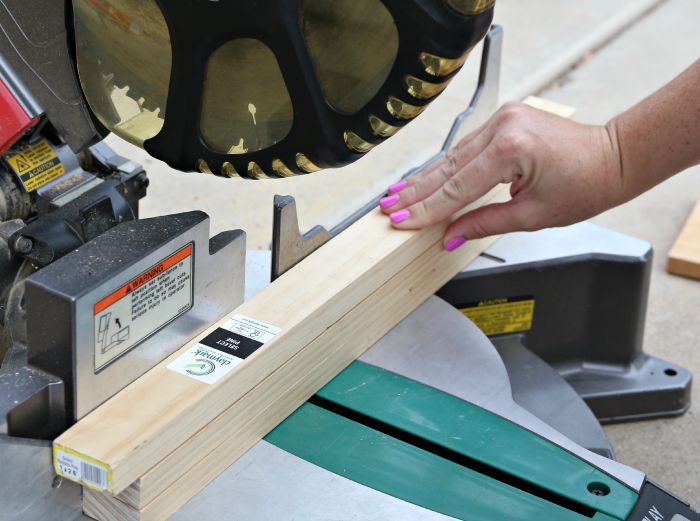
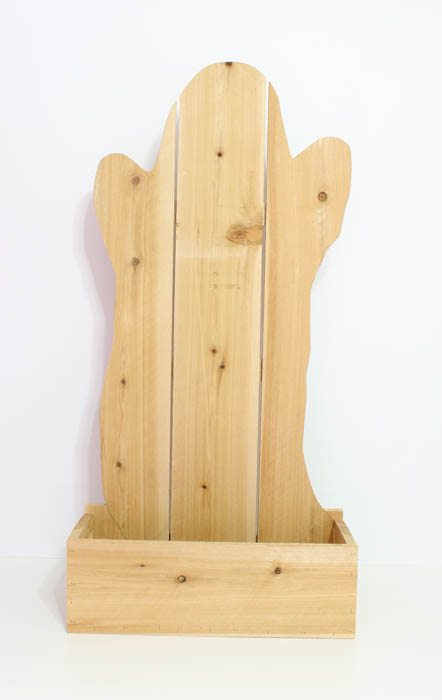
Ghost Cuts:
- 3 – Fence pickets cut into 36” long pieces (length can be flexible to accommodate all three cuts on a single fence picket)
- 3 – 1×2 @ 13.75″ long
Front Box Cuts:
- 1 – Fence picket @15 3/8 ” long (bottom)
- 2 – Fence pickets @ 5-1/2″ long (sides)
- 1 – Fence picket @16 5/8″ long (front)
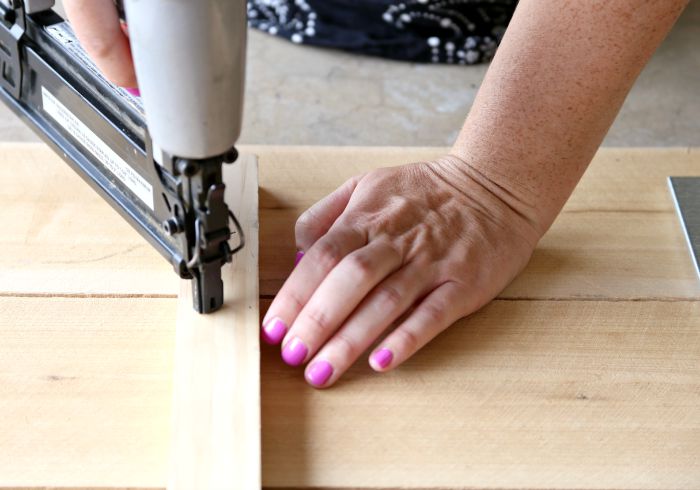
2. Place the three 36″ picket fence pieces face down and place braces on top of them evenly spread out, leaving 1 1/2 gaps on each side.
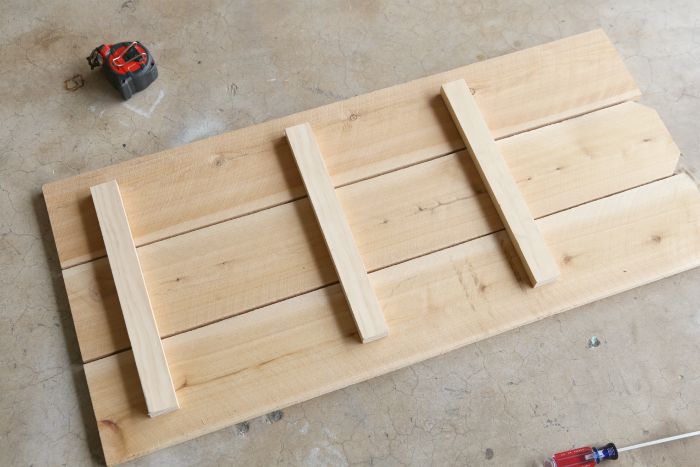
3. Using a stapler and 1″ staples, staple your braces into place.
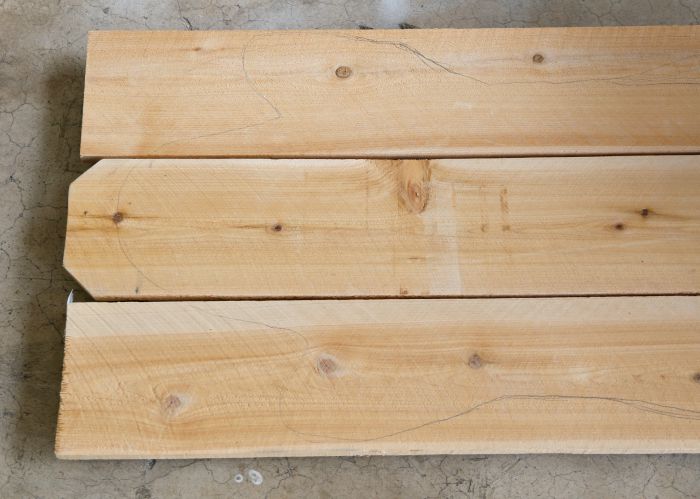
4. Flip the fence pickets over and draw a ghost shape using a pencil. We found one we liked online and just “eyeballed” the overall ghost shape.
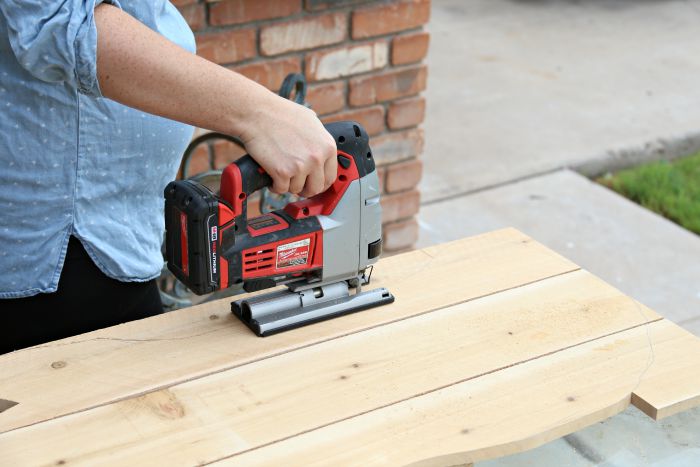
5. Now use your jigsaw and cut out your ghost shape.
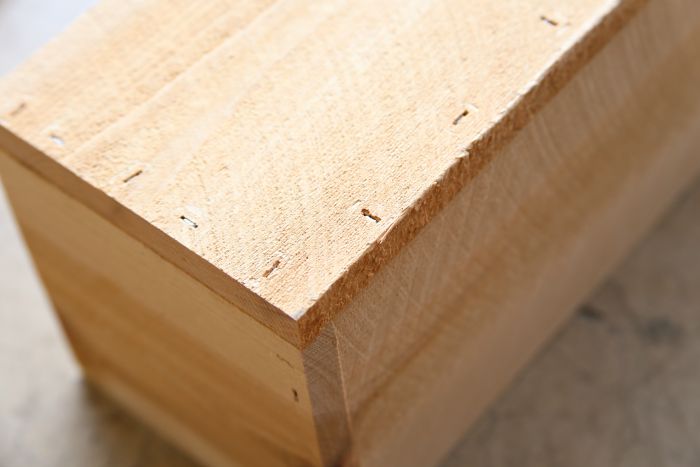
6. Use glue and 1″ staples to attach front of box to the sides of the box. Apply glue along three edges of bottom of box. Place bottom of box inside front and sides. Staple in place along side and front edges with 1″ staples.
7. Place box open side up on work surface. Apply glue along top edges. Place ghost on top, aligning bottom edge, and the start off the ghost shaped cut with the outside corners of the box. Use 1″ staples to secure bottom of ghost to bottom of box. Use a straight edge to guide you when stapling the ghost to the sides of the box.
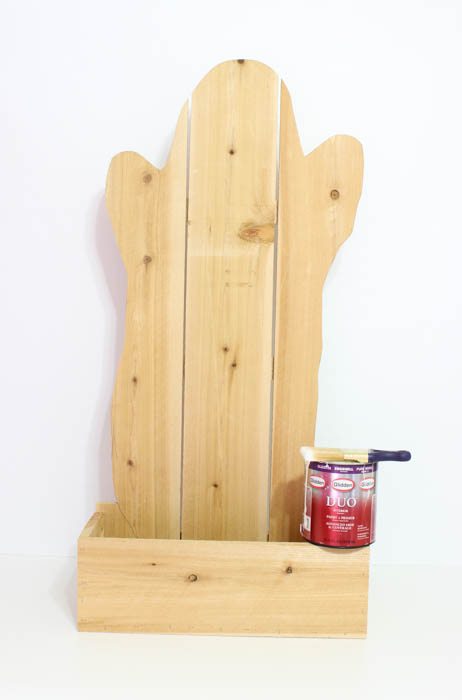
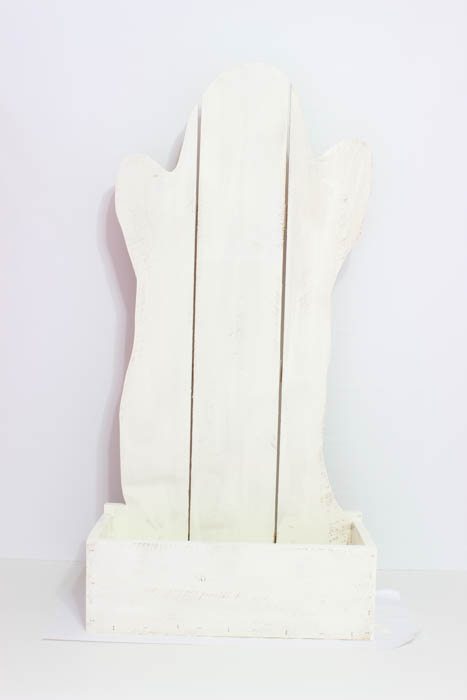
8. To customize your ghost, you can get really creative! We wanted a simple, more traditional ghost so we chose white with a black face. First, paint your ghost white. We used Glidden Dove White paint for the ghost and the box.
Next, using a paint pen, draw on a face for your ghost.
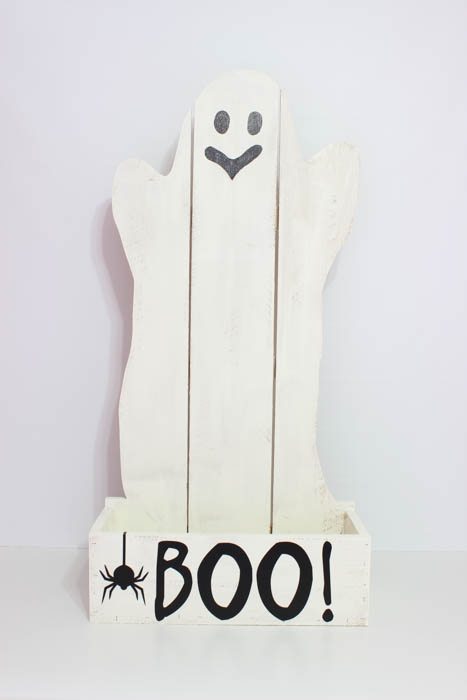
Lastly, we added a vinyl spider and a “BOO!” vinyl decal to the box to dress it up a bit.

Fill it with candy and place outside for guests and trick-or-treaters!


Alright friends, time to round up some gal pals and get ready to make your own on Thursday, September 17, 2015 from 6:30 – 8pm at your local Home Depot store. You have to register beforehand so you can do that here >> REGISTER HERE!
When you go, we’d love to see you! Tag @classyclutter and add the hashtag #DIHWorkshop so we can see your handy work! Mark your calendars and don’t forget to register HERE first. Have a blast!![]()


Just pinned! Makes a cute piece for giving out candy! Boo!