
DIY Live Edge Headboard
This DIY Live Edge Headboard is so cute and an easy DIY project! Great project for beginners and can be completed in a couple hours!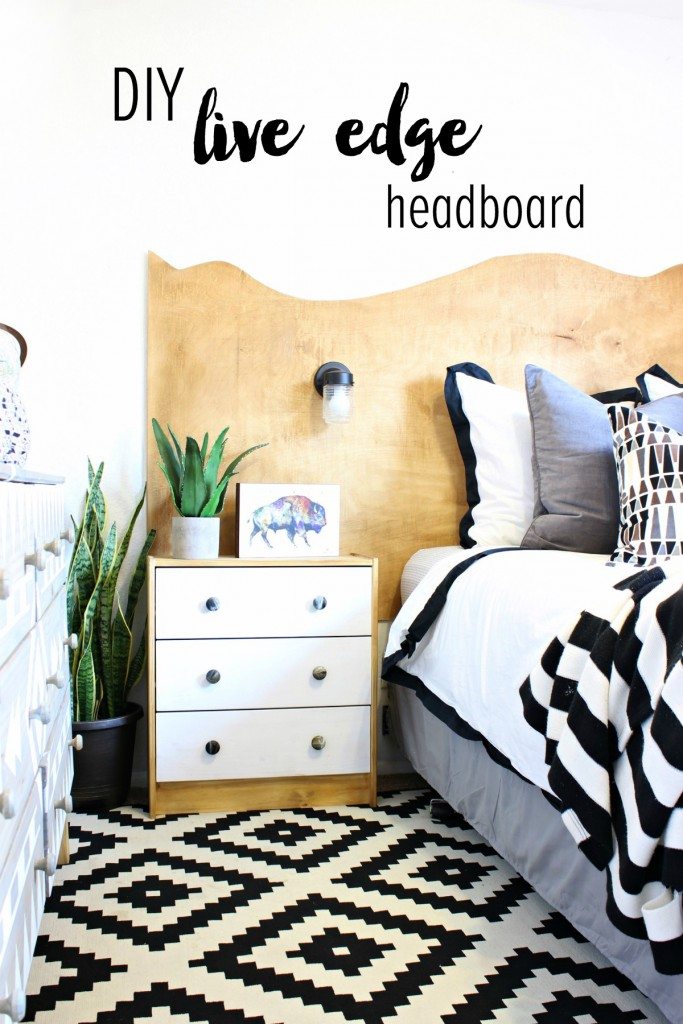 I’m so excited to finally show you the tutorial for my little dude’s headboard. We use this room as a guest room a lot so it was important to give my three year old a big enough bed to accommodate guests. Luckily, we gave him our queen bed when we switched to intelliBED (best decision ever!). This headboard is super easy, inexpensive and makes a HUGE impact. I had all of the supplies on hand except for the plywood so it ended up being extra inexpensive for me!
Supplies:
- 1 sheet of plywood – pick a quality piece with a pretty wood grain
- jigsaw with wood cutting blade
- sander or sanding block
- 2 D-rings
- stain color of your choice
- staining pads
- rubber gloves (for staining)
- eye protection
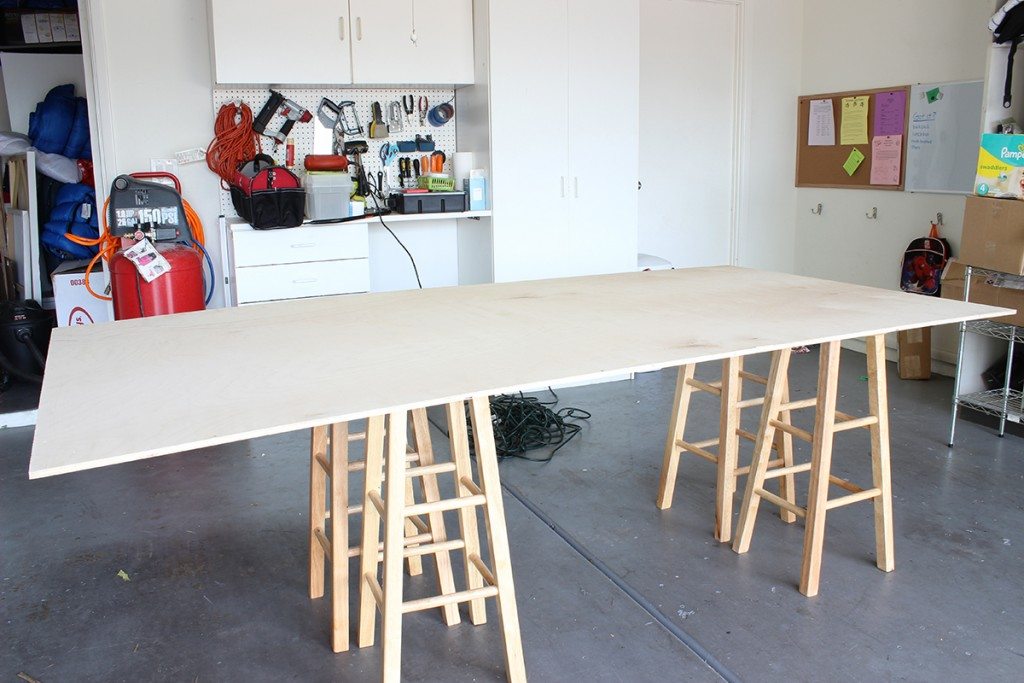 First, place your plywood on a high surface with the edges hanging over so you can cut them without cutting your supports. I used old barstools but if you have saw horses, that would be ideal. I use what I have on hand as much as possible so the old bar stools won.
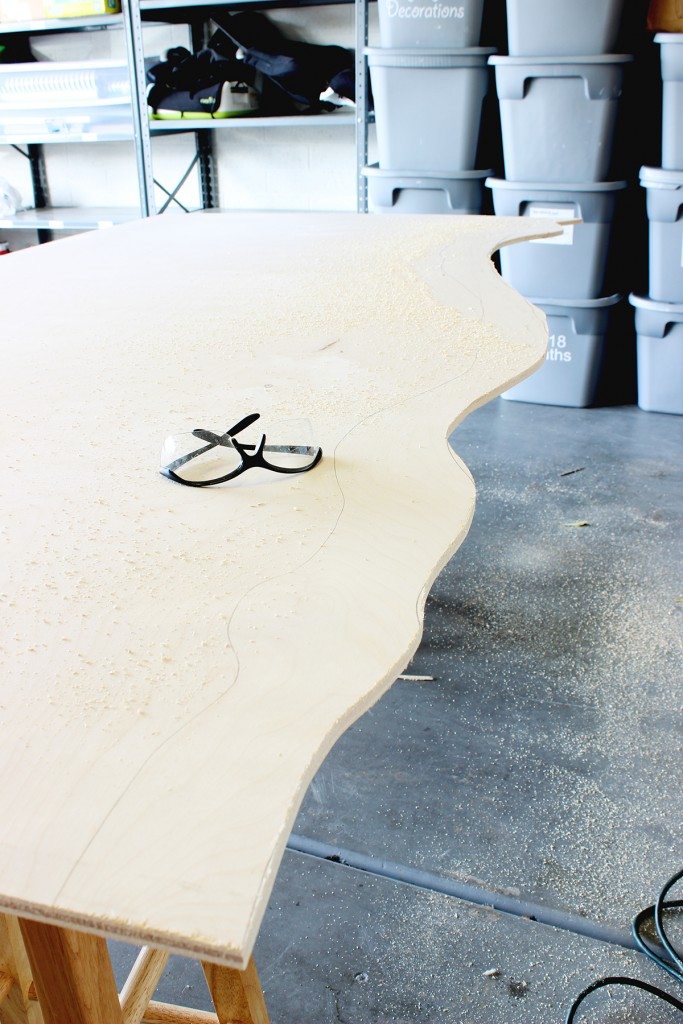
 Using a pencil, draw a line along one of the wood grain lines. This doesn’t have to be perfect. Just give yourself a guide for while you’re cutting with the jigsaw. It will make your life easier, trust me. I traced a couple then chose the one with a prettier shape. That is totally a judgement call on your end. There’s not really a wrong way to do it. Just follow the grain-ish.
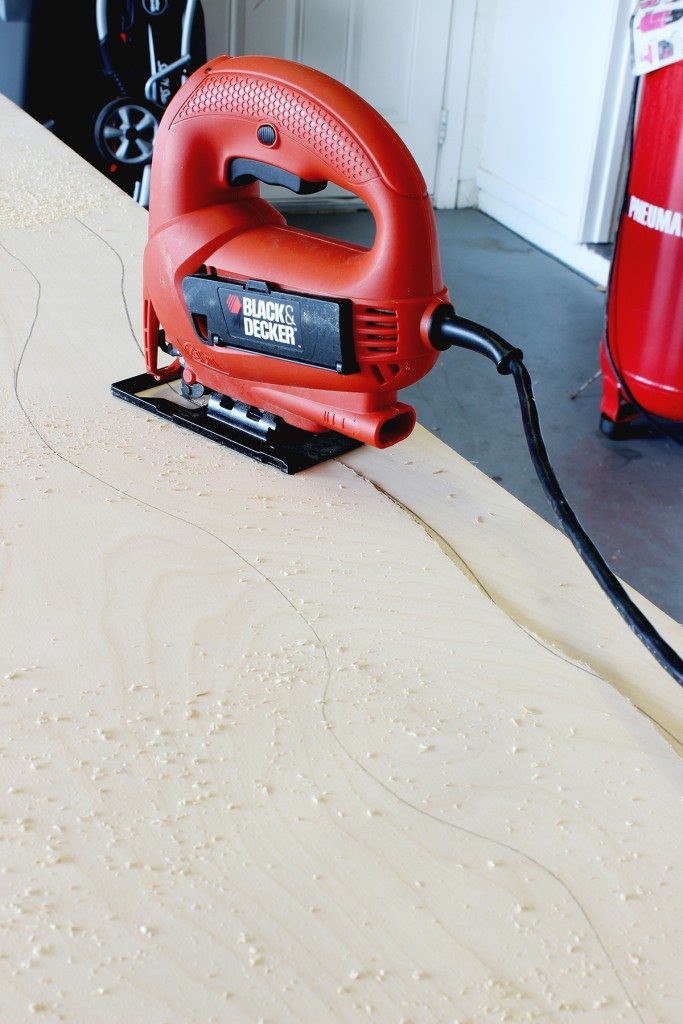
 Put your eye protection on. Take your jigsaw with the wood cutting blade and cut along your line. This is a very beginner jigsaw project so don’t be afraid. Just learn how to use your saw, protect your eyes and be really careful, even if you’re comfortable with it. Your fingers are pretty important. I feel like most accidents occur when people either don’t know how to use their tools or they get too comfortable and race through projects. Take your time and be safe, mkay?
Sand your edge with an electric sander or a sanding block to avoid any splintery areas. This was going in my 3 year old’s room so I wanted to make sure it was as smooth as possible.
Okay, I’m the worst and totally took pictures of the next steps on my phone and now I can’t find them to safe my life but it’s super easy to explain!
Next you will stain the headboard. We love using staining pads. I used Minwax Golden Oak to stain it. You can learn how to stain by checking out our staining tutorial.
Finally I attached the D-rings to the back to mount it on the wall. Try and place them strategically so you can line them up with studs in your wall.
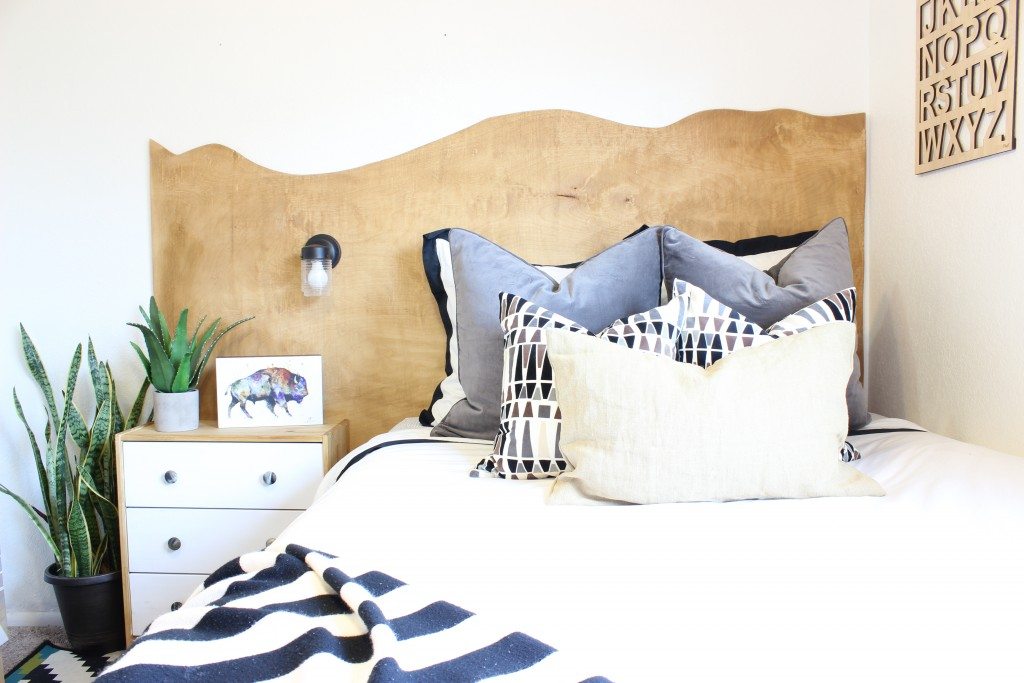
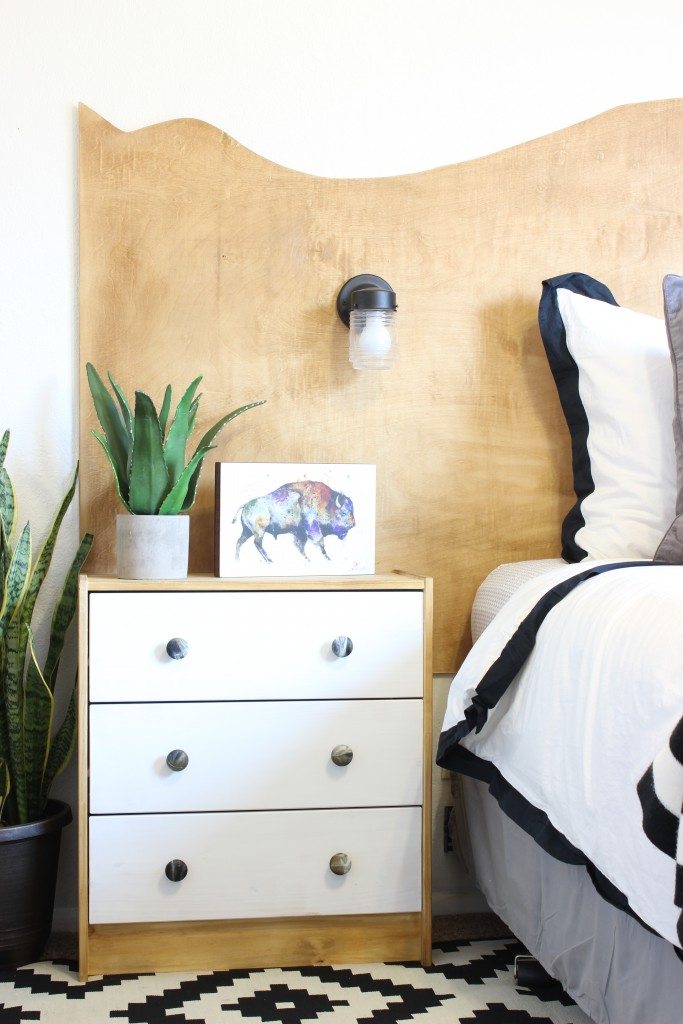 I also used the Ikea RAST as a nightstand and stained it to match the headboard. This bed is a queen so I left the side long because I wanted it to carry over all the way behind the mattress and the nightstand. I feel like it looks like one huge piece of furniture and the nightstand looks attached. You could totally attach it if you want but it’s also not totally necessary. We LOVE how this DIY Live Edge Headboard turned out and the whole headboard set up was super cheap to build.


Love it all!! Where did you get the throw? I’ve been looking for one!
Thank you very much, thank for sharing 😀
You are so smart. Those turned out to be so beautiful! I also LOVE the colors.
Love it. 🙂 I’ve been looking for one!