
DIY Aztec Inspired Dresser Makeover and Nursery Sneak Peek
DIY Aztec Inspired Dresser Makeover and Nursery Sneak Peek
This post is sponsored by ScotchBlue Brand. All opinions and additional products were selected by us!
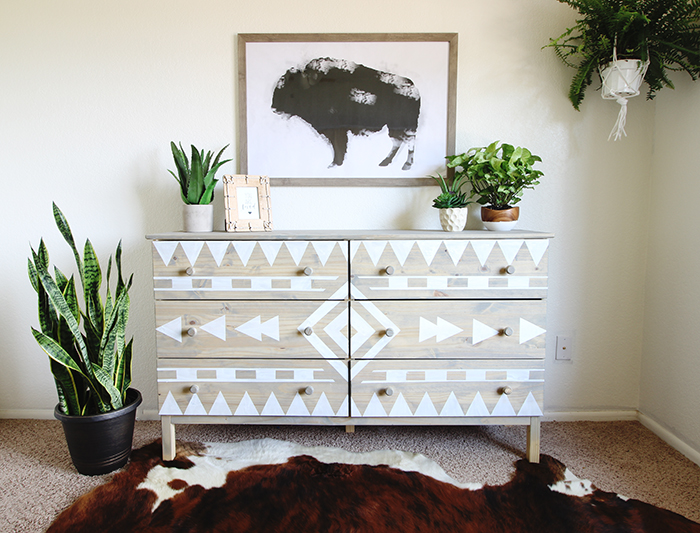
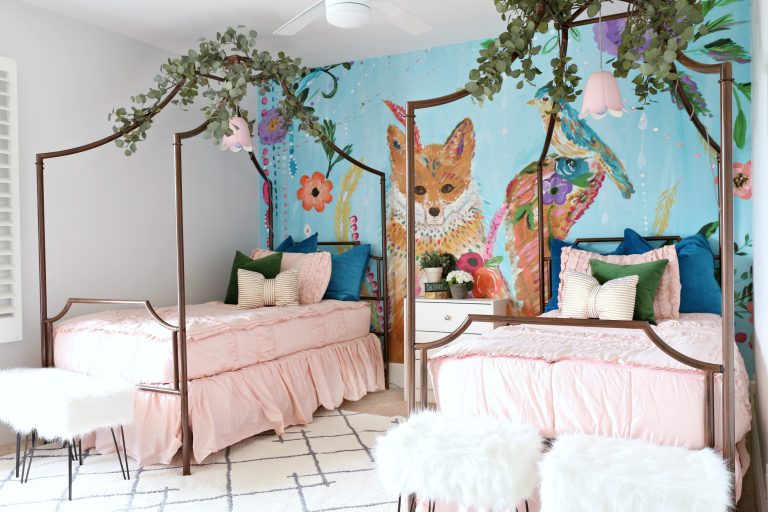
Hi friends! I’m super excited to finally be sharing some of my new home with you. Well, just a peek of the little babes nursery/bedroom. We are partnering with ScotchBlue Painter’s Tape from 3M again to teach you how to create this DIY Tribal Inspired look on a plain dresser. I knew I wanted something fun and unique. I haven’t done a whole lot of furniture makeovers in the last few months but it has felt great to get back to our roots! Did you know we started our blog as doing primarily furniture? Anyway, let’s get started!
Materials for the DIY Aztec Inspired Dresser:
- Furniture to paint (We used an unfinished wood dresser)
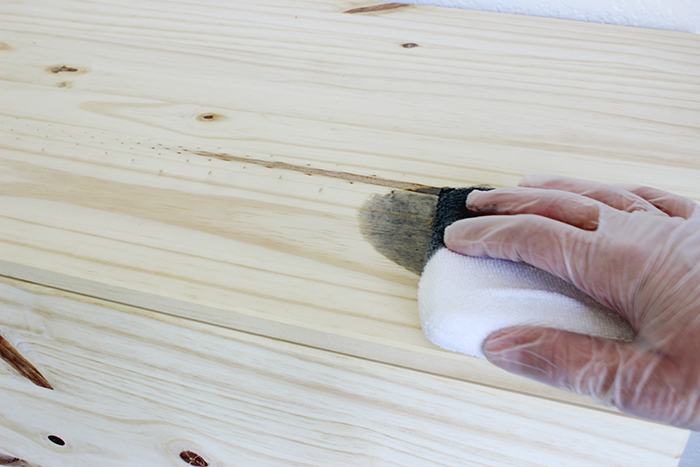
- Stain
- Staining pads
- Disposable gloves
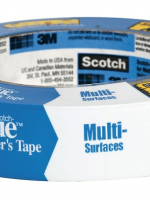
- ScotchBlue Painter’s Tape Original Multi-Use
- Titanium Knife
- Level (optional)
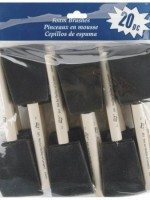
- sponge paint brush
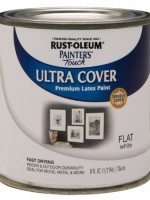
- Paint
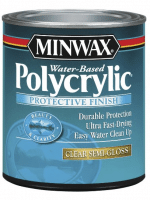
- Polycrylic (optional)
Step-by-Step Instructions:
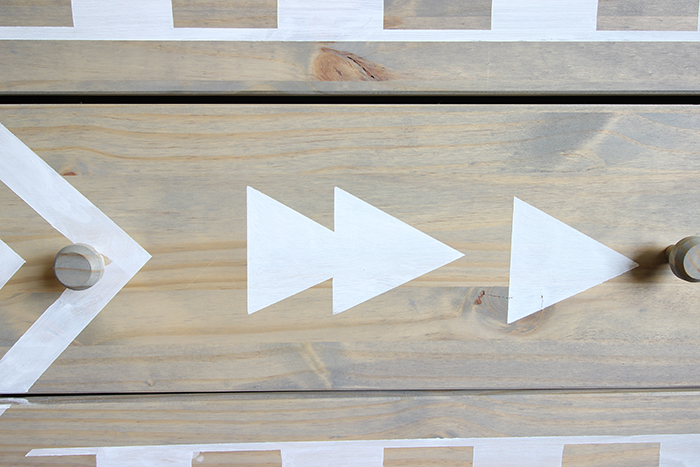
Step 1: Prepare your furniture by cleaning the surface properly or stain unfinished furniture and allow to dry according to package directions. Our dresser was unstained and plain, raw wood so it was all ready to go for staining.
Step 2: Using a combination of triangles, diamonds, stripes and tick marks, create a unique tribal design with ScotchBlue Painter’s Tape Original Multi-Use. Trim edges with an titanium knife.


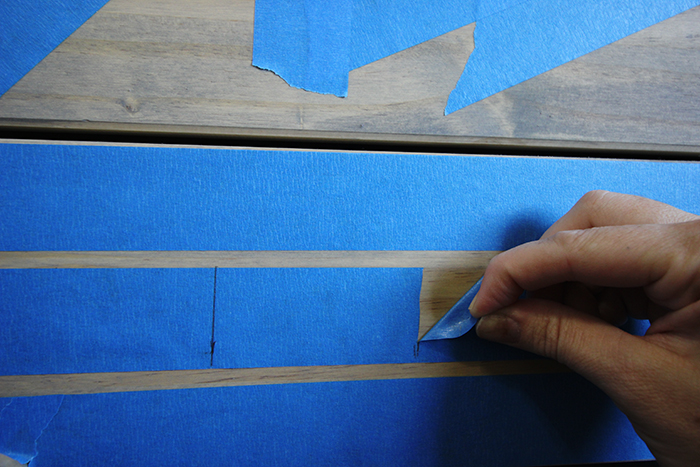

Step 3: Paint a thin layer of paint over the tape using a sponge brush to create a weathered effect.

Step 4: Allow to dry
Step 5. Remove Painter’s Tape
Step 6: (optional) finish with polycrylic clear coat if desired.


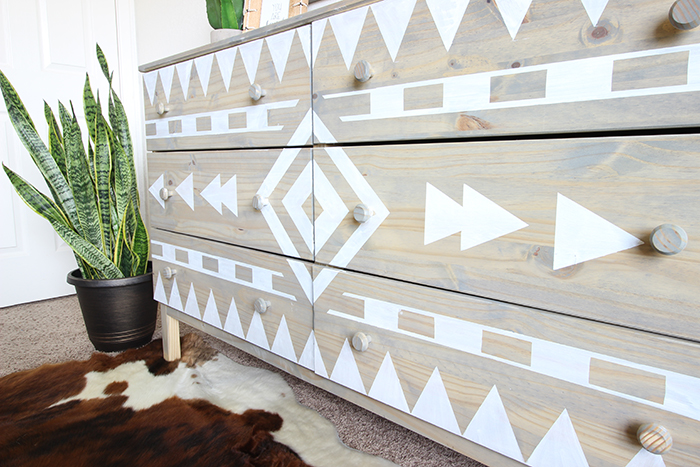

This was such a fun and fairly simple makeover. The bedroom is almost done and I can’t wait to show you the rest of the room!

Big thanks to our pals at 3M and ScotchBlue Painter’s tape for partnering with us on this project!


Super cool makeover! Excited to see more! 🙂
I am really enjoying this DIY. I was trying to fix my sister’s old dresser for the new nursery, but it wasn’t wood and my idea didn’t work. I may try a glaze, but later down the road. The buffalo painting is great especially with the plant and cowhide rug! A+
I’m soooo in love with this 🙂 – can’t wait to see the rest of that nursery!
Oh my word I love this! The grey and white are perfection 🙂
I LOVE this!!! When I move back to Arizona.. ONE DAY… I am totally calling you two to help me beautify my home!!
I love the dresser but I am In Love with the buffalo painting above it. I’ve been looking for one to go in my master bedroom. Where did you find it?
Two questions:
1) What stain did you use before painting the design?
2) Is it me, or is this dresser missing its side (see second picture of finished project)? I can’t quite wrap my brain around it.
where did you get the buffalo print?! I LOVE it SO much!!!
We created the buffalo print but you can purchase one like it at our etsy shop Classy Clutter PrintCo.
What stain brand and color did you use on this dresser?? Love the look!
We used the Minwax Grey Stain
This dresser makeover is amazing! The whole space is… loving every little thing about this!
Whats the name and brand of the dresser you stained?
Hi! It’s Minwax, Classic Grey!
Very neat. How do you know when to use regular paint or chalk paint on furniture? Thanks.
I have tried some of the classic grey and it seems to cover more then what your dresser looks like? I like some of the unfinished dresser showing through. Can you tell me how you accomplished that? This is the weekend project!!
We were just furniture shopping in a “high end” furniture store. I saw a few of these and immediately fell in love! The prices were extremely high compared to similar pieces without the technique.