
DIY Tandem Bicycle Wall Art
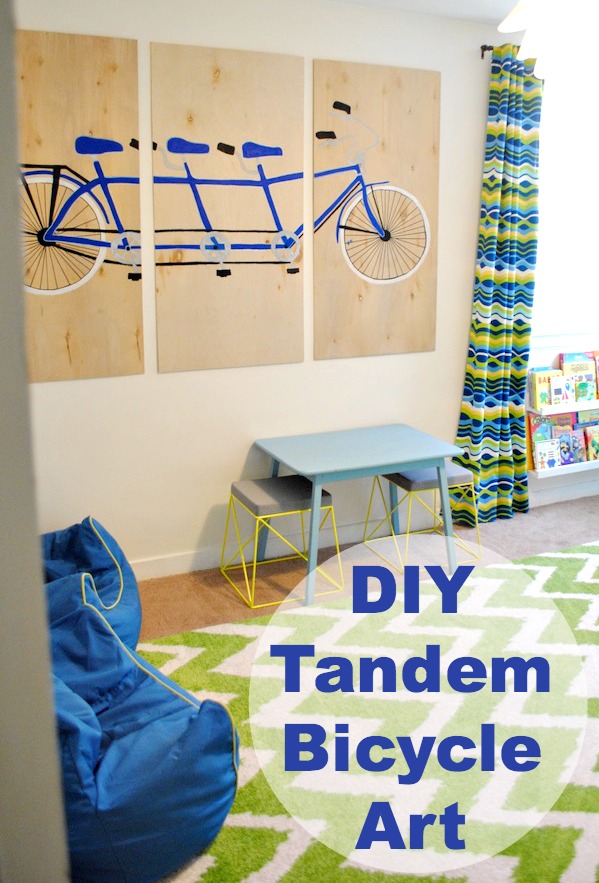
Hi friends! Happy October!!!! YAY! I love love love Fall so I’m super excited that October is here. I’m also SUPER excited to share with you my Vintage Revivals inspired DIY Tandem Bicycle Art. It’s so easy, inexpensive, and BAM! it makes a huge impact in the room. I seriously love it and everyone who has seen it in my home has complimented it. My kids LOVE it and that’s why I do what I do! This little tandem bike has made my boys super happy and that makes mommy happy!
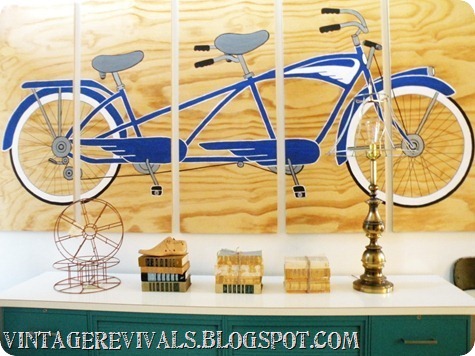
I was inspired by Vintage Revival’s painted tandem bicycle in Mandi’s entry way. She had an artist friend paint it for her and since I’m far from an artist and don’t have a painter friend, I had to figure this out because let’s be honest, Mandi’s is amazing and I needed it in my life!

First, I found an image online that I liked. I found a tandem bike that seats 3 since this is going in my boys’ playroom and I have 3 sons! (Still can’t believe I have 3 kids by the way! LOL!) My kids LOVED that there was a “seat” for all of them.
I bought 3 thin, precut boards from Home Depot. They’re about $9 each and I thought 3 would look good and it would cover the majority of the wall I was decorating. Perfect.
Print your image on a transparency sheet and dust off your projector. A lot of people have asked us where to get them, how much they are etc… They range big time in price but I think Sav got hers for like $25 at a thrift store and I paid $40 (+ free shipping) on eBay. If you’re a crafter/DIYer GET A PROJECTOR!!! Honestly, I have used it a billion times for such a variety of projects and I am SO glad I have it in my craft supplies.
Next, you will trace your image with a pencil. Easy huh!?

Next, make some shadow puppets. You can skip this part if you want but it does make this project more fun. Just sayin’.

Next up, paint! I used paint pens (purchased from Michael’s craft store) and acrylic craft paint.
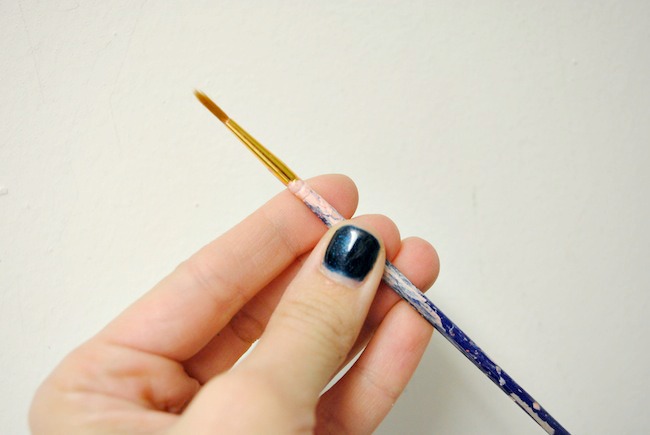
Use a small brush like this to get little tiny strokes. It helps make it look nice and neat. Trace over your pencil markings with your paint pens and craft paint. It took me about 3 hours working on and off to paint this. Just turn on a movie and paint. It’s actually quite fun and relaxing!
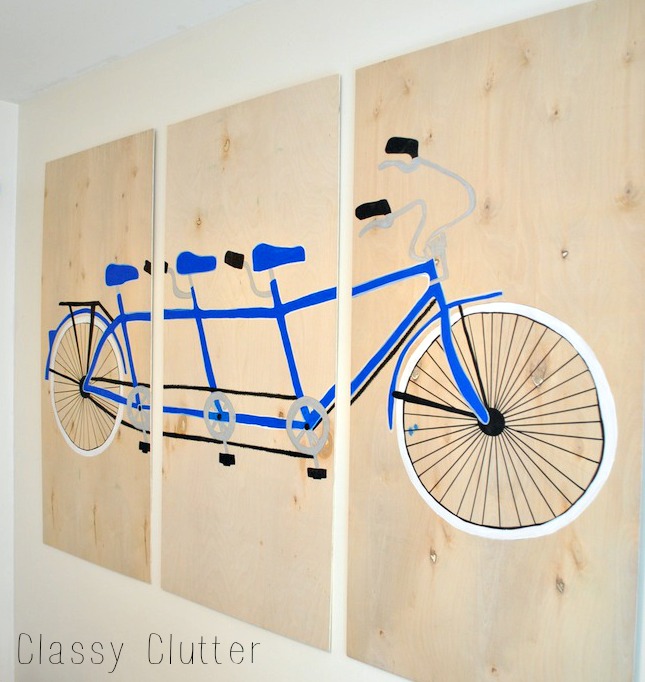
Let your paint dry and hang up your boards! I hung them up with sawtooth picture hangers and nails. Seriously such a fun and easy project. The cool part is, it is TOTALLY custom and customizable! You can do any image, colors or whatever! Mine is far from perfect but that’s okay. We love it and it turned out just fine with mistakes and all!
This is going in the boys’ new playroom which I CAN’T WAIT to show you! This playroom was probably my best idea ever. My kids are in Heaven!
What do you think?! Are you ready to get a projector yet?
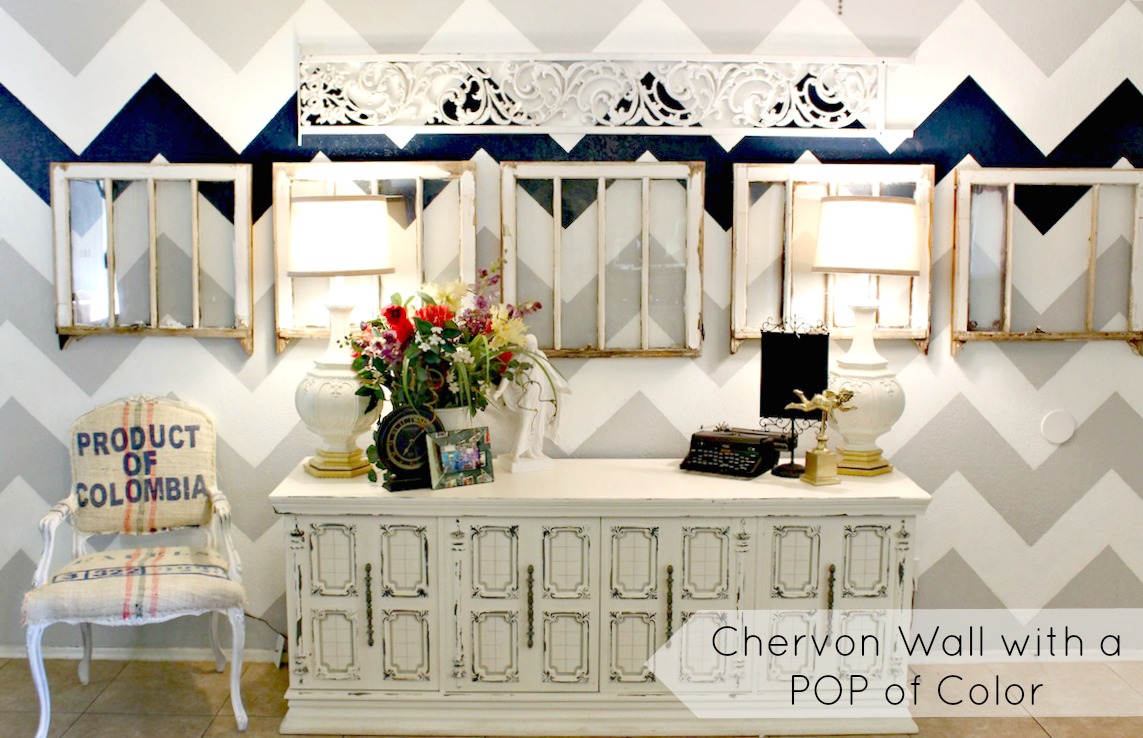
Be sure to check out Savannah’s Chevron wall that she painted with her projector!


I love this!! So unique and cute and fresh!!
What a fantastic idea, Mallory! You have a very brilliant mind to have thought of that. I am so sure that it really gave great impact to your walls and that your kids enjoyed having it. Now, I am thinking of making a scooter design on my wall because my husband and I has a romantic story with our scooter and I want to give it as a gift for him. Now, I am thinking where to get an affordable projector! 🙂
It turns out really great. And I really love it. It inspires me to try making one for my room too. But how long did it take you in making such project?
Love this. Pinned this. Would love to feature it at my linky party http://www.seasonedhomemaker.com
I am in love with this, and the chevron wall is perfect
Love this! Something I would love in my home. Thanks for the inspiration. If you get a chance, please link up to my link party: http://suburbsmama.blogspot.com/2014/01/sunday-linky-39.html
Love this bike art.
SO creative. AND so much better than the original (in my opinion.)
Glad I came across your blog – I am so inspired to finish our nursery.
I love your blog and this tutorial! Thanks for sharing. Also, do you mind sharing where you got those white curtains with the ikat patterned bottom (in the background of the picture of you painting) from? Love them! Thanks!
Hi Brooke!
I see you found it but just in case anyone else is wondering. The tutorial is here: https://www.classyclutter.net/2013/09/diy-ikat-curtains.html
Thanks so much for stopping by!! xoxo – Mallory
Nevermind….just found the tutorial!! 🙂
I love this! I’d like to make one with two extra seats (so one more middle panel I guess) and hang them in my dining room for our family of 5. Any chance you could send me the link for the image you used?
Thanks so much for the fab idea!