
Pixelated Wall Tutorial
![]() Painting is one of our all time favorite things to do. It can change the look of virtually anything and breathe new life into almost anything. As you probably know, we do a lot of paint projects. It’s kind of our “thing”. We just love it. This Pixelated Wall Tutorial may be one of our favorites… ever!
Painting is one of our all time favorite things to do. It can change the look of virtually anything and breathe new life into almost anything. As you probably know, we do a lot of paint projects. It’s kind of our “thing”. We just love it. This Pixelated Wall Tutorial may be one of our favorites… ever!
Today, I’m so excited to finally show you how I created this Pixelated Painterly Wall Treatment. It is pretty easy to do, but I’ll give you fair warning, it is quite time consuming.
![]()
First, I decided we wanted to do a floral image. I’m not a mural painter by any stretch so we thought it would be super fun to modernize it a bit and create a pixelated image. I ran the Mosaic filter on our floral image in Photoshop. You can do this with pretty much any image. It’s really fun! It will also allow you to determine how large or small you want your squares during this step.
![]()
I counted the amount of squares on the pixelated image and divided it by the size of my wall. This meant my squares needed to be 2.5 inches. This was probably the hardest part of the project, figuring out how many squares and what size they should be. Let’s just say my mathematical brain doesn’t work as well as it used to. 😉
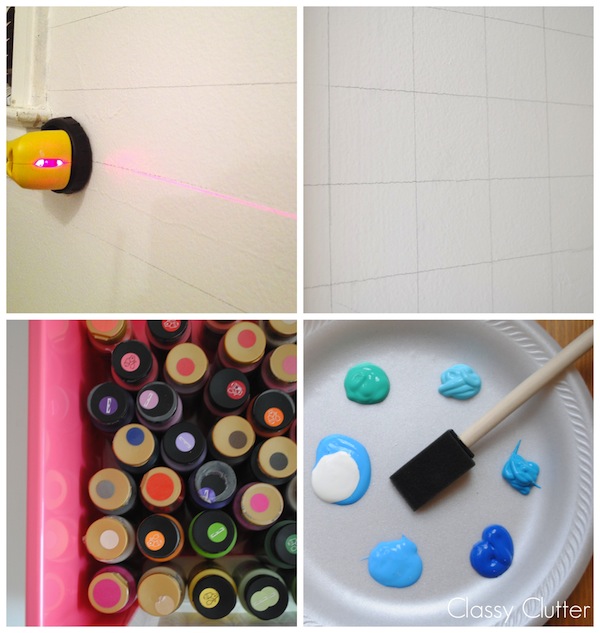
I used a laser level and a pencil to mark off my squares. Then, it was time to paint. Oh, the paint. Time to bust out your patience. Not to discourage you, of course but this is the time consuming part. I was in a time crunch to finish but if you’re not, I would suggest breaking it up into several days so you don’t get frustrated or bored.
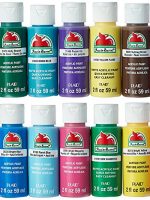
I bought pretty much every color of acrylic craft paint at Michaels and ended up using almost all of them. I also used a ton of white to add to various colors so it gave more of a contrast where necessary.
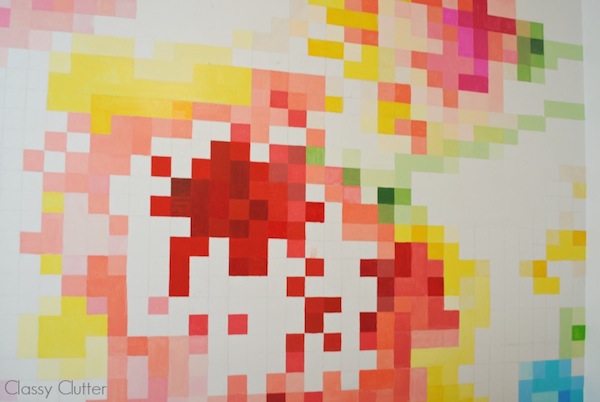
I hand painted, each and every square that had any color on it. I printed a copy of the pixelated image from Photoshop and taped it on the wall so I could refer to it as I went. This is where you can get creative with mixing colors. You will become a pro color mixer after this project. Seriously. When all of your squares are covered, time to add the wood!
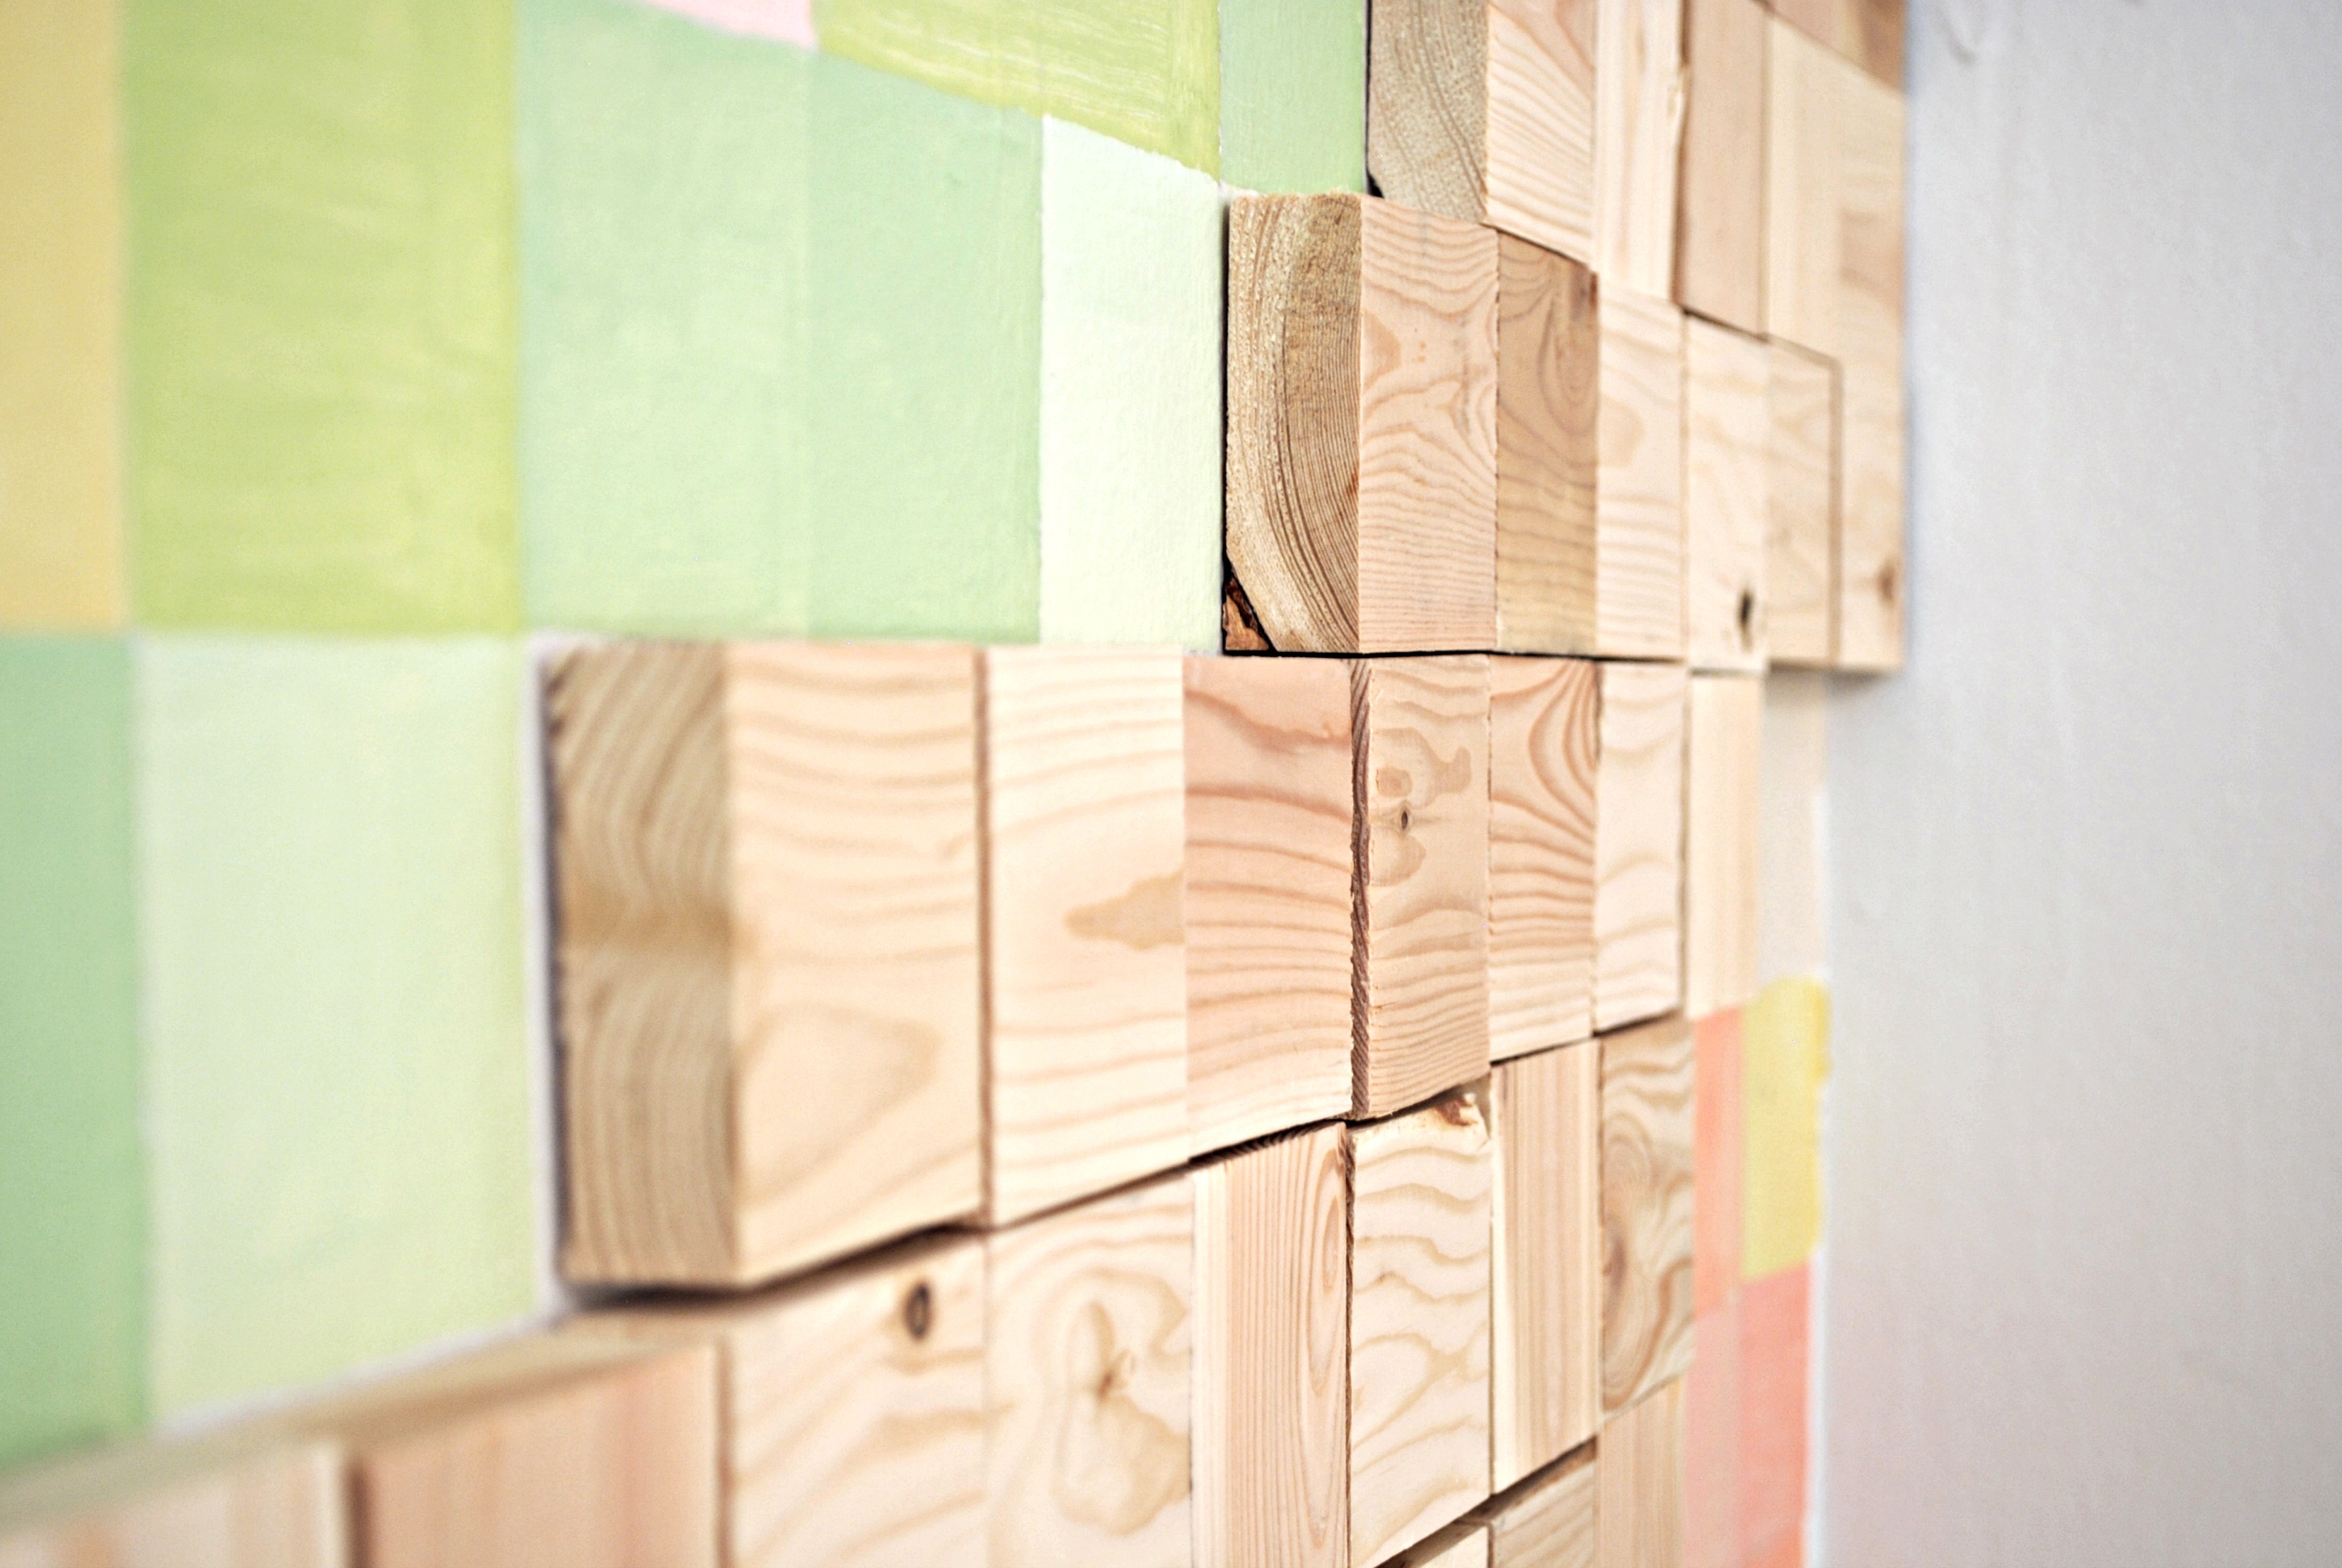
I applied over 400 wooden blocks cut down from 1×3″ wooden boards from Home Depot to all of the white space on the wall. Since I was in a major time crunch, Savannah cut out the wood blocks (yes, in Arizona) and overnighted the box to me! That’s team work, people! 😉 I used mounting tape (also from Home Depot) and those babies were not coming off without some major muscle. The wooden blocks are lightweight so they stuck very well! I mixed up the direction of the wood grain for some more added interest.
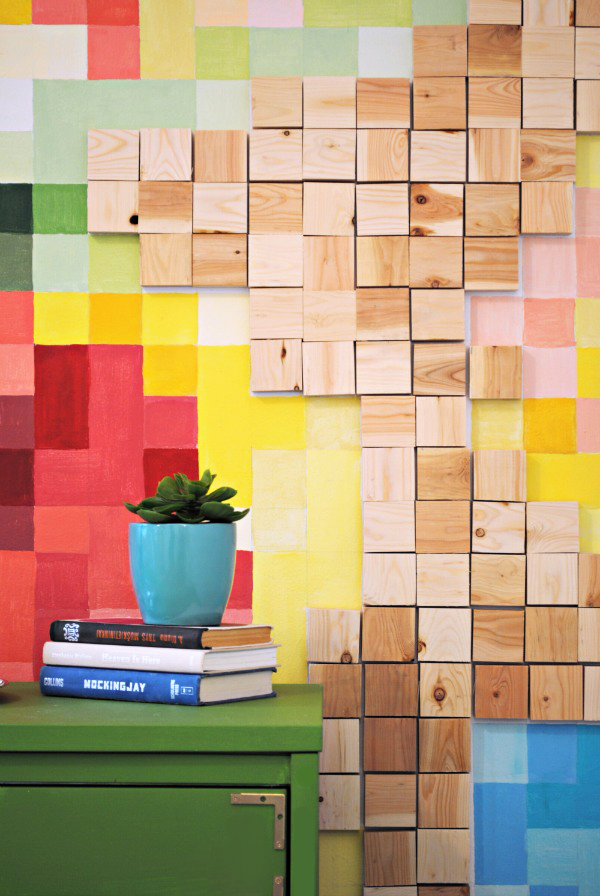
That’s it! It’s pretty cool because it makes a huge impact but it’s not that difficult. As long as you have loads of patience and you’re not in too much of a hurry to get it done… like I was! Doing this project in 3 days was basically madness but it is so amazing!
![]()
Thanks to all who voted for us to WIN the paint round of Creating with the Stars! This is one of our all time favorite projects! Hope you like it!
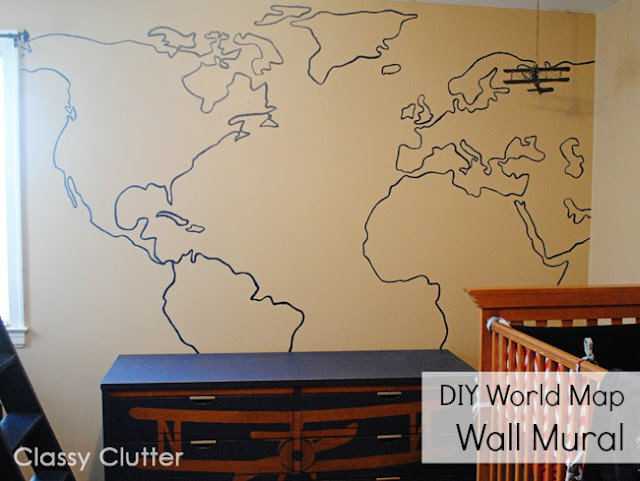
Psst… Don’t forget to check out our other wall treatment tutorials!

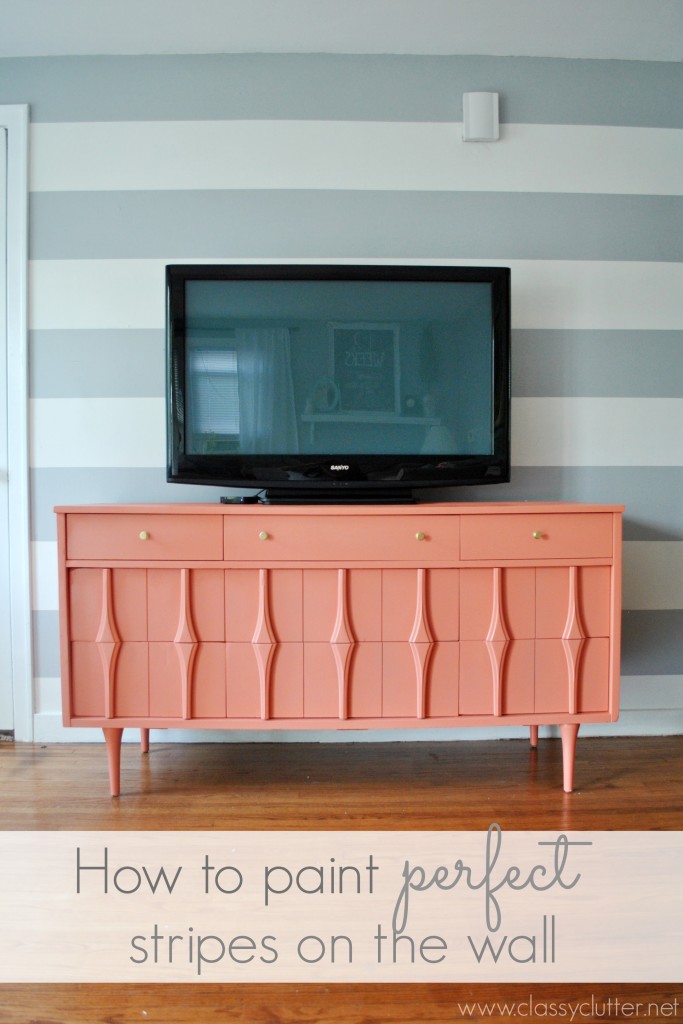
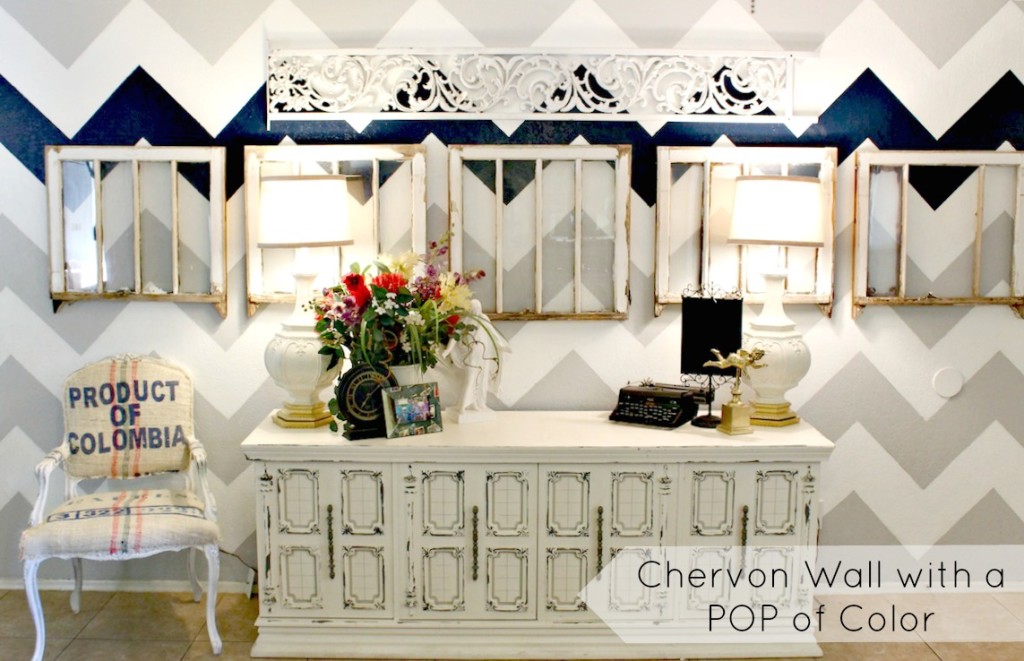
How to paint a Chevron Wall with a pop of color


Amazing!!! Y’all did an awesome job on this. I can’t even describe my amazement into words. LOL! The detail and time it had to take to do this whole wall is astonishing.
This is amazing!!! I can’t imaging how hard you worked to get this done! The results are so cool! And I’m absolutely drooling over that mid-century dresser. Great job! 🙂
SO, so beautiful!! Love that you combined wood into the mix….it looks incredible and is well worth your time & patience! Thanks for sharing such awesome inspiration!! 🙂 I’m a new fan for sure!!
I LOOVE this colorful wall! So creative and fun!!!
pssst, there aren’t links at the bottom to the other posts, I want to see the gold dot decor! I’m going to search it on our site.
Thanks girl! You’re so sweet! The links are actually there but it just looks like normal text. If you hover, you should be able to click it. I am having my designer make it more obvious that those are links because they just look like normal text. Boo!!! Thanks so much for your sweet comments! xoxo
Yikes, it looks awesome but I don’t think I have the patience for it! Hello from The Party Bunch.
How incredibly fabulous!!!!! I just love everything about your idea and your execution of the idea! Thank you for sharing 😀 I live in a rental so I couldn’t paint on the wall but perhaps on a giant canvas? Thanks for the inspiration!
Thank you SO much!!! I’m in a rental too but I just paint the walls back when I move. My landlord is great!! xoxo
you are a genius! The least I can do here is to follow you for inspiration.
Tanya
http://tanyaanurag.blogspot.com/
I love this! I don’t really have space anywhere in my home for this, but I like the idea above of doing something similar on a canvas. So cool!
Liked it better without the wood…
Simply put I am absolutely IN LOVE with this! What an inspiring project! Pinned!
this is one of the most amazing projects i’ve ever seen. job well done!
Thank you! Glad you enjoyed! Thanks for stopping by!
This is amazing!!! I like it! Thank you
Good job. Thanks for sharing
Hi your blog is very interesting, You don’t need to download Netflix account we provide you free of cost app and watch all free movies and TV shows with this app
Online Show Box