
How to paint a Chevron Wall Tutorial
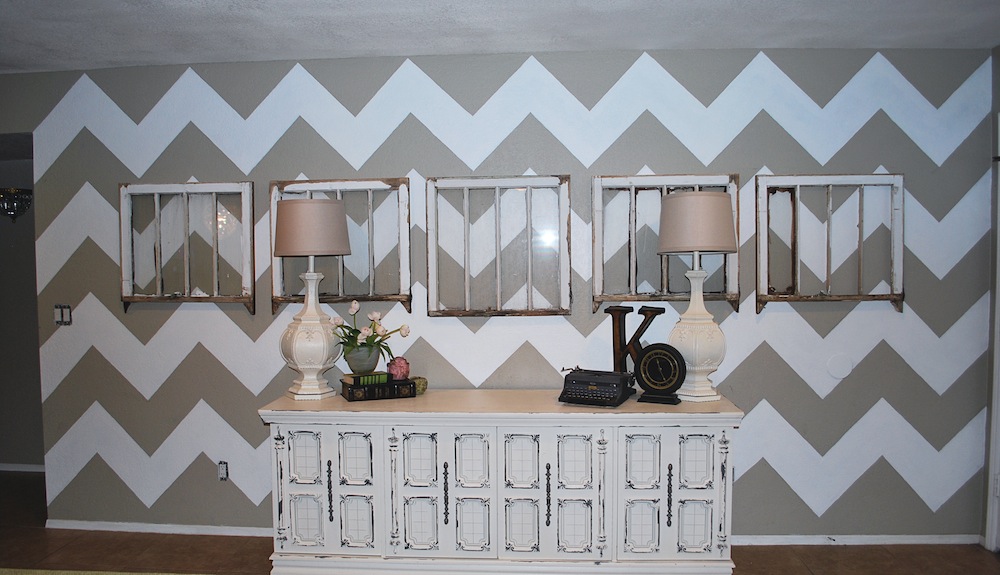
Check out my new wall!!!
I am LOVING it!
I feel like it finished off that room and add something new to my large wall!
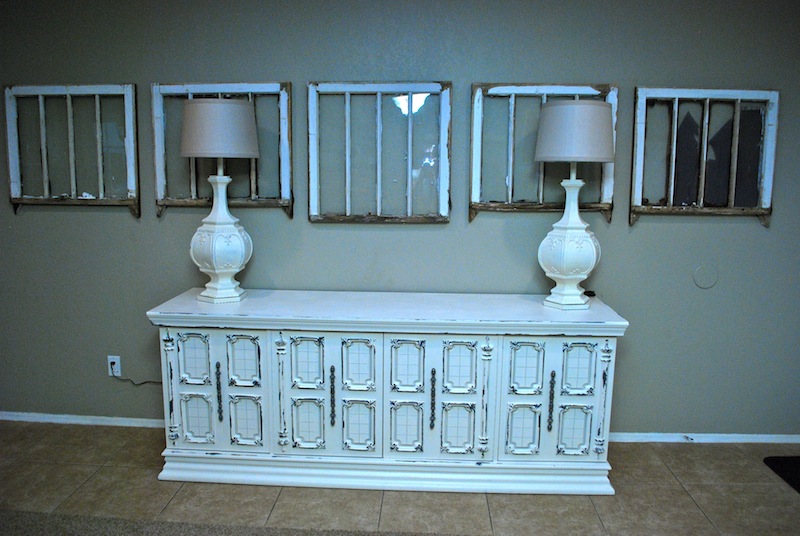
I love the look with the vintage windows and my White Buffet!

I been wanting to do a chevron painted wall somewhere in my house.
I have found a million different ways of making this fun pattern come to life through paint.
I have seen it painted on canvas, rugs, curtains.. and the list goes on and on.
I have also come across a million different ways to accomplish the chevron pattern.
But I have done things different, and unlike anything I have come across, not to say that it’s not out there… but in my search for the easiest way, I have not come across it!
I did not want to tape anything off and I also knew that I would be working on this on my own so I need something that would be easy for just one person to do!
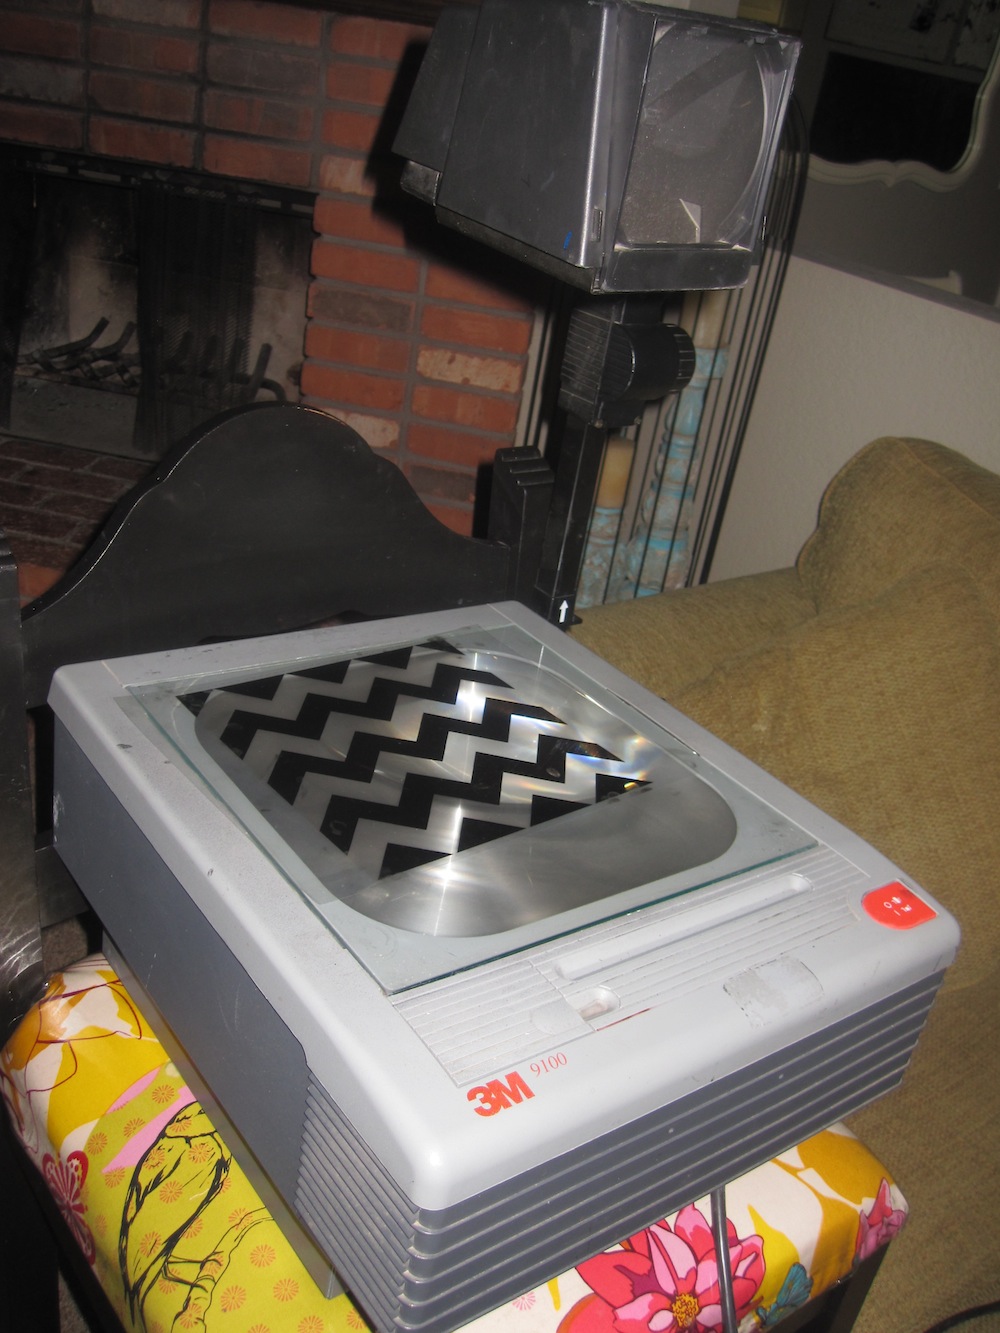
I used a good old fashion overhead projector that I found on Craigslist for $25!
Here is my
EASY AND CHEAP HOW-TO paint a Chevron Wall!
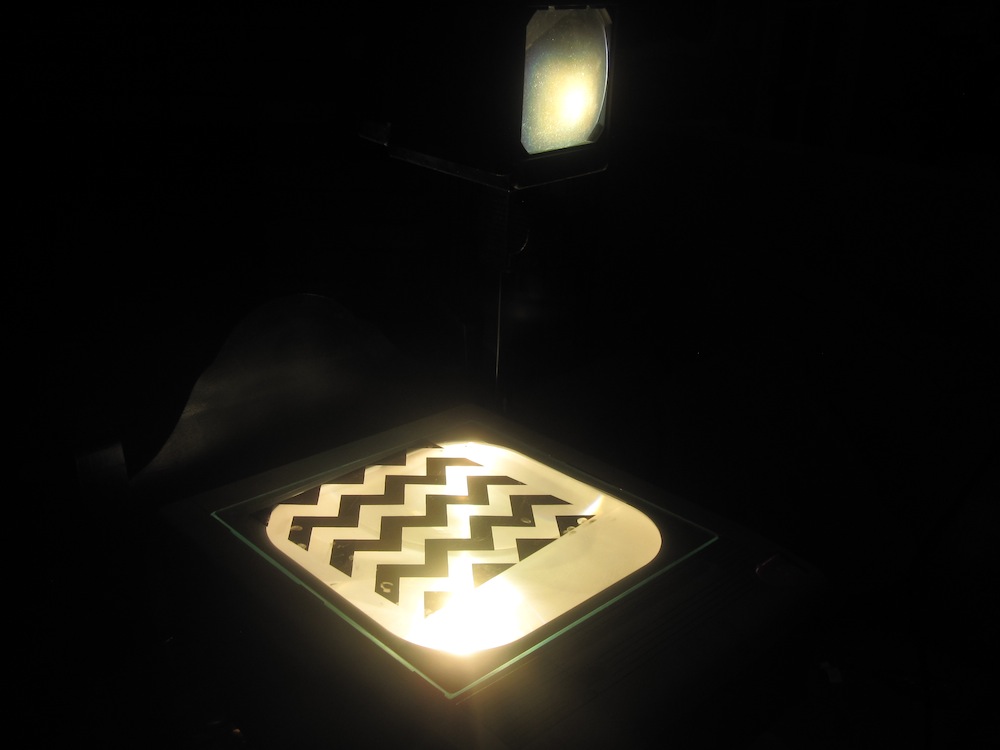
First, I printed off this pattern on to clear transparency paper
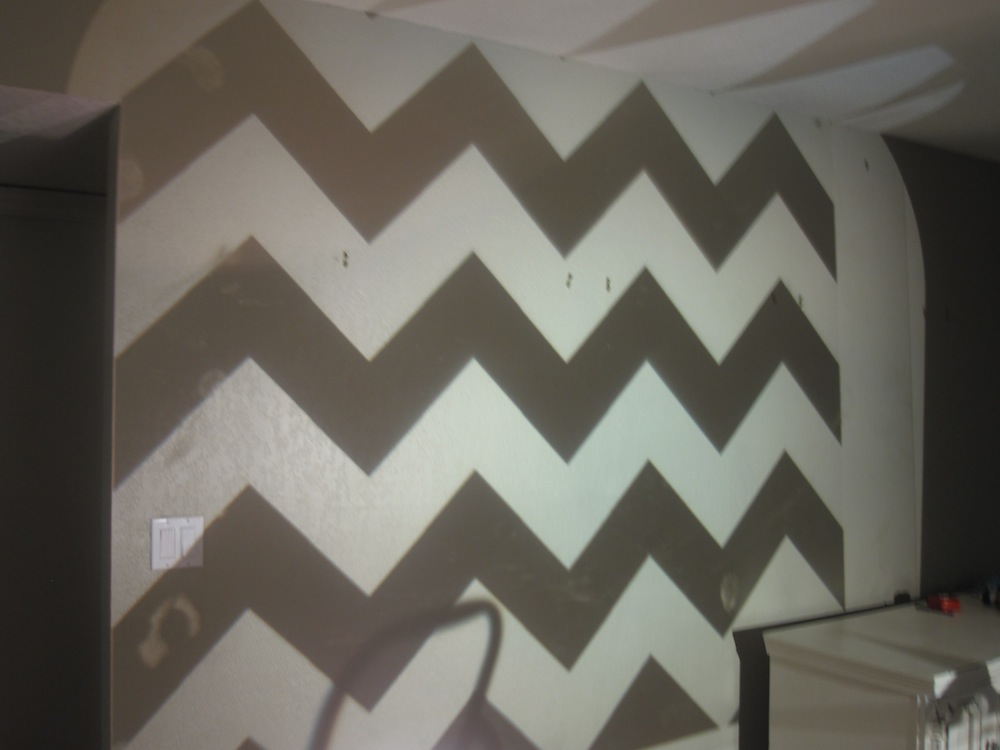
2. Set up my overhead projector and adjusted it so it would be the right size of print for my wall!
I knew the projector would not cover the length of the wall, I was more concerned about it being the right height. That way I was sure it was evenly spaced out. After I was finished with half of the wall, I simply moved the projector over and made sure the zig zags lined up with each other and then finished the wall. If you notice the start off point for my first zig zag was from the top of the doorway… that way I did not have to carry the pattern into the kitchen. I only wanted it on the wall in the living room.
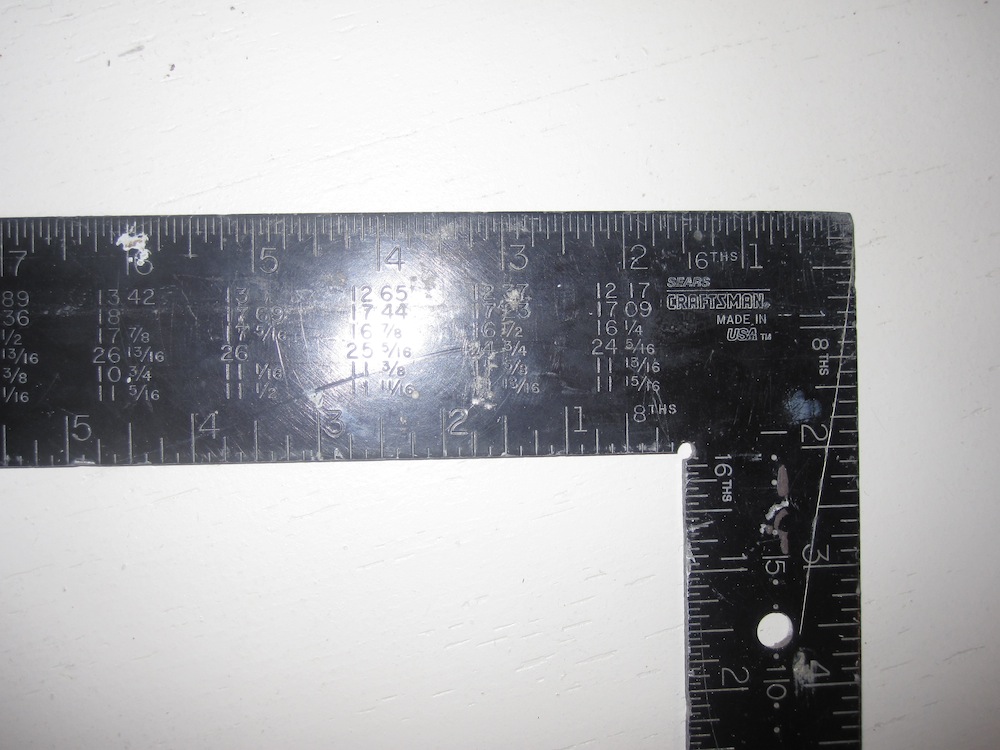
3. Following the image that was projected onto the wall I used a pencil to trace the zig zag pattern. I also used a framers square to make sure all the lines were straight, but anything squared off would work.

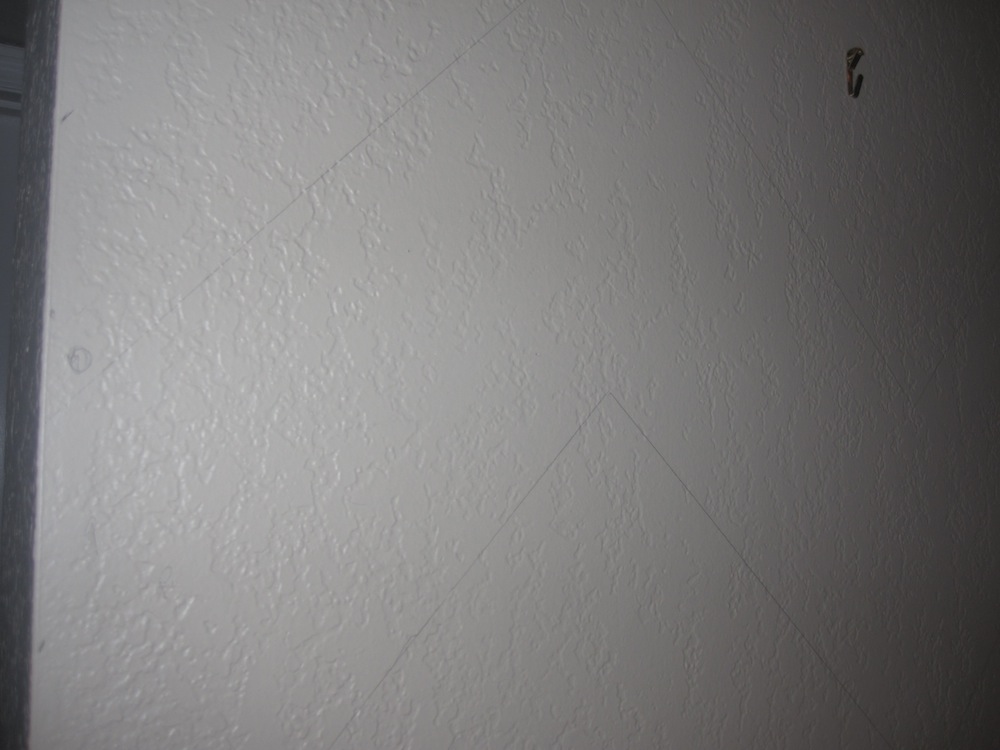
I traced, and traced, and traced…
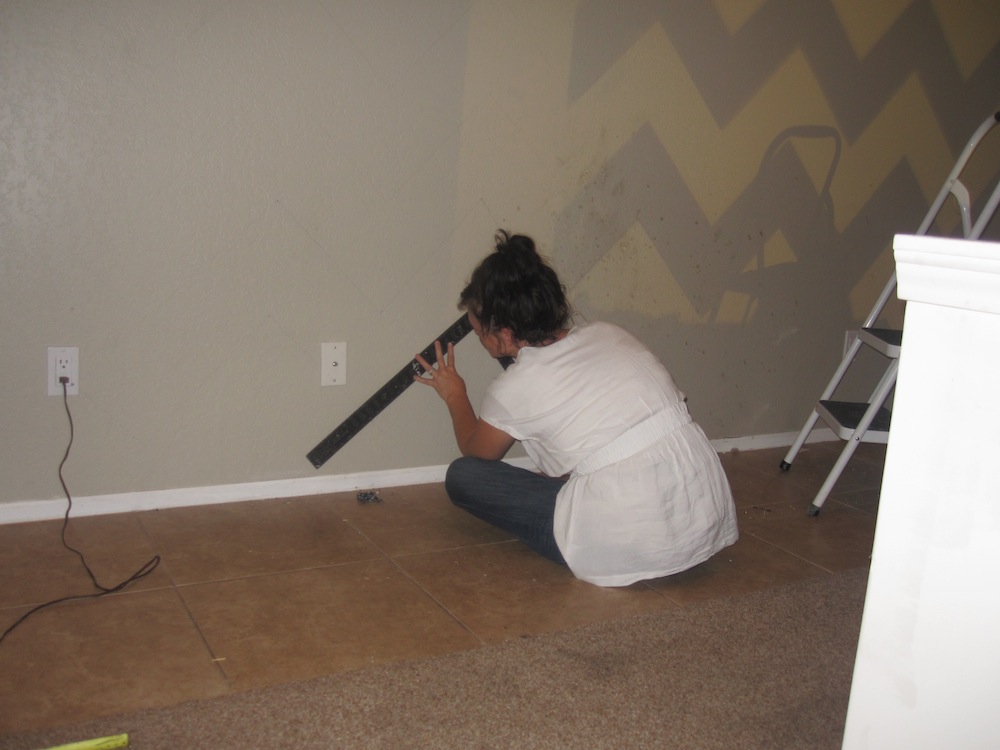
Here is the framer’s square I used… I liked that is was sturdy!
You can hardly see it, but I traced the whole wall!
4. I used a good Purdy brand brush that is used for trim work and cut in all the lines. I did notice that the pencil marks helped me stay within the lines, places that had lighter pencil marks were a little harder.
I will not lie this did take a while, but it was nice that I did not spend hours taping off, and I knew all the lines we perfectly spaced out and everything was even.
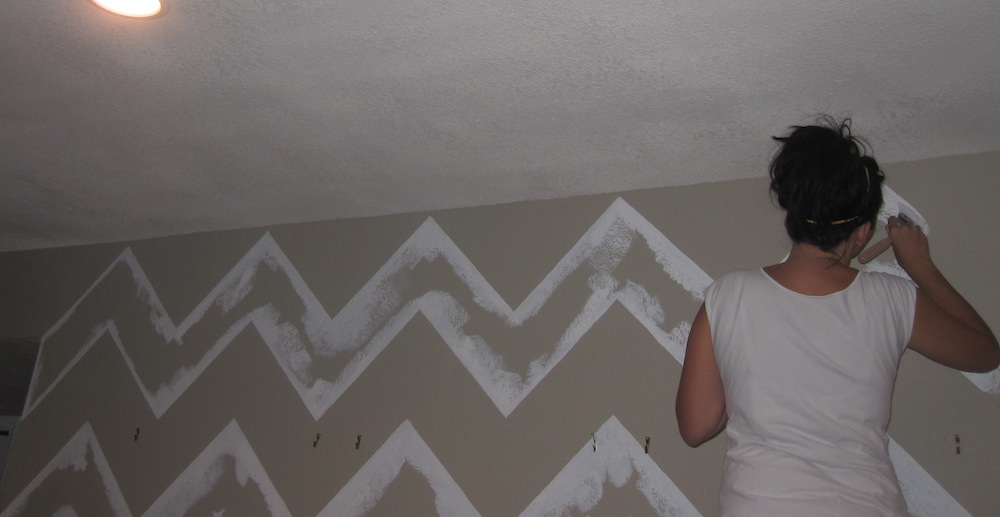
5. After I cut all the lines, I took and paint roller and started to fill in the lines… just make sure you are painting the right sections!
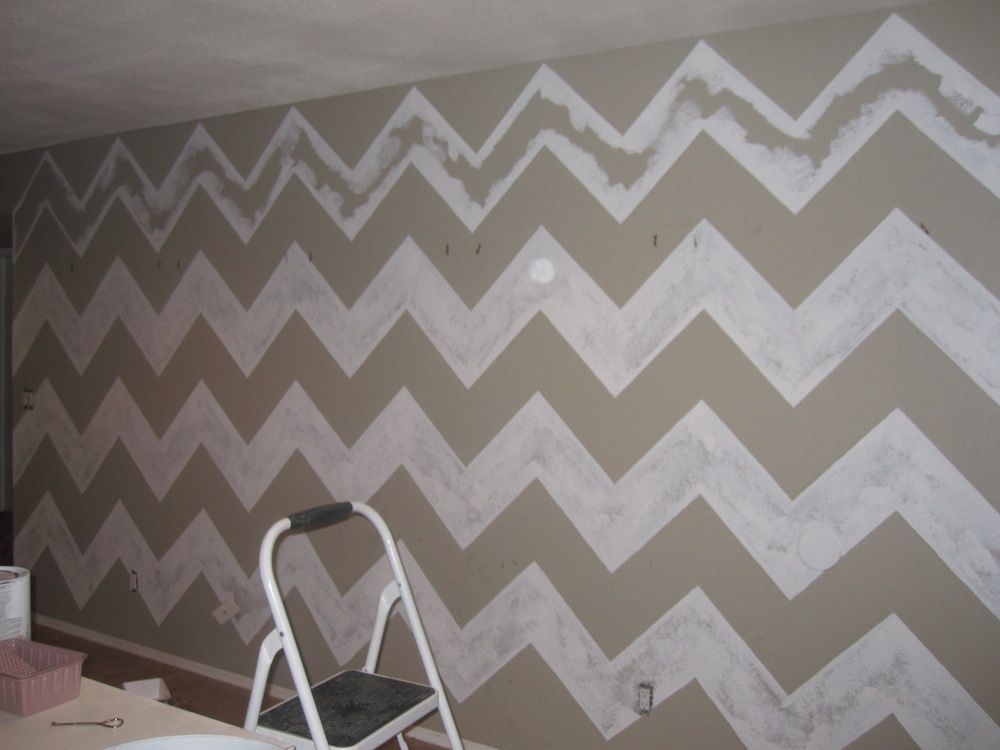
After a few coats, you have an AMAZING wall that did take some time but is VERY worth it and under $25 dollars!
I bought a can of paint for this project and I used only about half of a can.
No other supplies besides the overhead projector, which you could borrow or rent.
I know there are some schools, churches, of even libraries that you can borrow from.
Here is my Before Picture!
And My AFTER picture!
How did you think my wall turned out?
Also, what did you think about using the overhead projector?
Can you imagine the possibilities with that little machine!
I would really like to know what you think, and if you have any questions,
either leave me a comment or send me an email.
Happy Labor Day!


This looks great!! I love the windows on the wall, and your buffet looks wonderful too! Love the entire look!!
You did an amazing job! Honestly I am already adding this to my list of to do items when I finally get a house.
LOVE LOVE LOVE LOVER it!!!!!!
LOVE! So so cute! Your house is darling!
Banks…what the freak!! You need to stop with the projects and putting the rest of us to shame! I love it! I love all your stuff! I am painting a bookshelf white and want to know what color you would do!….I will text you!
One word: Amazing!!!
Awesome! what a task and it looks so cute!
I love the look. Definitely time consuming, but worth it!
Wow. What a big job. Looks great.
Anna
http://lassothemoon.typepad.com
Ab-so-freakin’-lutely BRILLIANT! You should win some sort of award! Love, love, love your idea!
Outstanding! You’re a brave, brave girl! But it turned out beautifully!
That looks amazing!!! I can’t believe all the work you did, but it was worth it!
It gives that wall some personality and pazazz. Great job!
That turned out very well. I have done a lot of similar wall painting, so I know how much work that took. I probably would have taped it all off, knowing how messy I can be. Nice job. Kathi
southbaystudiokathi.blogspot.com
OK! I need an overhead projector! This is way better than stencils and taping all the lines:) It looks so fun-love it
WHat are the paint colors you used??
WHat are the paint colors you used??
What a great idea. That had a huge impact on your room! It looks amazing!
L O V E it, looks great!
Very cool! I wish I had an overhead projector! great tute!
visiting from weekend wrapup party.
gail
That looks so great! I love the impact of a big pattern on the wall. Visiting from TDC.
i love that you used a projector. i’m trying to figure out how to do this chevron wall the easiest. i think i might have to tape it. because i’m terrible at painting a straight line in a line… thanks so much for sharing!
If you want to make your home really look really beautiful , paintings are the best way to do it believe home looks very well decorated . If you are looking to find Oil Paintings Reproductions at very economical price or cheap rates, you must visit wahooart.com
Genius! I love how your chevron wall turned out! I’d love for you to link up this project at Do Something Crafty Friday: http://seevanessacraft.com/2012/09/do-something-crafty-58/
This is amazing! I am in LOVE with the chevron pattern and would love to do this. Saw this over at Lil’ Luna’s.
http://www.pinkieforpink.com
This looks awesome!!
This is gorgeous! The projector was a brilliant idea! I’m seriously thinking about doing a chevron wall as well just not sure where but love your use of the projector.
This wall is amazing!! I love it, and want one of these so bad! So much work, but so worth it! Really even your furniture is great! The long dresser and the windows! IN LOVE!
http://www.naturallysisters.com
What a great idea!
Good idea… but who has an overhead projector just lying around the house?
Hi Quinn! We actually both have overhead projectors in our craft supplies collection and use them often. You can get them at thrift stores, ebay, or even local schools get rid of them often. Thanks for stopping by! XOXO
LOVE IT!!! When I found an overhead projector by the side of the road one Saturday as some friends and I were treasure hurting at garage sales, they ALLLL laughed at me for insisting they stop so I could rescue this, in my eyes, priceless find!! It’s been over 4 years since I sat in the backseat, clutching onto with a big smile, this extraordinary find knowing I would use it for projects like this post here and so much more and they no longer laugh at me …. They all want to borrow it!! I laugh now at them (kindly…sort of lol) every time.