
How to Stain a Wood Table + a Dining Room Update!
How to Stain a Wood Table + a Dining Room Update!
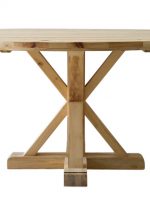
You might remember for our last furniture makeover, the pink campaign dresser, that we have teamed up with an incredible furniture company, Ave Home. Ave Home is an interior furnishings company based in New Orleans. They specialize in producing curated collections of both raw wood and finished furniture. We got to choose an amazing piece from the AVE Raw collection and I chose this insanely awesome Jax Pedestal Table.
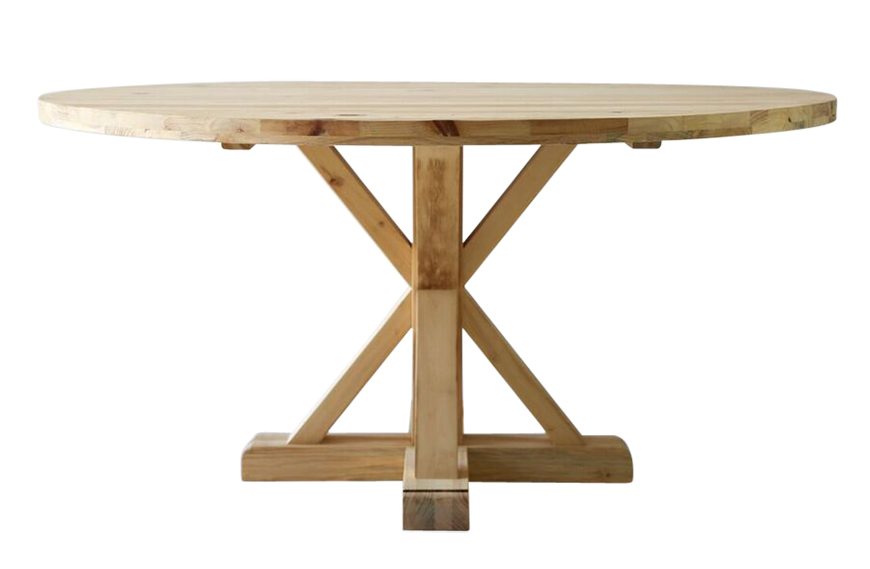 It came in two boxes (the base and the top) and completely raw wood. I sanded it slightly on the top to make it as smooth as possible and got to work.
Supplies:
- Ave Home Jax Pedestal Table
- Pre-Stain
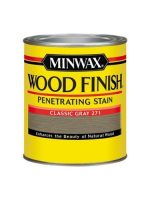
- Classic Grey Stain
- Polycrylic
- Gloves
- Face mask
- Staining pads or cloth
- Drill or screwdriver (to attach the pieces together)
 First, I used a pre-stain conditioner and wiped it on the entire piece. Follow the directions on the can but you can usually start staining around 5-15 minutes after the pre-stain is applied. It helps avoid blotchy staining and gives you a more consistent look when you apply your stain.
 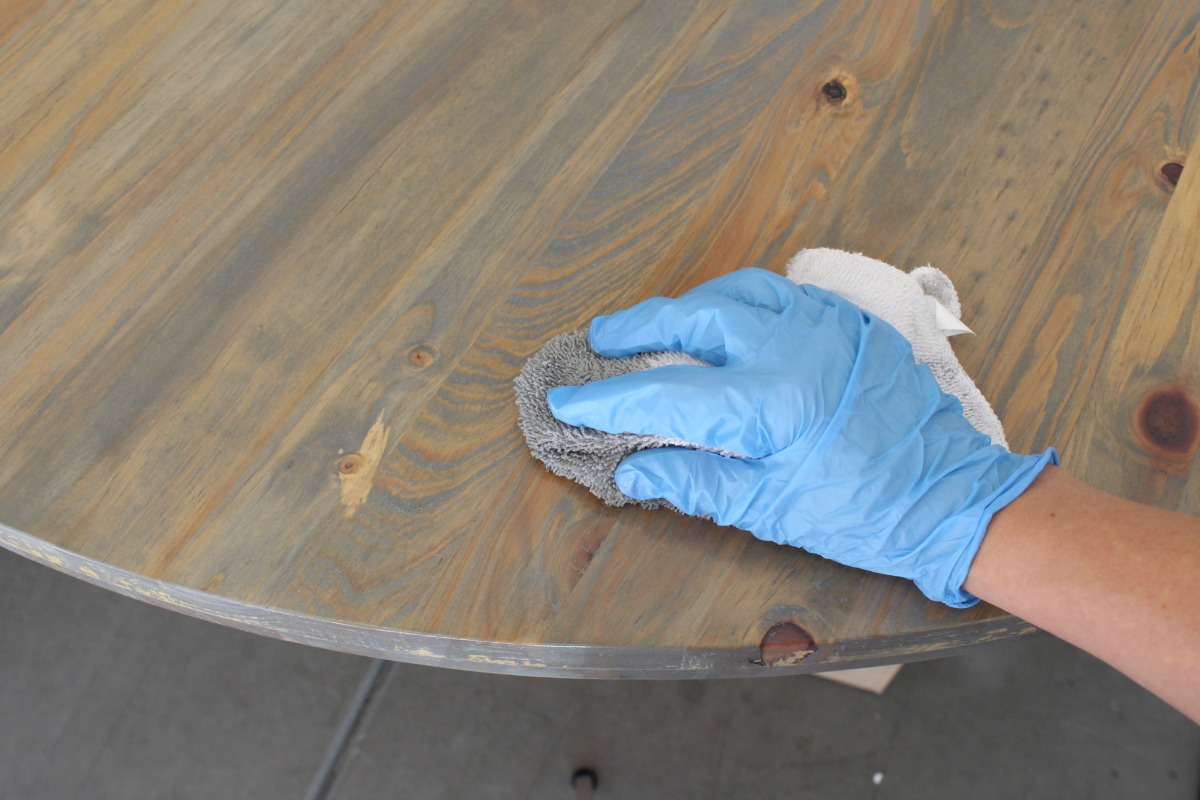 I applied one coat of the Classic Grey stain (wearing gloves!!!) with my cloth and let it sit overnight. The next day I applied the second coat and let it dry completely. The following day, although you usually only have to wait a few hours, I applied the polycrylic with a foam roller and since it was over 100 degrees here in Arizona that day, it dried super fast! I brought it inside and screwed the base and table top together.


I absolutely love how my new dining space looks but truth be told, I chose this table because it is going to be perfect in the new house! I can’t even wait! As soon as I have our new keys in hand (We close escrow in 10 days!) I’ll show you the new house!!
For the next 30 days, use coupon code CLASSYCLUTTER on Ave Home for 20% off of your purchase, exclusively for Classy Clutter readers/followers!

This post is sponsored by Ave Home. Ave Home Facebook, Twitter, Pinterest, and Instagram


Love the gray stain color. Pretty room
I love how that turned out! I have actually been looking at those chairs for my kitchen!
Well done! The chairs and the table fit perfectly together.
I absolutely love the dining room!! I’m getting ready to redo my dining room table this coming week and thinking this grey color will probably be happening. I’m absolutely obsessed with those salty and sweet signs, I’m dying to know if y’all bought them from somewhere or if it is a DIY. Y’all have given me so much inspo for my dining room.
I absolutely love this table! It’s so unique, and the stain is a nice touch! Great job! Thanks so much for sharing this!
Stunning dinning room! Very inspiring! The sputnik chandelier, chairs and the table are so perfect together. Thanks for sharing a useful instruction. This is exactly what I have been looking for, I also have a wood table and still don’t know how to stain it until I read this. Thanks again, you helped me a lot!
So glad it could help you! Thanks for stopping by xoxo
Classy looking table and congrats on finding a piece that fit with both your old and new living space. The paint touches really worked well for the table as well.
That gray stain came out great on that wood, sometimes less is more when using stain which is different from paint. Also, on another note that light fixture is awesome, and really makes that space look great!