
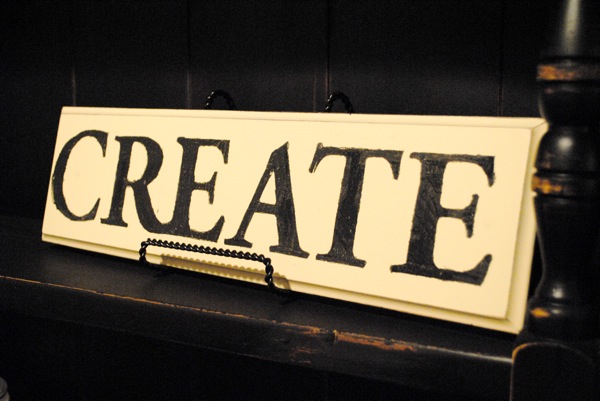
Handpainted CREATE sign {& tutorial}

So.. I needed something fun and cute to put on my new (to me) desk (that post coming REALLY soon) and I didn’t want to buy anything… Don’t you hate that?! So I came up with something I could make with things I had lying around the house.
I had this kitchen drawer front that had fallen off of the front of my drawer at my old house and instead of throwing it out, I held on to it thinking as usual “I can make something out of this someday..” My hubby just rolled his eyes and tossed it in our garage. We’ve moved 4 times since then, yes 4! … and somehow this random piece of wood never got thrown out.. Anywho… Here’s what I did!
First I painted it black… then changed my mind and painted it Ivory…
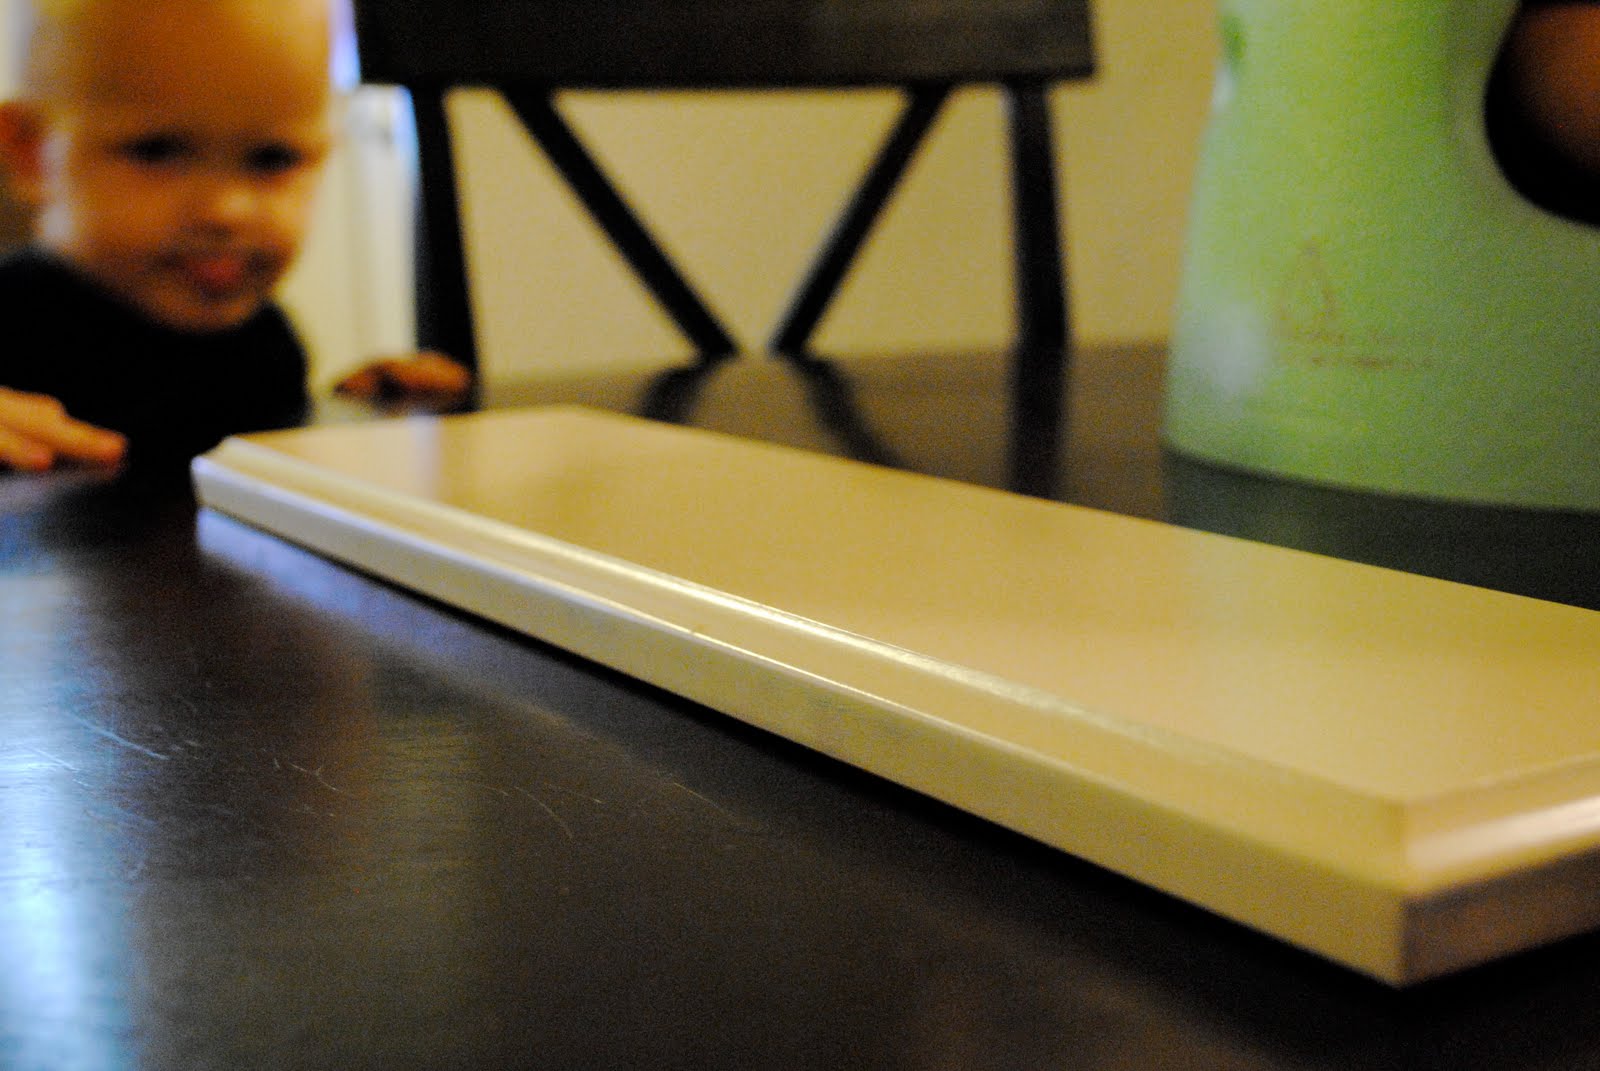
See my little helper sticking his tongue out back there. 🙂 Love that kid.

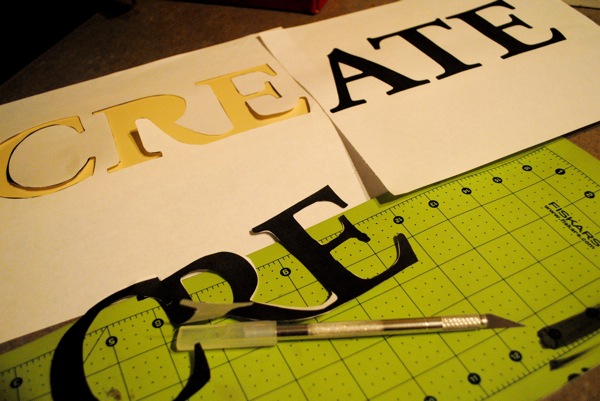
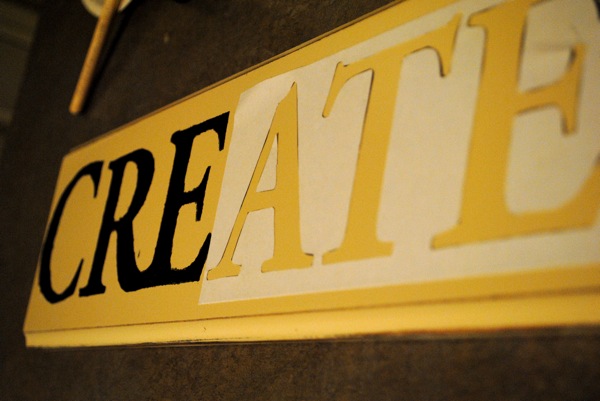
Next I found a font I liked and printed the lettering out on my printer. I printed it using “fast draft” and grayscale to save ink. {I HATE replacing ink cartridges} I, meaning my hubs, used my Xacto knife to cut out the letters to create a stencil. I tried first but he has a much steadier hand than I. Perhaps why he will make a good dentist (He’s applying to dental school right now – hehe!)
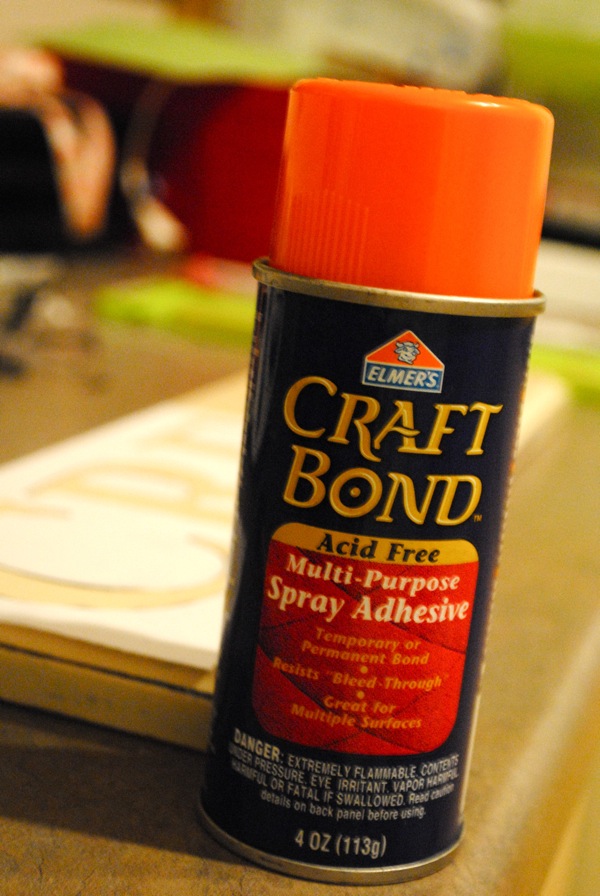
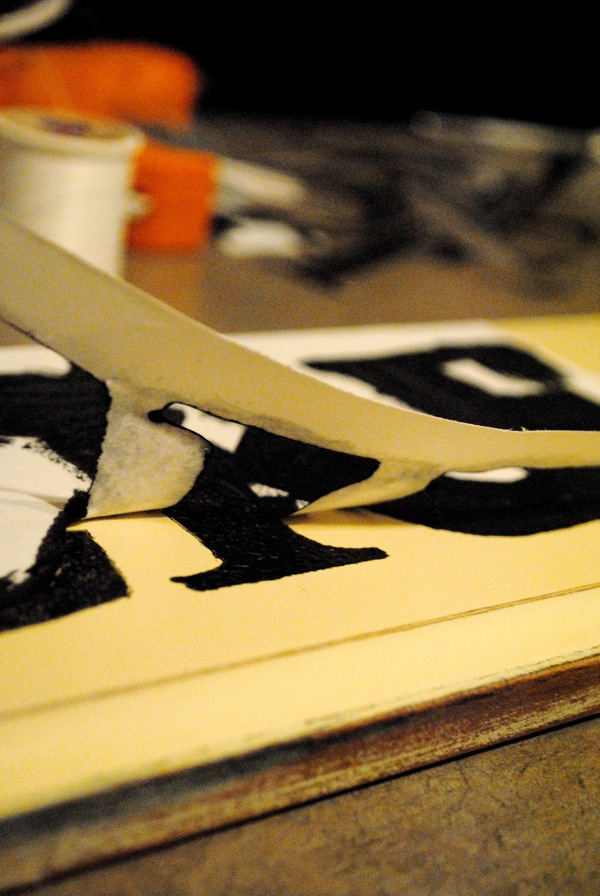
Next, I used spray adhesive (I like Elmer’s Craft Bond) and sprayed the back of the paper stencil.
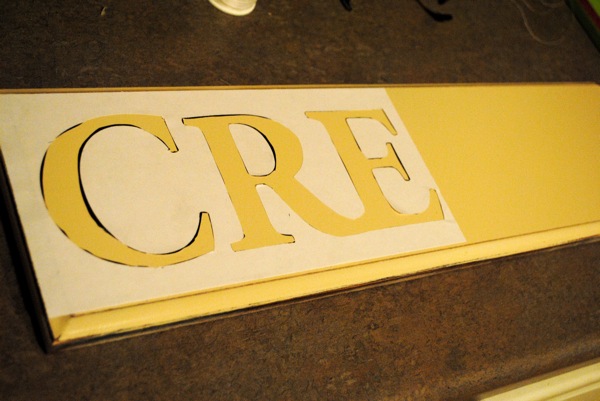
Then I placed the (now sticky) stencil on the board and lined it up so it would be straight and everything.
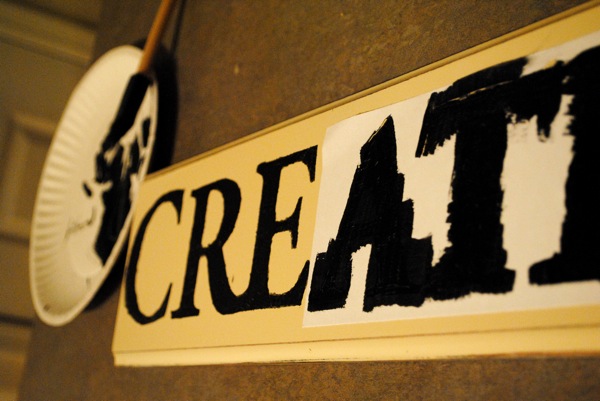
Finally I was able to paint the lettering on… I used a foam sponge brush and cheap acrylic craft paint for this. Don’t you love my fine china??! 🙂 Paper plates are the best when you have toddlers!
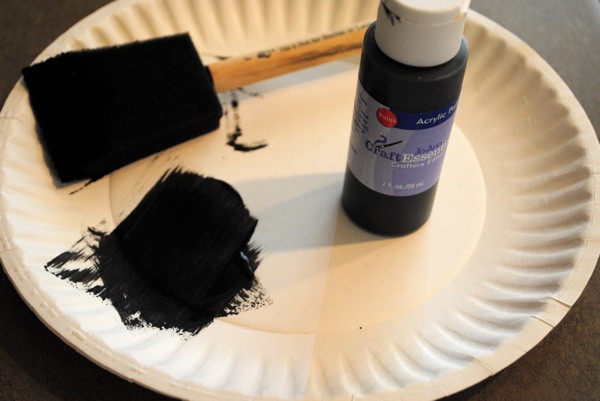

I also painted around the edges to tie in the black.
(some paint is still wet in the photo)
It’s far from perfect there a lots of imperfections in the lettering but I love how it turned out. The best part was it was FREE! Sa-weet!!
Now go paint something!
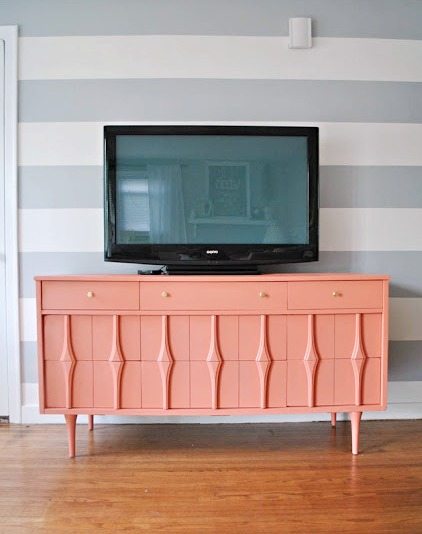

Great job! I like the ivory color, too. It really pops against the dark desk.
Thanks for linking up with the Weekend Word Search this week!
LOVE IT! Found you through Sunday Scoop Link up!