
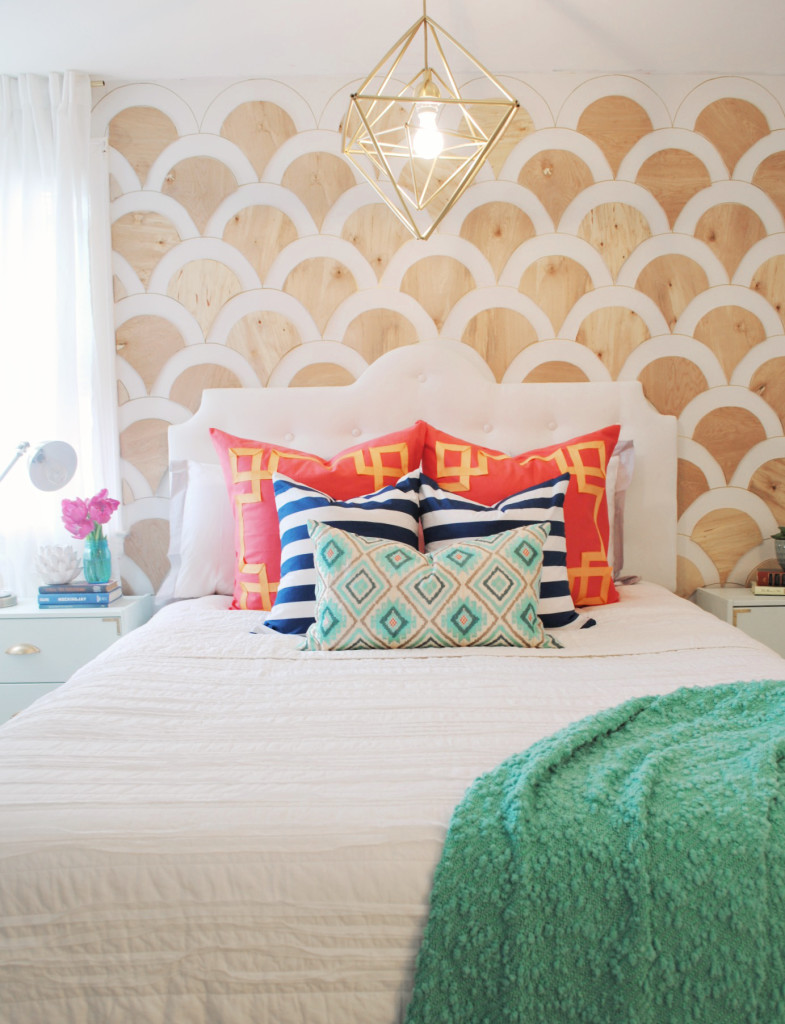
DIY Modern Tufted Headboard
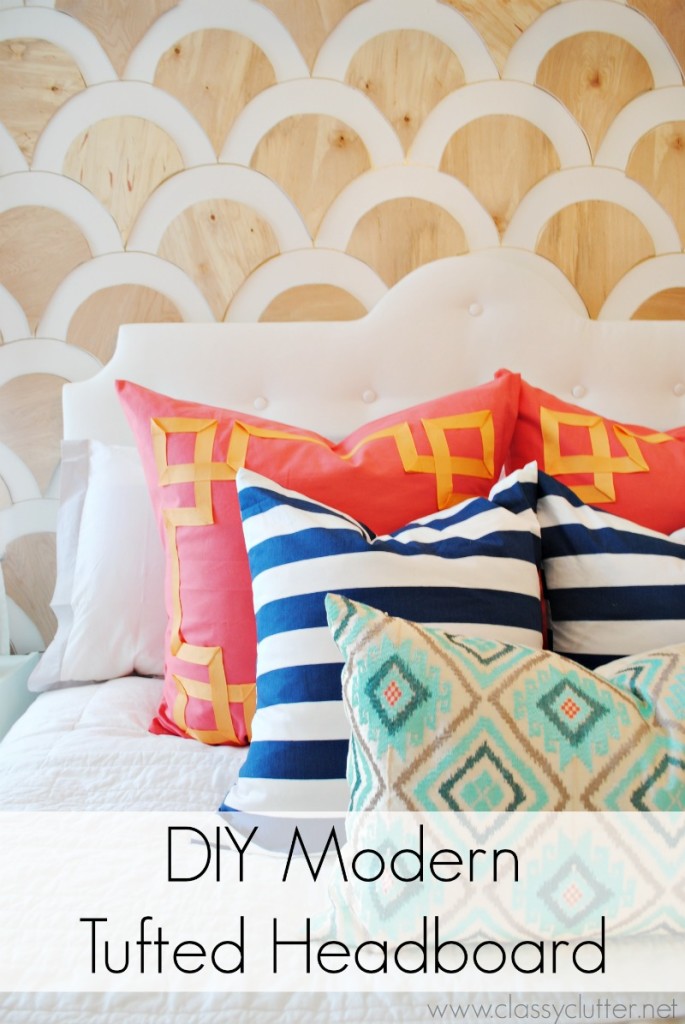
I’m super excited to share with you my DIY Modern Tufted Headboard tutorial today. I know there are probably 80 billion tufted headboard tutorials out there but this one is seriously ridiculously easy and it would be just plain mean not to share it. I created this headboard for my master bedroom makeover that we ended up using for our final round project for Creating with the Stars. You guys, it’s SO easy and you don’t need any expensive tools or anything.
You will need:
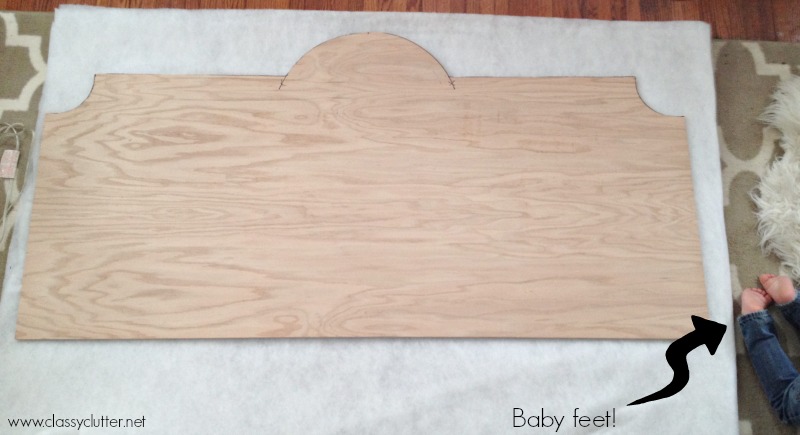
- sheet of plywood, large enough for your bed (mine is a queen size)
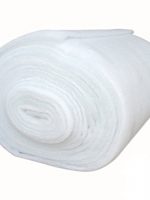
- enough batting to cover your wood piece of wood 3 times
- Fabric – get creative. My room had a ton going on so I wanted a very simple look. I used white suiting fabric.
- Upholstery Stapler and staples – You can get a hand one for around $12 at Walmart, Home Depot, etc. I used one that attaches to my air compressor.
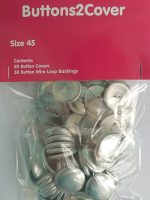
- Covered Buttons kit
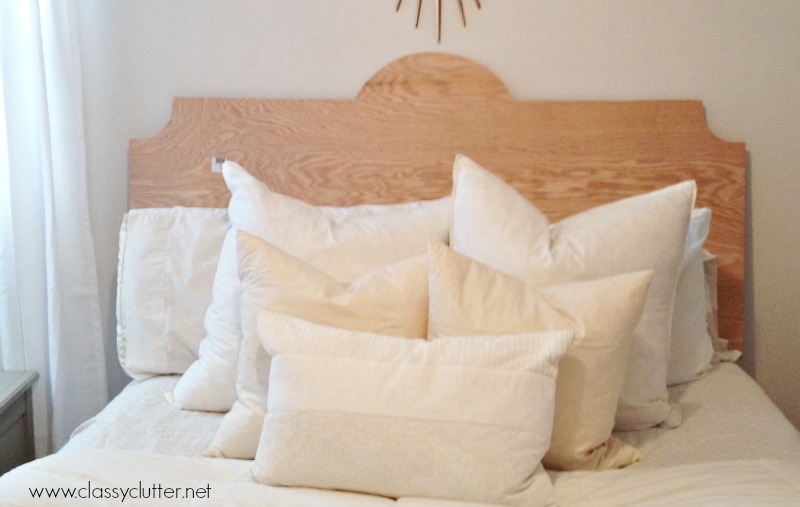
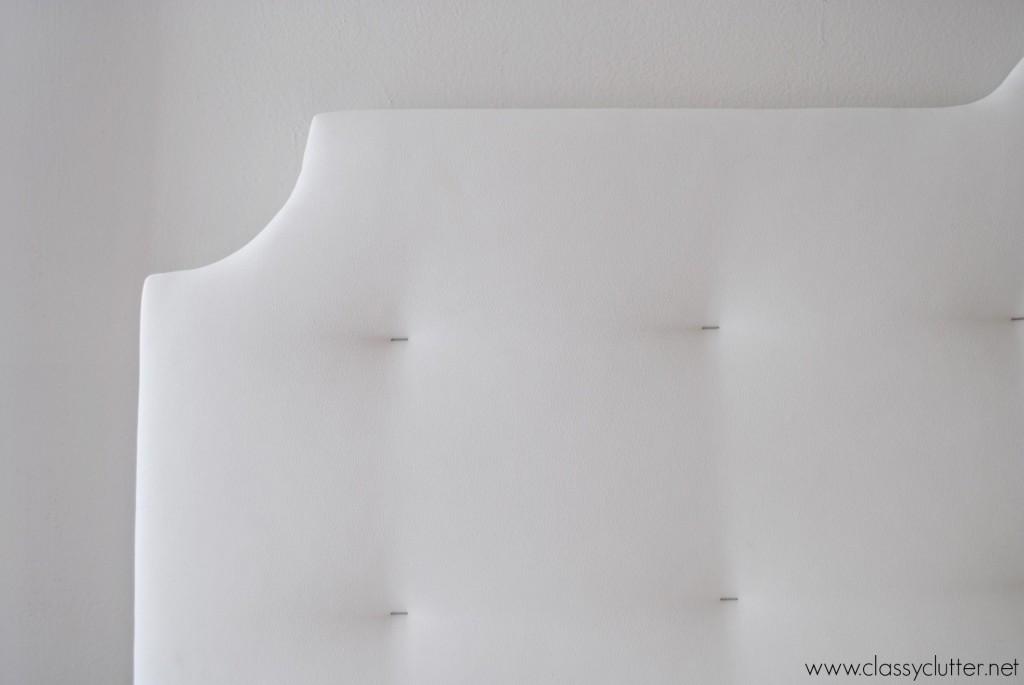
First, I needed to decide what shape I wanted my headboard to be. I ended up combining the look of the Belgrave and Portman.

I just freehanded the shape using some bowls and a laundry basket as a guide. It was a really technical process as you can tell. 😉 I drew the shape on with a sharpie and cut it out using a Jigsaw. I have this one from Home Depot. If you don’t have a jigsaw, this is a great one for your tool collection. It’s inexpensive and works awesome!
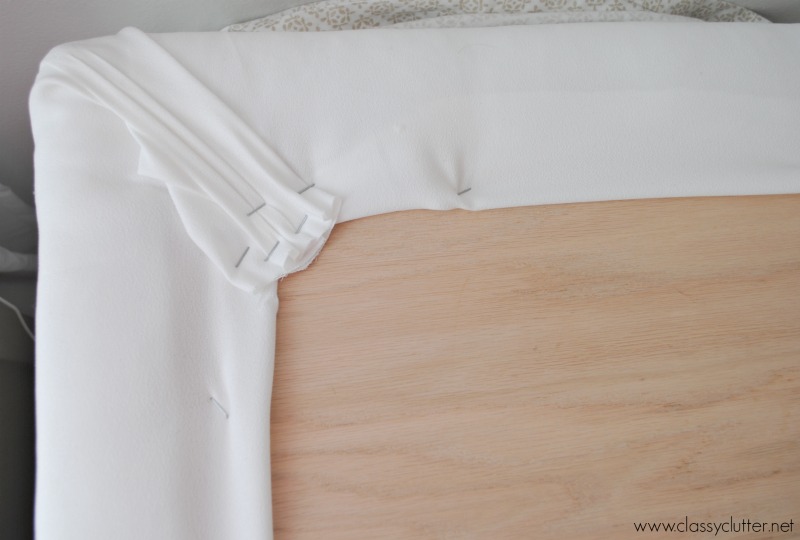
Next, lay out your wood piece on 3 sheets of batting. Then, staple it tightly around the perimeter.
Next, do the same thing with your fabric.
Now, you can be done here if you’d like but I wanted some simple tufting.
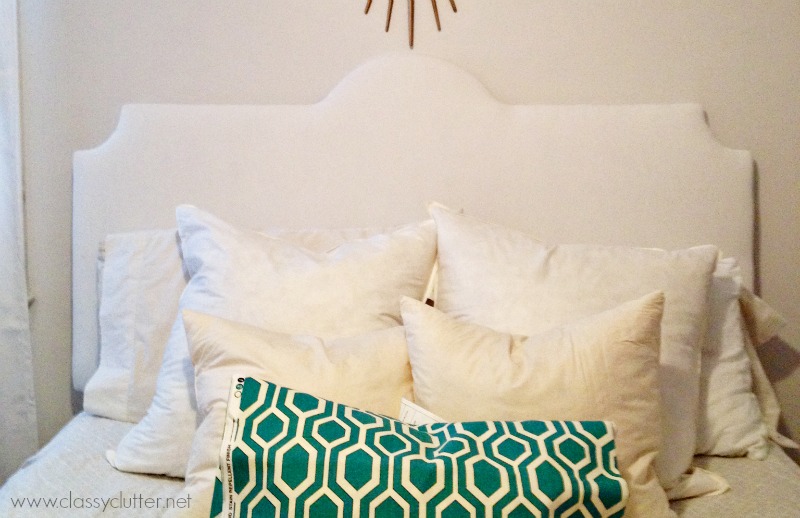
I used my stapler and simply stapled where I wanted the tufts. I think they’re about 8.5″ apart.
Finally, cover those bad boys with your fabric covered buttons and ta-da! Done!
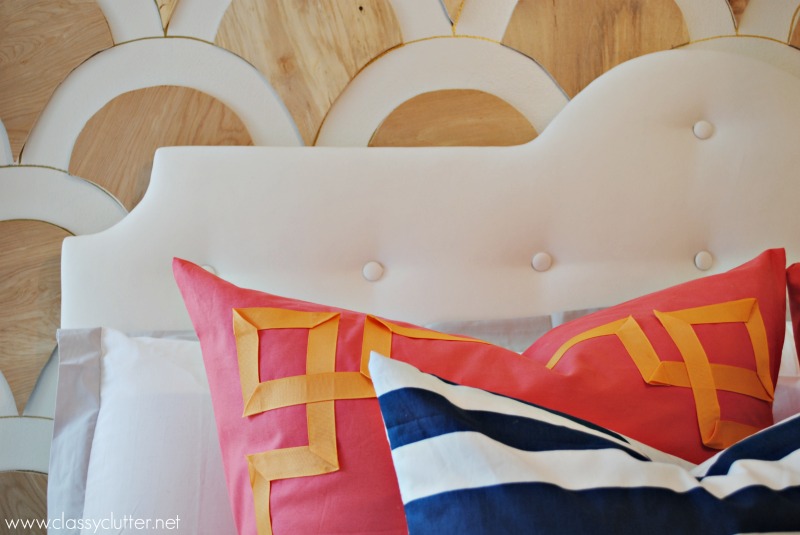
Oh, you can either mount this on the wall or you can use some of your leftover plywood and make some legs for it. That’s what I did. It was so easy! I can’t wait to show you more of how this room came to be! I seriously love it so much! It is perfectly “me” in every way!
What do you think?


Cute! I love the shape and the tufting!!
That is so gorgeous!
It looks wonderful. I love it. I would love for you to link up to my ongoing Inspire Me Tuesday party. http://www.astrollthrulife.net/2014/04/213th-inspire-me-tuesday.html Hope to see you there.
Gorgeous!
Amazing! I love the wall behind it too! How did you do that??
Nice but what I really want to know is what’s behind the headboard? Beautiful!
Really great work. Would you be willing to show how you “covered those bad boys with your fabric covered buttons” and how you attached the legs to the back? I’m so visual!
That wall!!!! Is absolutely amazing!!! Please tell us about it!
Aww! thanks! We will so so soon!!
It is so fabulous! I did a basic upholstered headboard a few years ago in a striped fabric and it is time for a change… I think that some fresh white fabric and some button tufting would be a perfect upgrade. Thanks for the tute!
the whole spot looks funky and colorful, but also relaxing, as a bedroom should.
Hi Mallory – This beautiful headboard totally caught my eye at Tatertots & Jello – it’s just gorgeous and I also am in love with the wall behind it. Love! Thank you so much for sharing and pinning – hope you have a fantastic weekend!
Would you please share where you found the fabic for all your adorable pillows!?!?!? Pretty please :)))
LOVE IT!
Hi Courtney! The coral greek key was made from coral fabric and peach ribbon, the navy striped was made from Target baby crib sheets (the only place I could find navy and white stripe fabric locally) and the front ikat pillow is from Marshalls/Home Goods.
Thanks so much for stopping by!
Seriously when do we find out about the wall? I can’t even tell what you did to it let alone how….
Really soon! Tutorial is scheduled! Can’t wait to show you!
The wait is killing me! 😉
I love the wall and very interested in seeing the tutorial!
beautiful room! did you make the light? I’d like a tutorial – thank you!
Yes I did. I’ll share a tutorial soon so keep an eye out! 🙂
I love this and the directions are great! Can’t wait to try myself! Thanks 🙂
What are the dimensions of the headboard?
Is this tufting technique the same one you used for the mint chair?
What kind of fabrics work? Are some fabrics not ideal to use?
I was looking at upholstery fabric cause I don’t know what suiting fabric is!
Thank you! I’m so excited to try this!!
Hi Rachel! Upholstery fabric would work. I think anything that is fairly thick will work. Canvas is great, “home decor” fabric, etc. Suiting fabric is available at any fabric store in a variety of colors. It’s what is used to make suits:)
The Headboard is awesome. I also like the wall behind the headboard. Will you share how you did the wall.
How did you make sure the tufts were straight? Do you really need to wrap the fabric 3 times like the batting??
What did you use to attach the covered buttons to the headboard?
Very nice!
I am looking to buy full size head board templates whether in paper or other form.
Can you help?
Thank youl
I have wanted to do this for so long and Now I know how!. I have a Brass headboard I plan to cover. Wish me luck!
She has cut and applied wood veneer to a backing to create the wall background. Can’t tell if she has applied the cutouts directly to the wall. Door skins, which I are the thin front of hollow bedroom doors, can be purchased at Lowe’s or Home depot and the veneer pie especially applied.