DIY Chair Rail Molding | Box Trim
You know those projects you have envisioned for YEARS and then just never get around to it? Well today, my friends, that one project I’ve been dying to do is finally done and it looks so good. I can’t believe I didn’t do this sooner haha! #CCProjectDay is really just solving all of my problems.

Chair rail molding and box trim is actually way more simple that you’d think. Here are the steps!
Time needed: 5 hours.
How to Install Chair Rail Molding
- Pick out your trim
Go to the hardware store (we love The Home Depot!) and pick out your trim. We used primed fiberboard in 60″ x 2″. More info on the exact kind is in the video!
- Measure everything…twice!
Measure your space so you know exactly what cuts you need.
- Nail your trim to the wall
Using a nail gun (favorite linked here), nail in the board to the wall. We share a few tips in the video below!
- Time to caulk!
Caulk alllll of trim with paintable caulk. Make sure it is paintable!
- Paint, paint, paint
Paint all of your trim the color of your choice. We used a BEHR paint color matched to Sherwin Williams “Rhinestone”.
Can you believe how much of a difference it made? I love my updated front room so much! Grab a friend and get to your next project!
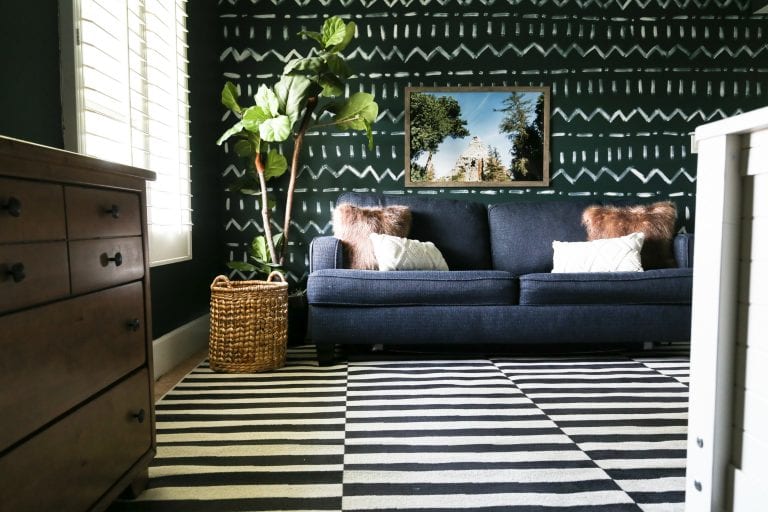
Saw something you liked? You can find all of the furniture in this room here.
Love,
Savannah