DIY Kitchen Open Shelving | Our Mini Kitchen Shelving Makeover
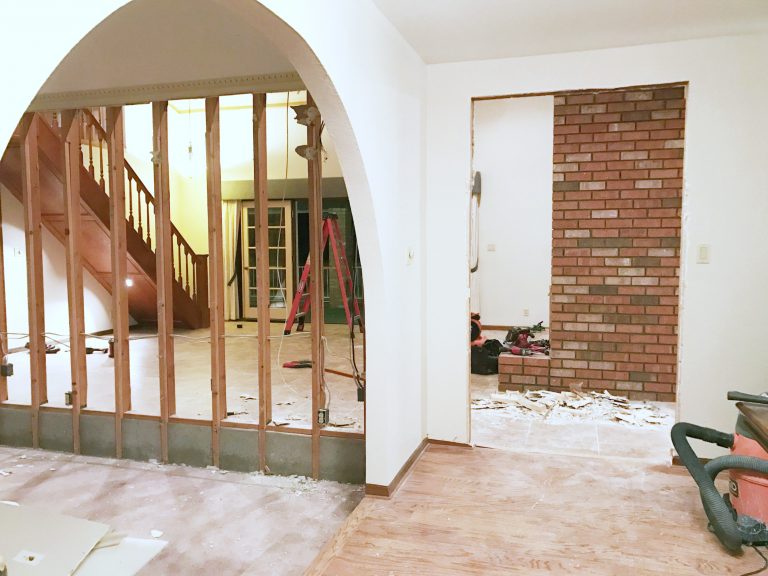
If you’ve been around awhile, you know the story behind our kitchen remodel. Long story short – just before the holidays, our kitchen had a major flood that prompted a major renovation. The before and after pictures will shock you (in the best way!!). If you want all the details – I’ll link the final reveal post here!
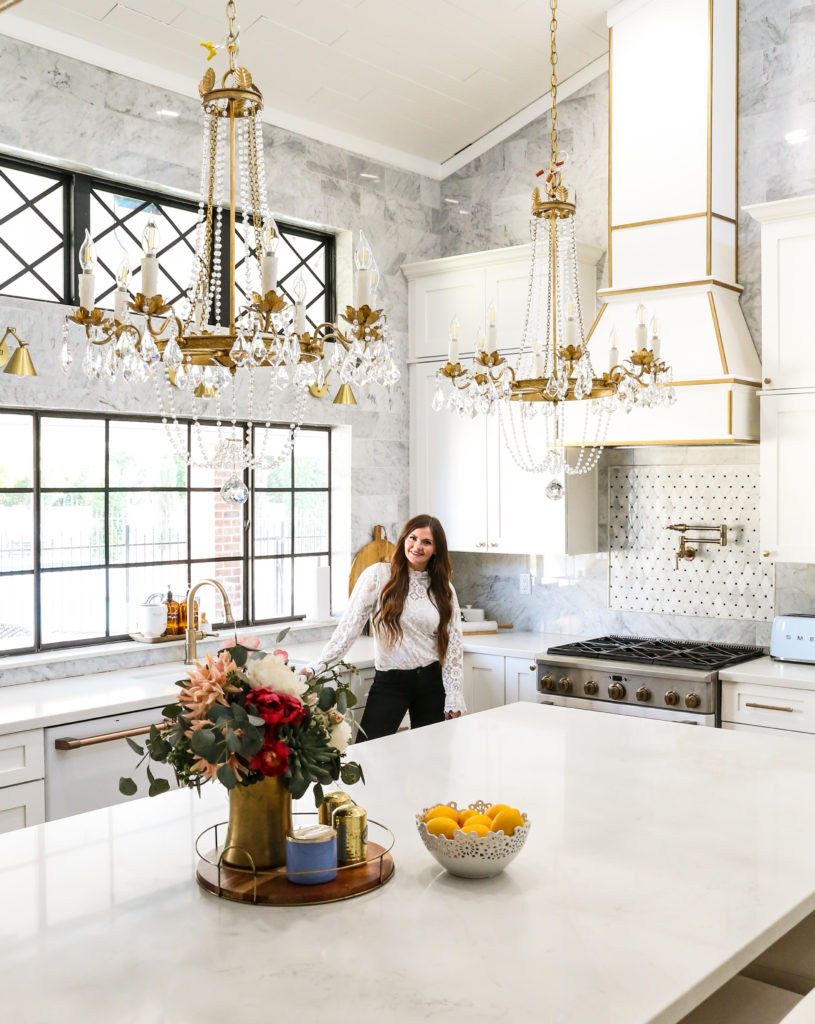
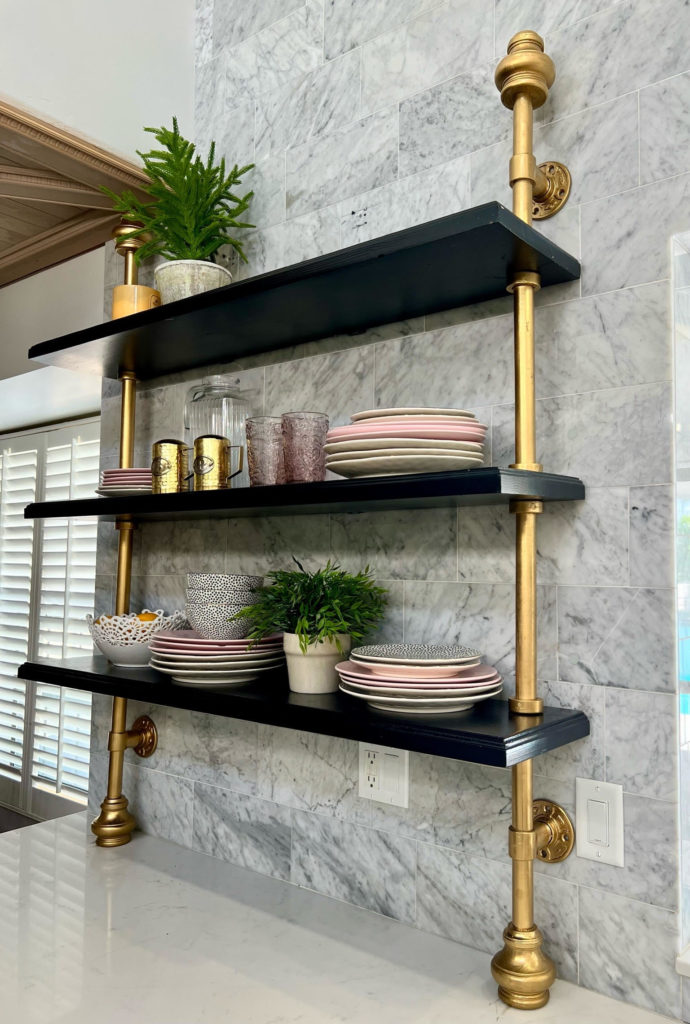
We opted for open shelving in this spot to add a decorative element to the space. Kyle installed these shelves over the tile (linking a tutorial for that here!) and made all of my open shelving dreams come true!

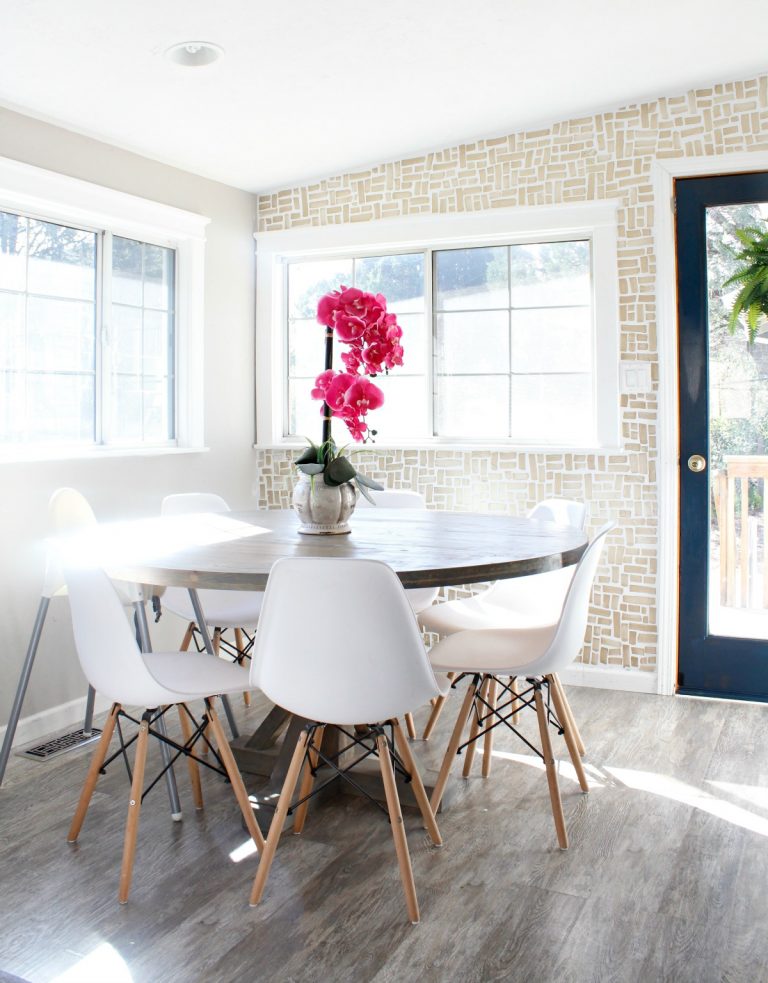
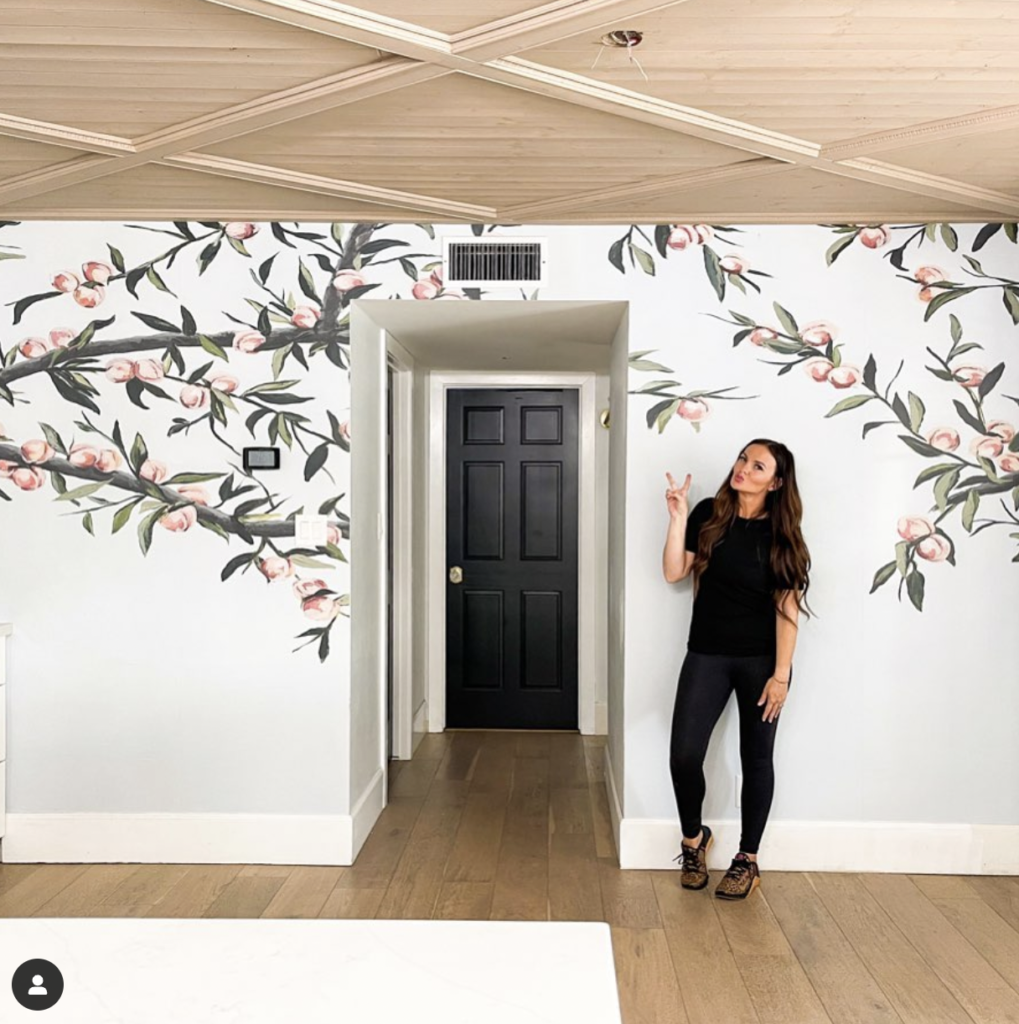
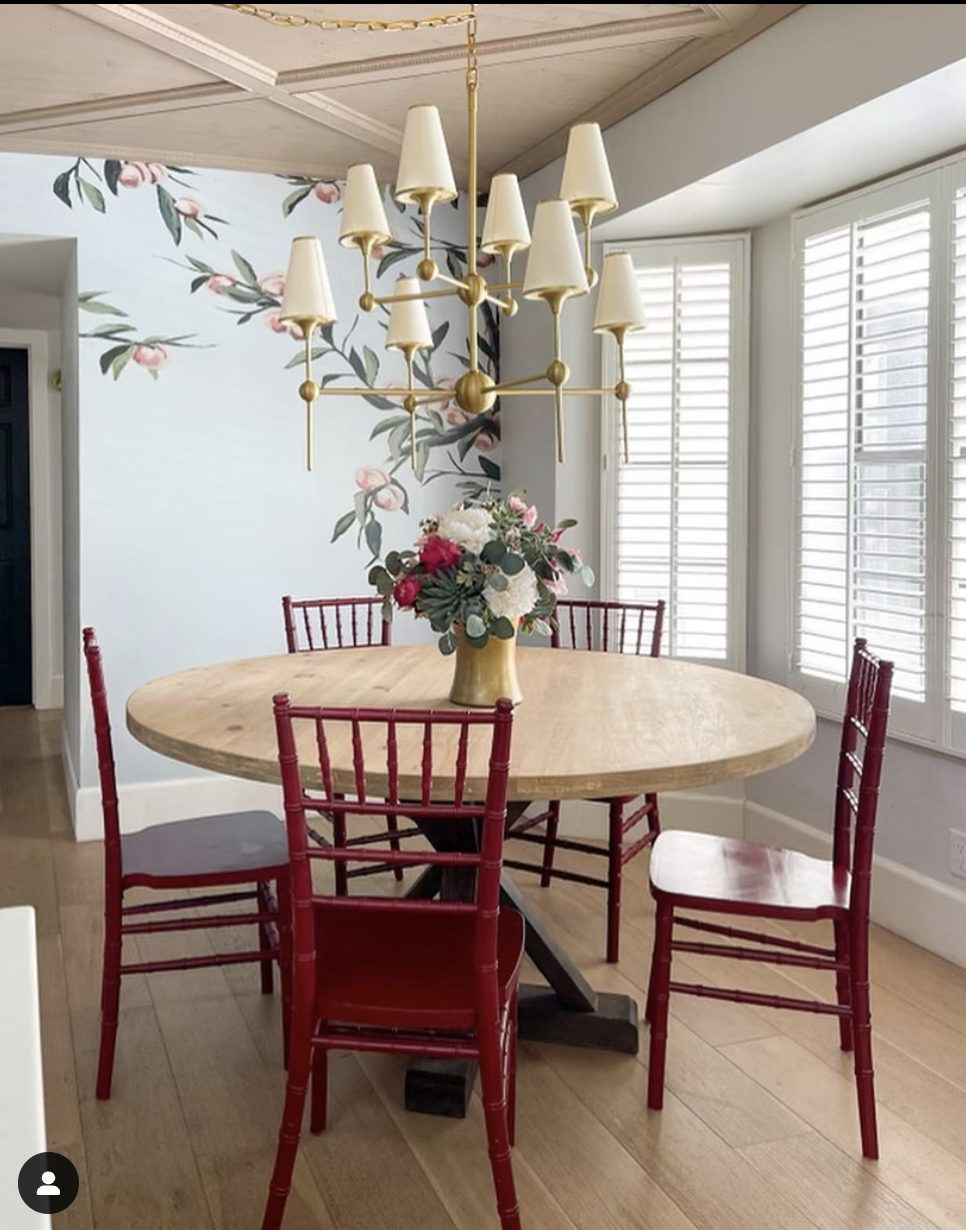
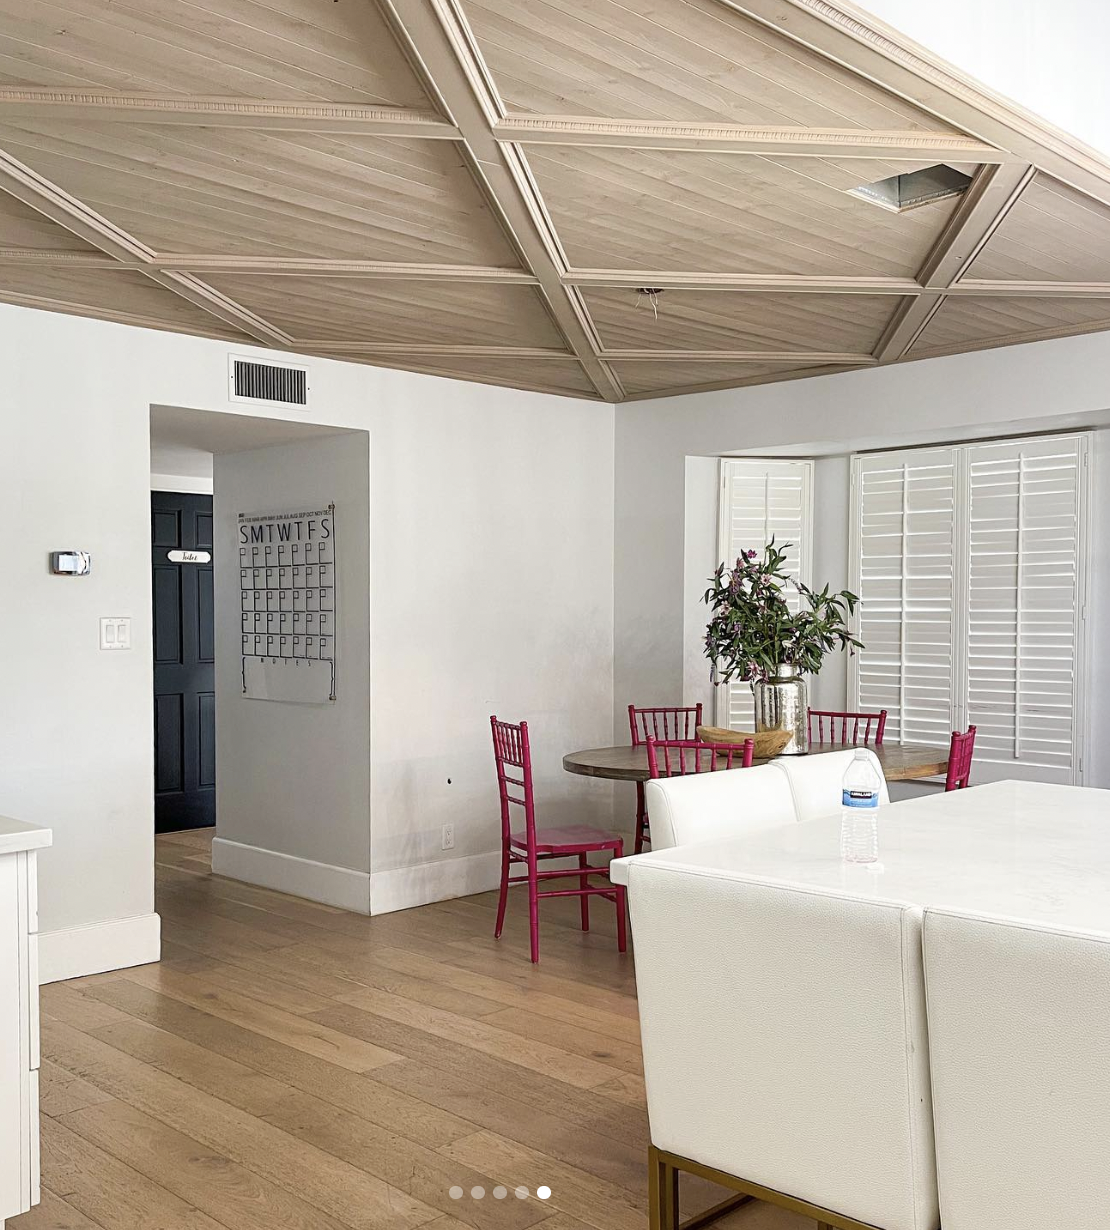
The breakfast nook off the kitchen has been getting some upgrades! I’ve spray painted the chairs, worked on the table, added a mural, and of course, the most epic ceiling treatment. These shelves are always in view from that room and I thought it would be fun to add some drama. The shelves were inexpensive, so I knew if I didn’t love the end result I could either paint them back to white or replace them altogether.
The Plan For Open Shelving
I drew up a plan, bought the materials, and then husband and I spent a weekend turning our boring kitchen shelving into a statement piece. Here’s how we did it!
How We Upgraded our Kitchen Open Shelving
First, we tore out the old shelves.
We used to have a set of plain white open shelves in the kitchen. While they served their purpose, they just didn’t have the visual impact I was dreaming of. So we ripped them out, puttied over the screw holes, and prepped the wall for our brand new shelves.
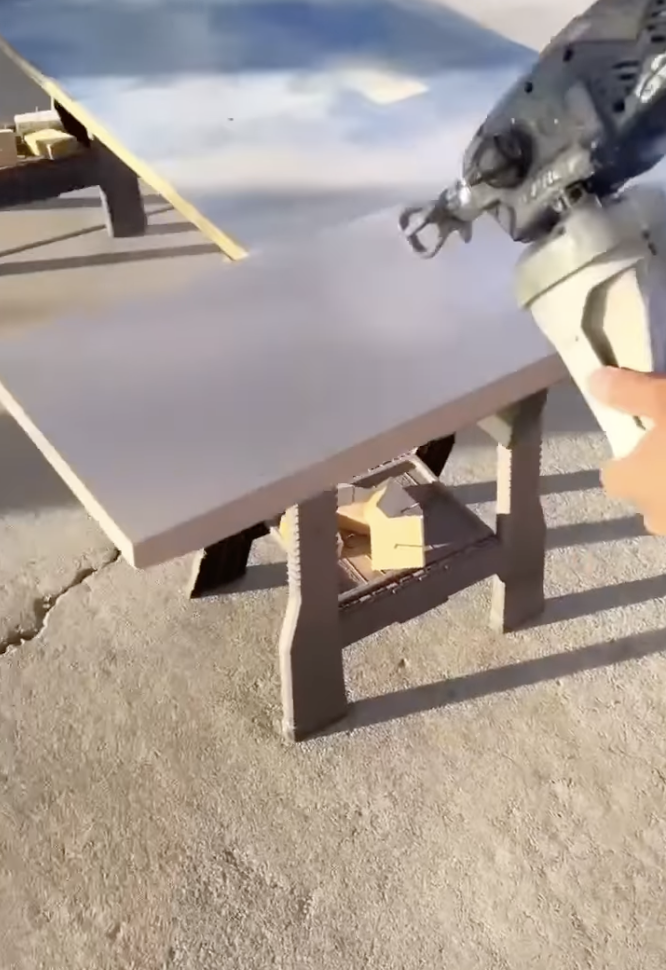
Then, we customized our materials.
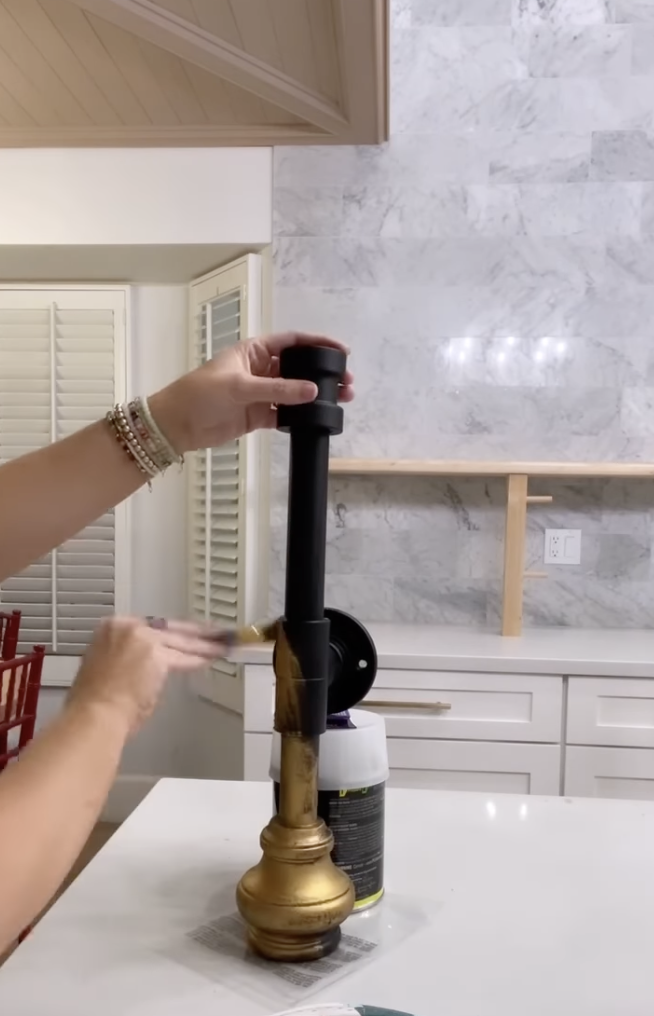
With a paint sprayer, everything is customizable! We used three beveled shelves and two sets of industrial-looking curtain rods to create our open shelves. My husband and I painted the shelves my favorite shade of black – Carbon by Behr! Then, I went in with a small brush and metallic gold paint to create the shiny hardware I was looking for.
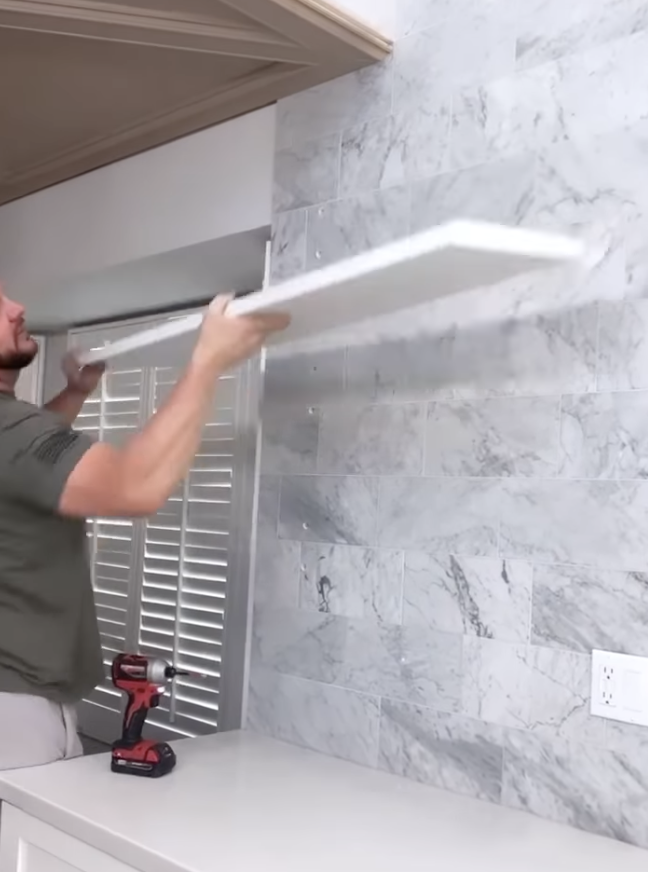
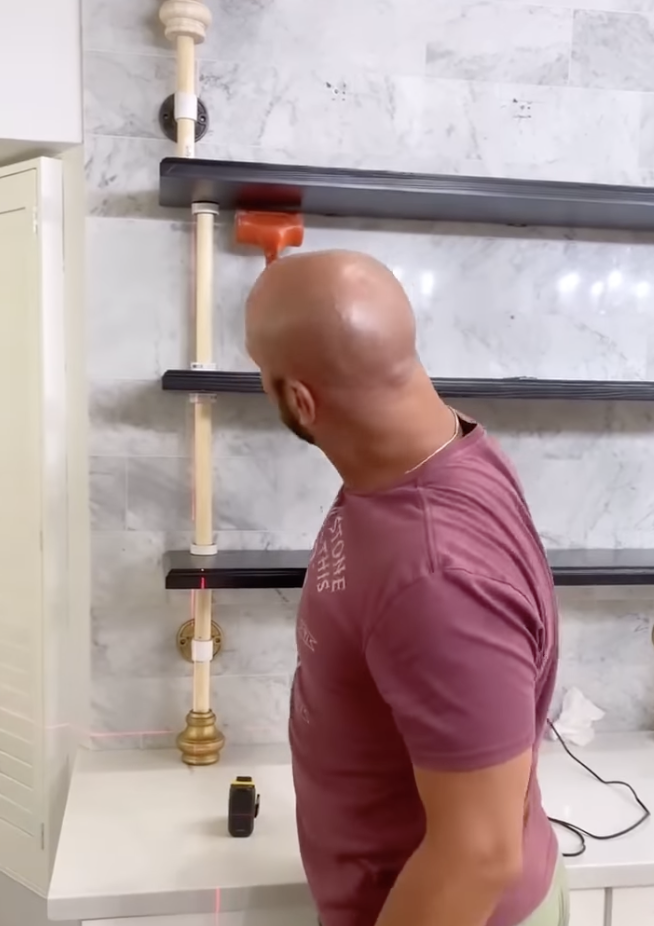
We installed the new shelves.
Once everything was dry, all we had to do was put the parts together! After drilling new holes, we installed each level of the shelves starting at the bottom. Because the curtain rods were exactly the same size, it was super easy to keep things level and even!
Finally, I got to style our new shelves!
Once everything was installed, I styled our open kitchen shelves with some pretty blush-colored plates, a gold salt and pepper shaker, and a couple plants. I couldn’t be happier with the way it turned out, and I can’t wait to swap out the decor for different seasons and holidays!
A small project, but a big difference!
While it might seem small, this project added a ton of personality and interest to our kitchen. In my opinion, that’s the best kind of project! For more easy and impactful projects, check out these posts: