Staining a Wood Table Tips & Tricks
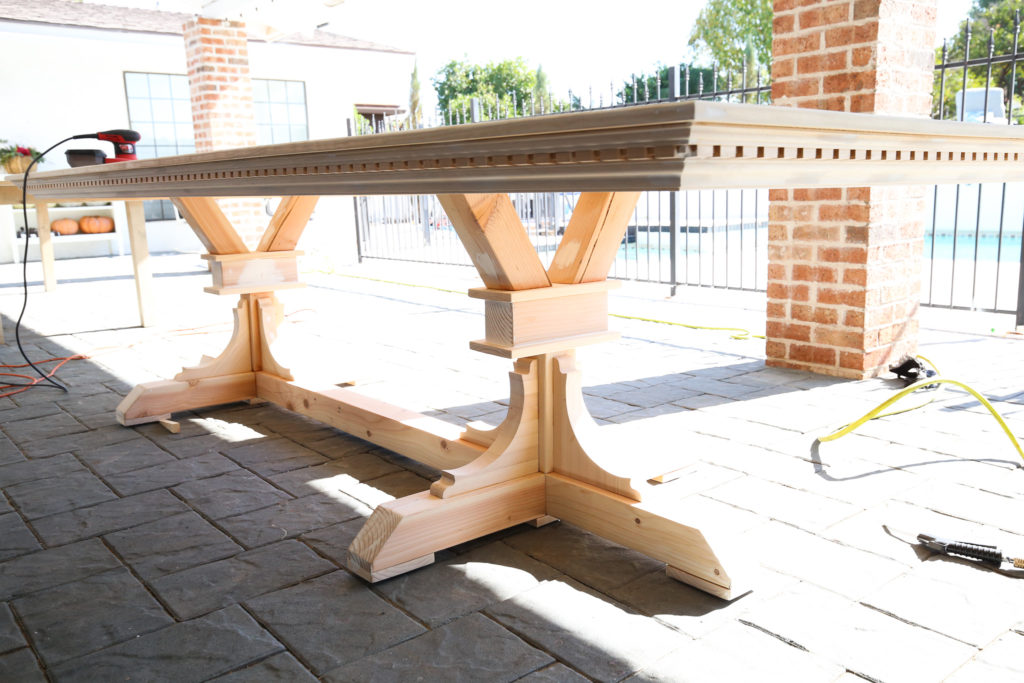
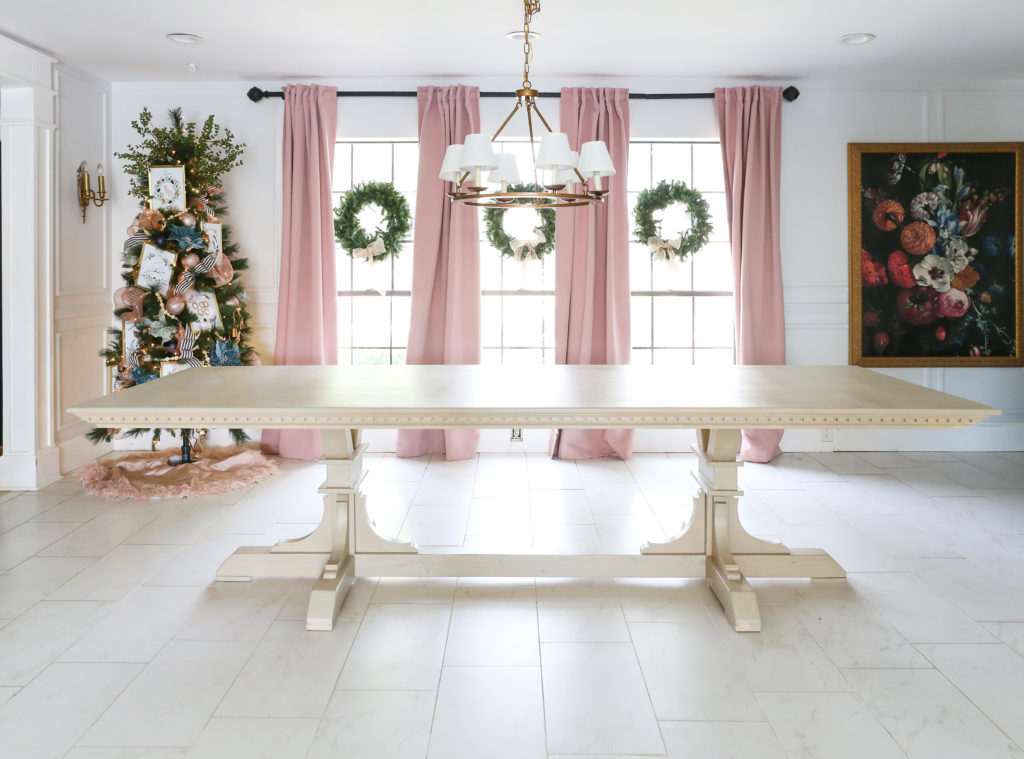
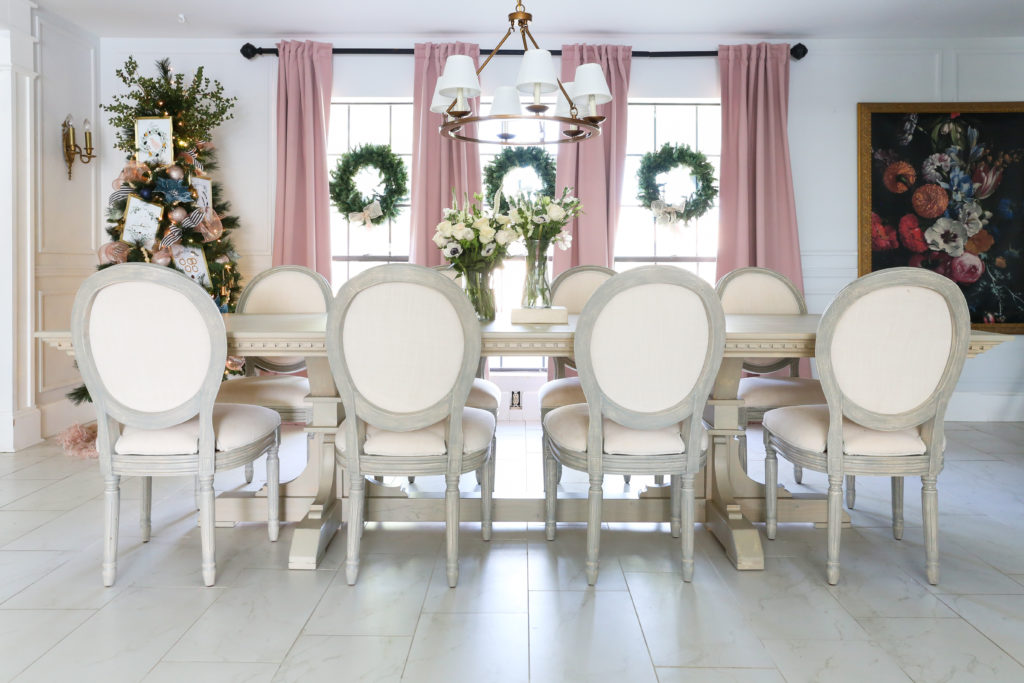
The holidays are upon us and I am so excited to be gathering around the table with my family this holiday season! There was one thing that was on my mind while I was planning my family’s meal….my dining room table! Kyle built this amazing table for me in our last home by staining wood and as our family has grown, it doesn’t have enough seats for any extra guests!
Kyle was kind enough to build me a new table just in time (full tutorial coming soon!) but today I wanted to share with you how we achieved this amazing, rich oak color. Follow along to learn how to stain wood!
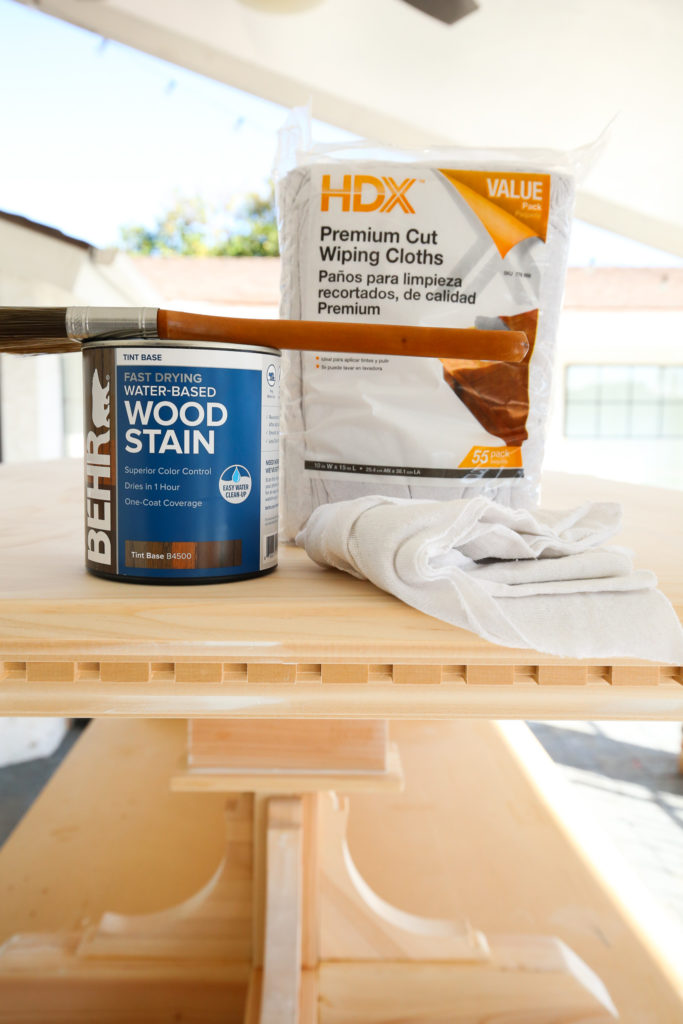
Supplies for Staining A Wood Table:
- BEHR® Water-Based Pre Stain Wood Conditioner
- BEHR® Fast Drying Water-Based Polyurethane
- 2 Paint Brushes
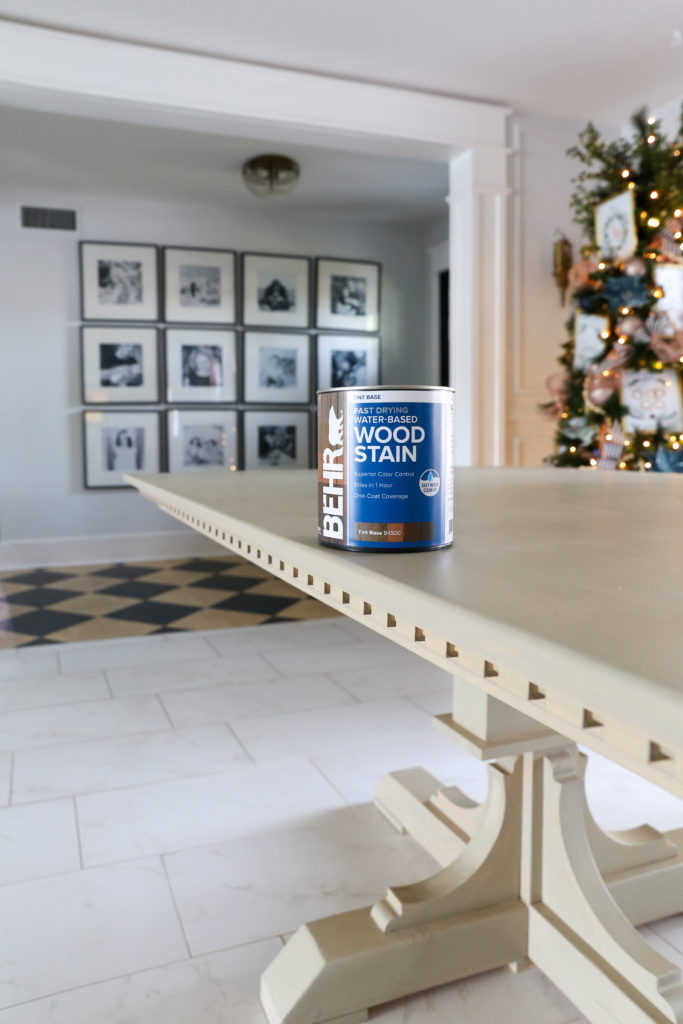
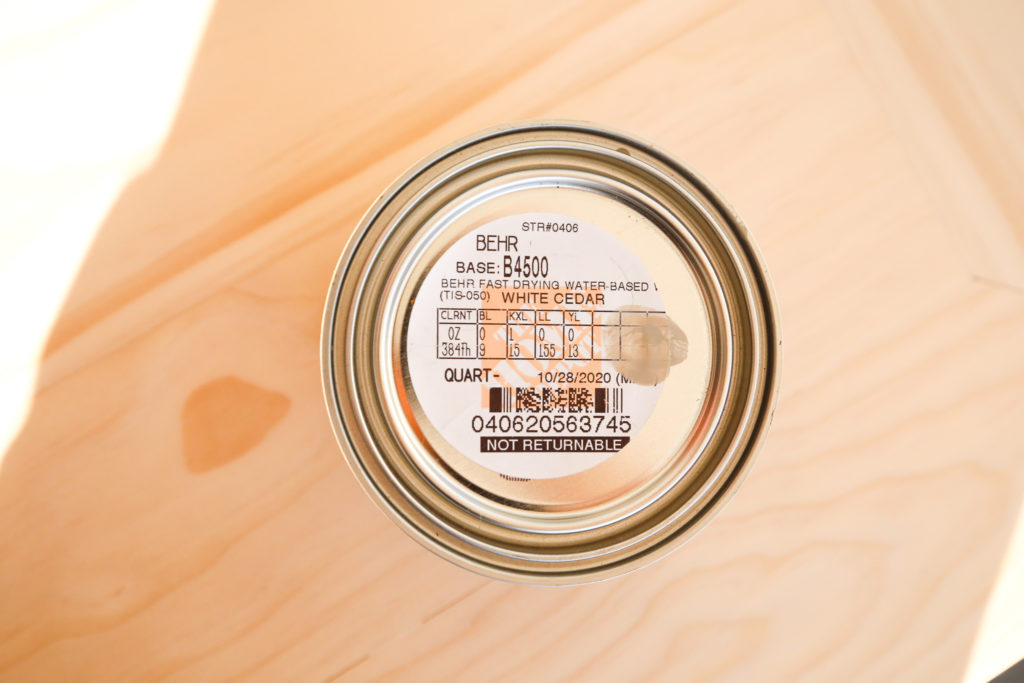
- BEHR® Fast Drying Water-Based Wood Stain – we used the color White Cedar
- Microfiber cloths (lint free!)
Why we Chose BEHR® Interior Water-Based Wood Stain
Kyle and I chose to use BEHR® Interior Water-Based Wood Stain Line for a few reasons!
- We have used Behr paint products almost exclusively in our home and we were very excited to try their stains.
- It dries very quickly.
- The color selection was amazing.
- It is a high performance formula which is great for this table that will be used almost daily!
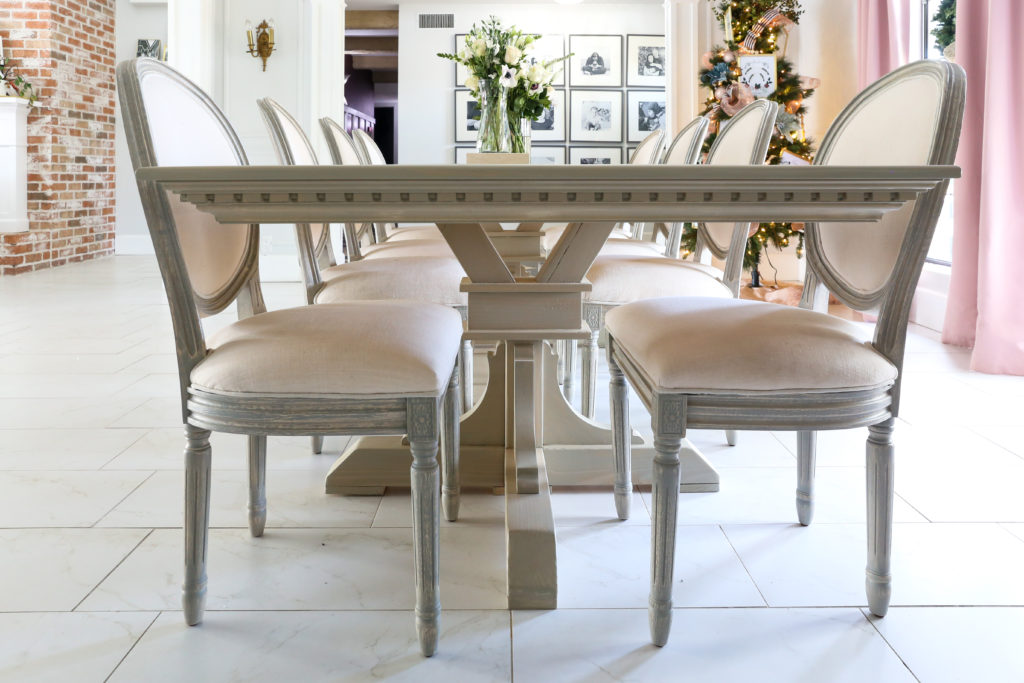
For our table, we used the color White Cedar.

How to use Behr’s Interior Stain:
Step-By-Step Instructions
- Prep the Surface.
Make sure to clean the surface properly before beginning to avoid any issues later on.
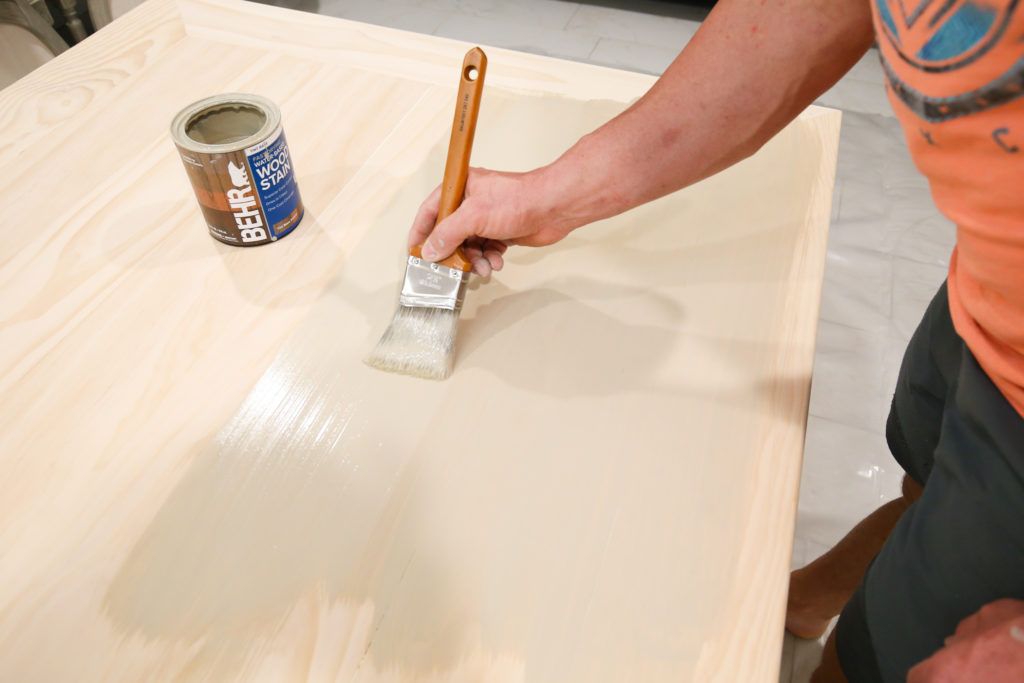
- Apply Pre Stain Wood Conditioner.
Brush onto all areas of the wood.
- Sand the Surface.
Sand the wood to make sure the surface is all smooth.
- Prep the Stain.
Make sure the stain is stirred properly.
- Apply the Stain.
Brush the stain on evenly and in the same direction.
- Apply the Fast Drying Water-Based Polyurethane.
Sand surface between coats and seal the stain onto the wood.
In-Depth Instructions
Step 1: Prep your surface!
Start your new stain project by cleaning the surface, which must be dry, clean, and free of dirt, grease, and glue. Continue by lightly sanding the wood and removing all sanding dust – this will help the stain product adhere – and follow up with BEHR® Pre-Stain Wood Conditioner to help prevent streaks and blotches.
Step 2: Apply BEHR Water-Based Pre Stain Wood Conditioner
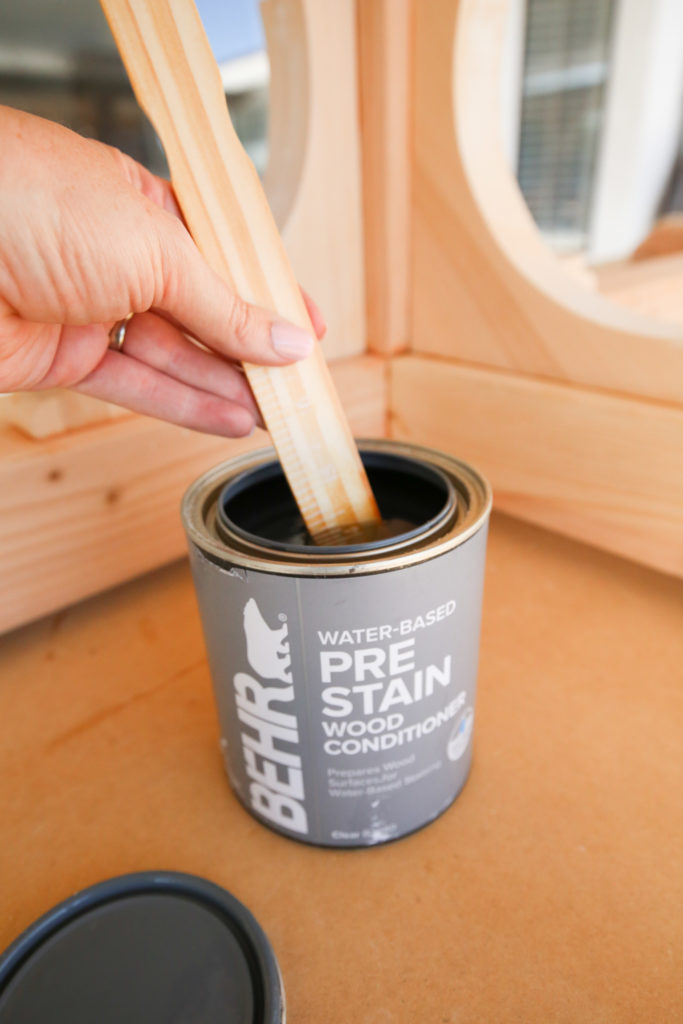
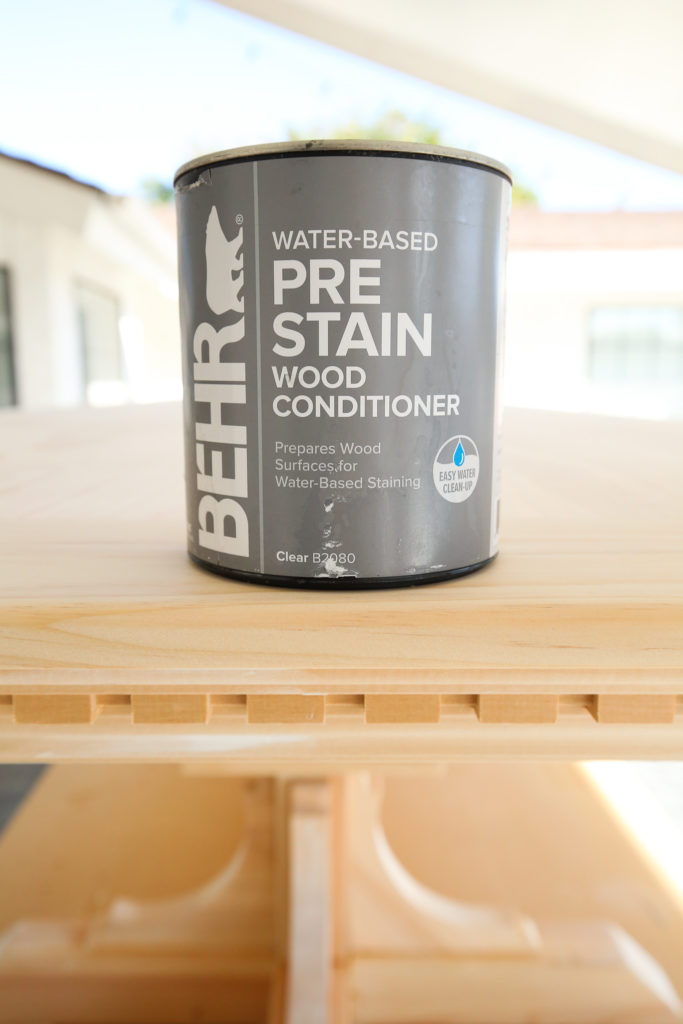
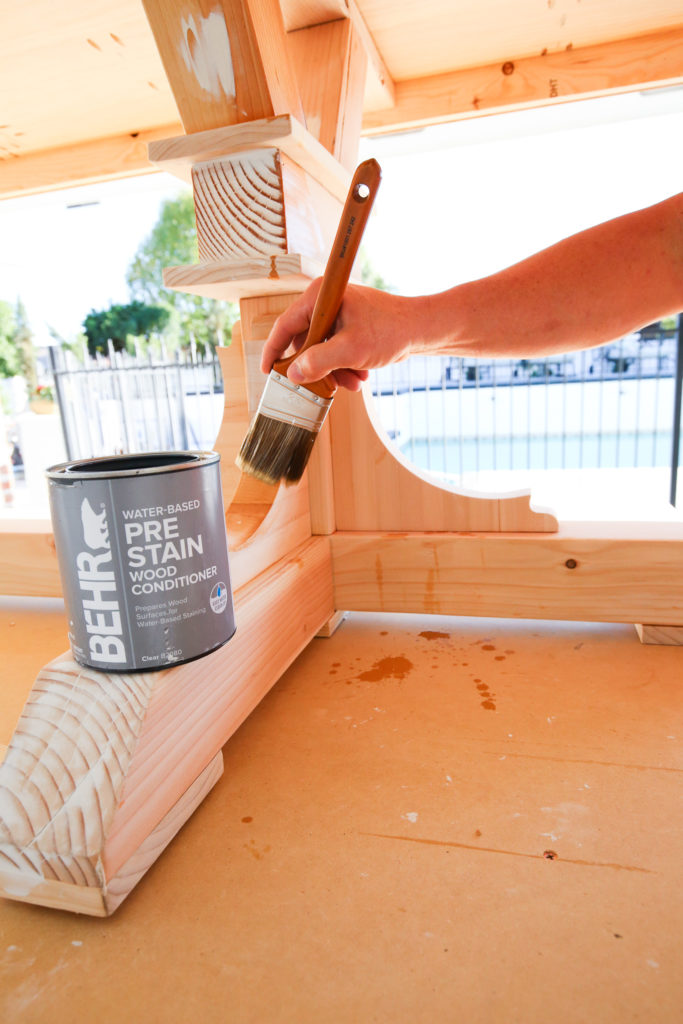
BEHR Water-Based Pre Stain Wood Conditioner prepares wood surfaces for water-based staining. Along with sanding, this is a critical step in getting even a consistent color of the water-based stain.
Use a nylon or nylon/polyester brush or a saturated clean cloth and apply liberally to all areas of the wood surface including edges.
Allow the coat to sit between 5-10 minutes, and then wipe off any noticeable excess with a clean, dry cloth.
Step 3: Sanding!
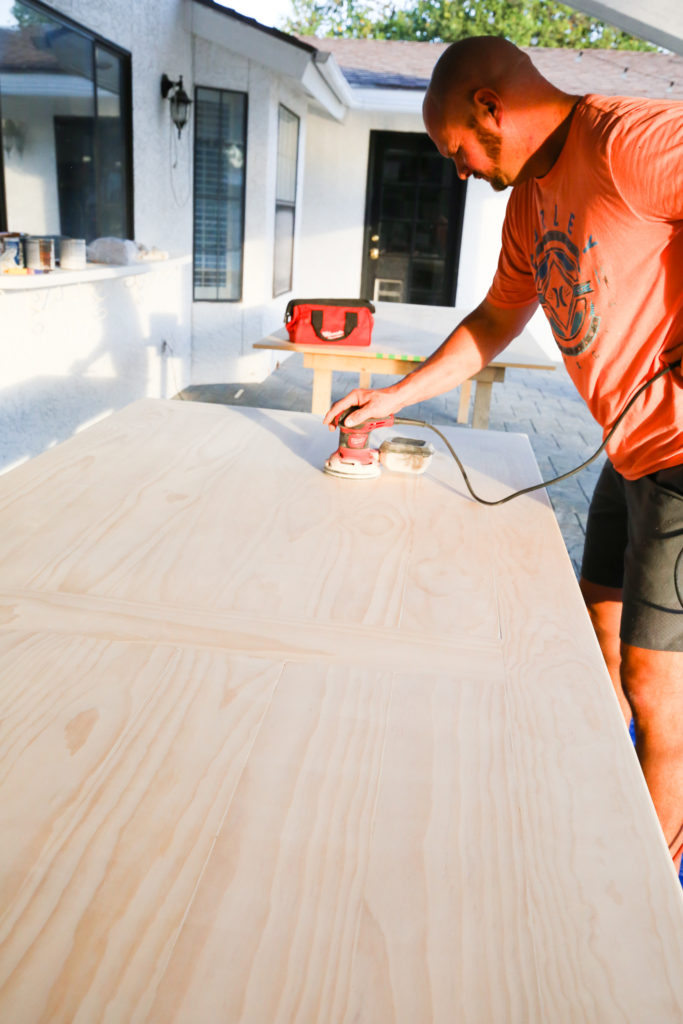
Sand the wood table lightly prior to staining to remove grain raise from the wood conditioner.
Step 4: Prep your stain.
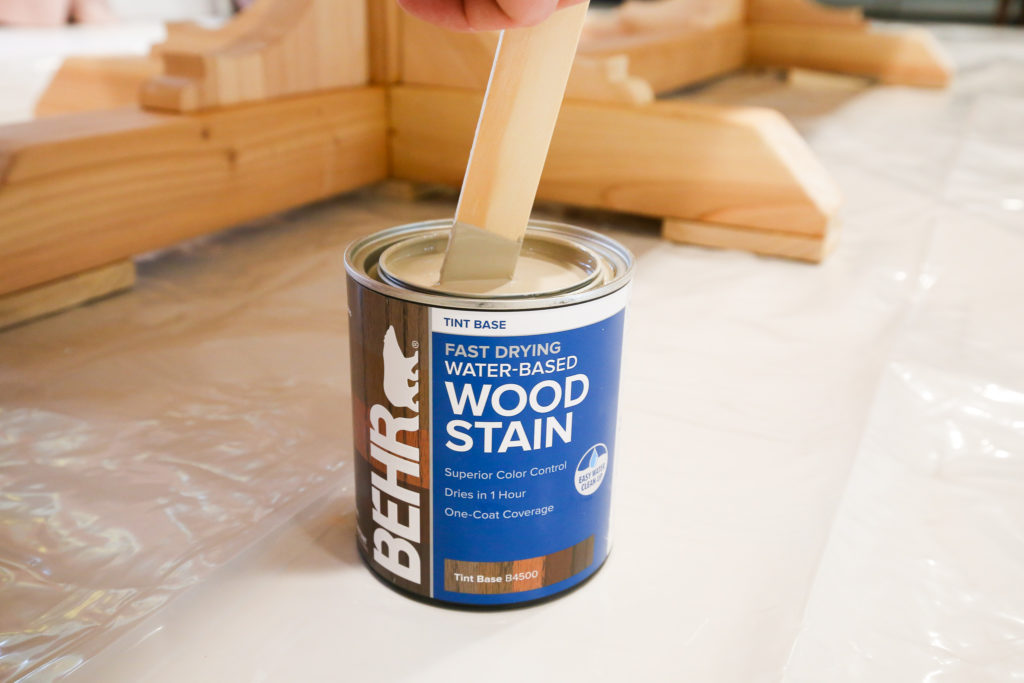
Make sure to stir your can of stain prior to using. Remember – do not thin it out with water!
Staining Wood Directions
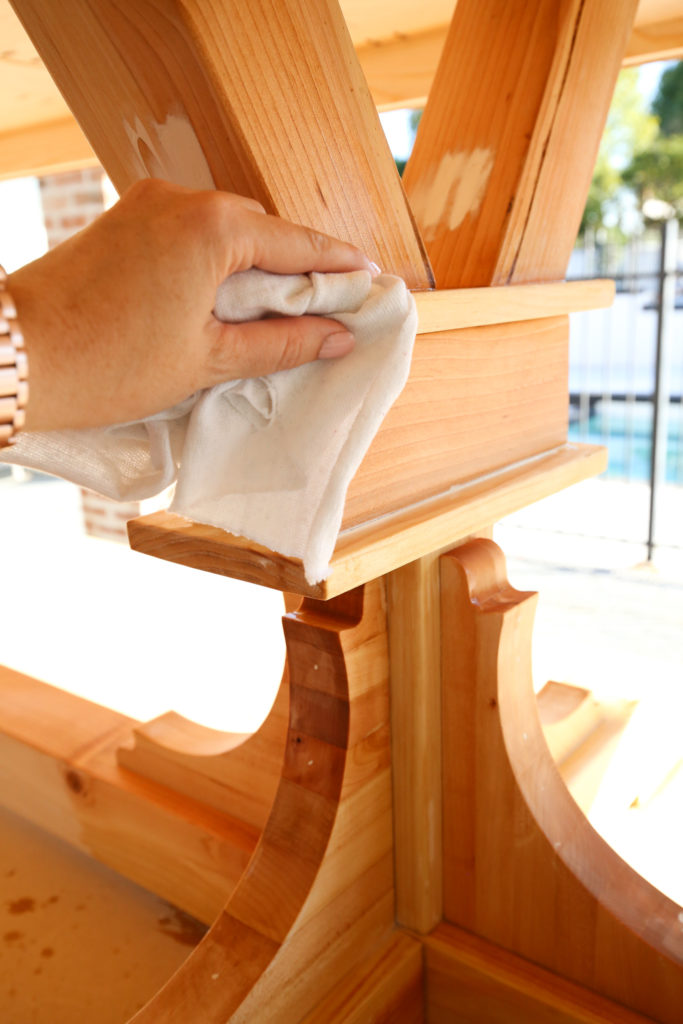
Step 5: Apply the BEHR® Fast Drying Water-Based Wood Stain
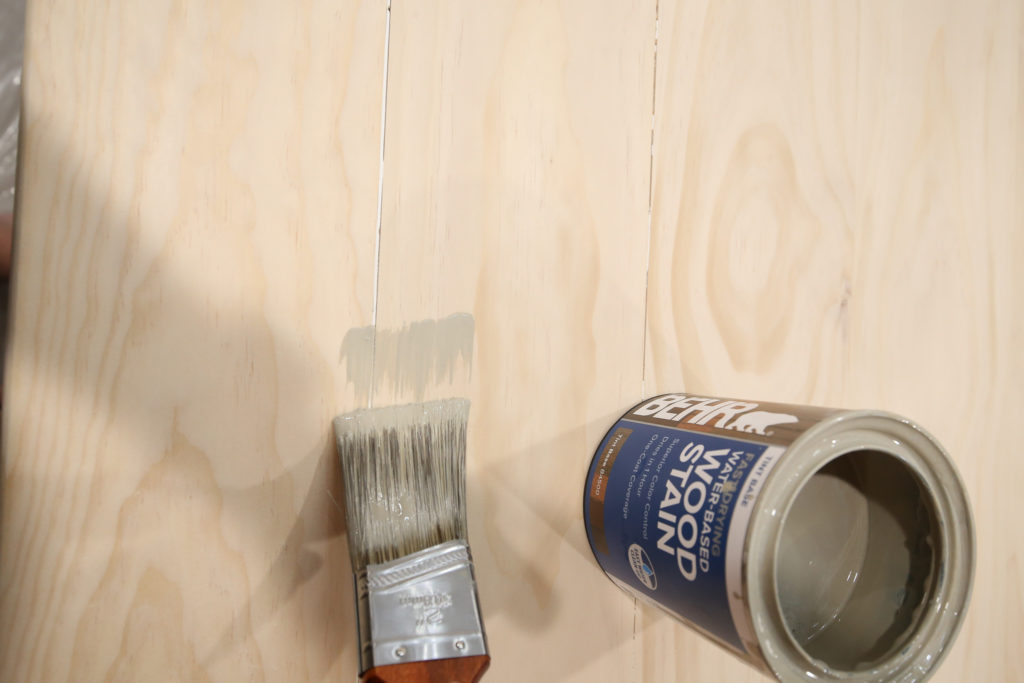
Apply the stain with a brush, working the stain into the grain. Give the stain 3-5 minutes to adhere to the wood.
Use a lint-free cloth to remove any excess stain, and to blend any light and dark areas. Let the stain dry for one hour. For darker color, repeat the previous steps.
To achieve this color, we only used one coat!
Step 6: Apply the BEHR® Fast Drying Water-Based Polyurethane.
Once dry you can brush on two coats of BEHR® Fast Drying Water-Based Polyurethane. After the first coat, let it dry for one hour.
In between coats, lightly sand surface.
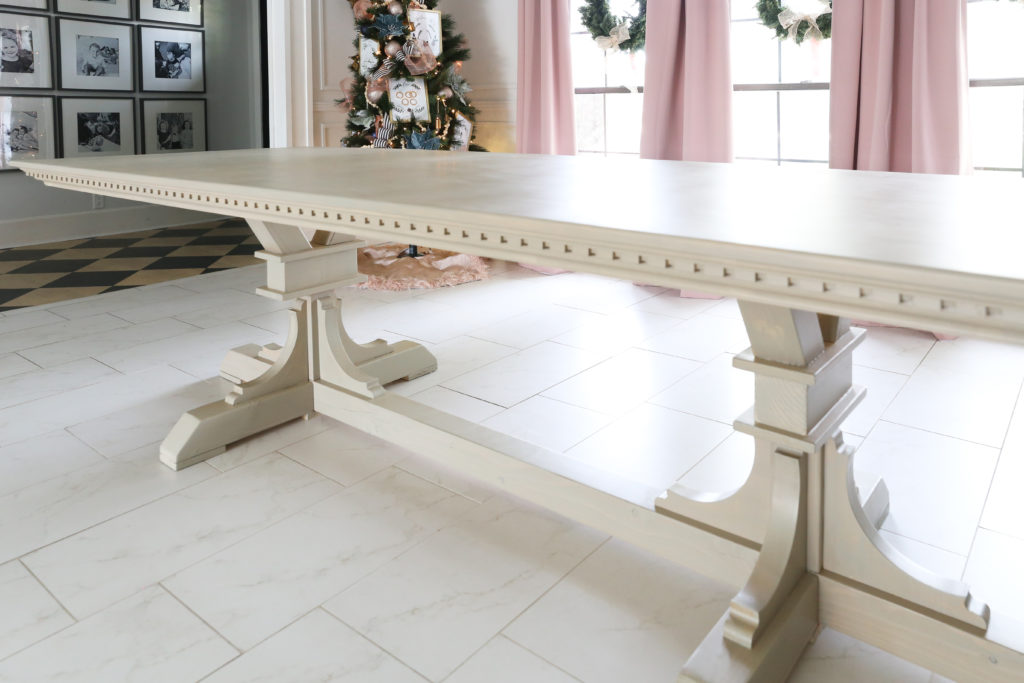
After these steps, the table is ready for light use in just 24 hours! Just to be safe it is smart to gave it the full 3 days to cure prior to using it and styling it!
This table is going to make the perfect setting for the holidays this year! I am just in love with the ease of this stain process and would highly recommend BEHR® Interior Water-Based Stains! You won’t find a color this stunning in any other line!