
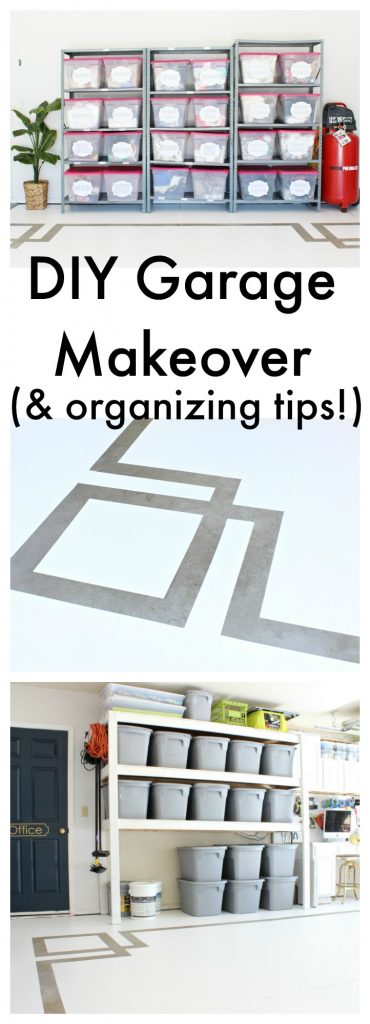
Garage Floor Paint: Tips & Tricks for Painting Your Garage Floor
Today we’re going to show you our painted concrete floors and how to paint a garage floor!
This is a very simple and easy project that will make your garage look so much cleaner. Since the garage floors look so nice, it makes the rest of the garage look less cluttered! It does not cost a ton of money to do this project and everyone should look into this DIY!
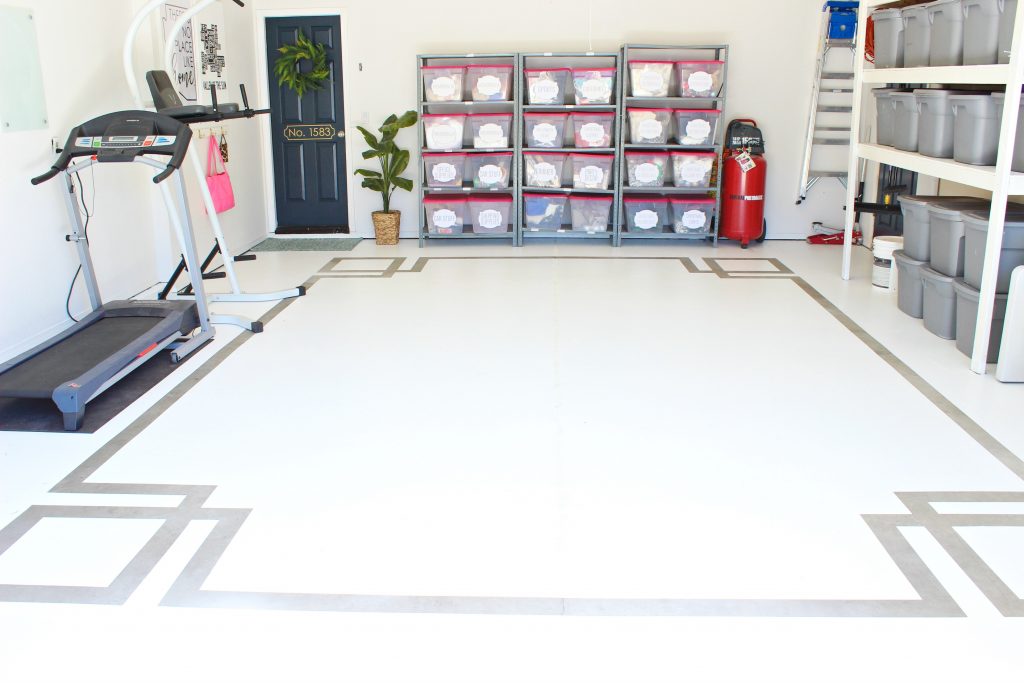
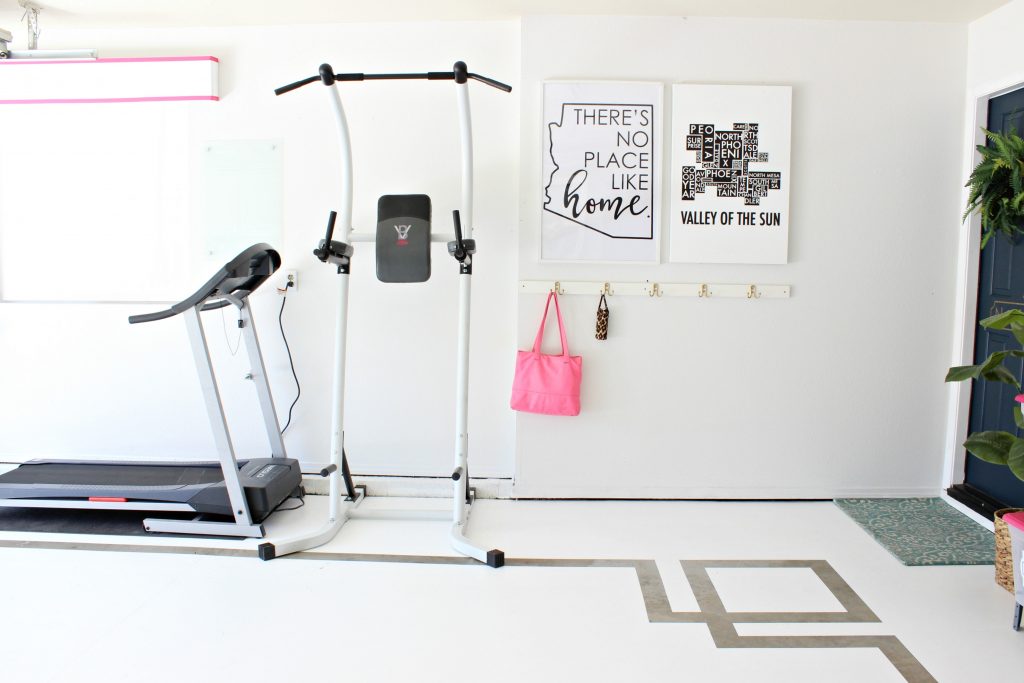
I’ve had so many friends and neighbors stop by and compliment our painted concrete floors and want to peek inside. It’s so clean and functional and it just makes me so proud of our hard work. Today we’re sharing a tutorial on painting concrete floors in a classic, beautiful Greek key pattern. Let’s get started!
DIY Painted Concrete Floors Materials:
- Power Washer
- Broom
- ScotchBlue Exterior Surfaces Painter’s Tape
- Carpenter’s square
- Carpenter’s knife
- Putty knife or 5-in-1 tool
- Concrete floor paint
- Lint-free paint roller
- Paint Roller extension pole
Garage Floor Painting Tutorial
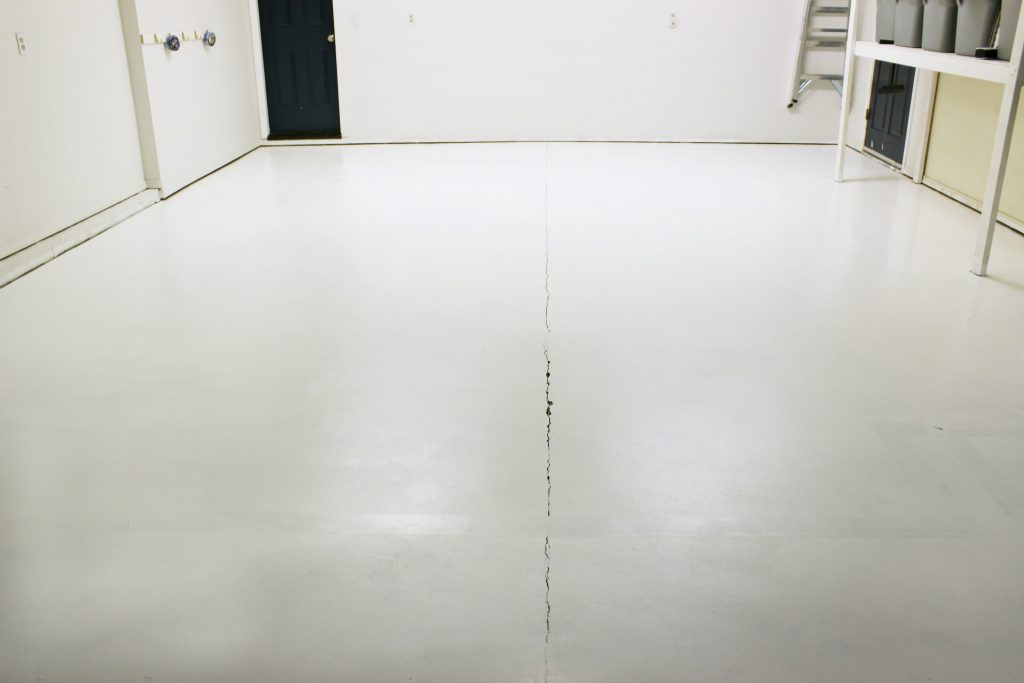
- First, clean and prepare your floor.
Make sure your door is clear of any old paint, grease, oils, dust, dirt, wax, etc. Use the power washer to remove any and all debris from the cement and allow to dry for 24 to 48 hours before painting. Once the cement is dry sweep the garage floor several times to remove any dust.
- Next, apply painters tape in the pattern of your choice.
Once your surface is completely clean and dry put tape in the pattern you decide. We did a traditional Greek pattern.
- Pour your concrete garage floor paint at the front wall of your garage.
Start working your way out of the garage this ensures you don’t get stuck inside wet paint. Using your paint rollers start painting in thin coats allowing 1 to 4 hours between coats depending on your climate and dry time.
- Carefully remove the painters tape.
Remove the tape at a 45° angle while paint is still tacky. Remove it slowly and make sure you pull it back on itself.
- Lastly allow the paint to dry.
Allow the paint to dry according to the paint can instructions. Then use a clear sealer if desired.
Concrete Floor Paint Tutorial Instructions:
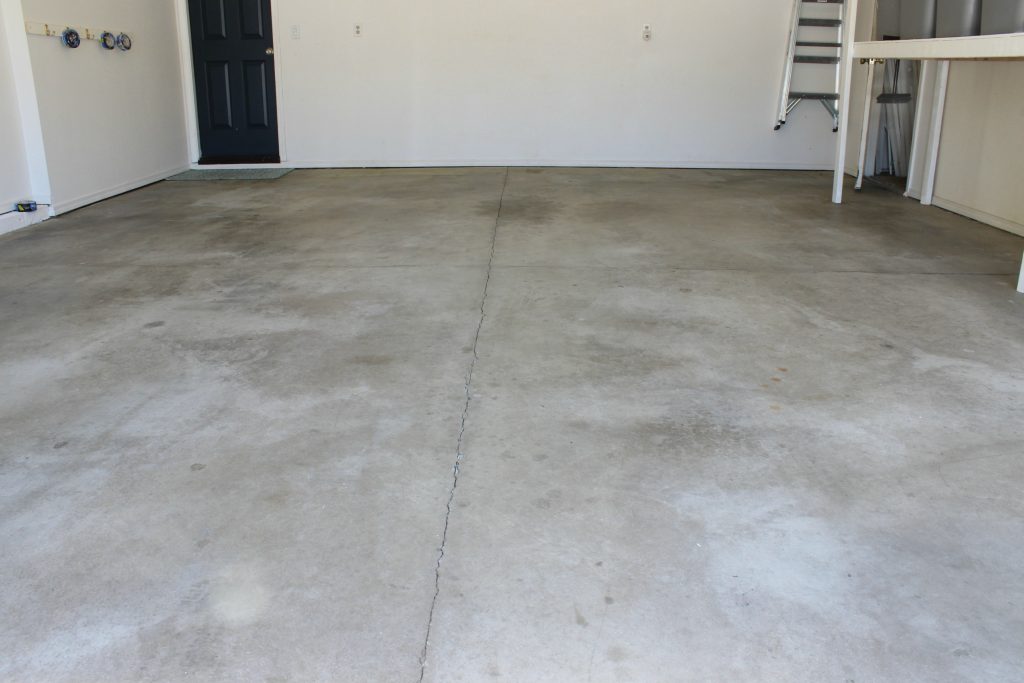
Step 1:
First, clean and prepare your floor. Make sure your door is clear of any old paint, grease, oils, dust, lint, dirt, wax etc. Use a power washer to remove any and all debris from the cement and allow to dry for 24-48 hours before painting. Once the cement is dry, sweep the garage floor several times to remove all dust.

Step 2:
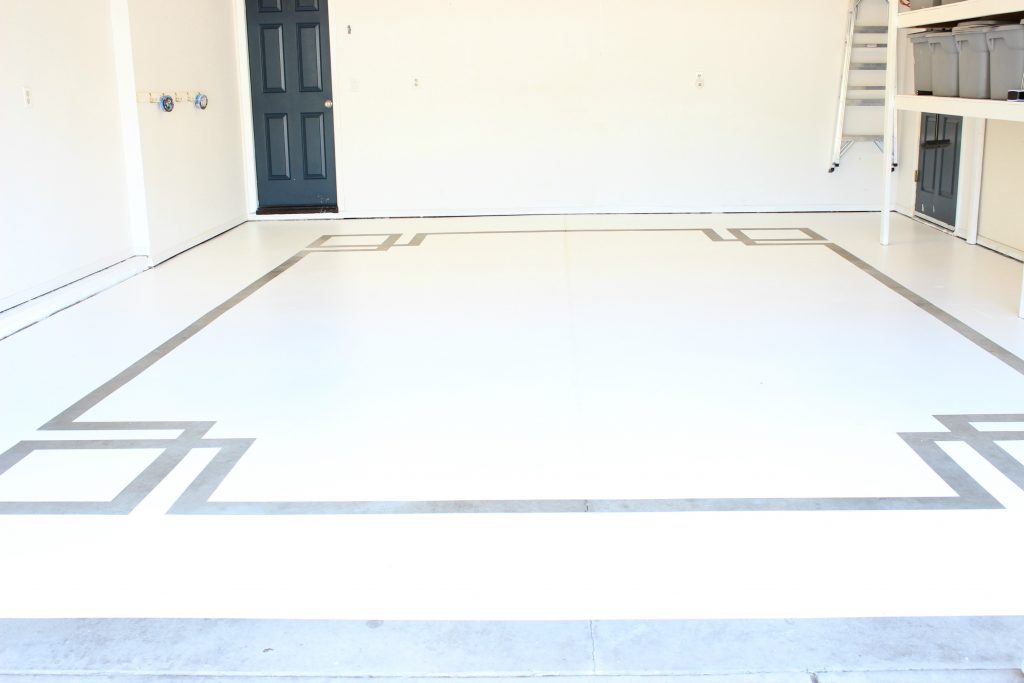
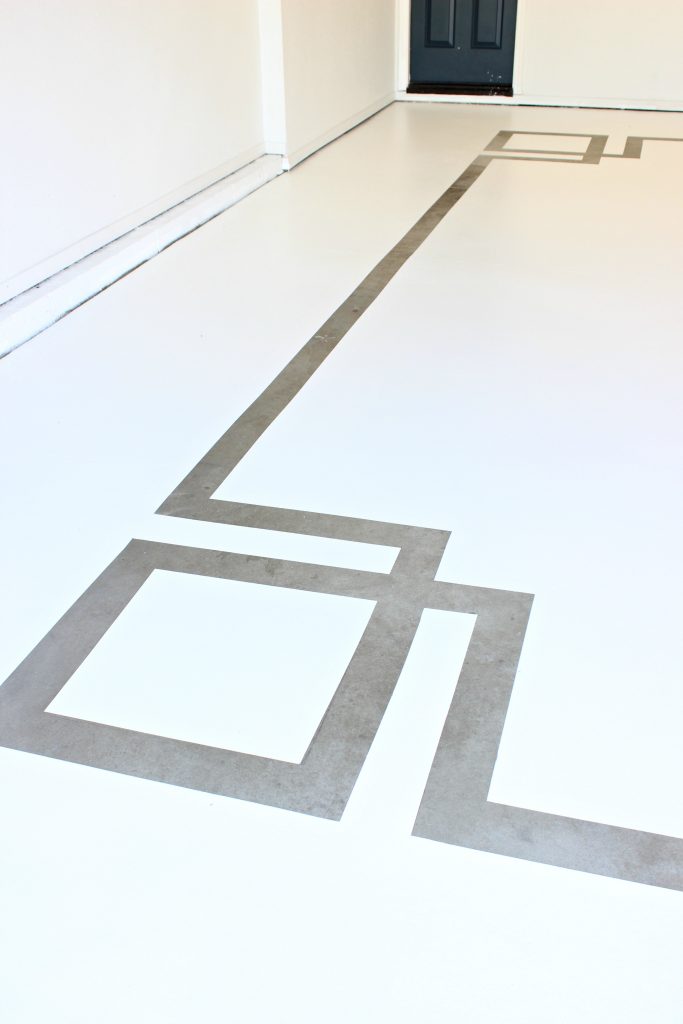
Once your surface is completely clean and dry, apply Exterior Surfaces Painter’s Tape in your desired pattern. We did a traditional Greek Key pattern.
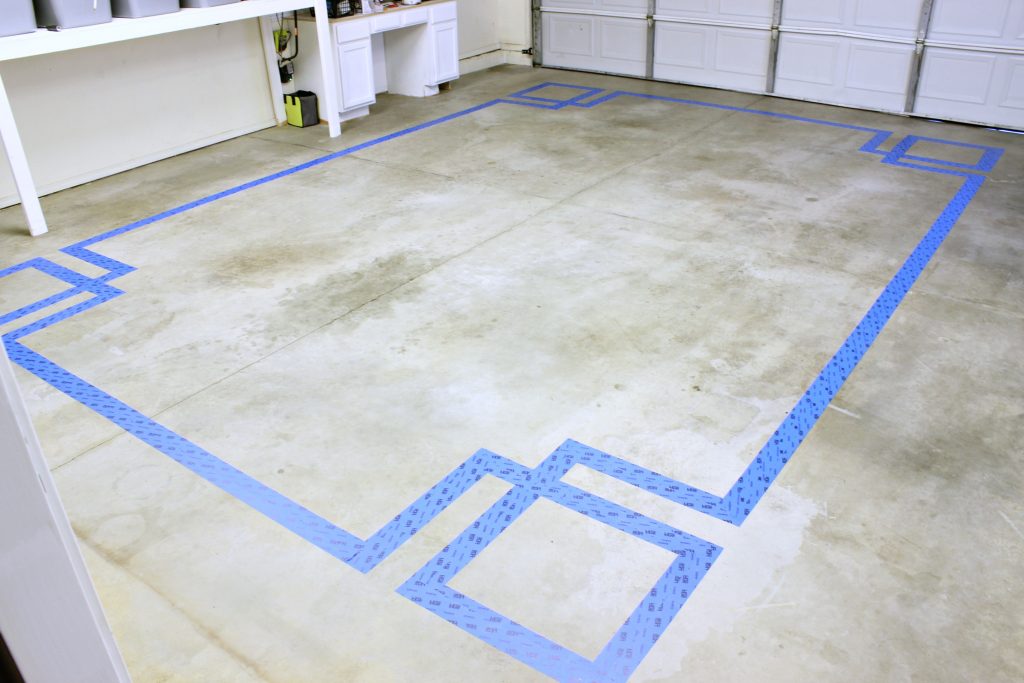
To create this pattern you will want to create 4 squares on the perimeter of the room. You can trace them if you want. The biggest tip is to make sure your boxes are square and parallel to the other boxes on each corner. From there you’ll create an elbow going each direction off of the inner corner of each square. Last, connect the elbows to create the overall shape. Tracing with a pencil and a straight edge is very helpful for this part.
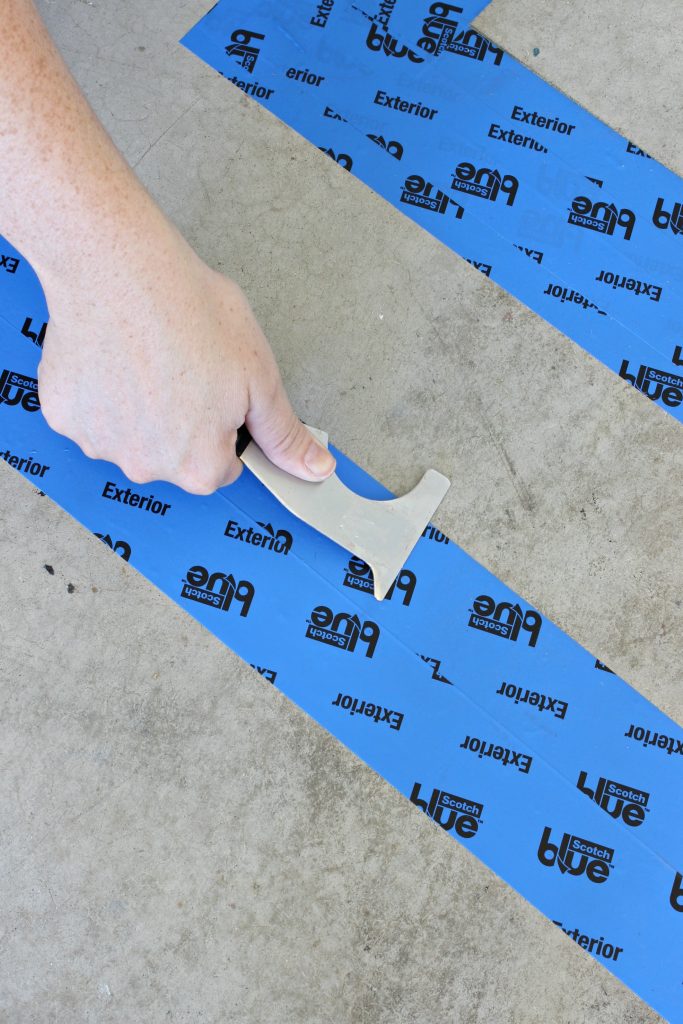
PRO TIP:
Use a putty knife or 5-in-1 tool to smooth and add pressure to the tape to ensure a tight seal for the paint. Make sure your edges are completely sealed.
Step 3:
Pour your concrete floor paint at the front wall of your garage and paint your way out of the garage door. This ensures you don’t get stuck inside wet paint. Using your paint rollers, start painting in thin coats allowing 1-4 hours between coats depending on your climate and dry time. See paint can instructions for recoating times for your specific paint. The paint roller extension pole is extremely helpful in this project. Work your way from the inside wall out of the garage door. We poured the concrete floor paint directly on the concrete and spread it around and worked our way out. 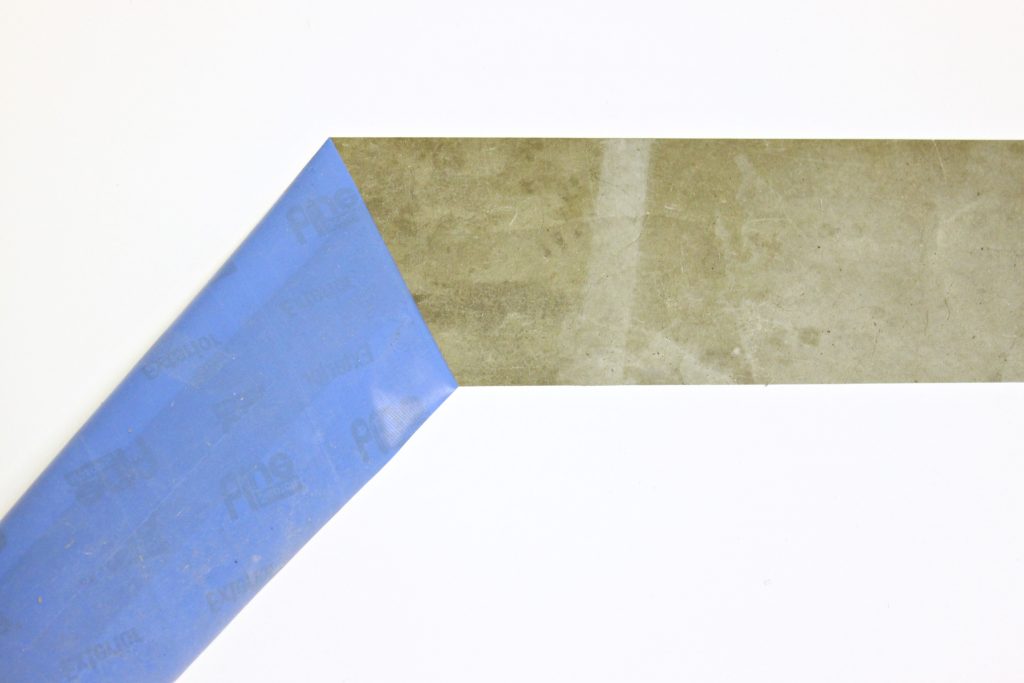
Step 4:
Carefully remove the ScotchBlue Exterior Surfaces Painter’s Tape at a 45-degree angle while paint is still tacky. Remove it slowly and make sure you pull it back on itself. Garage floor paint is quite thick so move slowly when removing the tape.
Step 5:
Allow to dry according to paint can directions. Use a clear sealer, if desired.
Since we painted the floor white, we will eventually apply a clear epoxy made for garage floors.
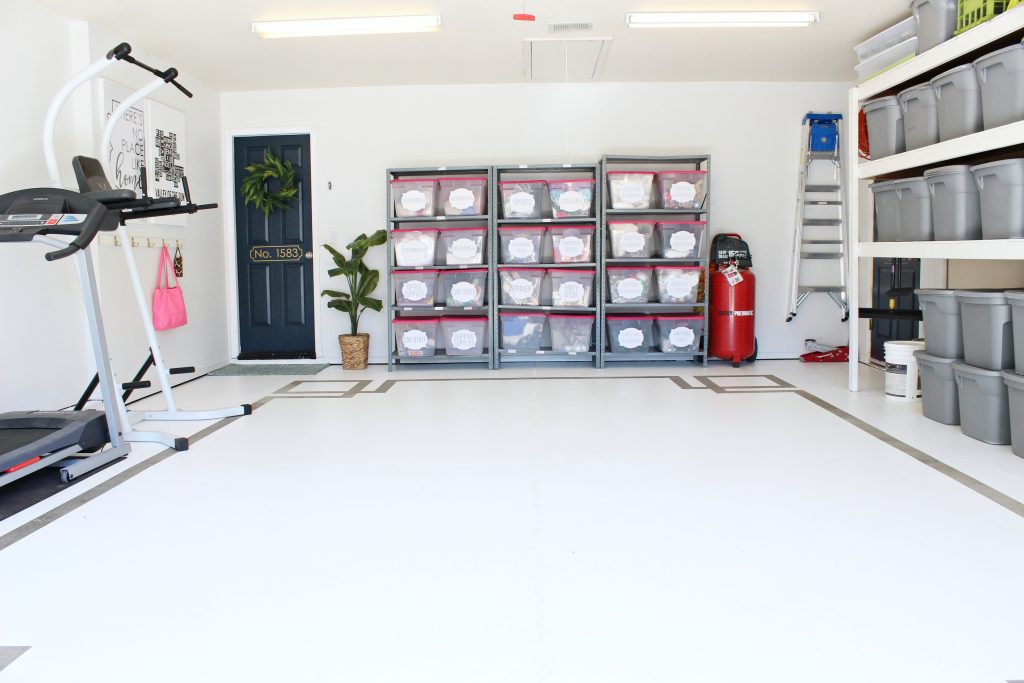
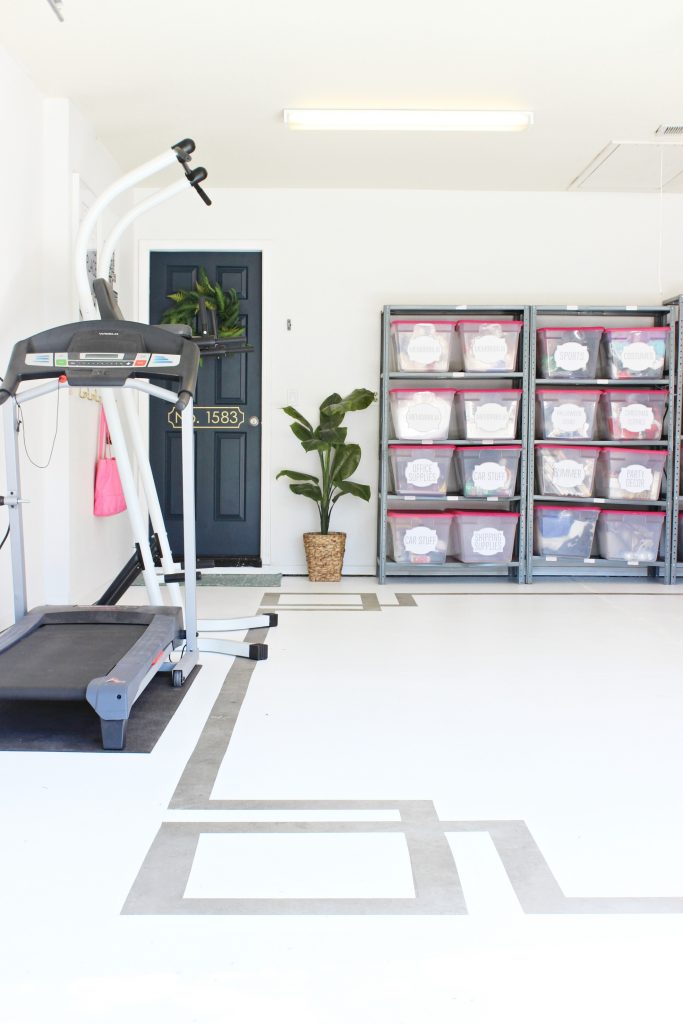
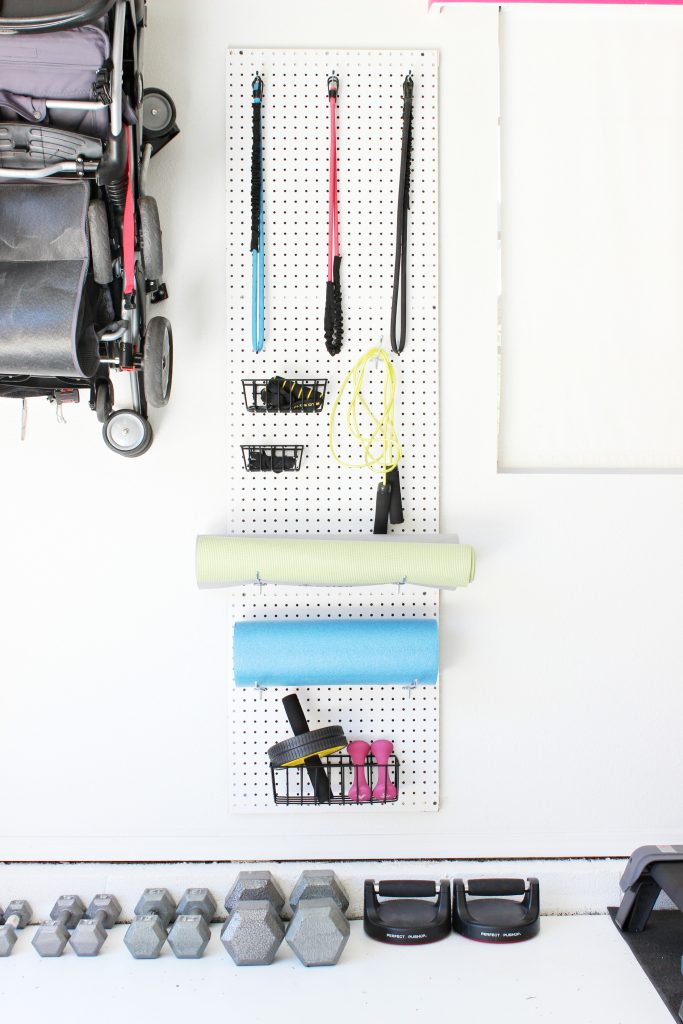
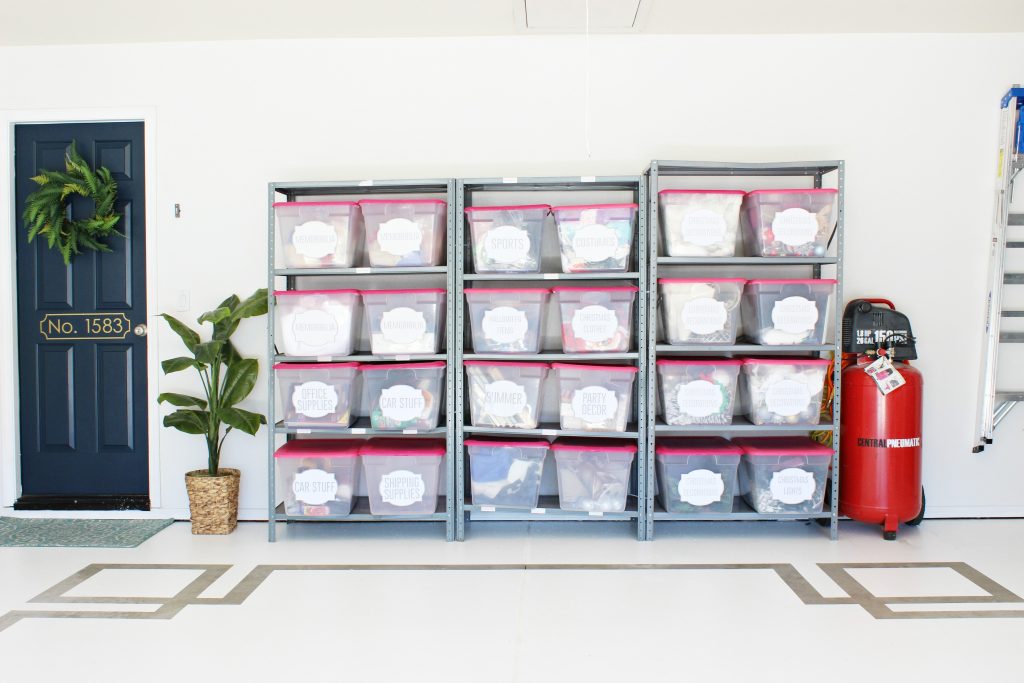
I put all of our supplies and storage bins back into the garage and added a little decor to make it feel more homey!
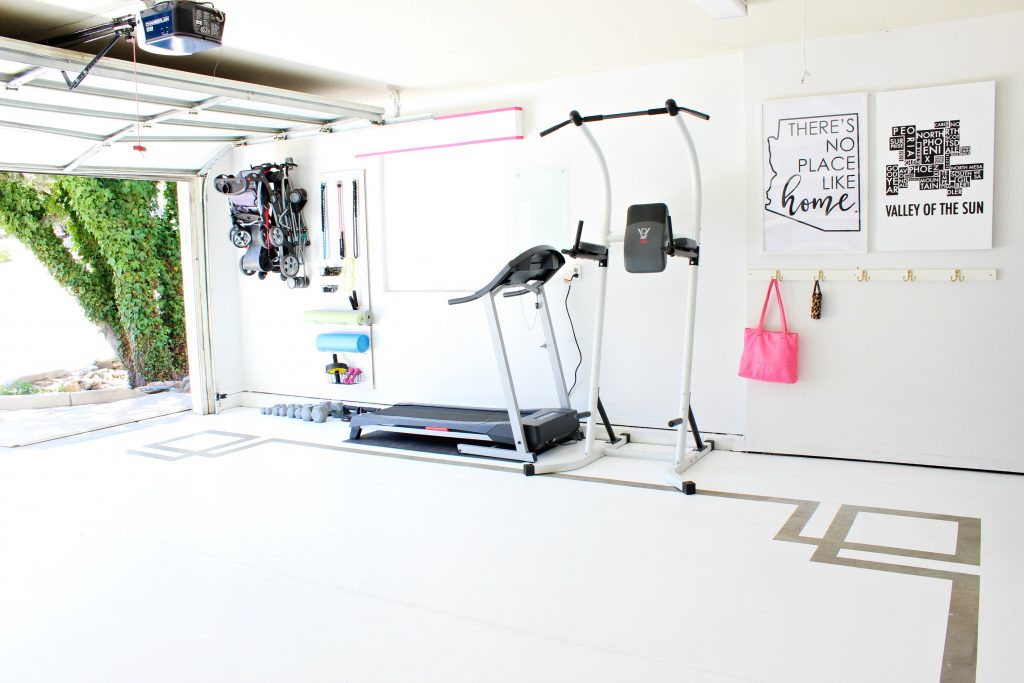
Our home gym is one of my favorite parts about it. I love that I can fit SO much storage, the gym area and still park my car in there! Yay!
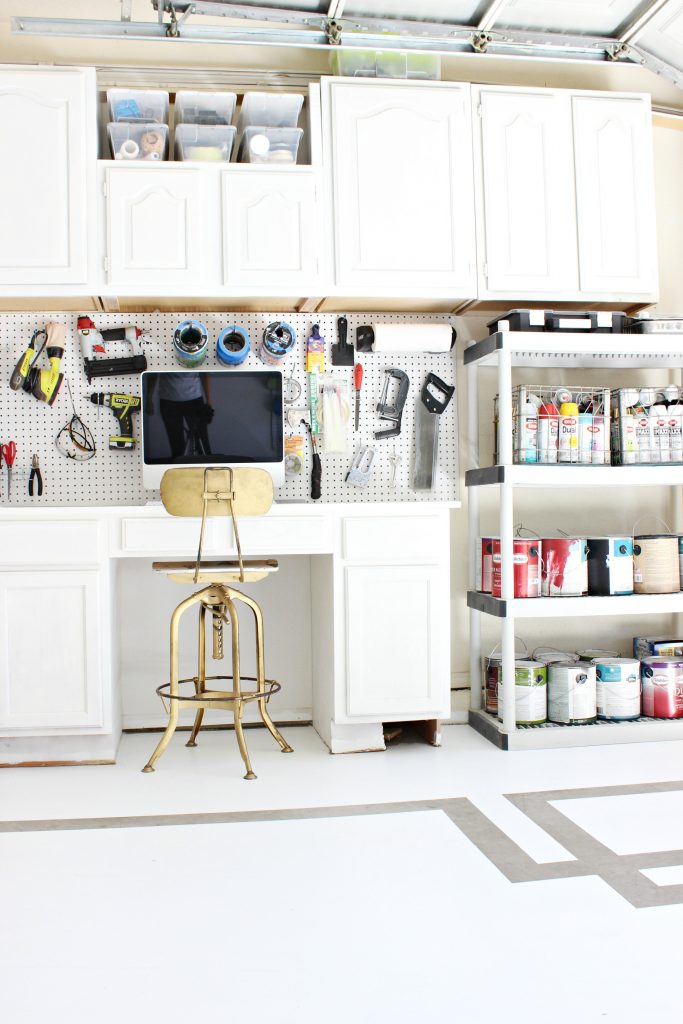
The organized paint, peg board and tools makes me so happy and makes things so much simpler when we are working on other projects. I can literally say that I know where every single thing is and belongs in this garage. Huge!
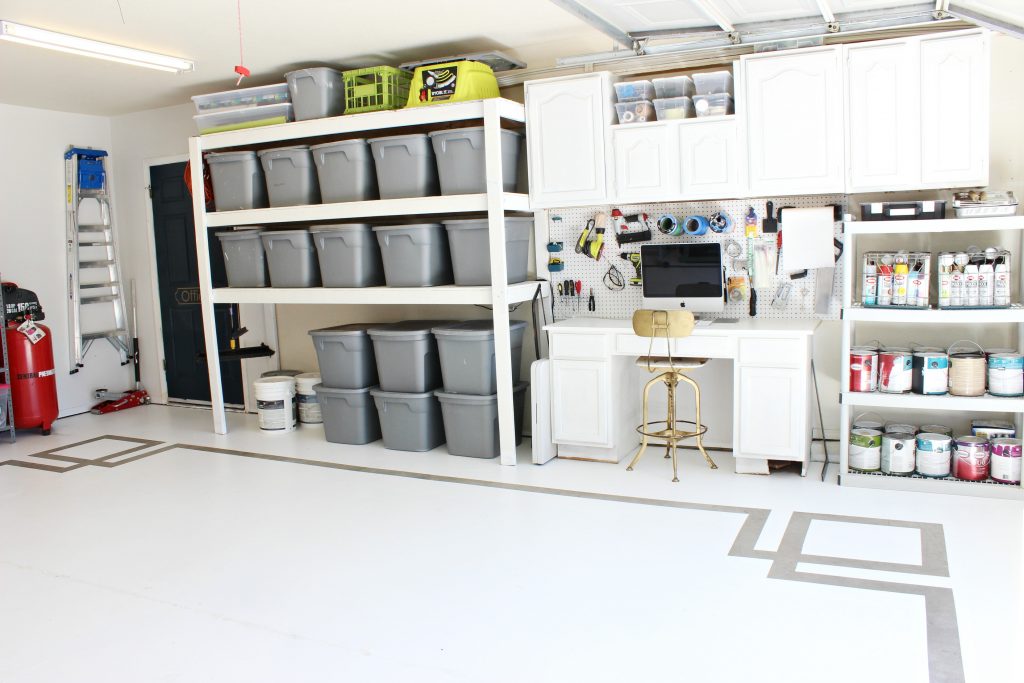
See that door at the top? That’s my new office, right inside our 3rd car section of the garage. I love that it’s disconnected from the house but I don’t have to go outside to my office to work. It’s been really helpful as a work-at-home mom to have this space! I can’t wait to show you that makeover! We still have a ways to go in there.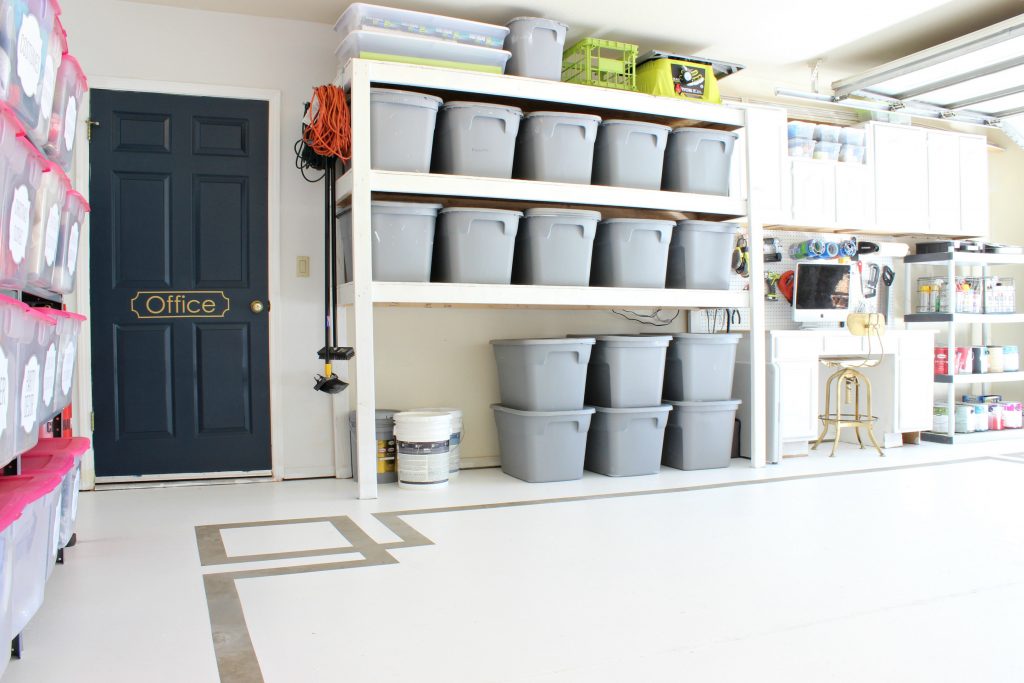
I hope you’ve enjoyed this painted concrete floors tutorial and we are so happy that you stopped by! Be sure to check out the rest of our projects in the new house.


Wish my garage floor looked like that! Beautiful!
This might be silly, but how did you walk on the floor to remove the tape if the paint was still tacky?
To remove the tape we started at the corner closest to us and peeled it off slowly. Then we walked carefully on the now exposed concrete to peel off the rest of the tape! Hope that helps let me know if you have any further questions! xoxo
What garage floor paint did you use?
Behr garage floor paint! If you have further questions feel free to email us at classyclutter4@gmail.com
Thanks for stopping by xo
The first thing I thought when I saw this is OH My it looks like an area rug! What?!? That’s crazy beautiful! Great job! I can see why the neighbours would be stopping by so a little look 🙂
Hi
I noticed the beautiful brass (?) chair – is it vintage or new? I am hoping to find one similar 🙂
WOW! Thank you for sharing this how-to. It looks really great.
How did you hang your stroller? I have a City Select Double stroller that I’d love to figure out how to attach it to the wall.
I have a large ladder hook!
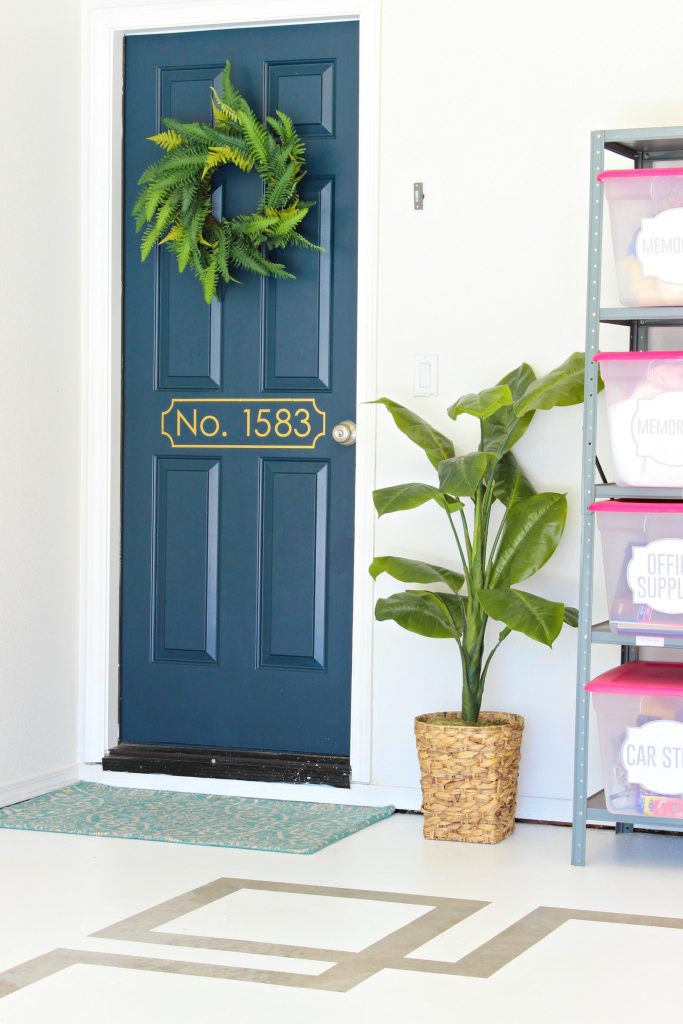
what paint you used in the door ? its look stunning 🙂
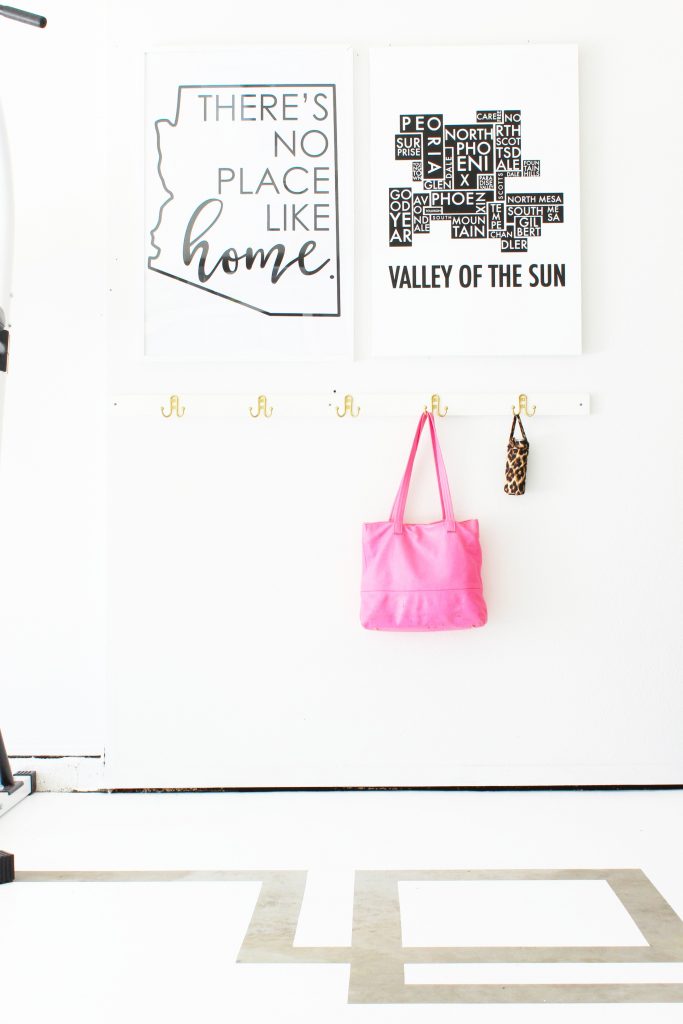
Where is the valley of the sun print from?
Hi Sarah! It’s from American Furniture Warehouse! 🙂
Just saw your painted garage floor. I was wondering how the epoxy coat was added and how it has held up with a parked car sitting on it.
Two quick questions:
1. We have epoxy flooring already on our garage floor. Can we paint over it?
2. We get ture marks on our current epoxy. Did you have that issue with your last garage with the white paint?
I’m wondering if painting the garage floor would help take care of it being super slipperly… I would think so, but also how well it would hold up?
–Concrete Lady