
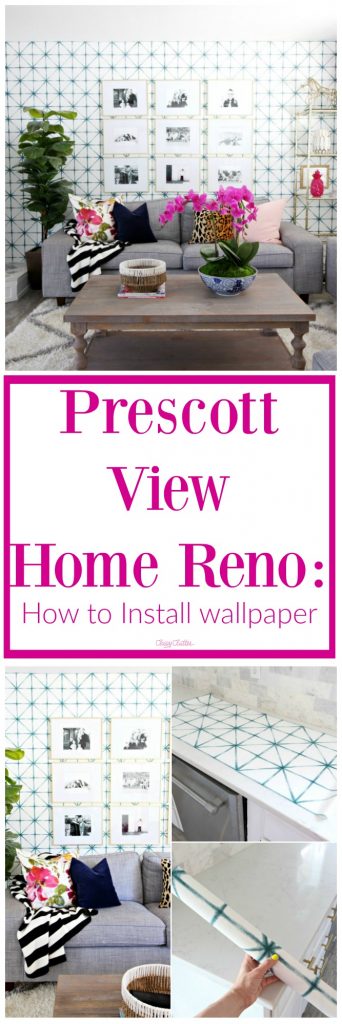
Prescott View Home Reno: How to install wallpaper
Hello friends! Today I’m sharing a tutorial on how to install wallpaper! I have only done this a couple times but I’ve compiled my tips on how to install wallpaper and found what I believe to be the easiest way. I am not a professional in the wallpaper department but I got professional results with the method I used for how to hang wallpaper!
Disclaimer: I had zero desire and zero energy to load up my four kids and go buy fancy wallpapering supplies so I’ll show you what basic DIY supplies I used that worked 100% fine.
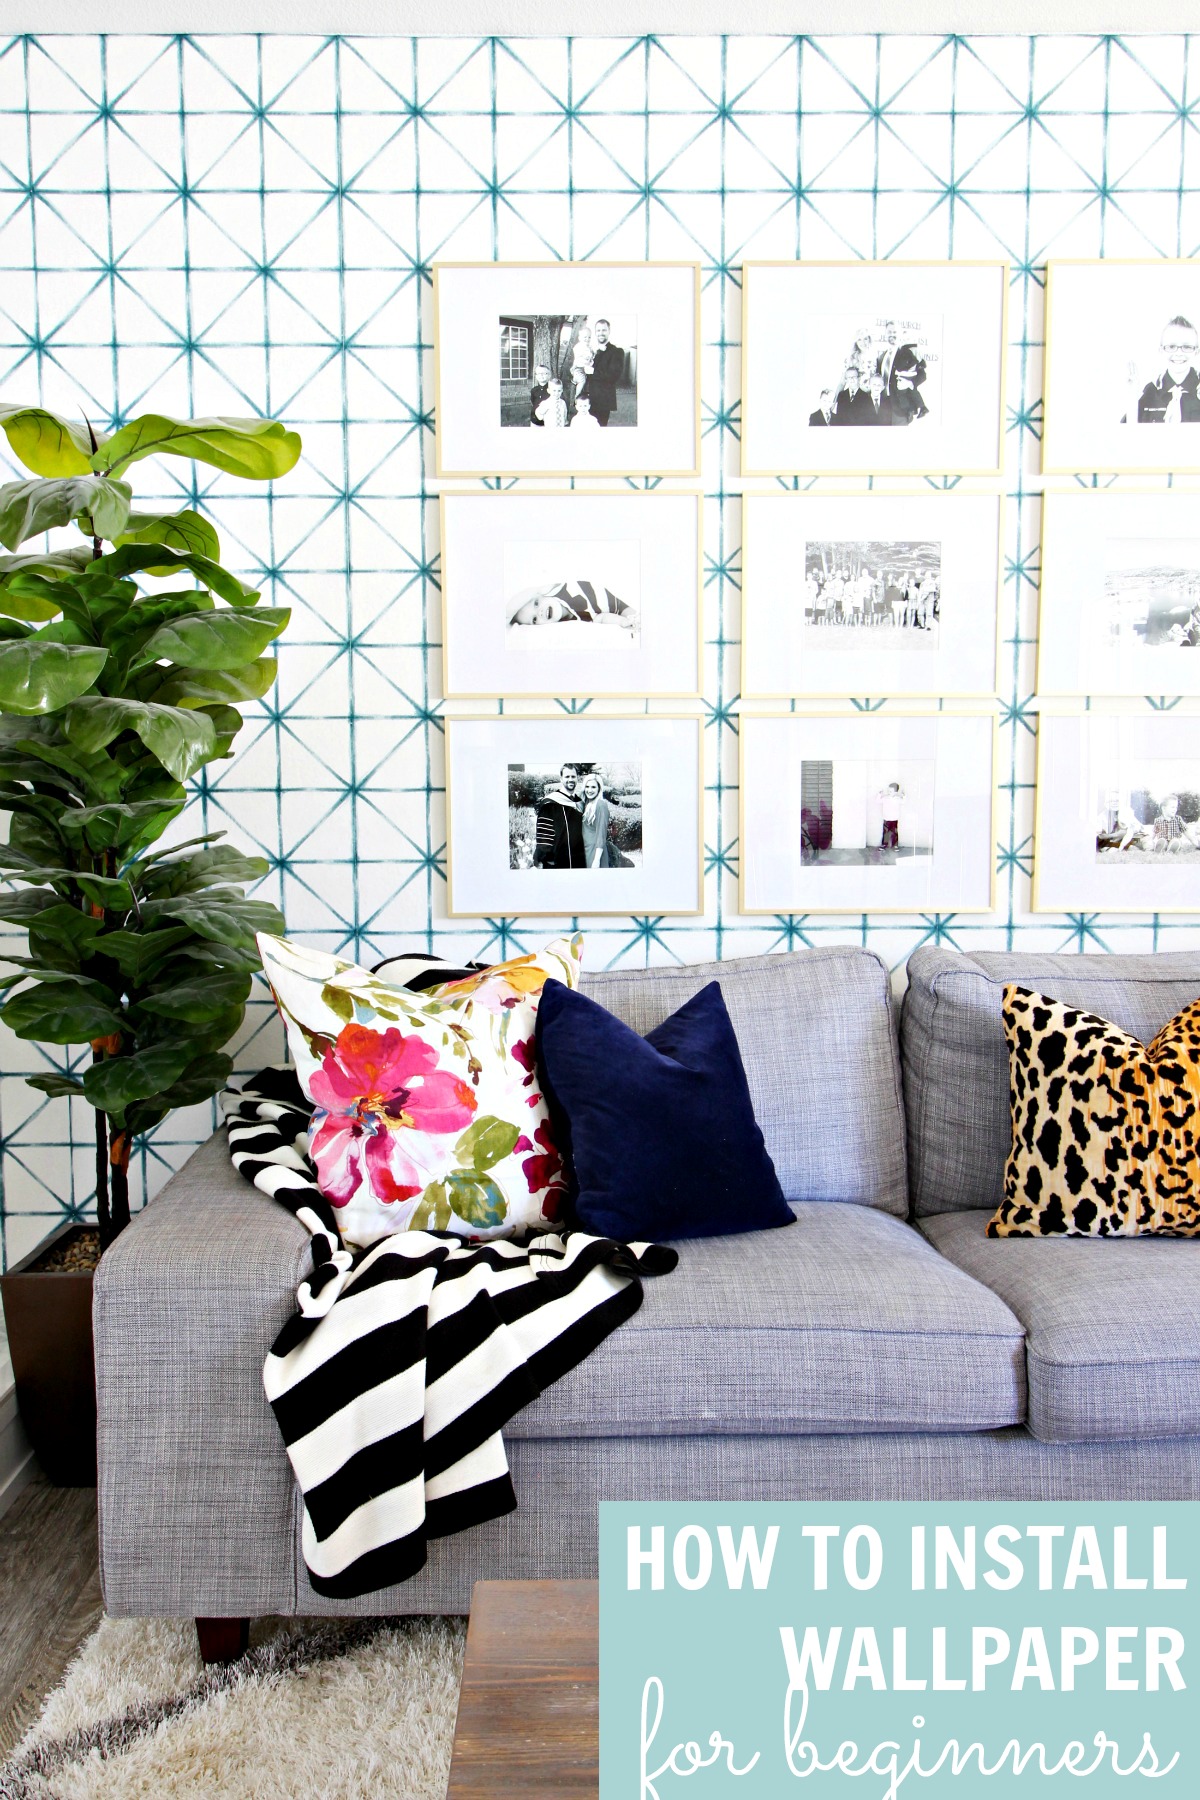
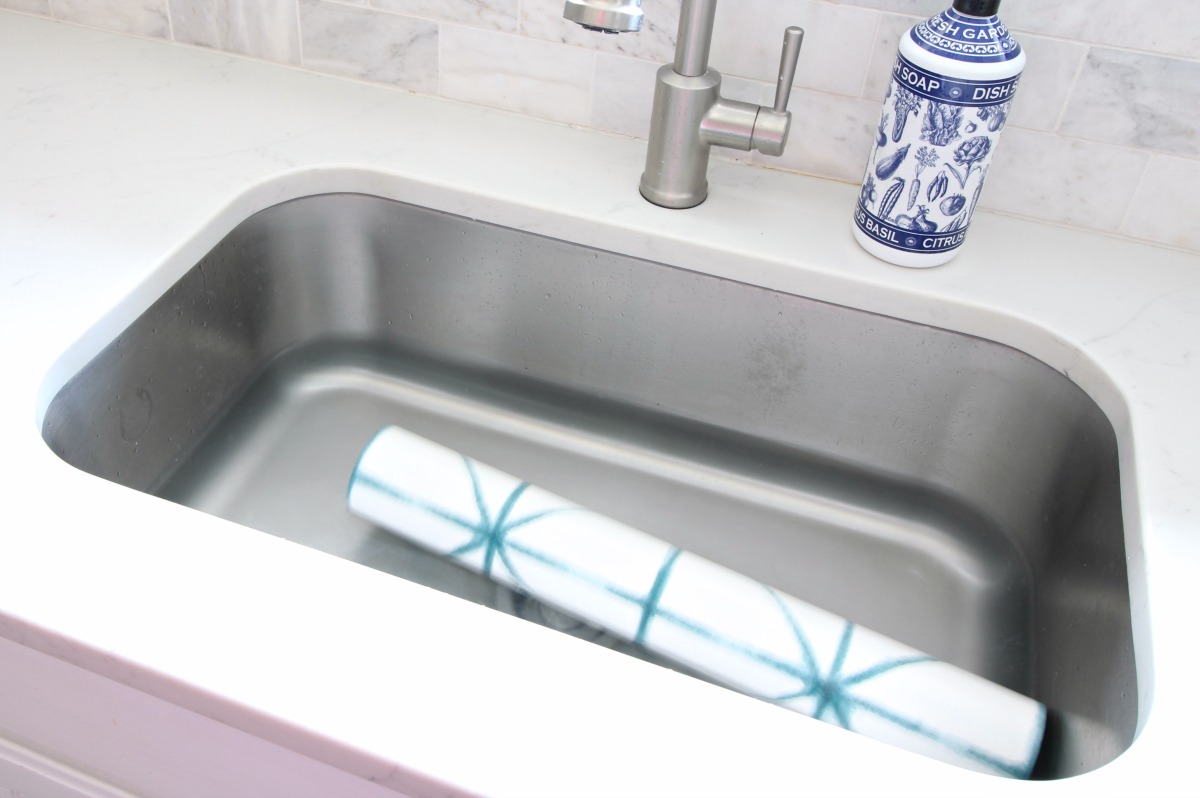
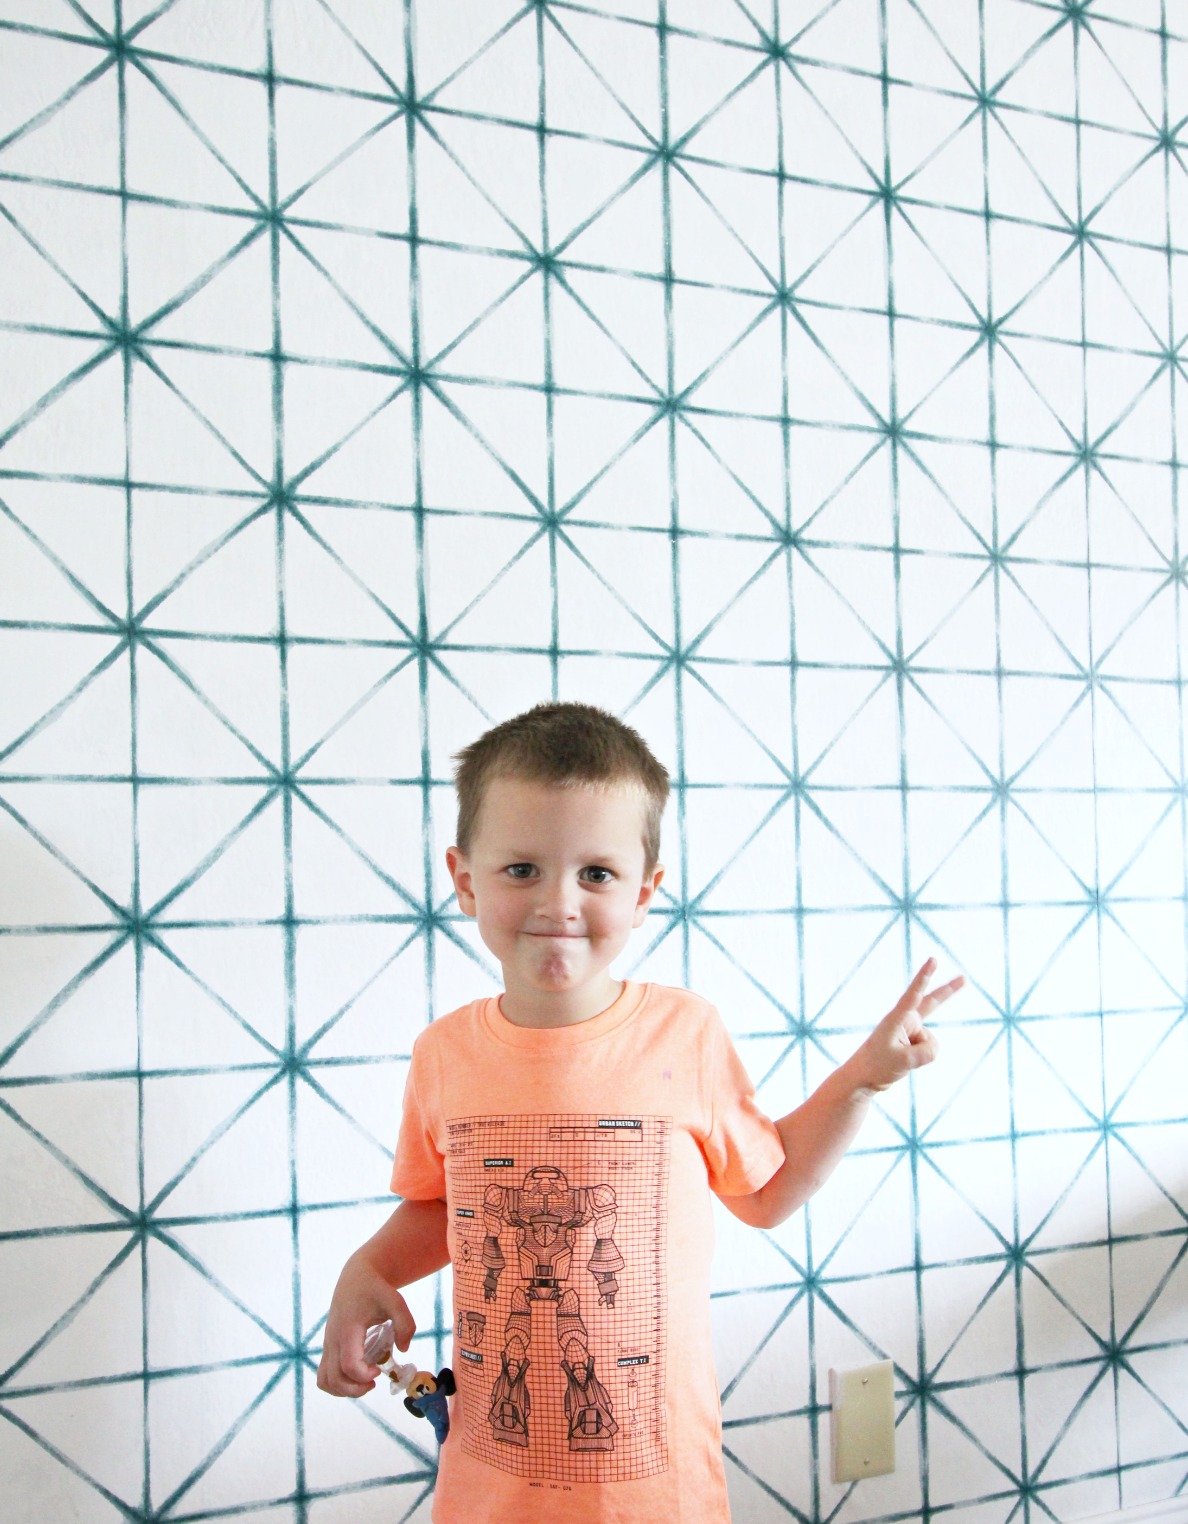
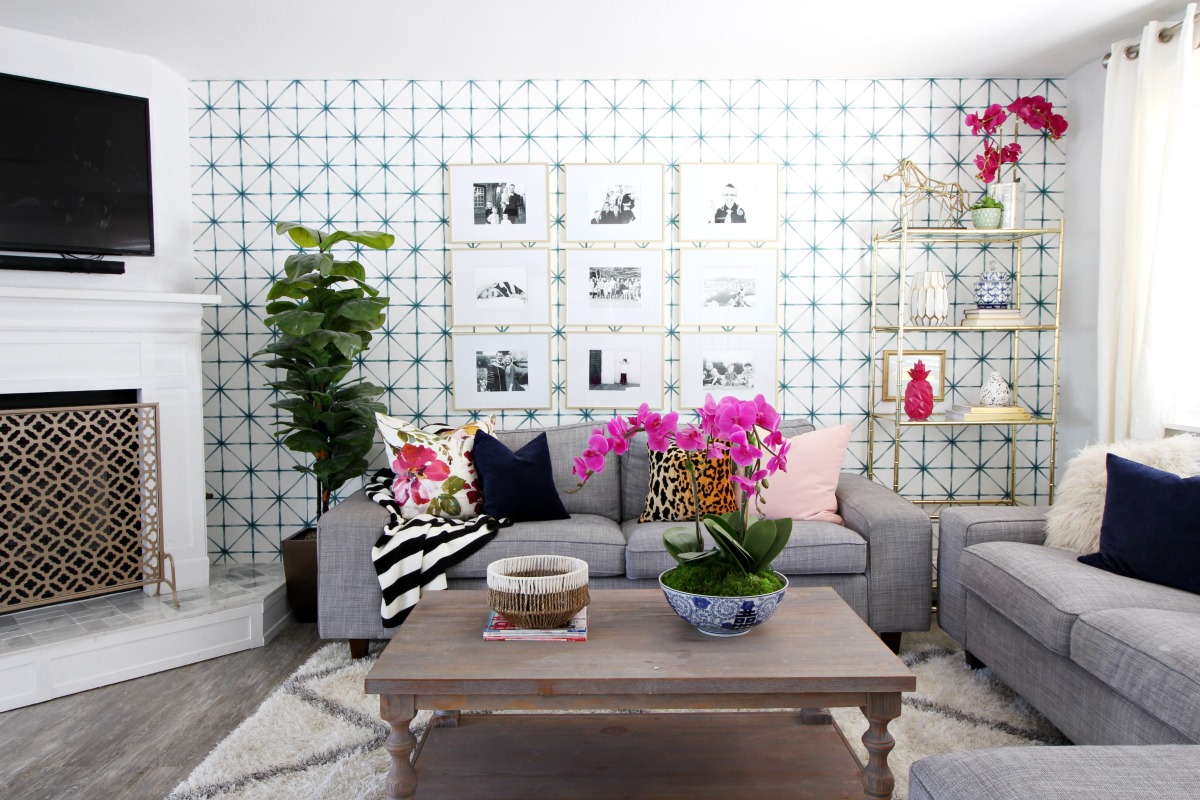
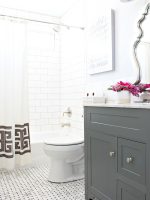
I chose this Kumo Wallpaper from Anthropologie. I used 2 rolls for my 8×13′ wall making my project $156. TOTALLY worth it!!! I loved that it has the trendy shibori look but a little different.
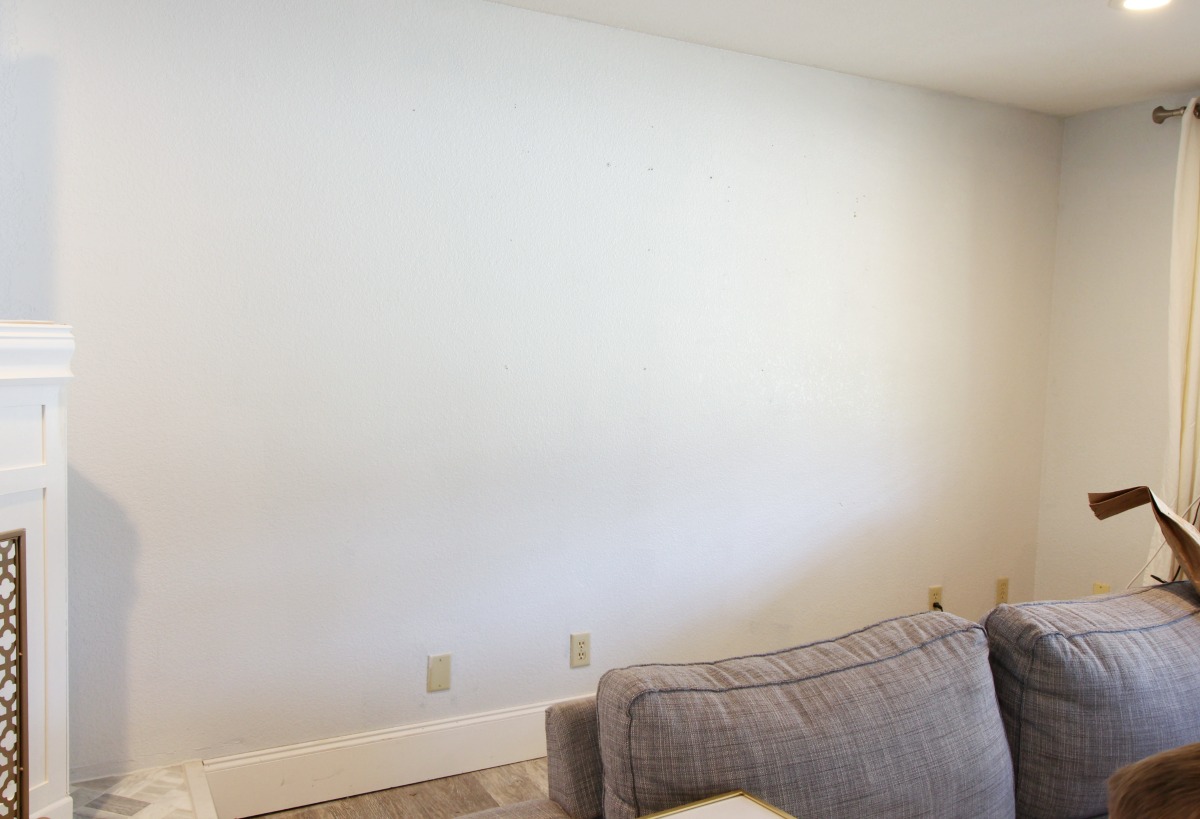
First, begin with a clean, dry and smooth (or semi smooth) wall. I have slightly textured walls and I thought about smoothing them out but since they’re smooth to the touch and its a matte paper, I decided to leave them. If you have a metallic paper or a paper with a glossy sheen, do everything you can to have a very smooth wall.
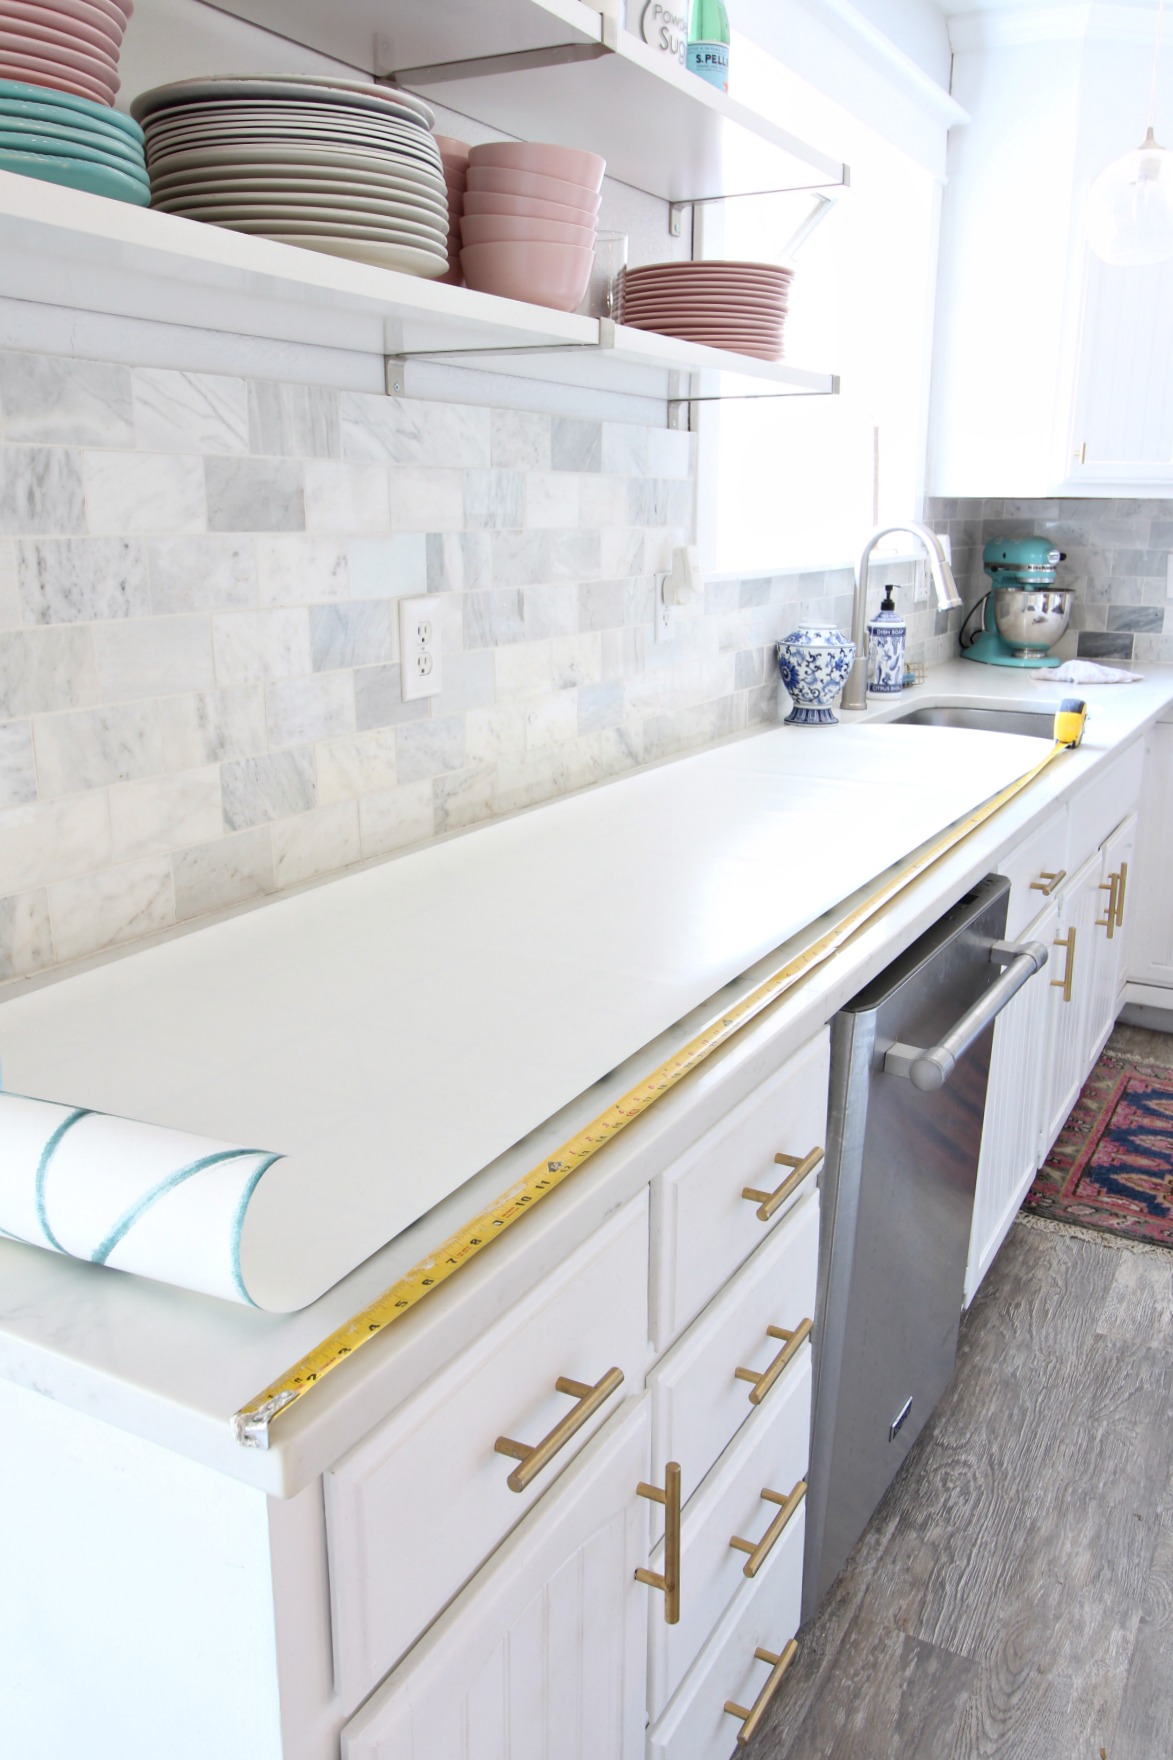
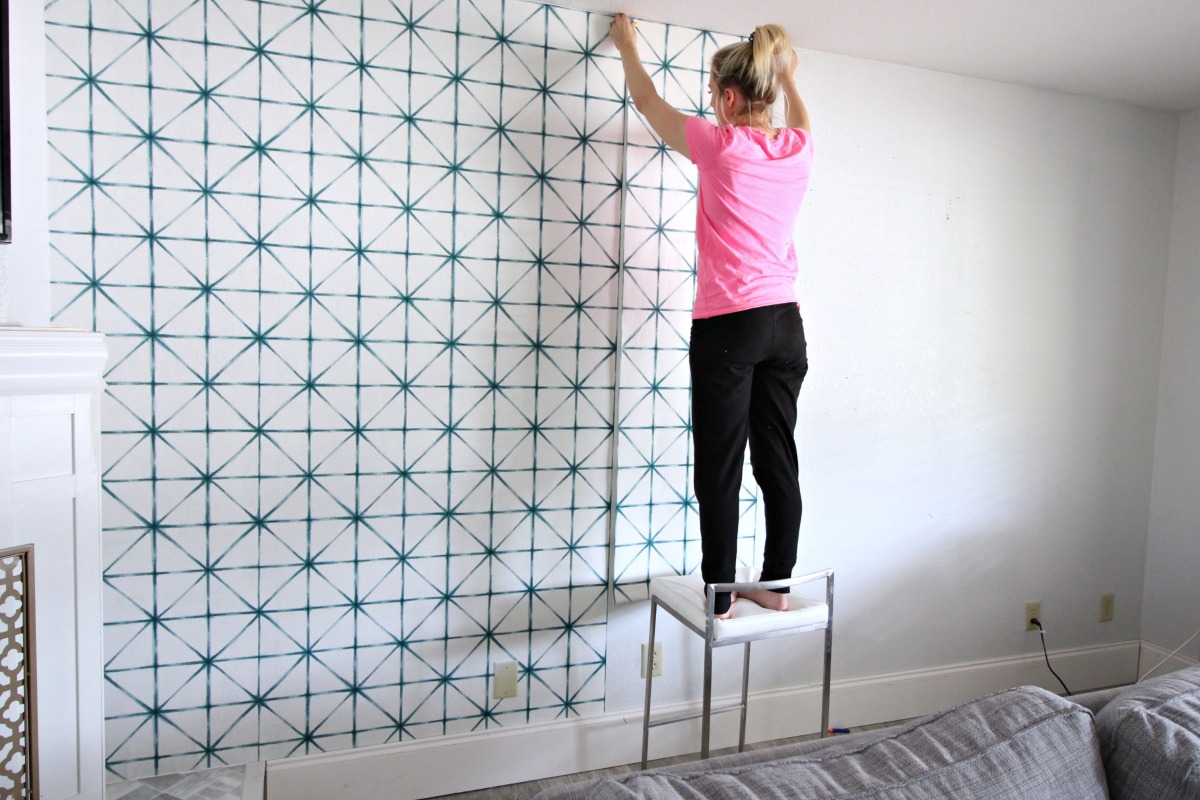
Some people start from the middle of the wall but because of the pattern I used, this was unnecessary. I started on the far left of the wall and drew a line 1″ LESS the width of my paper. My paper is 20.5″ wide so I drew a vertical line at 19.5″ making sure it was completely plumb. Using a 24″ level with a straight edge worked great. If you have a laser level, that could totally work!

I cut my paper 4-6″ longer than necessary. My paper had a short repeat so I just cut it to 92″. (I have 8ft ceilings and 7″+ baseboards.
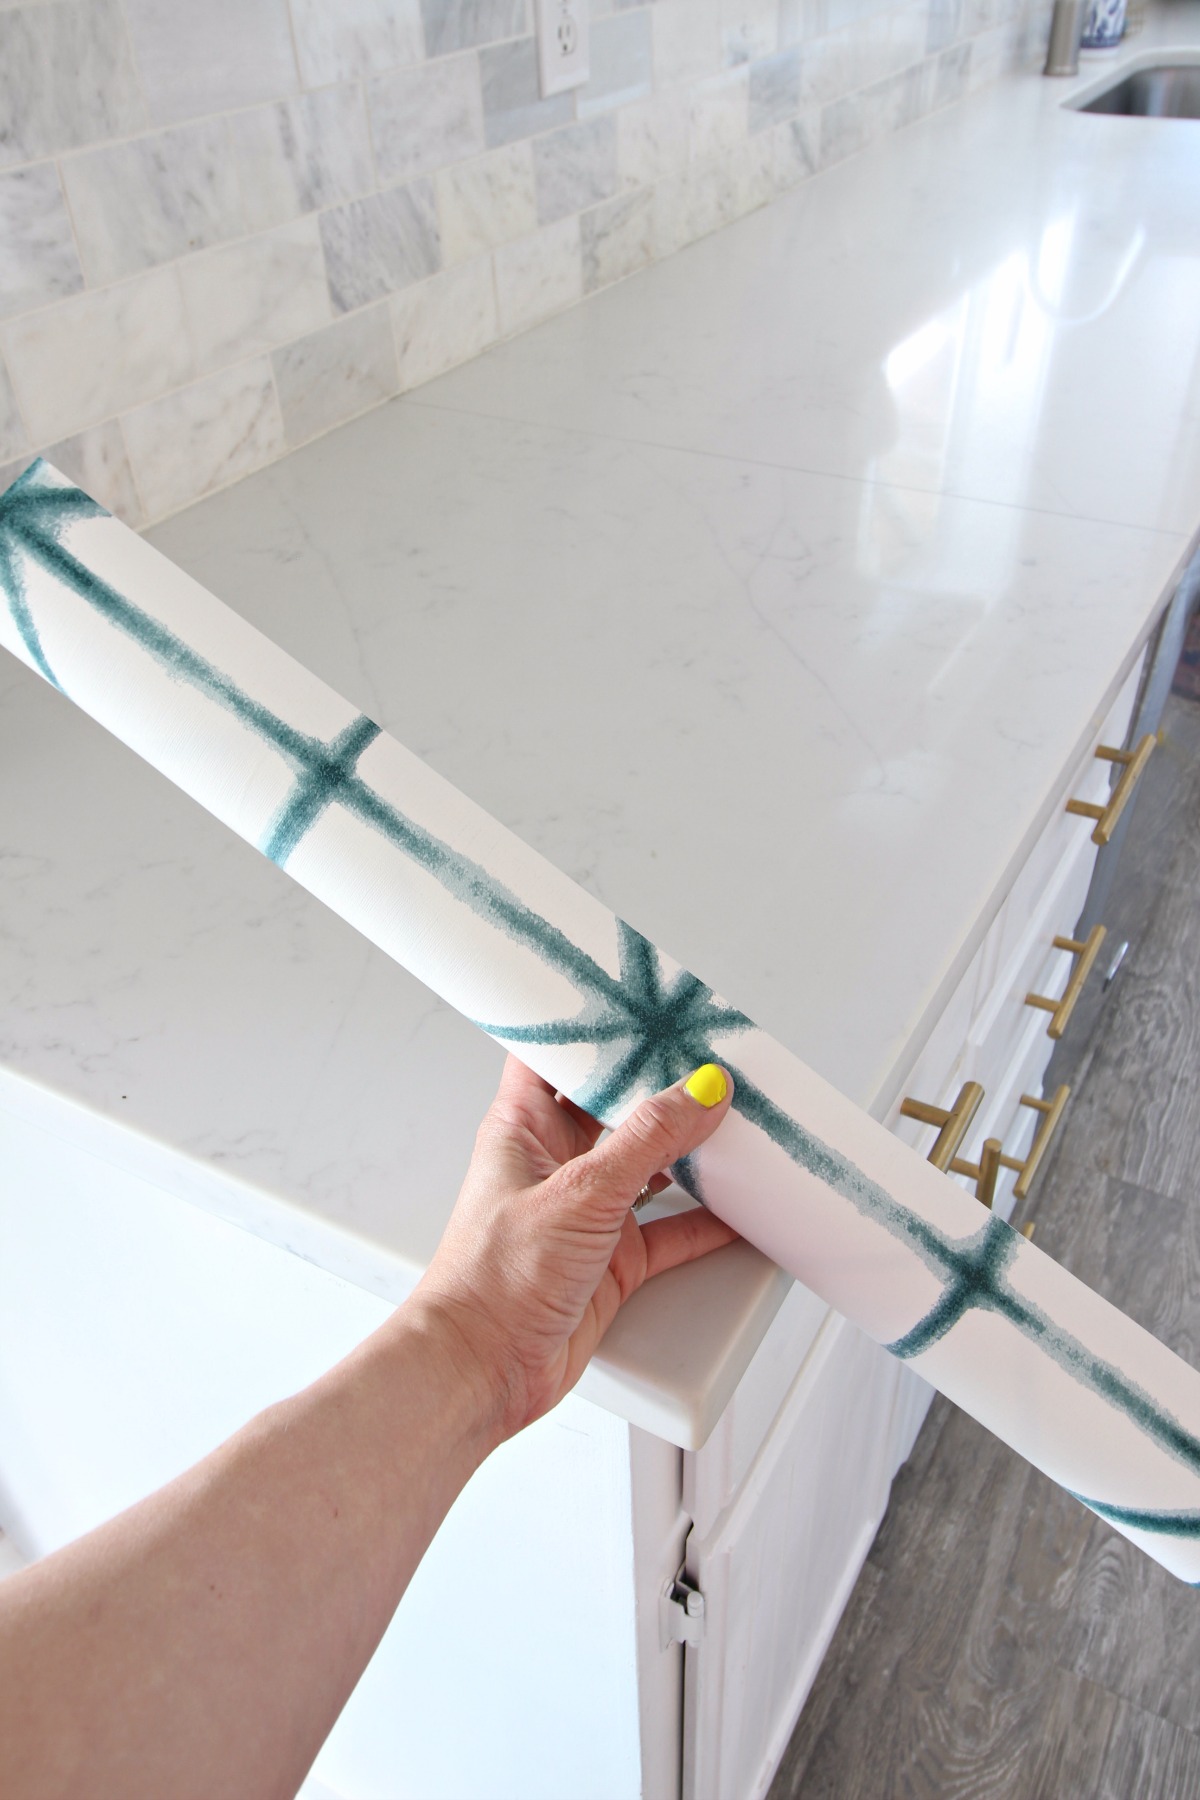
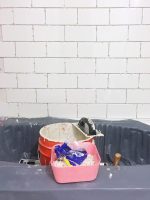
Next, roll your paper loosely similar to how you’d roll a newspaper. Loosely but tight enough to handle easily. I filled my sink with clean, cool water serve as my dunk tray.
PS. I apologize for the fuzzy pics! My ISO was set high because it was really dark in my house when I did this project. Moving on… Next, I dunked my measured and cut roll of paper into my sink for about 10-15 seconds then I shook of the excess water.
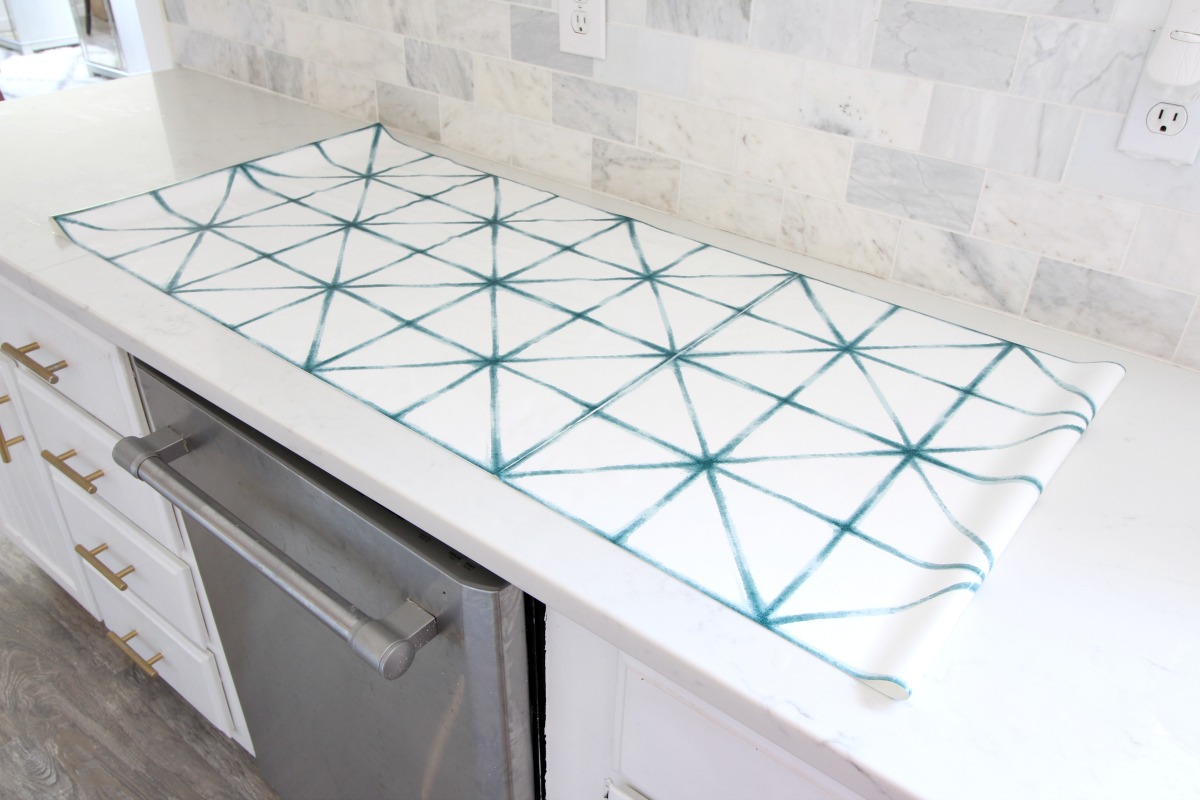
The next step is calling booking. You can see an animation for how to do it in more detail here. Basically you unroll your paper completely flat then bring one side into the center and repeat with the other side. Let it “relax” for 2-3 minutes to get the paper to activate make sure not to crease your paper, just fold it loosely. If your edges start to dry at all, mist them with a water bottle.
Next, I hung it on the wall, smoothing with my drywall knife (lol!) and then I wiped it down with a slightly damp washcloth that helped smooth bubbles and get any excess paste off of it.
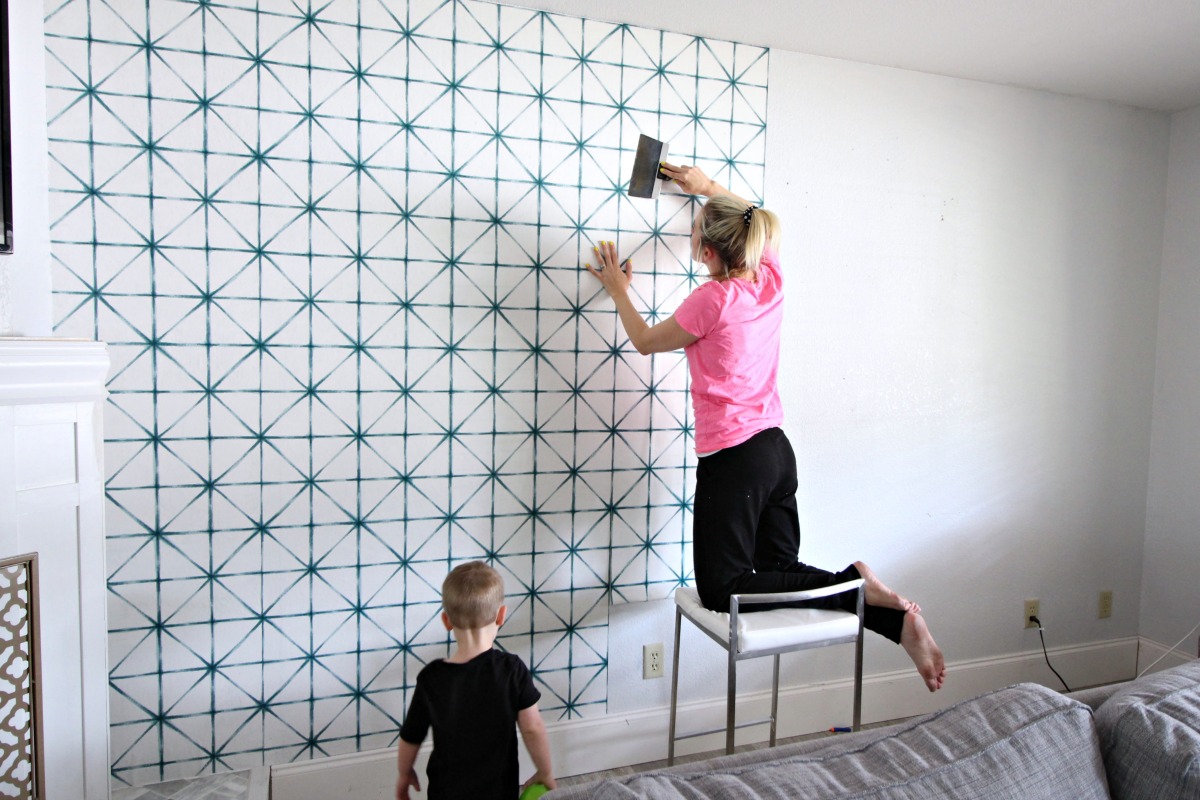
I forgot to get a photo of the last part but I used a new razor blade to trim the excess paper. I used my drywall knife as a straight edge while trimming. Guys, use new blades OFTEN. This is going to be a huge help because you want the absolute sharpest blades for your cuts. If its dull at all then it will tear your paper. The wet, sticky paper tears easily if its not totally, totally sharp. Got it? I really had no idea how to install wallpaper a few months ago and now that I’ve done it twice in a row (Remember the amazing mural I installed in my office?) I feel like this method has helped tremendously and now I’m really comfortable doing it!


Hi, Sorry if Iv misunderstood but how did you paste the wallpaper? Did you paste the walls first?
HI Danielle! The wallpaper is prepasted. The water activates the paste. 🙂
You said you measured the wall 1” less then the width of the wallpaper. Does that mean you overlapped the next roll by 1”? Instead of butting up the seams?