
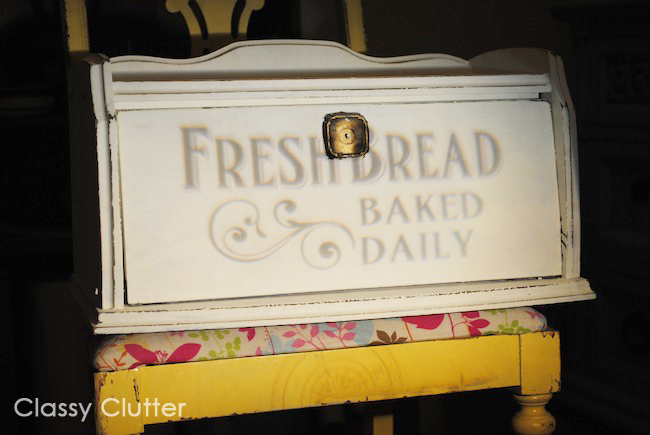
Fresh Bread Hand painted Bread Box

So, I really like bread boxes. Reason #1: For the past several years, I have lived in homes with little kitchens with minimal storage. reason #2: I hate when my bread gets smashed when it is stored with all the other pantry items, and reason #3 they add such a fun old-fashioned charm to the kitchen.
Let’s meet exhibit A: I found this breadbox at a yard sale a while back for $1 I believe. I cleaned it then left it untouched for a few months. I knew I wanted it painted but there was little to no inspiration for this project.
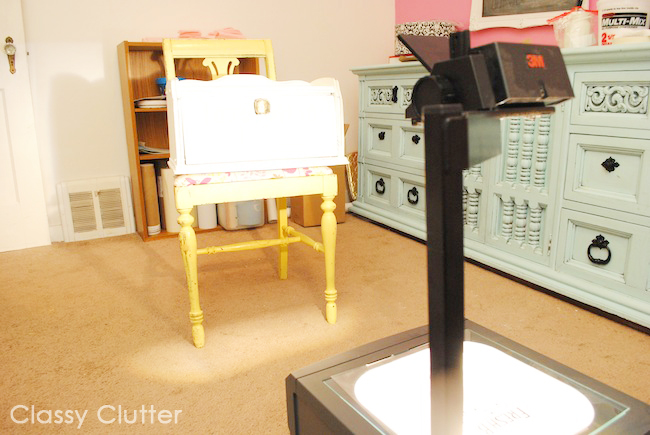
Then, one day it hit me. I wanted it to look like an old bakery sign. Since I purchased my overhead projector, it makes projects like this a breeze!

First, I wiped it down, removed the knob and taped off the areas I didn’t wanted painted.

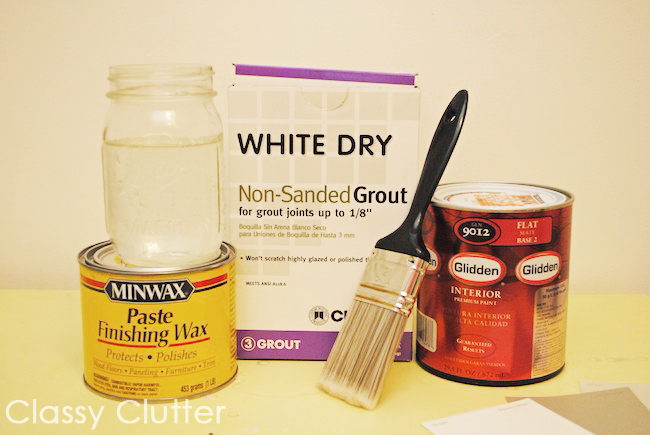
Then, I mixed up some chalk paint using Savannah’s DIY Chalk paint recipe. I substituted Plaster of Paris for some non-sanded white grout.
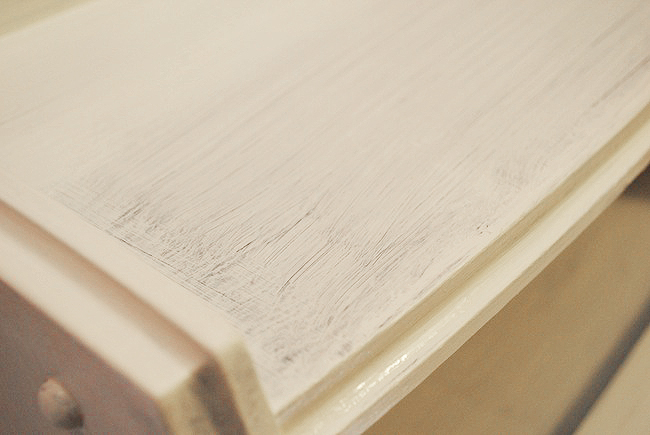
I painted one coat and let it dry for a couple hours…

After one coat…
Then, I painted a second coat and let that dry.

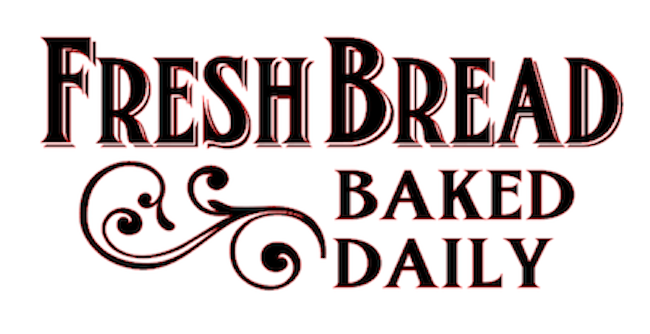
I made this image using my Silhouette studio software and printed it on transparency paper.
Then, I projected the image onto the bread box.
It looks like this up close.
Then, you trace the outline really lightly with a pencil.

It should resemble something like this.
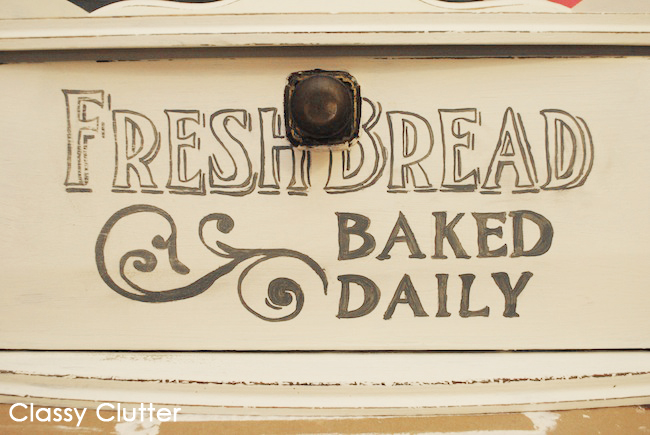
Next, I took a fine tip paint brush and traced over my pencil marks. When it dried, I distressed the box and the lettering to make it look antique-ish. The thing about distressing the lettering is that your paint job doesn’t have to be perfect; mine is definitely not and that’s okay!

Then she made her way back to my kitchen with some yummy bread and tortillas inside.

Cute huh?! I love that it looks like a bakery sign but it holds my bread and other baked goods that I don’t want smashed in the cupboard. You could also use this exact tutorial and paint on a piece of wood or something to make an antique looking sign. Chalk paint is really good for making antiquey signs because it distresses so beautifully. This was my first chalk paint experience believe it or not!
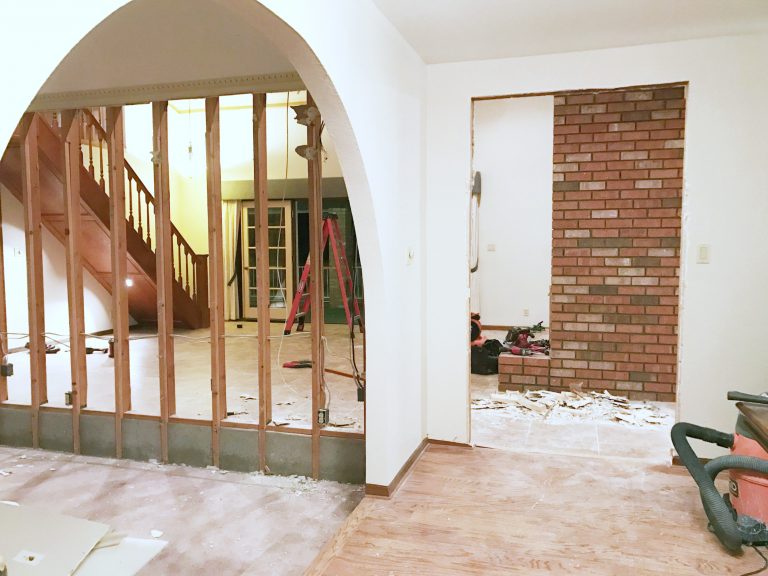
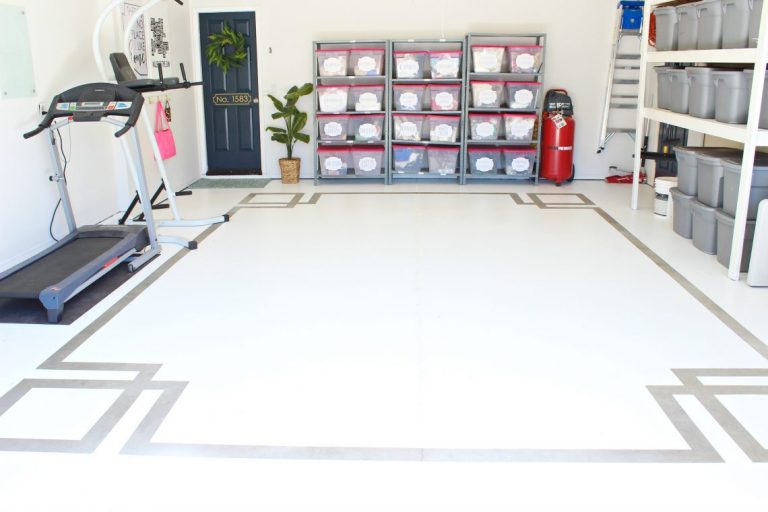
Be sure to check out my kitchen makeover and dining room makeover tutorials and room reveals too!
There are basically tutorials for everything you see in this space!
Updated to add: BIG HUGE CONGRATS to my blog partner Savannah and her family! Savannah gave birth to a perfect baby boy this morning!

Congrats Sav! Love you!!!!


That looks great; what a big difference!
I love love it!!! Love your beautiful kitchen too!
Great job on the bread box! 🙂 If I had extra counter space, I would love to have one too!
Congrats, Savannah! What a cutie. 🙂 I love the bread box it looks like something from Anthropolgie. 🙂 Megan
Congratulations to Savannah! Aww what a lil cutie =)
Cute breadbox! I seriously have to get a projector
Love the breadbox! What a great transformation!
Congrats to Savannah!
Have a great week.
Leslie
House on the Way
I am not normally a commenter but just wanted to say Congrats on your new little one. What a little blessing.
Looks amazing mal! I’ve been wanting a breadbox forever and now I REALLY want one.Congrats Savannah! He’s adorable.
Your bread box looks really great! Quite an improvement. 🙂
Kelly
Congratulations to Savannah! And your bread box project is great. I love the graphic!
I am from the Netherlands. I Love how you made this breadbox, it’s great ! May I ask what lettertype you used?
Sincerely. Amber
Love it! I recently purchased a stained breadbox myself and you have inspired me to paint it! Thank you. ~Kelly
unDeniably Domestic
Hi Girls . . . Certainly have enjoyed your works of art. I especially love the breadbox. Please tell me about the silhouette studio software you used in this diy. Is it a machine and if so where can it be purchased or is it a piece of software? And if so where can the software be purchased? I’m familiar with the “old” overhead projector as I’m a retired school teacher and spent many hours on that baby working on projects for my 3rd graders! Thought it would be extinct by now . . . LOL
Thanks for your help and do keep up the good work!!!
Your friends baby boy is quiet handsome . . . I’m 66 years “young” , hahahehe, and my husband and I were just saying how we wished we had another baby in the family at time in our lives; however, we’ve been fortunate that our two children gave us 7 grandchildren to love! As a matter of fact, I’m in the process of getting 3 of them interested in arts and crafts and some painting. Still have some teacher in me, I suppose!
Hello!! Great tutorial!
I have a question: is convinient to paint the inside of the breadbox?? The bread doesn’t smell as paint ??
sorry for my bad english
HI Gaby!
No, it doesn’t smell like paint at all. Make sure it’s completely dry before putting food inside. 🙂
I like to eat bread and my breakfast always bread every day.Thank for sharing a good idea about bread boxes.