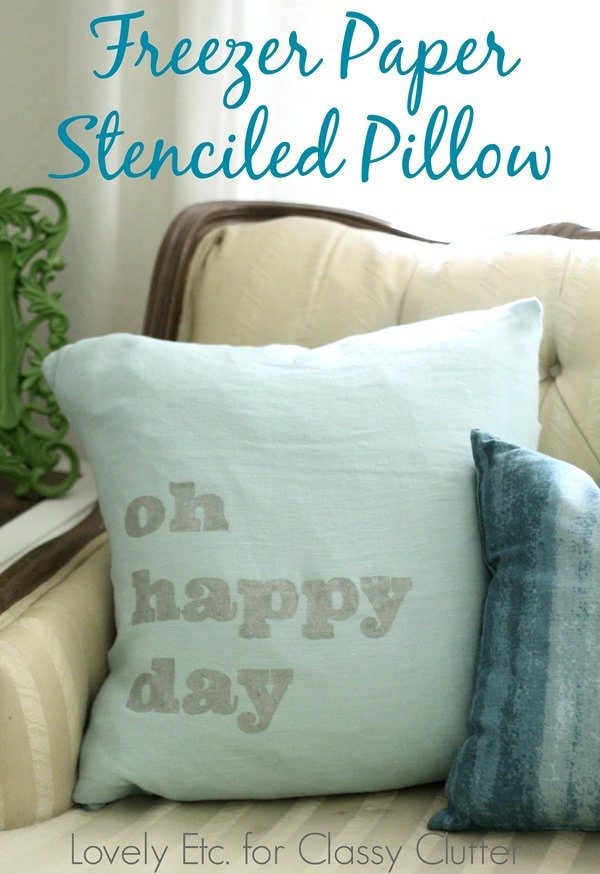
Freezer Paper Stenciled Pillow
Hey Classy Clutter readers! It’s Carrie from Lovely Etc. again and I’m back to share a fun project you can whip up in less than an hour.
If you’ve never used a freezer paper stencil before, let me tell you, it is magical. You can buy freezer paper from your local grocery store in the aisle with the wax paper and aluminum foil. I have no idea what freezer paper was originally used for but it is completely amazing for stenciling on fabric.
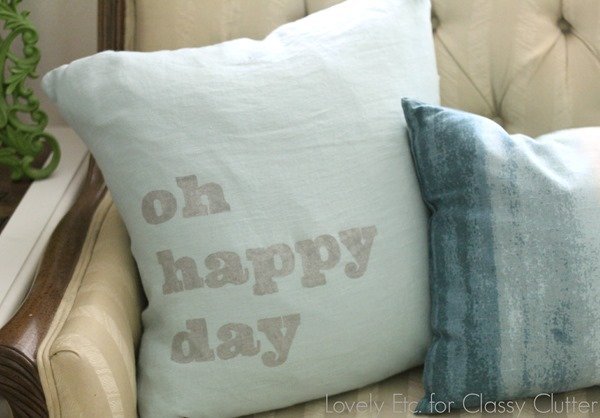
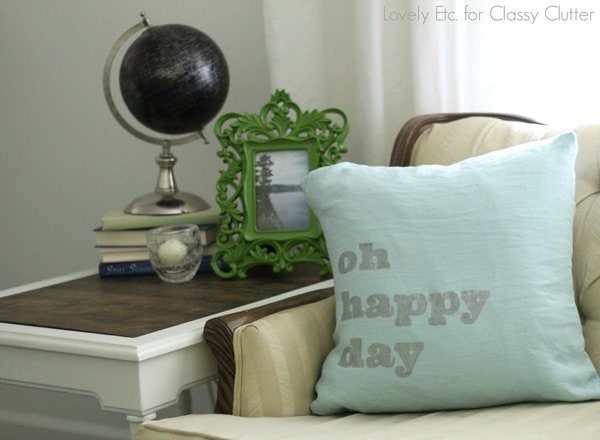
I’m a huge fan of using meaningful words in décor and I can’t help smiling every time I see this pillow. The phrase ‘oh happy day ’just oozes positivity and joy…not to mention it is the name of an amazing old gospel song. Of course, you can choose any phrase you want that means something special to you.
You’re going to need a pillow cover to stencil. You can use one you already have on hand or you can use this great tutorial for a simple envelope pillow cover. My favorite trick for finding inexpensive down pillow inserts is to buy down pillows with removable covers at thrift stores. I toss the ugly covers and make my own. If you’re a little squeamish about buying used, you can also find clearance pillows at stores like Ross or Marshalls. Just look for the ugliest ones because they are usually the cheapest.
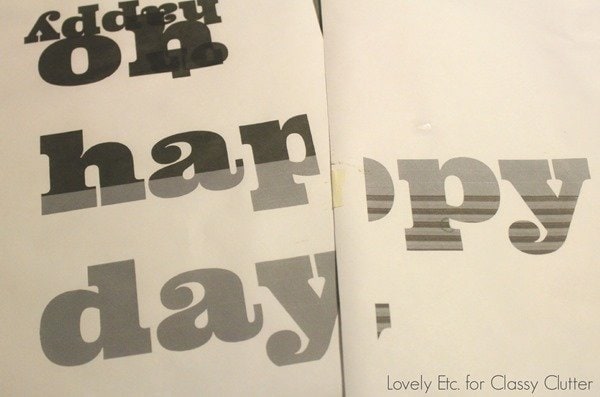
First, choose a font for your words and print your design onto the freezer paper. I designed my pillow at www.picmonkey.com using the Ultra font but you can just as easily use Microsoft Word. Cut a piece of freezer paper the same size as a sheet of cardstock. Tape it to the cardstock with the papery side showing and the plasticy side facing the cardstock. Feed it into your printer one sheet at a time.
Once your message is printed, it’s time to carefully cut it out. You don’t need any fancy cutting machines to make freezer paper stencils (though if you have one, it will definitely make it faster!) I didn’t use a cutting machine at all – just a good old fashioned x-acto knife and cutting mat. This can be a bit tedious but is not difficult. Be sure to save the little dots that go in the centers of letters like o – you will need them for your stencil.
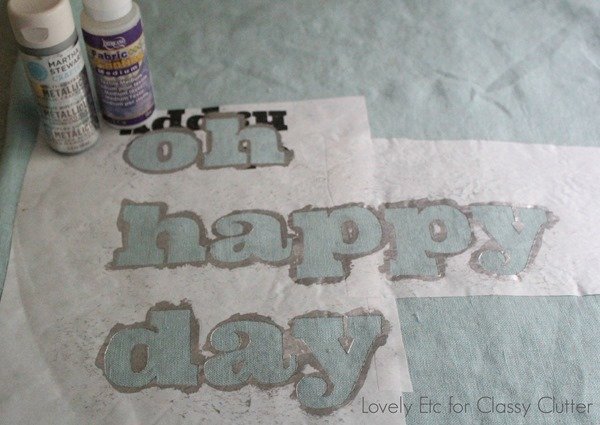
Line the freezer paper up where you would like it on your pillow cover with the plastic side down. Iron the freezer paper stencil onto the fabric. You only need to hold the iron on each section for a few seconds. Be sure to iron on the little dots and other letter centers as well. Ironing seals the stencil to the fabric so that when you paint it, the paint won’t seep under the edges.
You can use any type of fabric paint to paint in your design. I wanted a little shine, so I used metallic craft paint mixed with fabric medium. Fabric medium is sold in small bottles with the other craft paints and can be mixed with pretty much any acrylic paint to turn it into fabric paint.
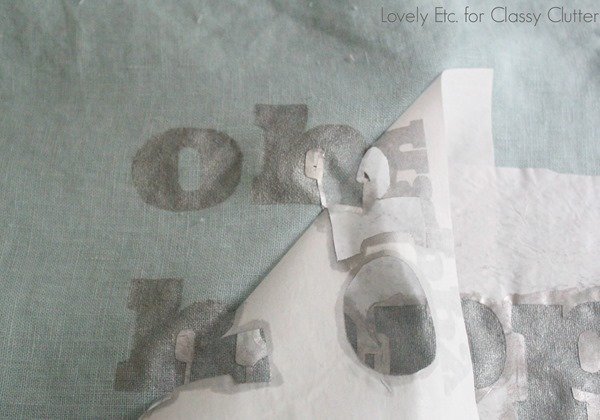
Once you have everything painted, carefully peel back the freezer paper. Do a little happy dance because freezer paper stenciling works so amazingly and leaves the absolute cleanest lines.
I don’t know about you but I am definitely seeing more stenciled pillows in my future!
Thanks SO much for sharing this Carrie! You are so talented!
Don’t forget to follow Carrie on Pinterest, Facebook, Instagram, Twitter, and Google+





So what is the paint for? If you iron the letters onto the pillow what is left to paint? What am I missing?
Hi Marsha!
The iron on part is just the stencil for the letters. Then you will paint over the stencil and peel off the freezer paper stencil. Hope that helps!!