
DIY Projects: Copper Wall Sconce
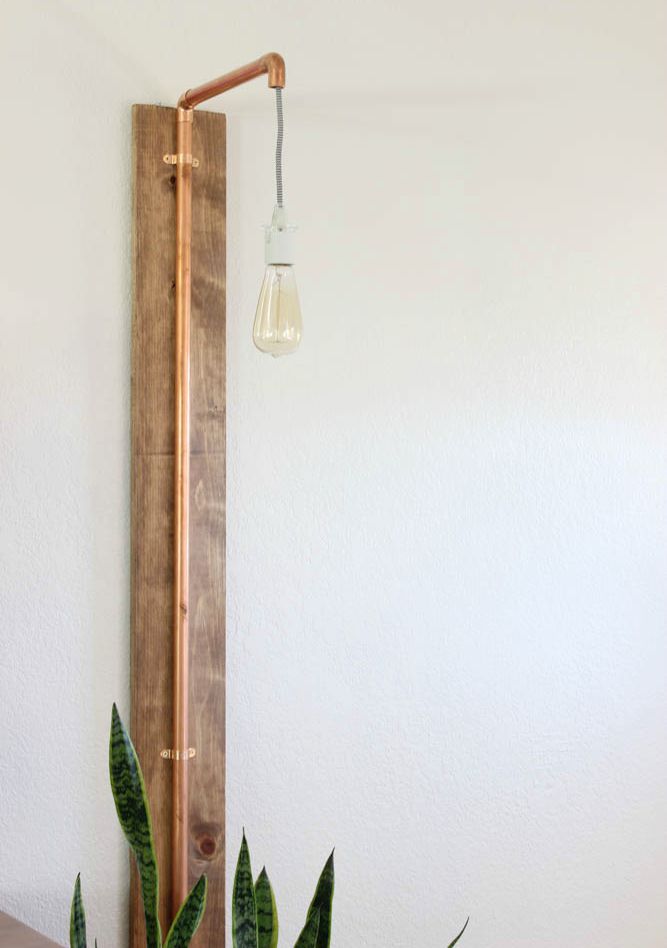
Hi guys! Today I’m going to share how I made these super easy and pretty much awesome DIY Copper Wall Sconces. They stand over 6 feet tall and are one of my favorite elements of my Living Room Makeover. They are super simple to make and I promise even the most novice DIYer can make this. Don’t be afraid of this wiring/electricity project because I promise it’s not hard or scary at all. Believe me, I’ve always been intimated of lighting projects but once you know a few basics, you’re good to go! Pinky promise! Let’s get started!
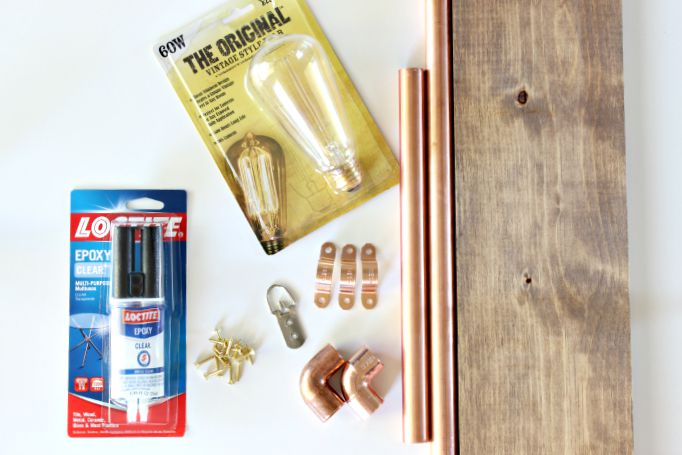
Materials:
- 1 wooden board (1″x6″x6′) You can find these precut here at The Home Depot. ( under $7)
- Your choice of paint or stain
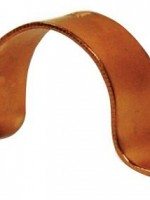
- 1 10′ x 3/4″ copper pipe cut into two pieces to 6′ and 10″. I love this handy cutting tool for cutting copper pipe at home. It is SUPER easy to cut your own! ($16)
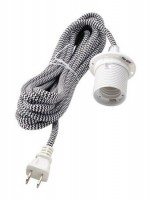
- Ikea SEKOND corded light ($15-20)
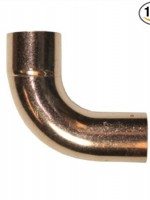
- 2 – 3/4″ copper elbows (90 degree) ($1.38 each)
- 3 – 3/4″ copper straps ($3 for a 5-pack!)
- 1/2″ wood screws
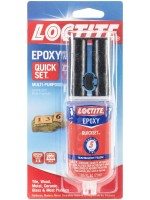
- Loctite 5 minute epoxy
Tools needed:
- drill
- screwdriver
- rubber gloves (if staining your wood board)
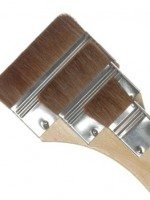
- staining pads or paint brush
Instructions:
Once you’ve gathered your materials, it’s time to start assembling your light. Okay so I was super duper scared of taking apart this light from IKEA so confession, I made my husband do the first one and show me how THEN I did the second one and its SO easy! He’s really good at taking things apart and figuring out how and why they work the way they do so I usually call out to him if I’m unsure.
First, stain or paint your wooden board and allow it to dry while you build the light.
Next, disassemble your SEKOND light from Ikea. You can use a similar light but this is just how the IKEA one came apart. I imagine they’re all pretty similar.
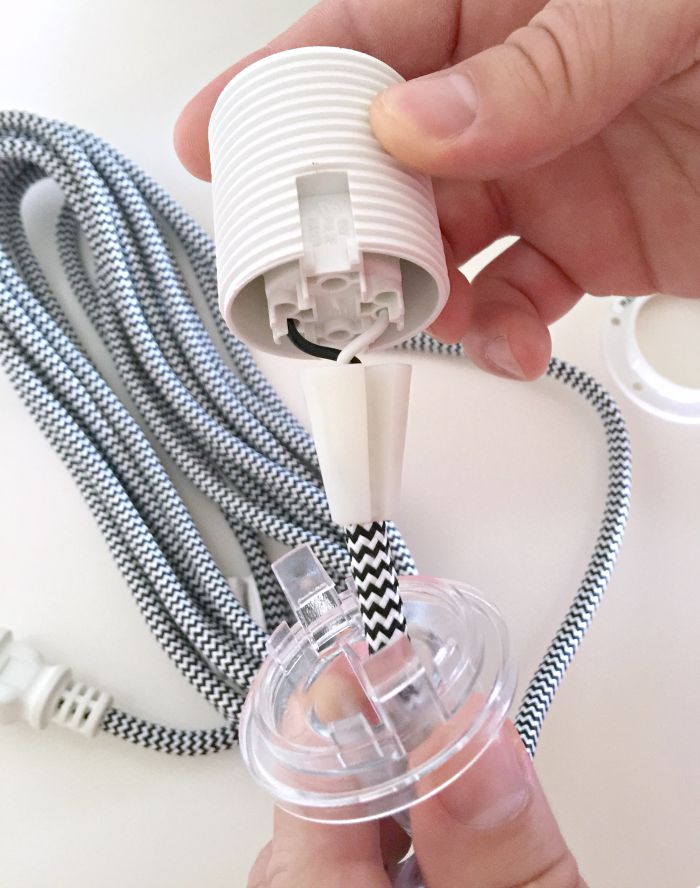
Using a flathead screwdriver, carefully pry back these little plastic pieces. There is one on each side. Be careful not to break them off.

Once the clear part separates from the white socket, it will look like this. Slide the clear base down for now and remove the white cone shaped piece that covers the cord. Set aside.
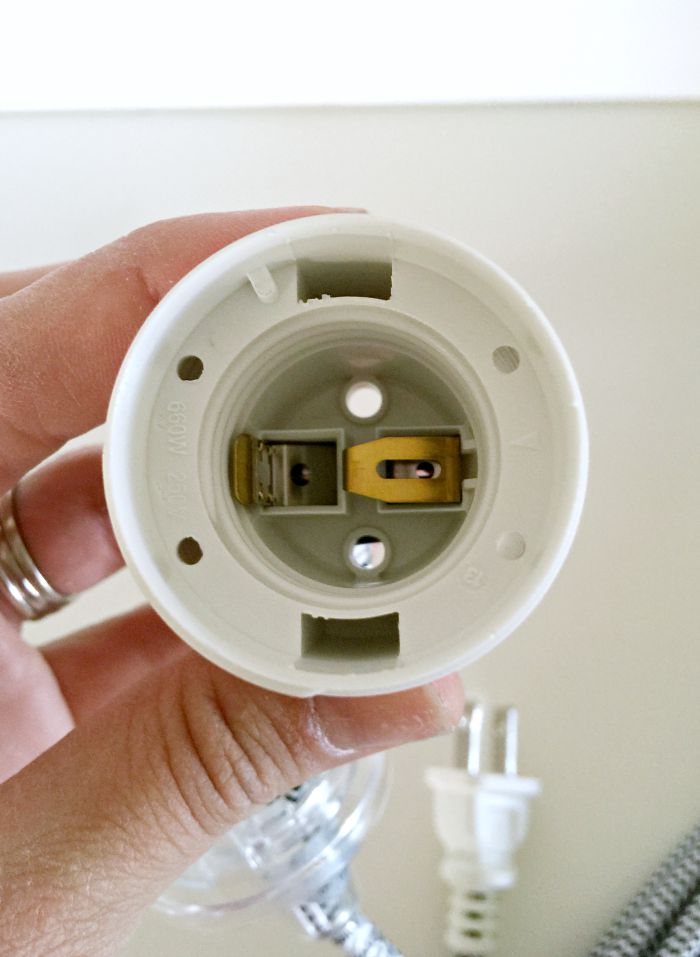
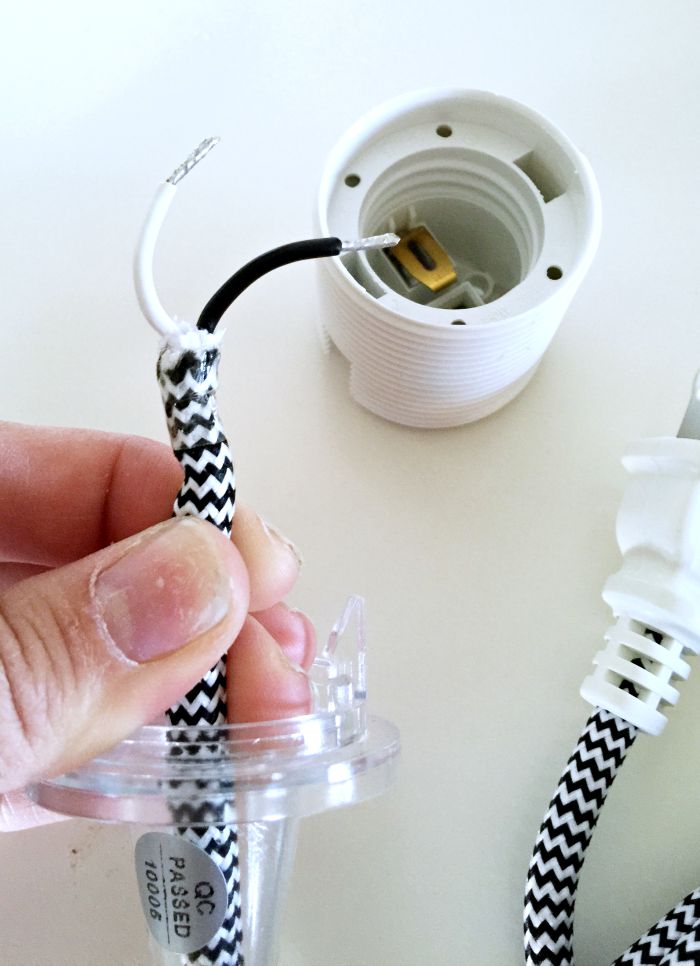
This is what the inside looks like. See that little brass thing on the right? I think it’s called the “hot contact” or “hot tab”. Anyway, for the next step, place your finger on it to hold it in place then flip your entire socket over to remove the wires.
Use a black marker to mark which side the black wire goes in so you remember when you put it back together.

Okay, I used this tool I use for weeding vinyl for the next part and it worked great. Find a skinny little tool that you can stick inside the hole. It feels like there is a little lever inside that holds the wire inside a clamp right inside that hole. You obviously can’t see it but it’s easy to feel where it is with the tool. Press it down and it opens and releases the wires.
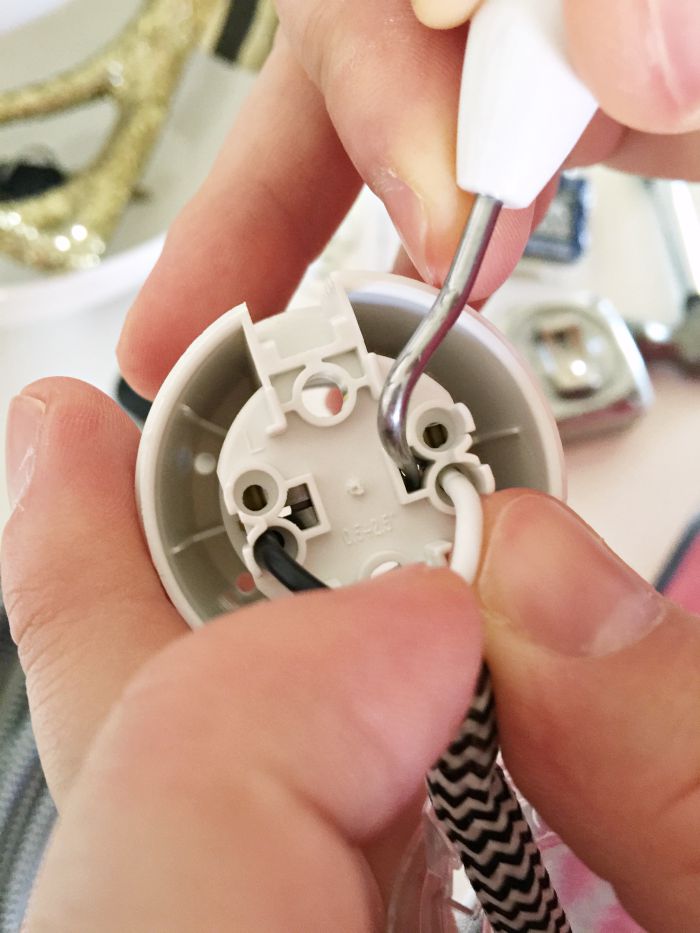
Bam baby! Done and done! Now slide that clear guy off of the cord so you can feed it through your copper light on the next step!
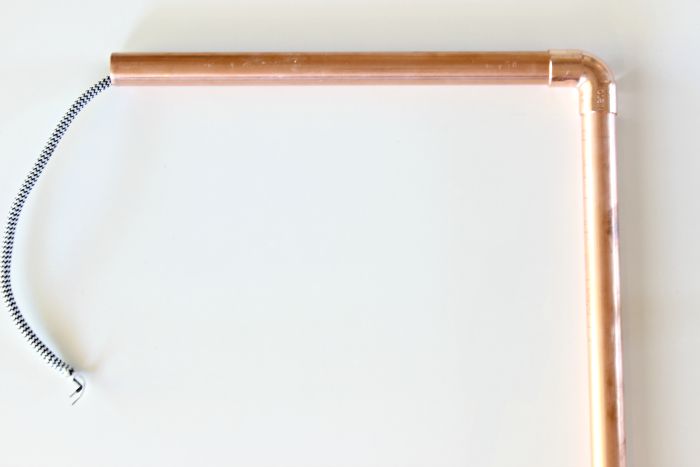
K, hardest part over. Phew! Now, feed your cord through your longest (6ft) copper pipe.
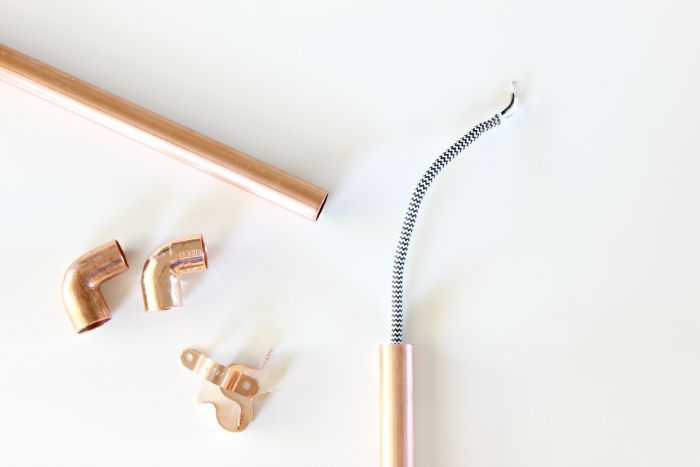
Following the instructions on the epoxy packaging, use a dab of epoxy on the outside edge of the pipe and pop on your copper elbow.
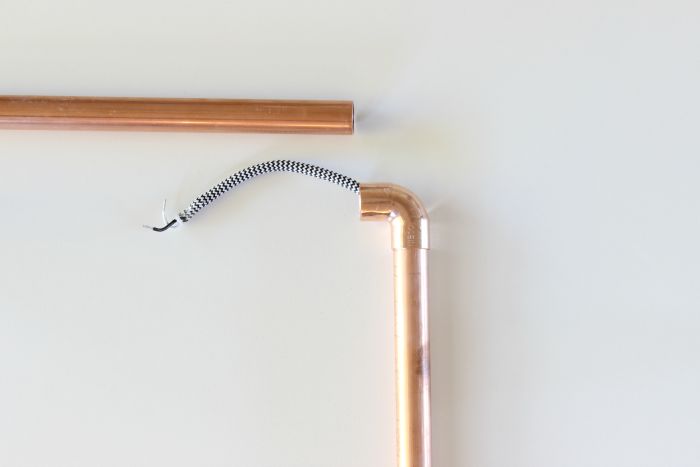
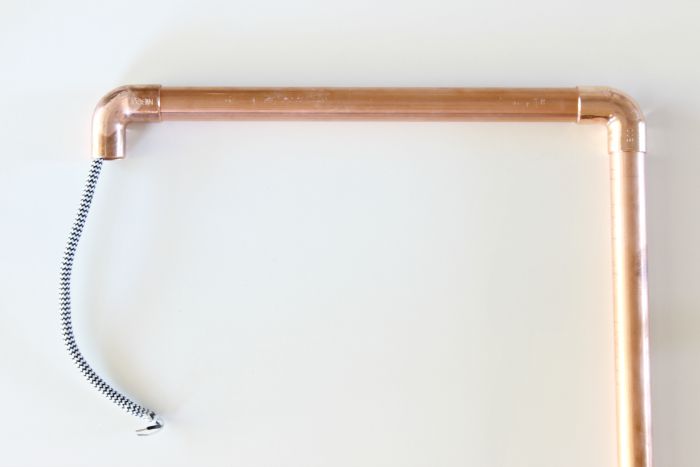
Pull some more of your cord through and put a dab of epoxy inside the end of your copper elbow and add the shorter (10″) copper pipe to form a “L” shape.
Repeat and add your final copper elbow and pull more cord through.
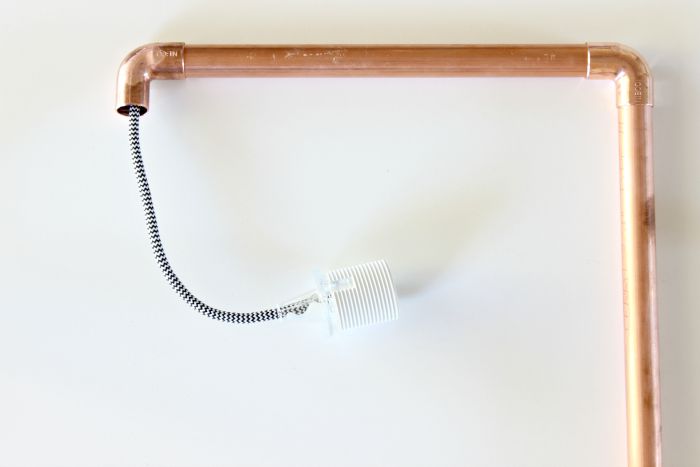
Next, reassemble the light socket. clear base on first > cone shaped white guy > wires back into holes in socket > snap clear guy to white socket. Add in a light bulb and plug it in to make sure it works before you continue on.
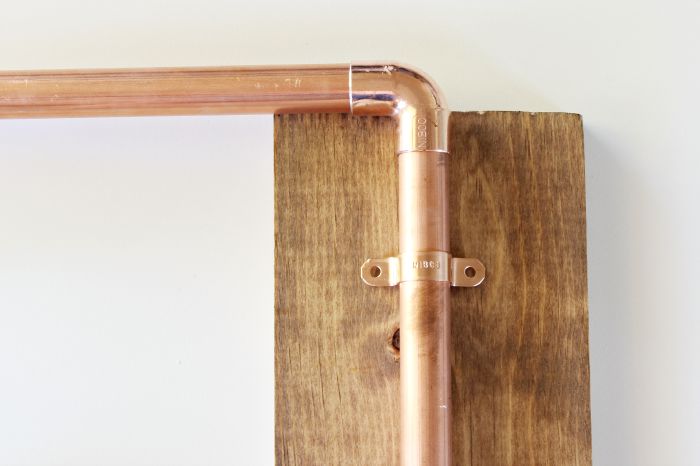
Lit up? Great! Now let’s finish this! Lay your copper pipe guy on your wooden board once it’s dry. Grab your copper straps and place them over top of your pipe. I did one centered on the board, and one on each end about 3″ from the edge of the board. Screw them to your board with 1/2″ wood screws. I did brass because they blended in better with the copper than silver of black ones. This made it feel nice and securely attached.
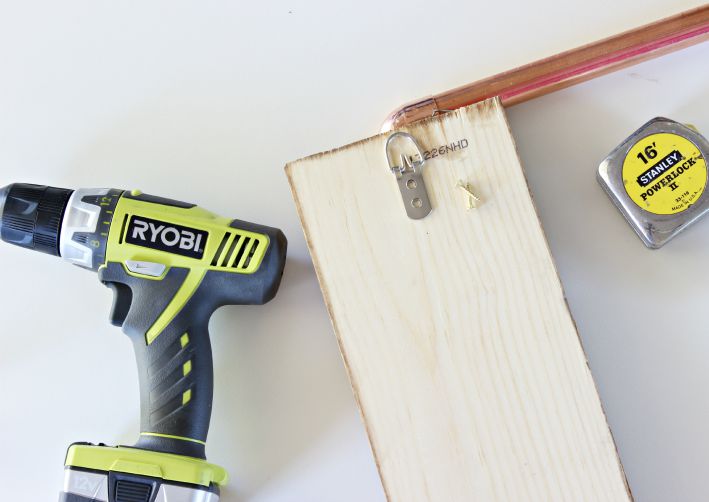
Last, flip your whole light over and attach a “D” ring on the back with screws.
Hang on the wall and you are done! It seems like a ton of steps but this can easily be done in about 3o minutes! For reals. It’s so so easy! If you make one share it on instagram and tag us @classyclutter #classyclutterprojects and we may even feature you! Yahoo!

Pin it for later if you think you might want to make one!
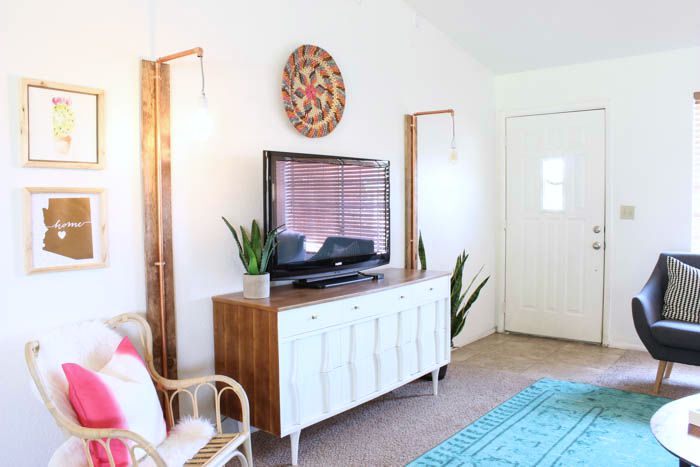
Don’t forget to check out the rest of my living room makeover here if you missed it!


These are awesome! How does the light turn on…by plugging it in, or is there a pull, twist, or push bar on the lightbulb base, or something else? Thanks, looking forward to making a set for my living room!
These are fantastic! I’m trying to figure out a way to make them work outdoors. The cooper and wood will be ok, I just don’t know about the wiring. (We put copper post caps on the deck and think this would be a great way to bring in more copper.) Thanks for the DIY!
Just saw this cool DIY post and loved it ! What made me love it even more is the AZ state frame! Love from Phoenix !