DIY Checkered Wallpaper Hack | Teenage Room Transformation
I am so excited to kick off this room transformation series by sharing my favorite DIY checkered wallpaper hack! After redoing our back room several times to accommodate different ideas, we have finally decided its rightful use should be for our daughter Leesie!
You may remember that it’s been our play room, a guest room, the CCHQ office, our homeschool room during the pandemic, and now – Leesie’s Room! Hopefully that is our final destination!
Now that Leesie is in her teenage years, we are starting to share the same taste for many design ideas – one of which is checker print. As soon as Leesie brought up the idea of checkered walls, I knew we had to do it!
Today on the blog, I’ll walk you through everything you need to know when it comes to my DIY checkered wallpaper hack so you can perfectly recreate it in your own home!
Transforming Our Back Room Space
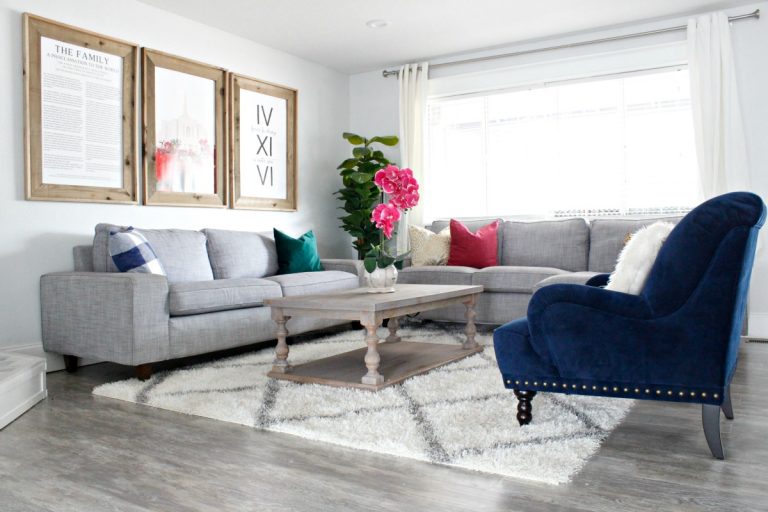
Before this space officially became Leesie’s, our back room had several purposes we loved for brief amounts of time.
It acted as a guest room for years and provided the perfect amount of privacy for when friends and family came over. This room is separate from the rest of the house and has a nearby bathroom with a shower, so that was the ideal setup! This worked great for a while, but sadly, the room flooded last year when we least expected it. After all the mess was cleared out, Kyle and I began to rethink ways the space could be used. Leesie has been begging for her own room for years and it just felt like the right time to say YES!
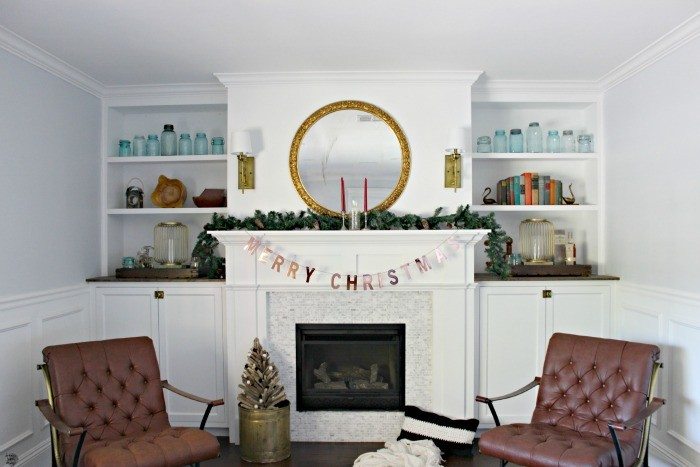
This is how our homeschool room idea came to be! Out of all the home projects I’ve done through the years, this design may have been my favorite. To see exactly how I created it, check out this blog post.
While I loved everything about the room, my kids just didn’t use it enough. After months of it collecting dust, we knew it was time to change it up. Now, Leesie finally has a space of her own to decorate exactly how she wants it.
Deciding On DIY Checkered Wallpaper
Despite the house flood only being contained to the back room, it did wreak major havoc to such a small space. The biggest loss of all was our stunning checkered floors on the hardwoods. I honestly wanted to cry! Staining the floors was such a labor of love and I was sad to see them go. To read how we pattern stained the floors, check out this post!
After we realized the floors could not be saved, it was Leesie’s idea to incorporate the same pattern onto the walls. Immediately, she and I got to work deciding on paint colors and square sizes. We both wanted this first part of the room transformation to be perfect!
DIY Checkered Wallpaper Paint Colors
While the classic black and white checker is the standard for this print, Leesie and I decided it would feel harsh all over her walls. Instead, we muted down the colors for a more neutral look.
Here are the paint colors we chose:
- Vanilla Frost by Behr in an eggshell finish is the perfect base to paint both the ceiling and the walls.
- Mushroom Bisque by Behr in an eggshell finish to provide subtle contrast to the squares.
The combination together is absolutely perfect! We are obsessed with how it looks together.
Selecting The Square Sizes
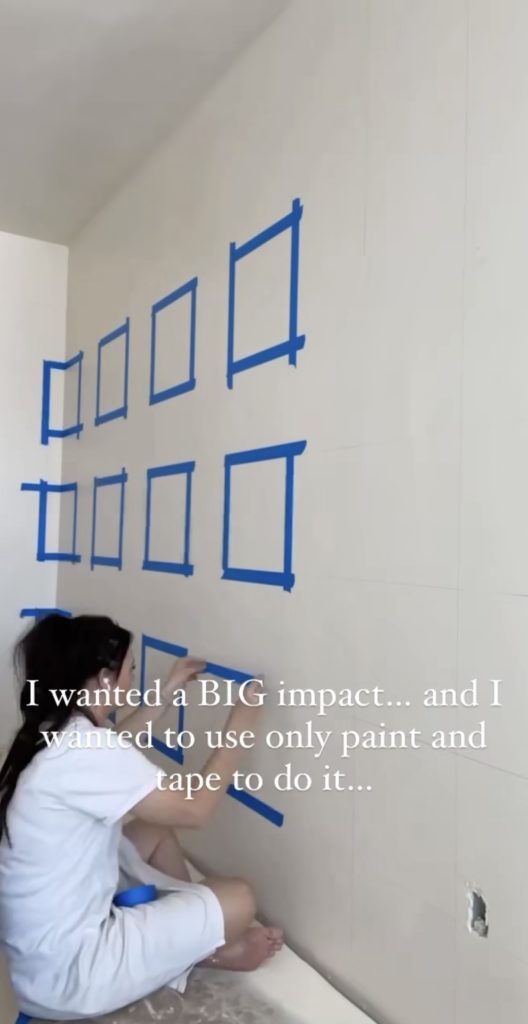
After experimenting with painter’s tape on various square sizes, we liked the look of 12” x 12” the best. It provides the big impact we wanted, while not being too oversized.
It took 120 painter’s tape squares to fully cover the 4 walls of the room. While it sounds like a lot, the time went by quick and I’ve been loving listening to audio books to pass the time.
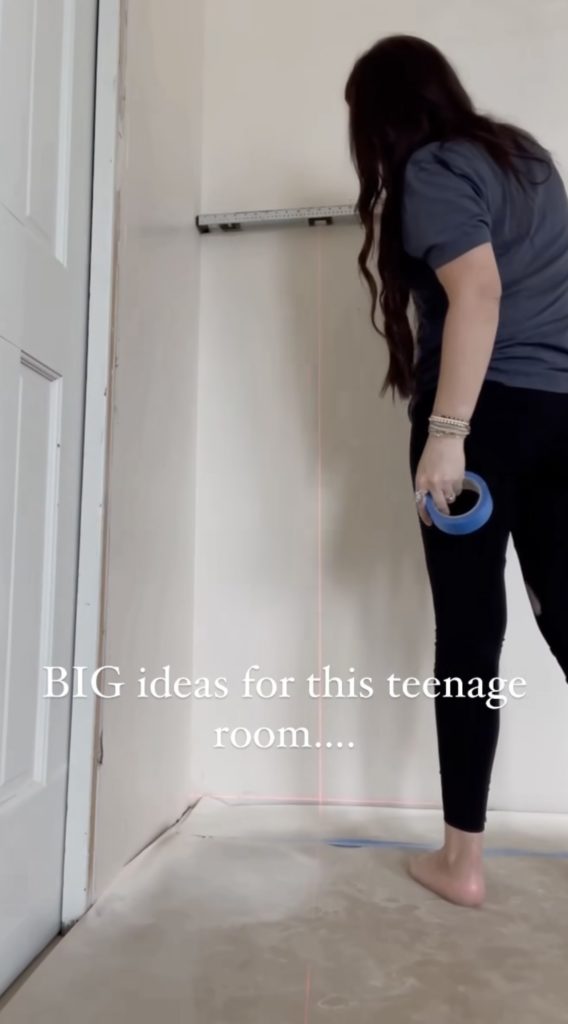
Tip: Use a leveler and laser to begin taping so your first line of squares are straight. After that, it’s much easier to place the following rows.
Now, the time has come to paint!
Painting The DIY Checkered Wallpaper
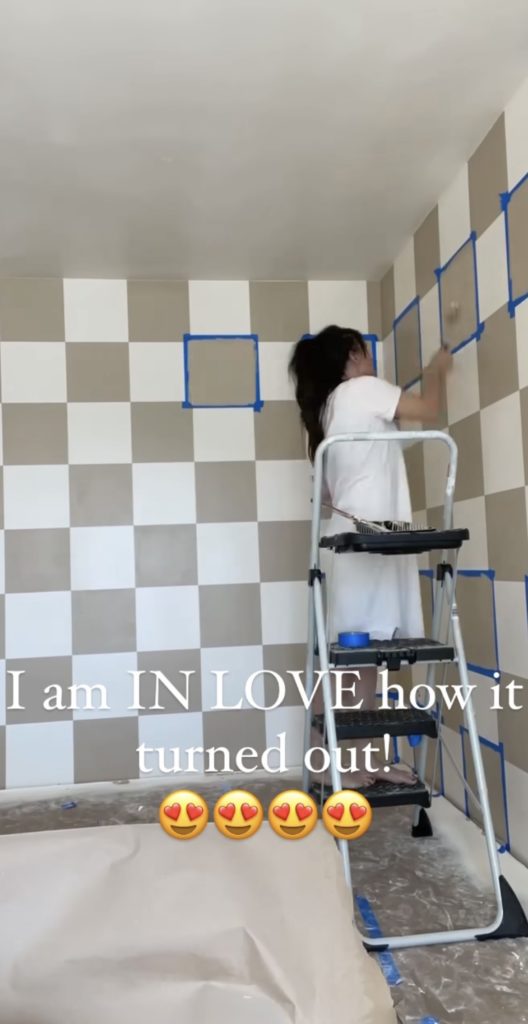
I used both a small paint roller and a paintbrush to completely finish the squares. The paint roller is perfect to cover a lot of the area quickly, but the paintbrush guarantees the edges look perfect on each square.
I recommend 2-3 coats on paint for each square to guarantee none of the base paint pokes through.
FAQ: I’ve been asked by some of you if this DIY checkered wallpaper would be hard to paint over in the future. The answer is no! This room has been painted over countless times, but a solid primer ensures not even the brightest of colors will pop through.
Finished DIY Checkered Wallpaper Hack
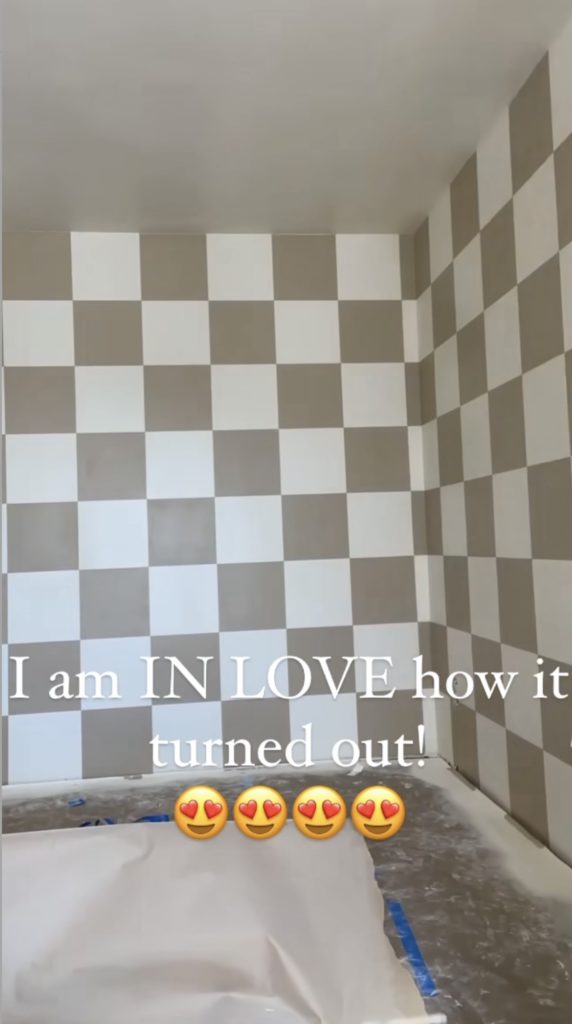
I am thrilled with how this room turned out! So many of us find hanging wallpaper to be a massive chore, but with paint you can create beautiful designs without the hassle. If you are more of a wallpaper fan, this same DIY can be recreated by cutting out the squares.
If you end up trying this DIY in your own home, please let me know in the comments!