
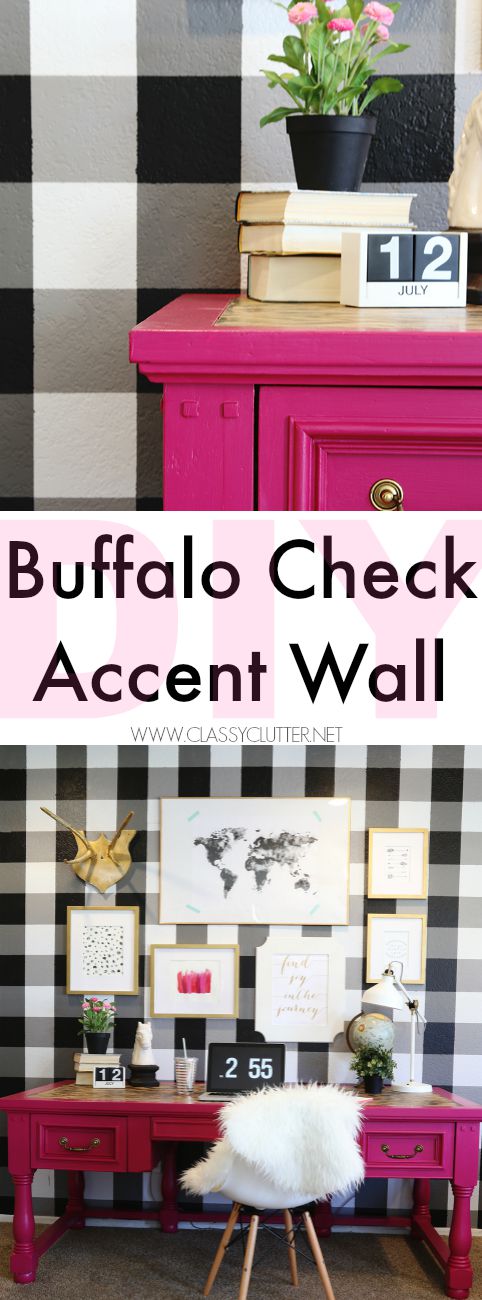
Accent Wall: DIY Buffalo Check Wall
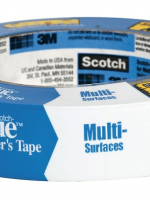
I am totally in love with the Buffalo Check pattern right now. I was so lucky that Mallory was on board with helping me paint my wall in the Buffalo check pattern. You read that right, I said paint the buffalo check onto my wall. With the use of ScotchBlue Painter’s Tape we were able to create this awesome accent wall in my front living room.
This post is sponsored by ScotchBlue Brand. All opinions and additional products were selected by us!
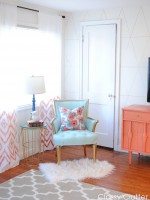
This room has gone through a series of changes and I’m basically in love with it now. It’s the first thing you see when you walk into my house and it’s always the first thing that catches visitors’ eyes. It’s my favorite!
Today I’m going to show you exactly how to create this super cute buffalo check accent wall for your own home using paint and tape!
Materials Needed:
- ScotchBlue Painter’s Tape Delicate Surfaces with Advanced Edge-Lock Paint Line Protector
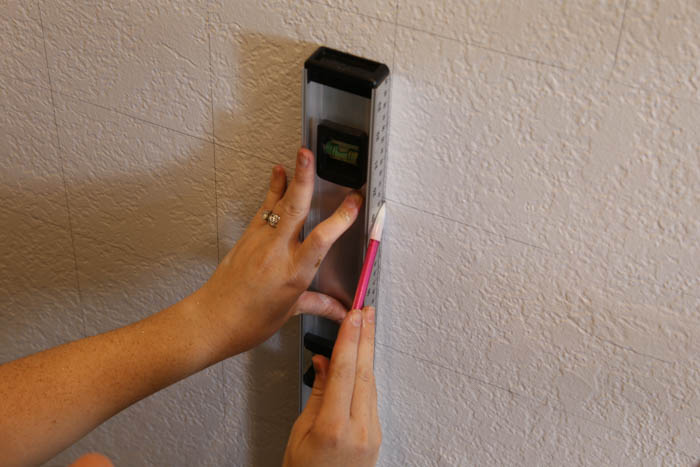
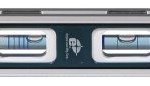
- Level
- Pencil
- 4 different shades of paint (1 base color and 3 shades of the same color)
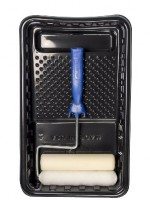
- paint rollers
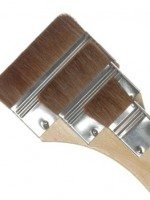
- paint brush
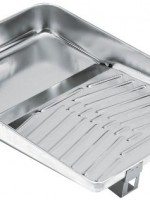
- paint tray
- tray liner
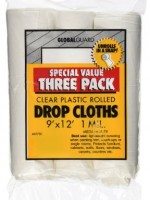
- drop cloth
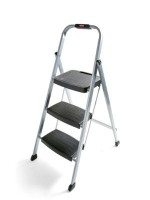
- ladder or step stool
Step-by-Step Instructions:
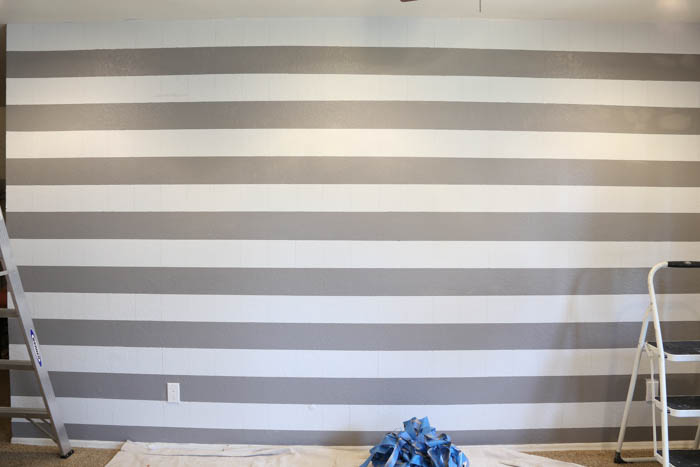
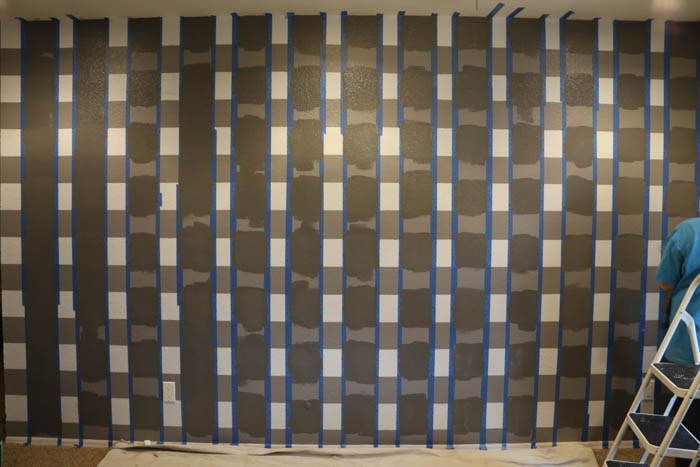
Step 1: Paint the entire wall your base color.

Step 2: Measure and mark your wall. Using a level to make sure the lines are straight and even. Create a grid on your wall to create 6” squares.
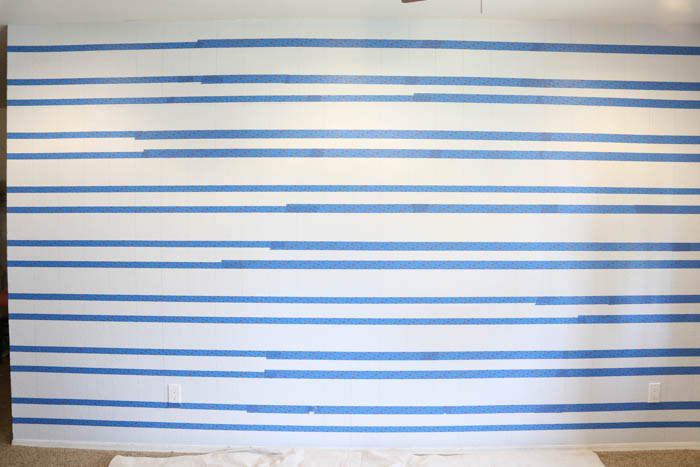
Step 3: Follow along the pencil line tape the horizontal stripes going left to right.
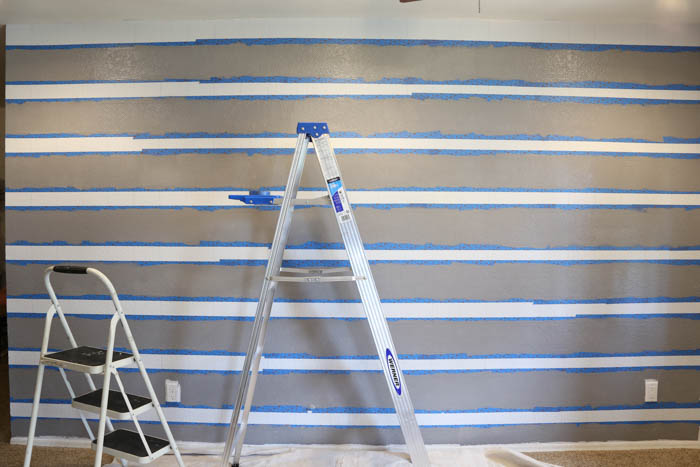
Step 4: Paint the taped off horizontal stripes with the light color, allow to dry and remove tape.
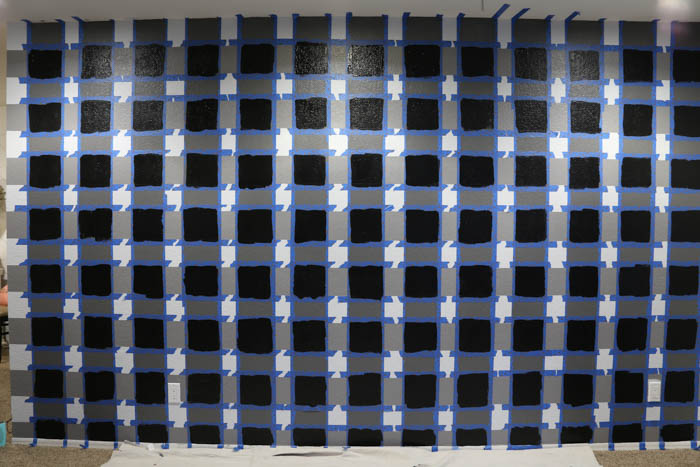
Step 5: Following the vertical pencil line, tape the vertical stripes from top to bottom.
Step 6: Paint the taped off vertical stripes with the medium color, allow to dry and remove tape.

Step 7: Tape off the center squares where the vertical and horizontal stripes intersect.

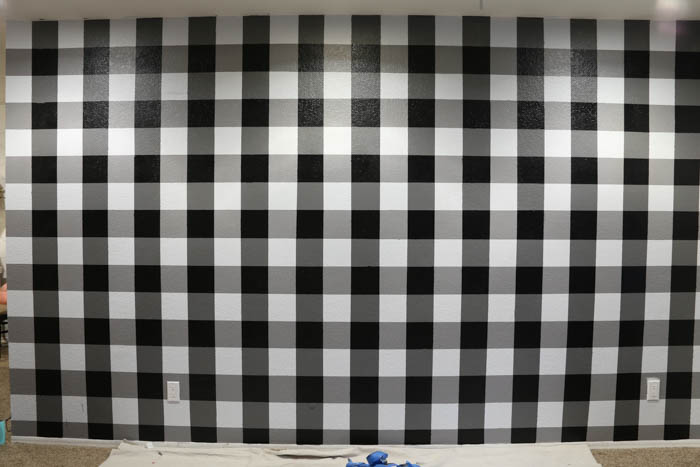
Step 8: Paint the center squares the darkest shade, allow to dry and remove tape.

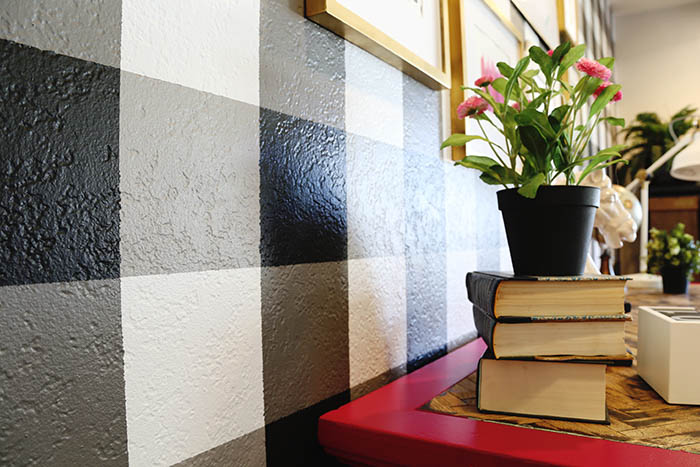
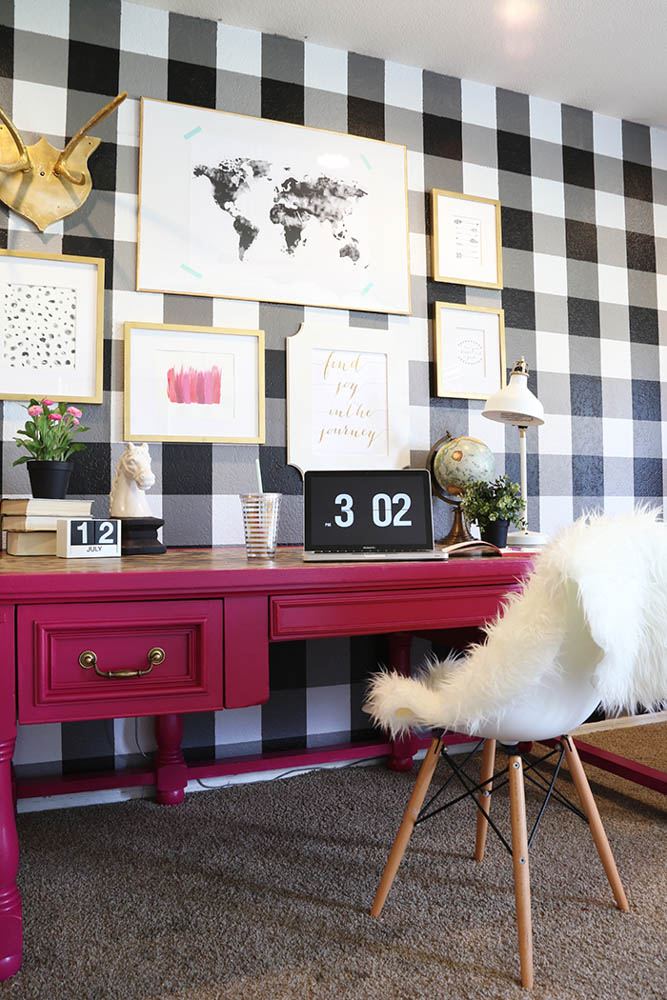
If you remember this desk was painted mint green back in the day. Against the black and white Buffalo Check pattern we did on the wall, the mint did not stand out enough so we decided to paint the desk hot pink and I love it so much more!

I am totally in love with my new accent wall and I’m finally loving how this area has come together in my home!


I absolutely LOVE it!!!! I may need to do this in my house this weekend. Great job.
It turned out super cute Savannah! Love it!
I LOVE this accent wall, anything that is black and white makes me happy especially if you add the hot pink desk….swoon!
Well, this is all kinds of amazing! I’m so impressed with your patience- I painted our twins’ room with a split colour and almost went crazy taping off just the one line all the way around the room!
I absolutely love this wall and the desK. I was curious…what colours did you use for the wall and what was the paint colour? I see the paint choice was behr but what were the exact colour choices? I really can’t tell you how incredible everything looks!
hi! Where did you get the floral throw pillows on the chairs? I love that fabric!
Thanks!
Jenny
Hi Jenny! The fabric is from Tonic Living! Google it and it will come up!
Do you know where I am able to purchase buffalo check fabric. For five years I’ve been into black and white buffalo check taffeta and I cannot find it anywhere. If you saw it made into curtains, you’d go crazy; it’s totally the most beautiful curtains I’ve ever seen. Do I found twenty yards of it two years ago and ordered it and they advertised it as buffalo check but it was mini check. Do that is in my kitchen waiting for patio door curtains made with buffalo check. Love your site I’m a new follower on Instagram and here. Are you on Twitter also? I haven’t seen an icon as yet but will look. I hope you leave this up. I bookmarked it and your fabulous page!
Hi Renee! Ikea has Buffalo Check fabric right now. Yes! We’re on Twitter! @classyclutter4 xoxo
OH MY GOSH, I LOVE IT…!!!! I thought it was wall paper…AWESOME JOB….!!!!
Thank you! Yes, we LOVE the look and glad you do as well! I’m STILL obsessed with my wall! So glad I did it!
The Buffalo accent wall you’ve shared was really lovely. With your pink desk, you really deserves an interior designing award. Also with your black curtain and gazing white window, they are very perfect. The paintings gave a boost to be more attracted on your Buffalo accent walls.
Hey there,
I was looking at trying this in my den and I wanted to know what paint colors you used.
Hi, I just love what you did with your walls. Way to have patience…. I was wondering what color and type of paint you used on your desk now that you have painted it Hot Pink? Love it!!!!!!!
What brand and paint colors did you use-its fabulous!!
We used Glidden paint. I dont know the exact colors but black, dark grey, light grey and white!
I have a quick question. I hope you all see this! Does it matter if you paint the vertical or horizontal stripes first?
I’m doing a gingham wall and have started taping the vertical stripes first when I realized that all the tutorials show the horizontal stripes being done first. Will it make a difference in my outcome if I paint the vertical stripes first?
It will not make a difference which one you start with! Glad you are trying it! I’m sure you will love this wall in your house it was definitely one of my favorites in my home! Thanks for stopping by xo
Love this buffalo check wall. You might want to know that your ad on the right side is covering your drop down shop buttons making them basically un-clickable.
We will check into that. Thank you!
Can you share how much paint this size wall took of each of the colors?? Thanks so much I do not want to over-buy!
We just had a quart of each color. 🙂
Help! I can’t see the video for this tutorial?
Hi! We don’t have a video tutorial on this post. 🙂
This is incredible! I want to do this wall but struggling to know which paint colors I need. Like if I did these shades, do I just pick a light gray I like the look of as well as the medium and dark? Or do I pick one shade and ask to have them lightened? I just want to make sure my final product looks as cohesive as yours!