
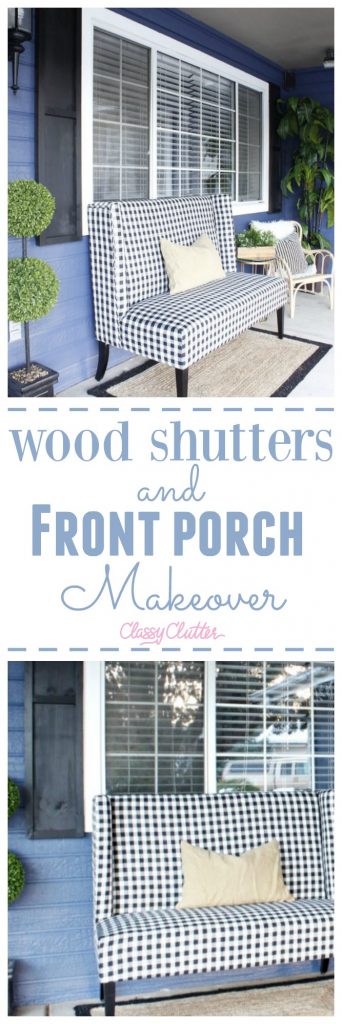
Prescott View Home Reno: DIY Wood Shutters and Front Porch Makeover
You guys, it’s Mallory! Hi! The holidays are officially over (well, except New Years!) and it’s finally time to start blogging about home/DIY projects again! YAY! I just organized my photos and I have thousands of pictures to sort through, edit and post for you! For an update on what we’ve done to our Prescott View home, check out the posts we’ve shared so far here. Today I wanted to share my fabulous wood shutters and front porch.
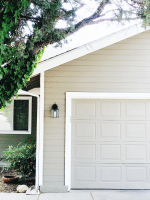
A few months ago, I got a wild hair and decided to paint the exterior of my home. I’m 99% sure everyone thought I had officially lost my mind taking on a huge project! The house was recently painted so it didn’t need any crazy repairs or anything. I went to Home Depot and bought some exterior paint and went to work!
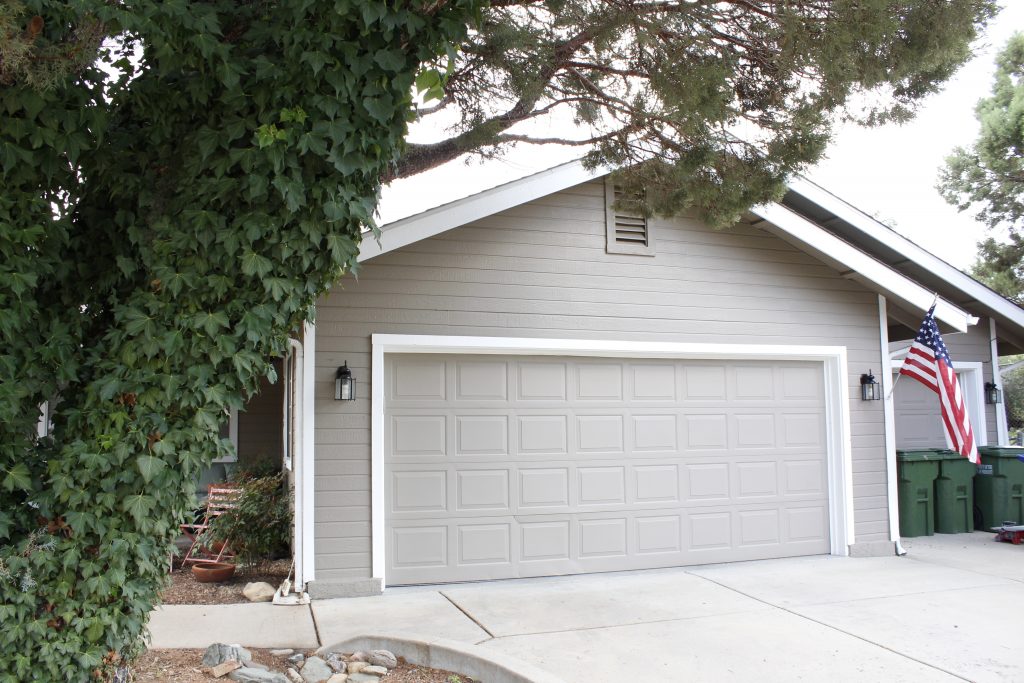
The house was a light tan color when we bought it. PS whenever I hear light tan, I think of Nacho Libre. haha!! Anyone else? I’m going a teeny bit out of order here since I haven’t painted the back of my house since it got too cold now but I will take you through the full tutorial on how to DIY your home’s exterior another day! Today, we’re checking out the shutters and front porch.
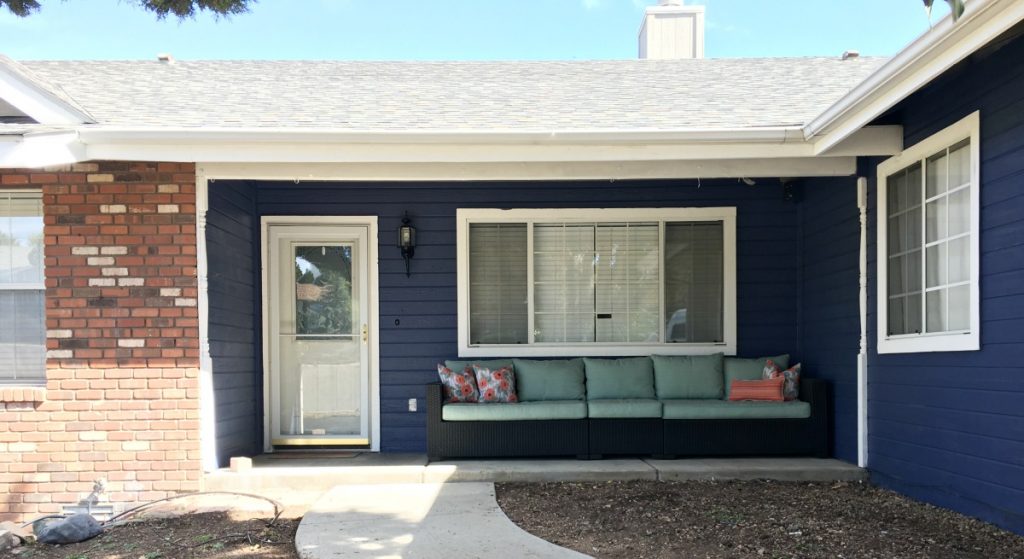
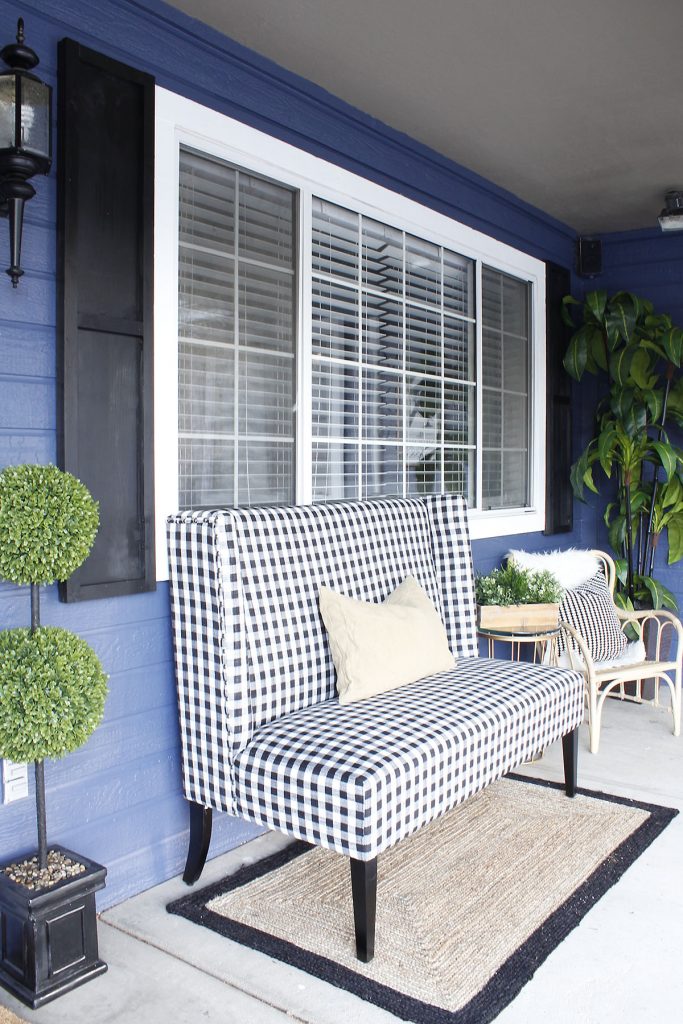
For as long as I can remember, I’ve wanted a navy blue house and I finally got it! I love it so much and when I’m completely done with the exterior its going to be so dreamy! Once I painted it blue, I didn’t want that patio furniture there anymore. It’s kind of too big for the space anyway so its going in storage until my new pretty back deck is finished in the spring.
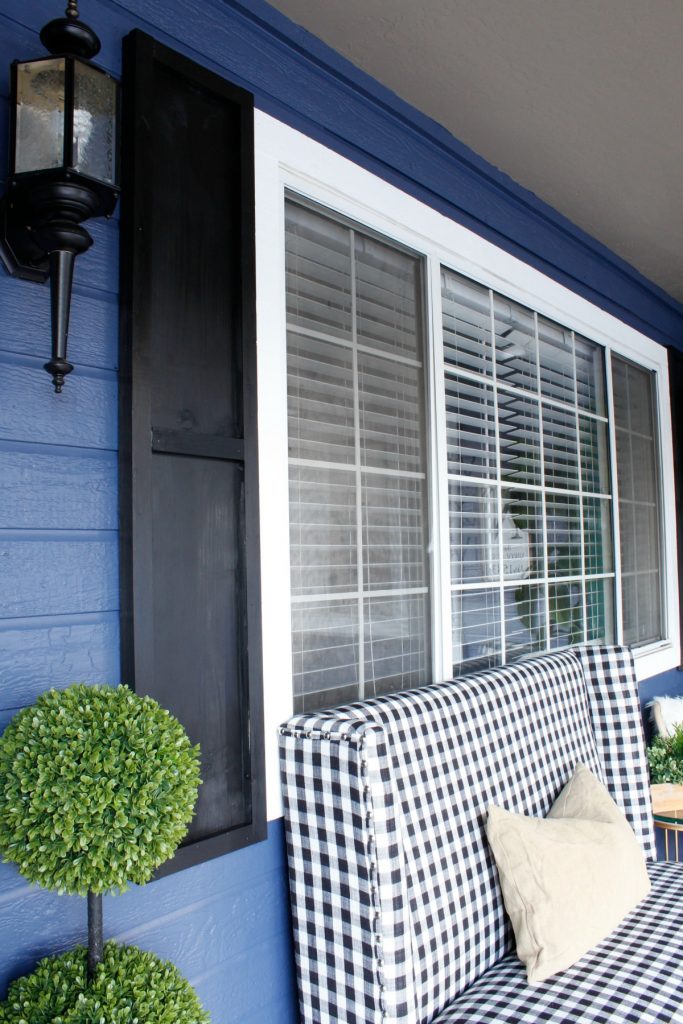
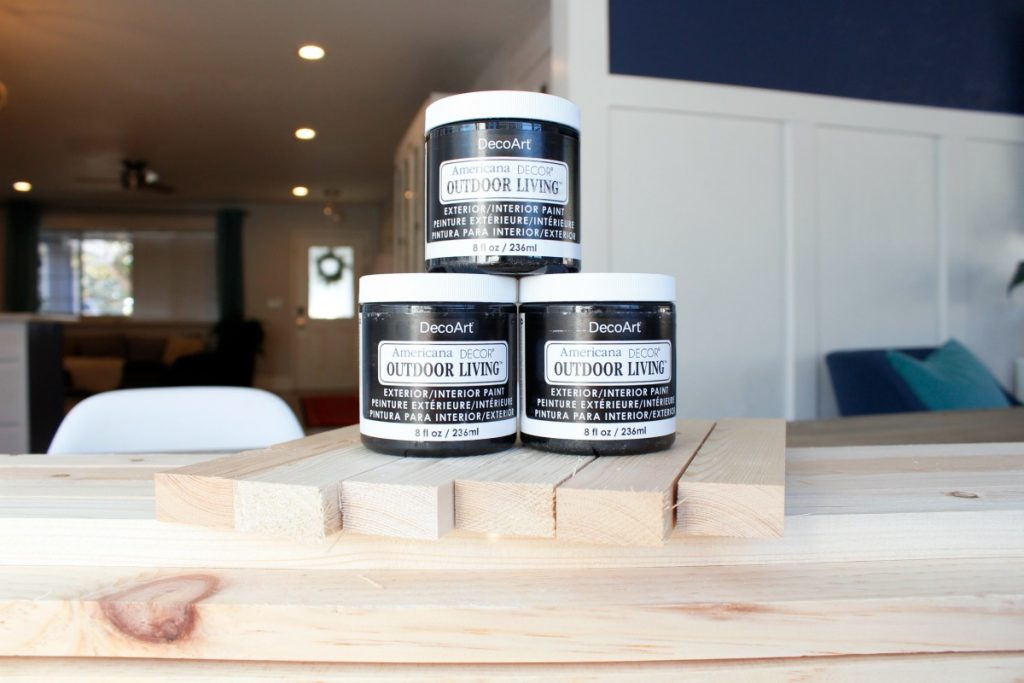 We partnered up with DecoArt again to try their Americana Decor Outdoor Living paint. I chose Iron Gate (black) for my shutters and front porch! Doesn’t that window look like it’s begging for shutters?
Next, I built some shutters for the front porch and painted them the same Iron Gate (black) color.
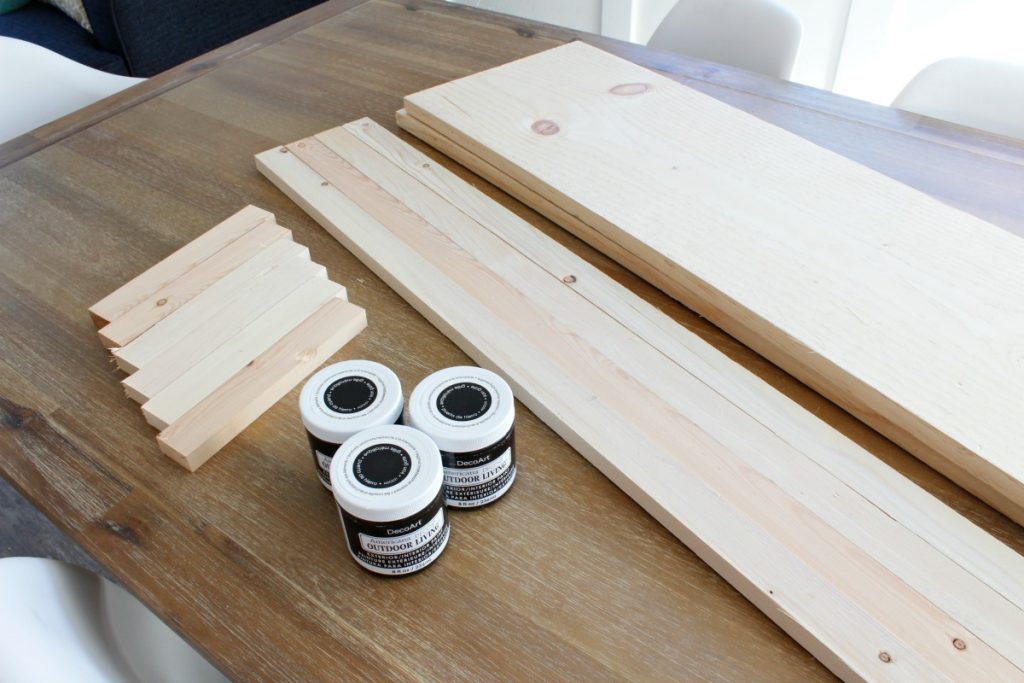
Materials:
- DecoArt Americana Decor Outdoor Living Paint – I used Iron Gate
- Paint Brush
- (2) 1×12″ wood planks cut to 1″ taller than your window – mine are 56″
- (4) 1×2″ boards cut to the same length as your planks – mine are 56″
- (6) 1×2″ cut to fit the center width of your boards – mine are 8 1/4″
- Brad Nailer (this one is my favorite)
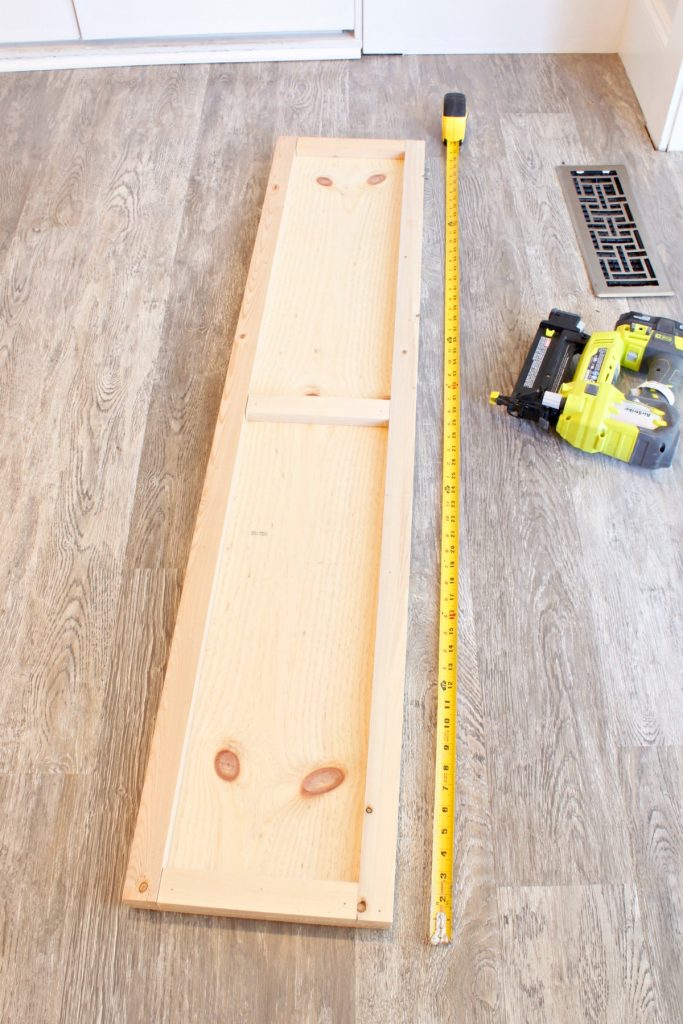
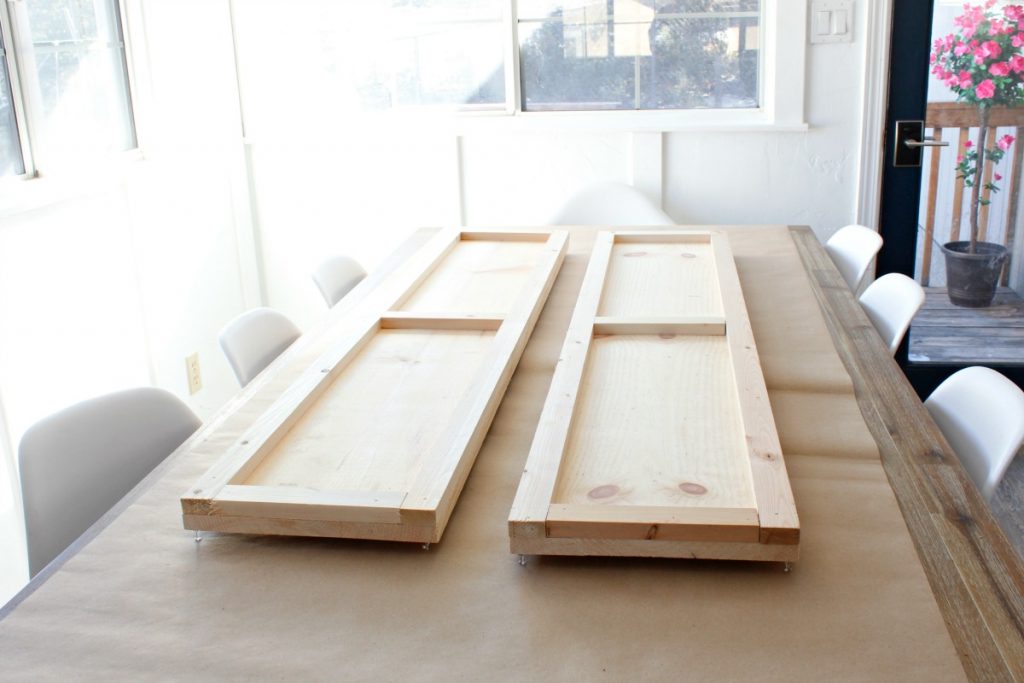
This is super simple! I used my brad nailer to nail on the trim pieces on the wood plank. You can use wood glue and regular hammer and nails if you don’t have one. Repeat for both shutters.
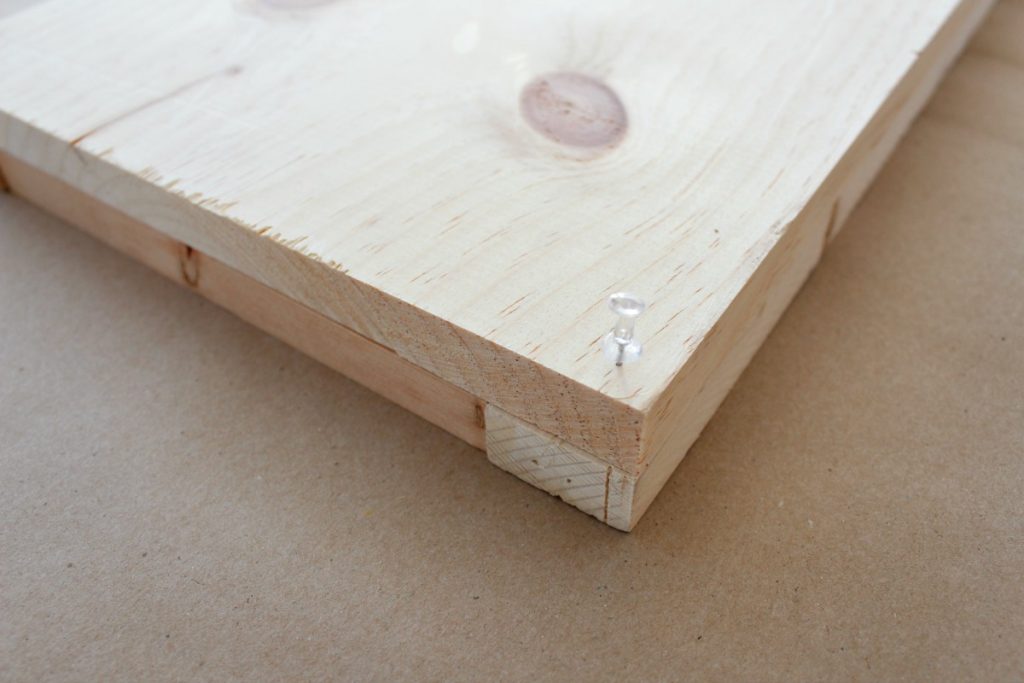
Next, I used tacks and pressed them into the back side of the shutters and rolled out some paper to protect my work surface. This tip helps keep your paper from sticking to your paint while you work.

Can we just pause real quick? I was literally shocked at the coverage on this paint! It is seriously amazing and smooth and I LOVE it! These shutters took ONE coat of paint, you guys! By adding these wood shutters helped change the look of my front porch.
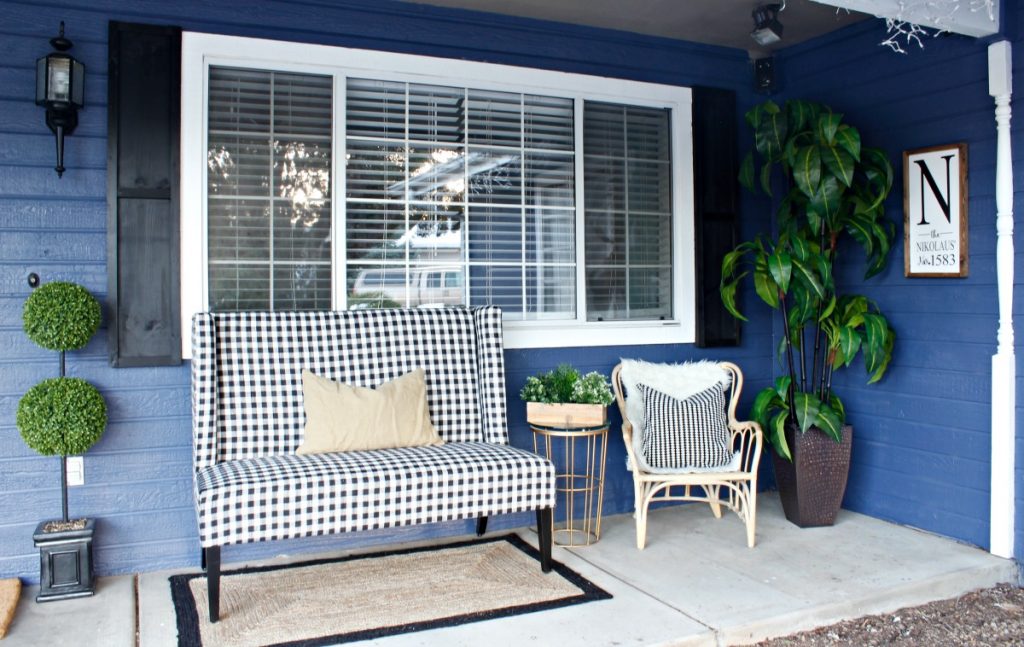
I love how my shutters and front porch turned out and I’m so excited to finish the exterior paint and show you the full exterior reveal! Be sure to check out the rest of the progress on our Prescott View home renovation!


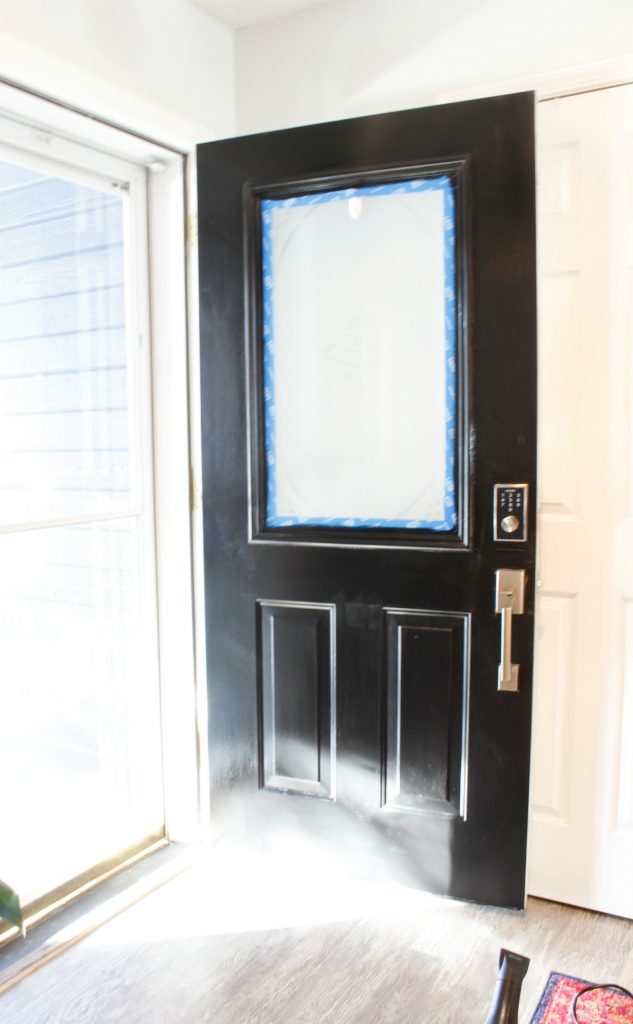
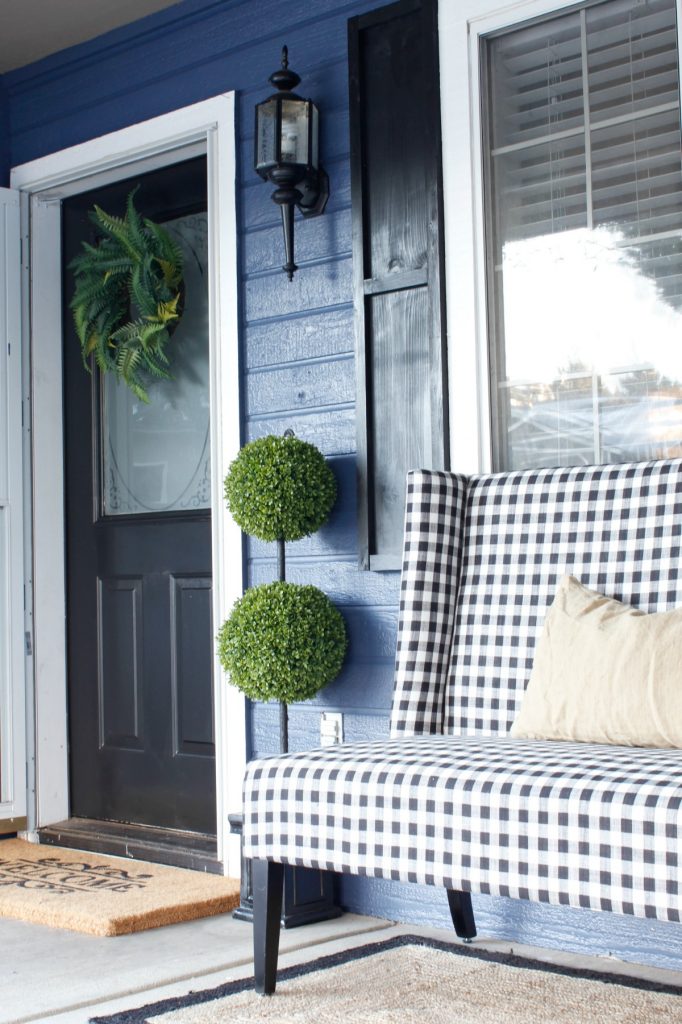
Did you use the same outdoor paint on your front door?