
Prescott View Home Reno: DIY Kitchen Renovation – Part 2: Progress
Prescott View Home Reno: DIY Kitchen Renovation – Part 2: Progress
Hi friends!
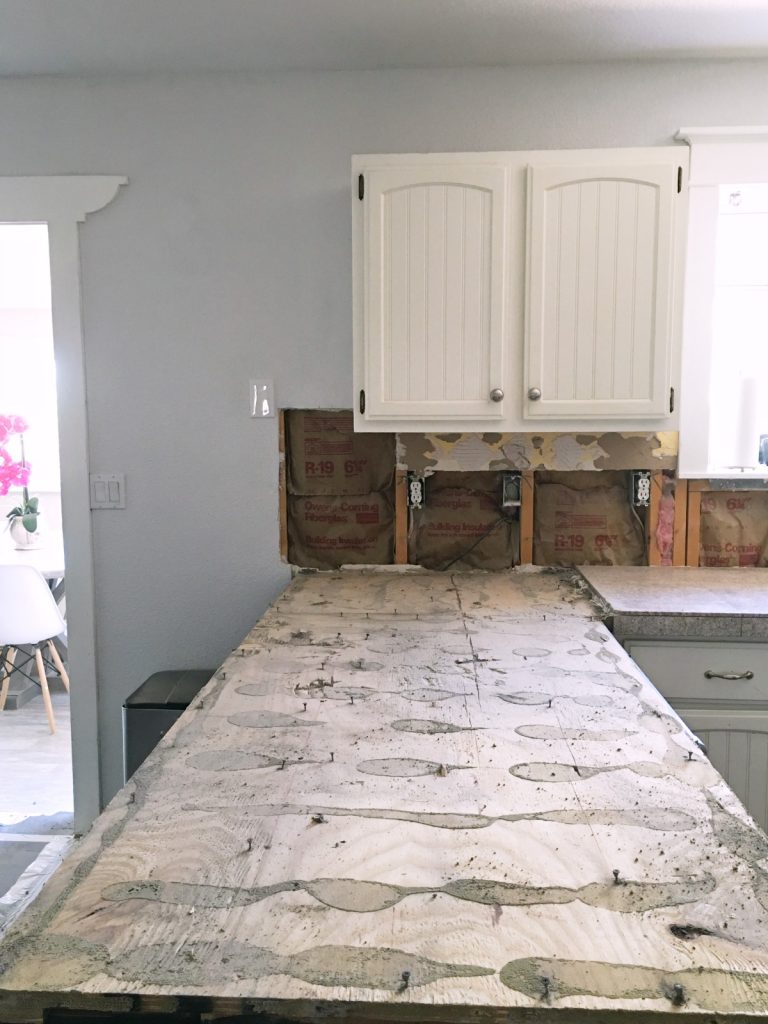
We’ve made some major progress in our budget friendly kitchen renovation! Don’t forget to check out Part 1 of the kitchen reno here. I have removed most of the countertops to allow me to rearrange our existing cabinetry which saved me upwards of $8,000 by keeping our existing cabinets, instead of replacing them. I hoped that I could remove the countertops and salvage them but when you removed countertops, you never know what shape the boxes of the cabinets are going to be in.
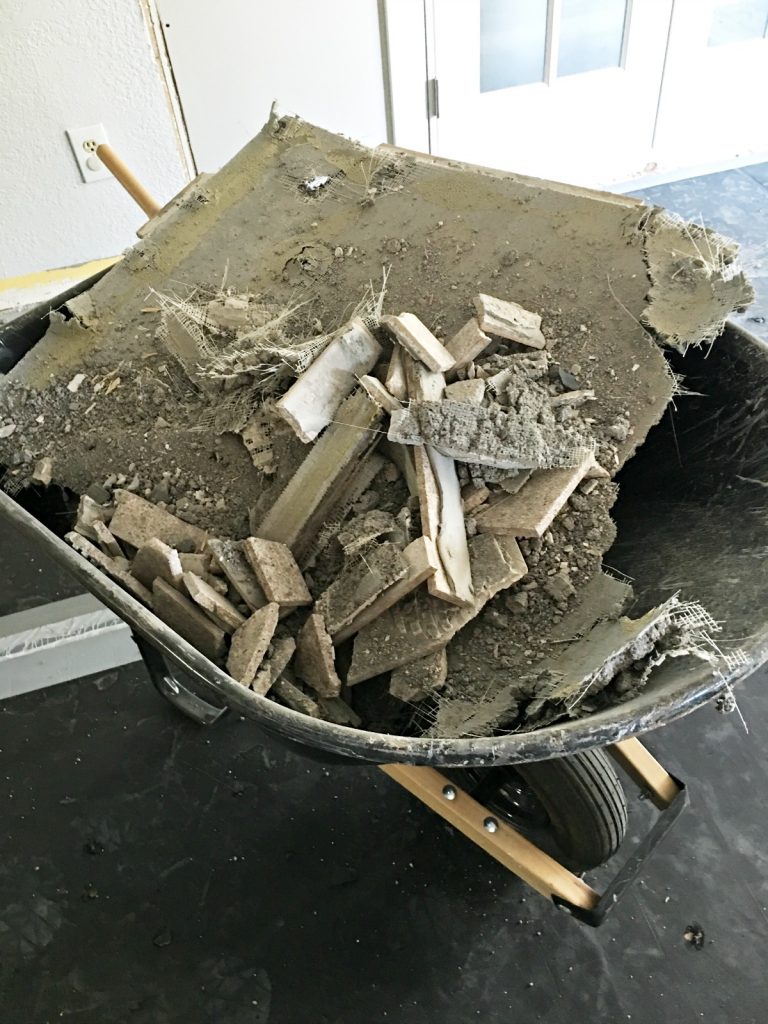
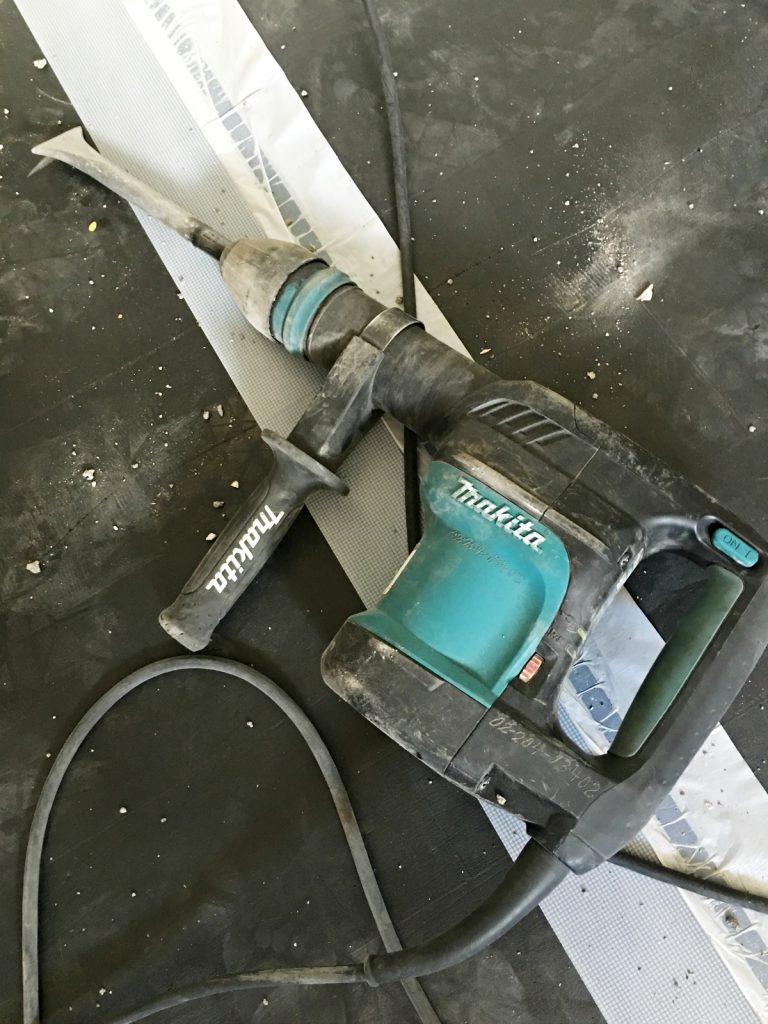 One day I rented a hammer drill from Home Depot (about $50) to remove the granite tile countertops. I was able to remove the granite tiles from the plywood that sits on top of the cabinets pretty easily. Make sure you wear gloves and eye protection if you take on this task. It can get messy!
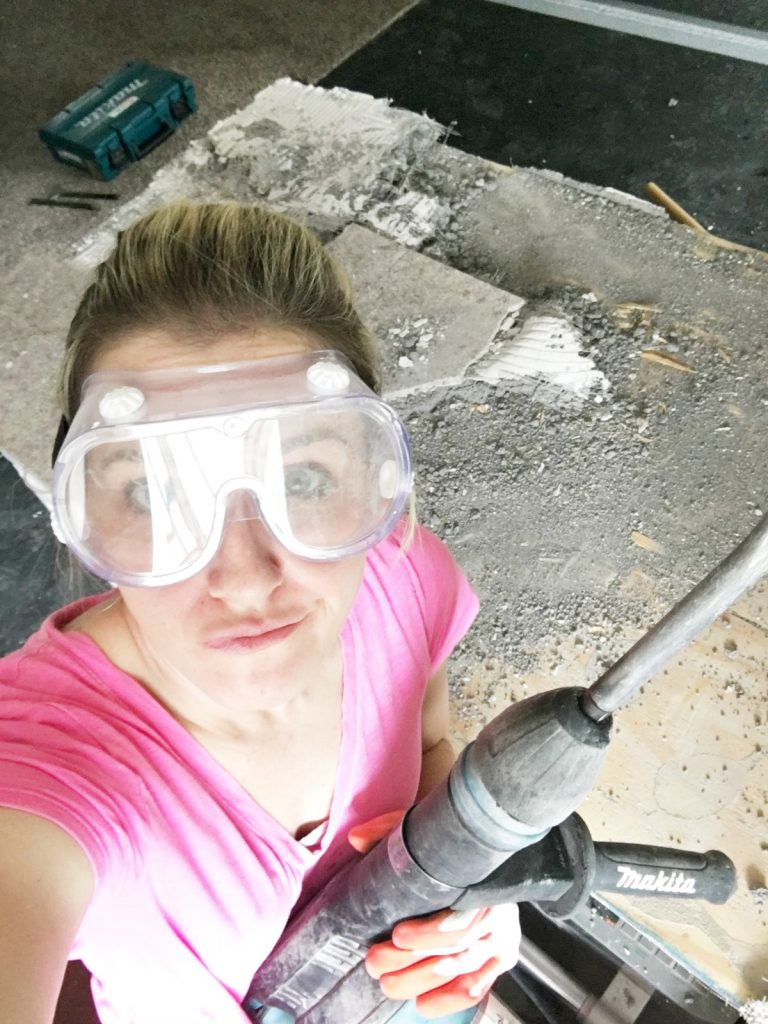
I just removed the tile off of the peninsula so I could access the cabinets below. I removed the the tile, a thick layer of mortar and the plywood.
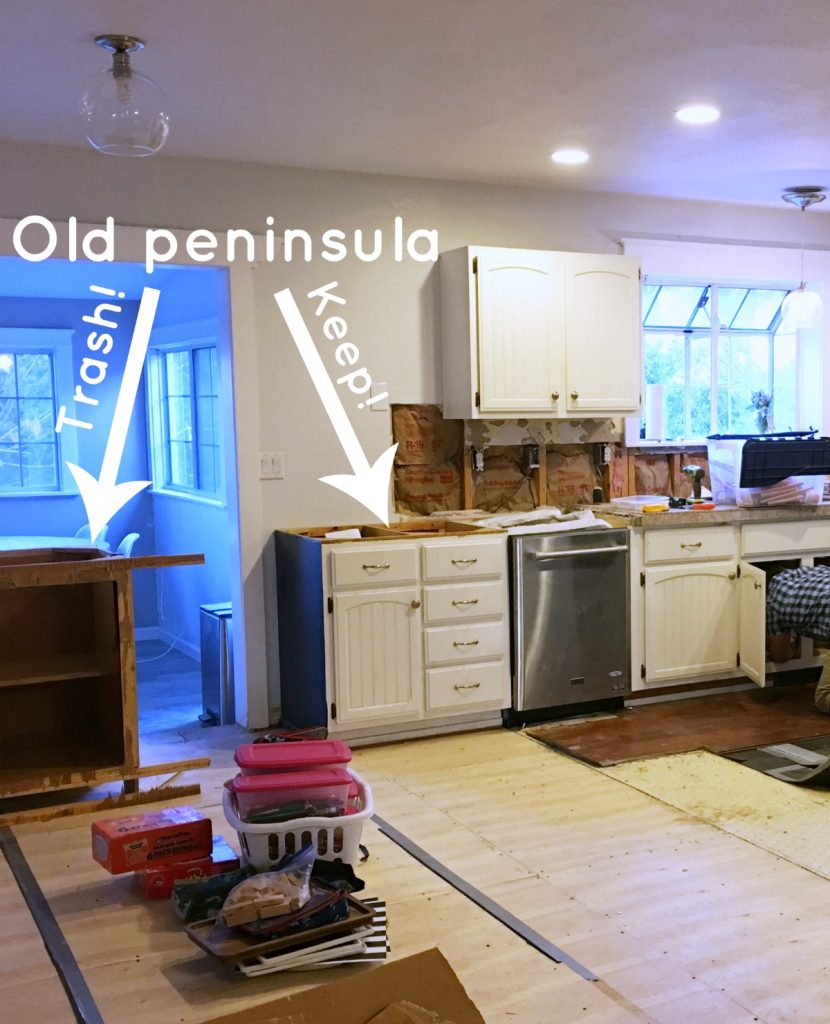
 Okay now I hope I can explain this part because it sounds kind of weird but was basically a genius idea! I relocated the cabinets (and the dishwasher) that used to make up the peninsula to sit against the wall cabinets. Here’s how it was before the countertops were removed.
After I moved the peninsula cabinets:
After I moved them, I planned where I wanted the new island to go. You can kind of see where I left some of the countertops on so that we didn’t completely destroy our kitchen before the new ones came in. I mean, its not looking good but its functional! haha!
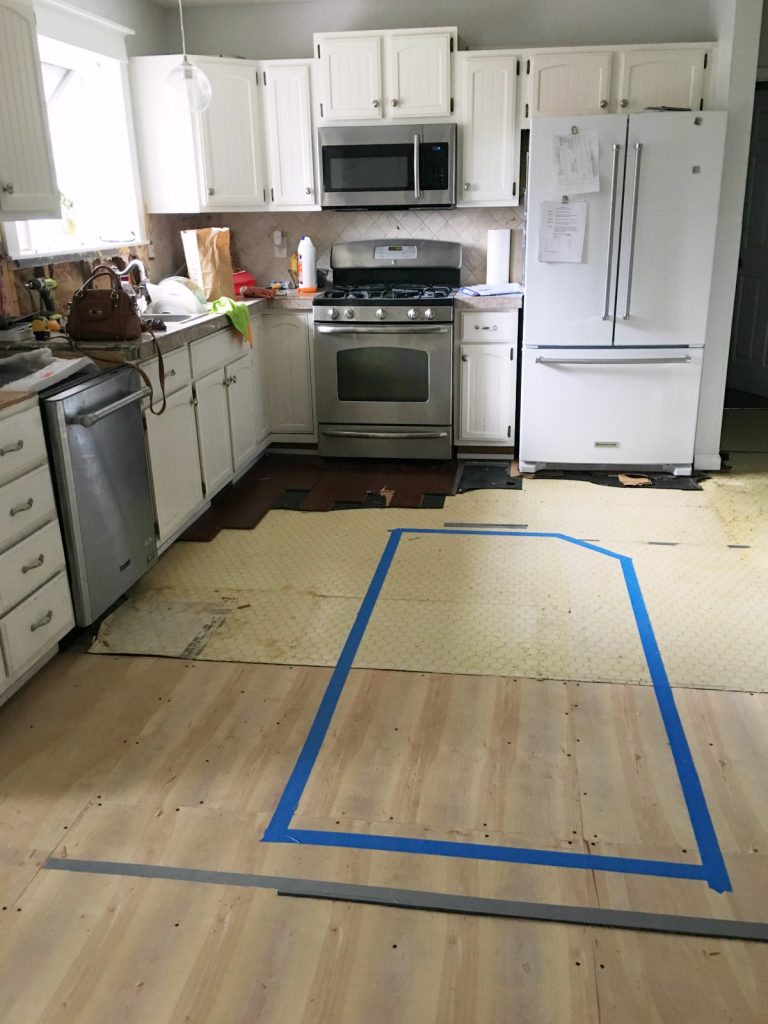
At first I considered cropping the (top right) corner of the island to create a wider walkway by the fridge but I changed my mind and just shortened it a few inches because I decided I wanted it to be rectangle without the angled corner.
Again, the painter’s tape is a super rough estimate and not the size we went with but it gave me a general guideline for the island.
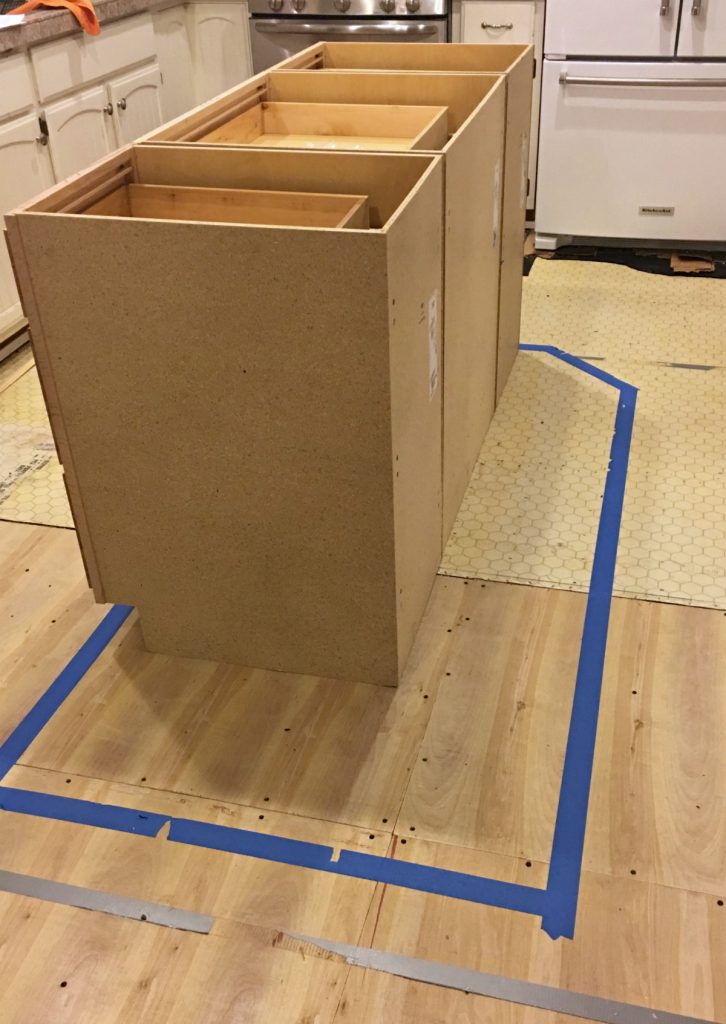
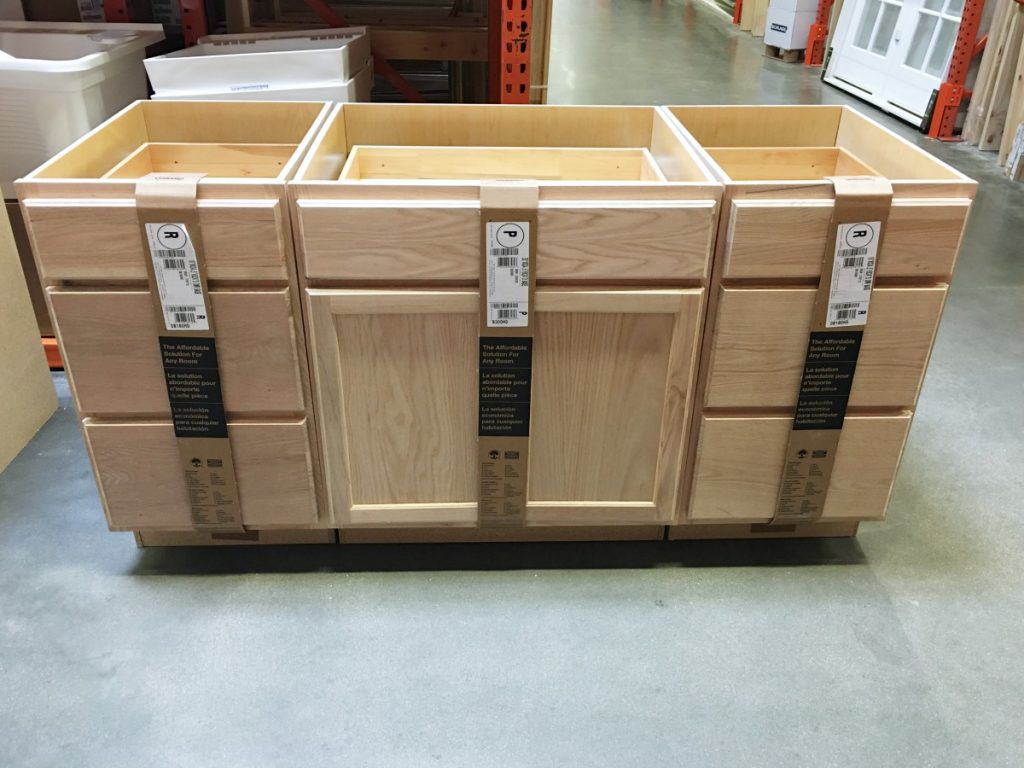
I am planning on completely building out these boxes to look like custom island and make it match the existing cabinetry. I’ll show you a full tutorial on the island soon. I have big plans. These boxes cost about $400 at Home Depot and are by Hamilton Bay.
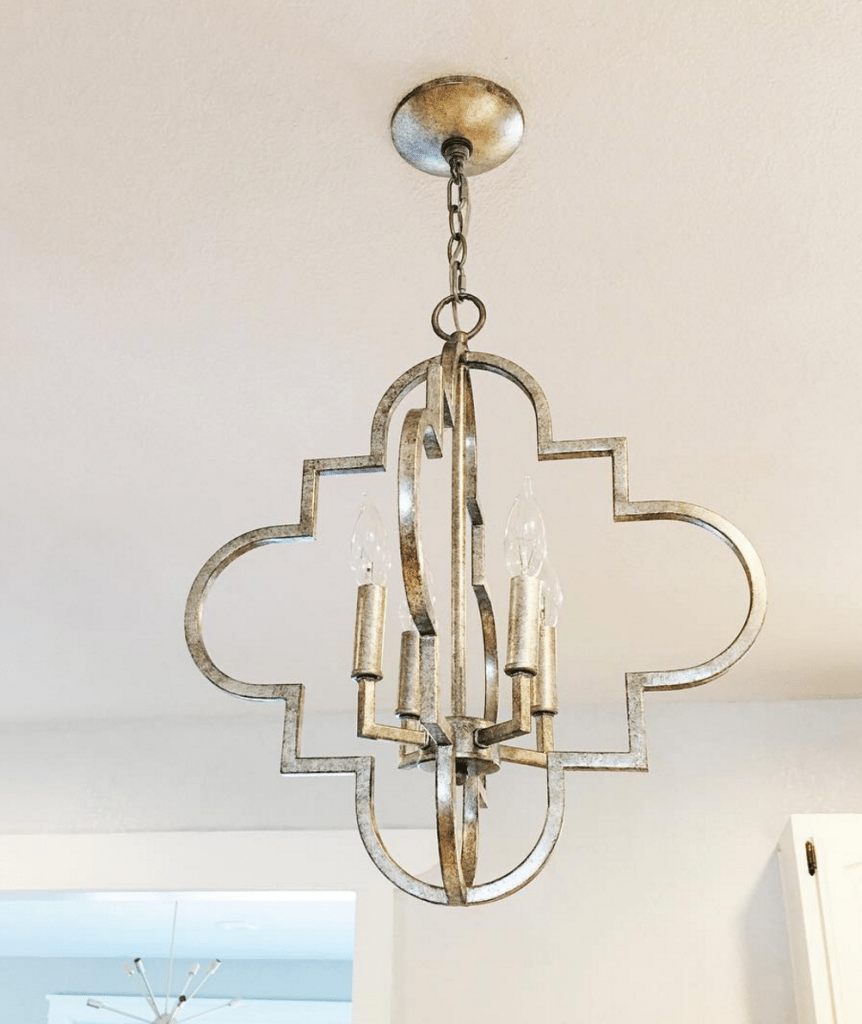
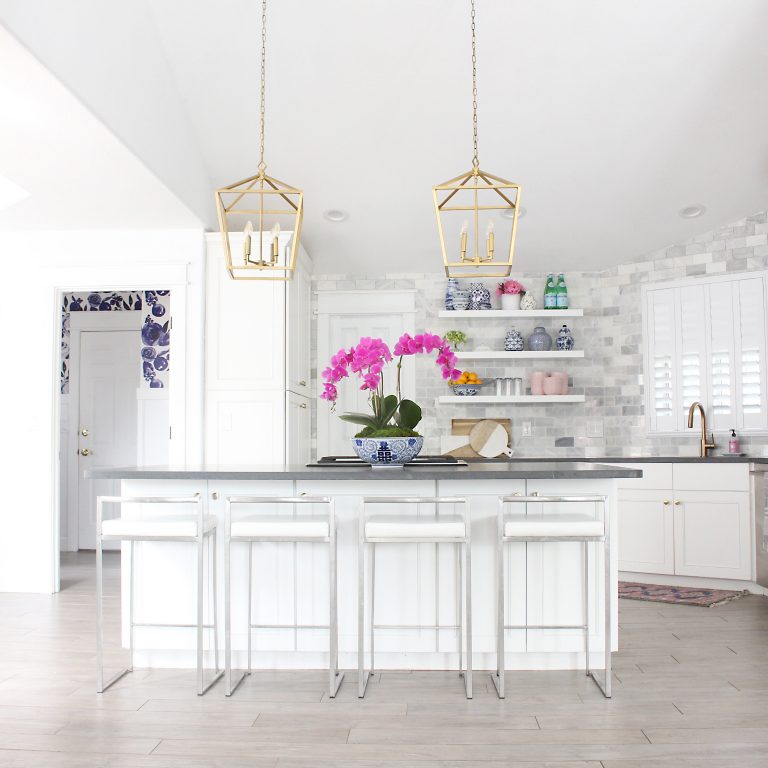
My brother in law is a licensed electrician so he came to visit and added a ton of can lights and hung my new pendants over the island, which is where we’ve left off for now. The pendants are the Kirch 4 Light Foyer pendants from Wayfair.
More to change on the island tomorrow. Yay! I’ll be working on the kitchen most of the week to get ready for the new countertops to arrive!
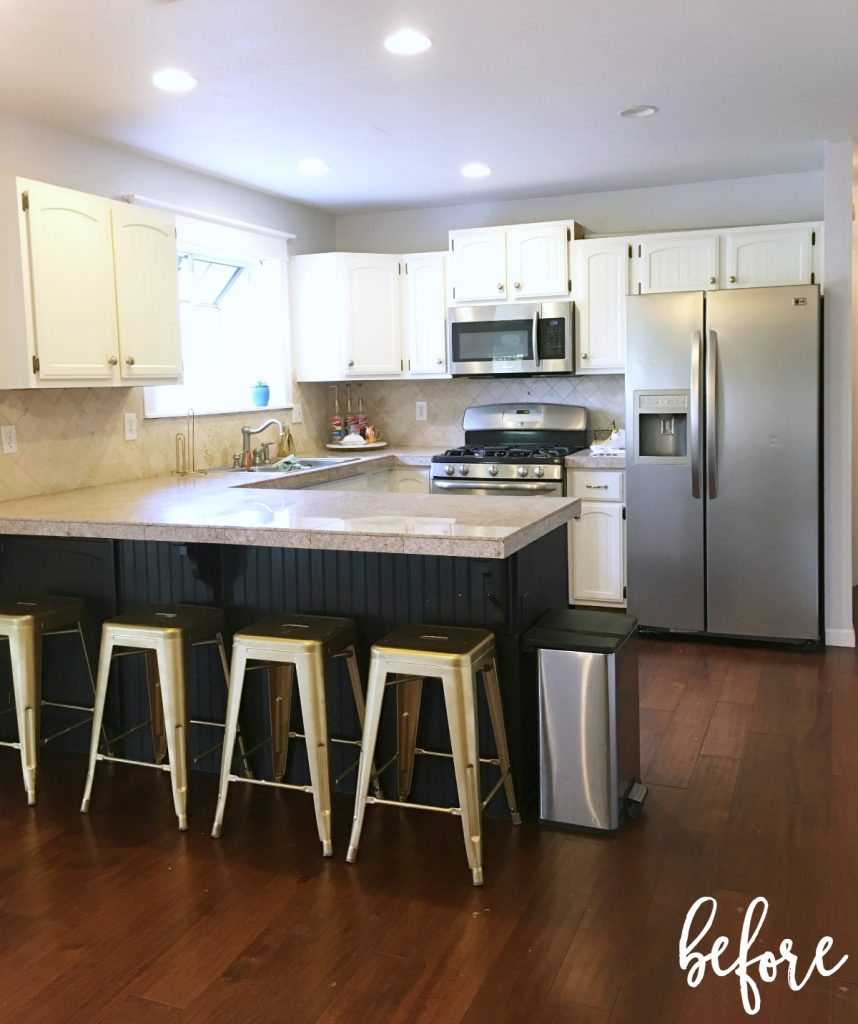
Here’s what this view looked like when we moved in…
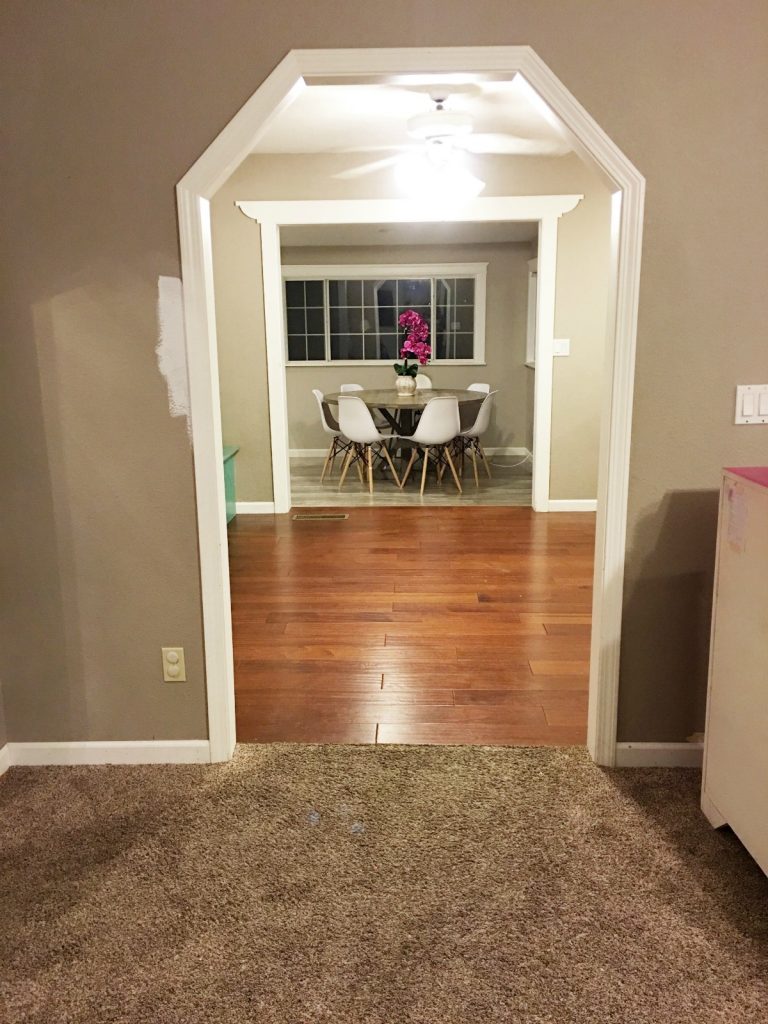
And here it is so far with the flooring out, wall opened up and the cabinetry rearranged and the aftermath of a reno filled Saturday! I know it doesn’t look like much but I have big plans for the rest of the reno! 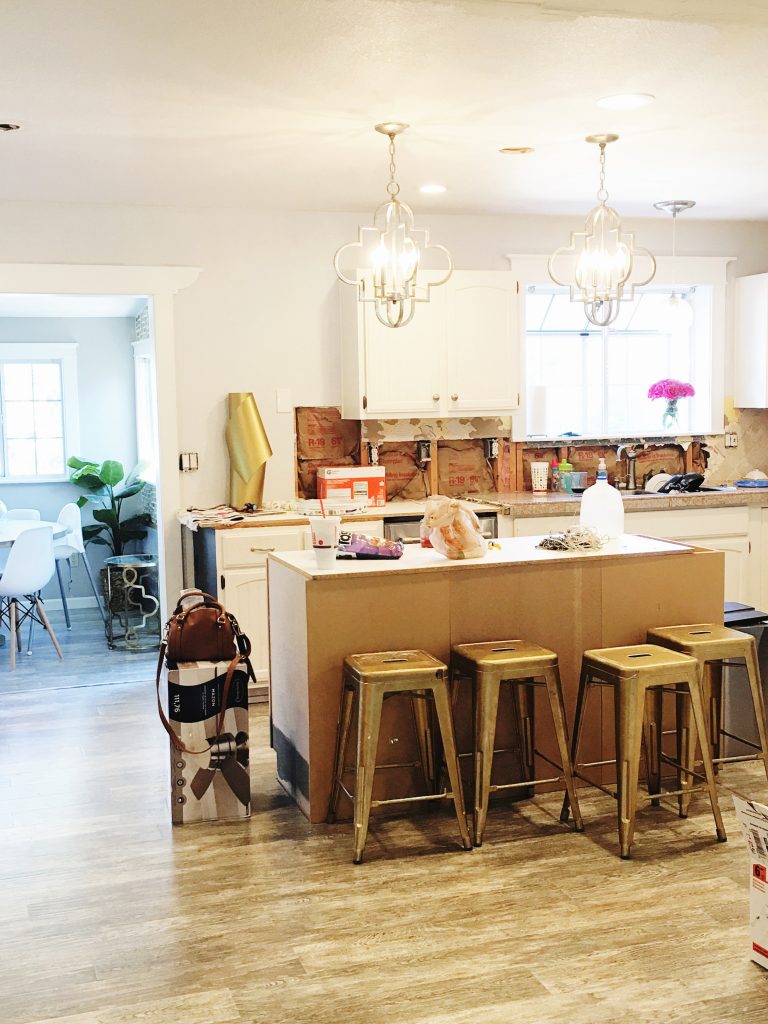 Oh! And new floors! NEW FLOORS!!!!! We finished laying the new laminate and I’m so in love with it! Here’s a close up! The floors are from Home Depot and they’re Pergo XP Heron Oak. Full tutorial for laying laminate coming soon too!

Here’s our progress report:
- Remove Countertops – halfway done! – $50 so far to rent hammer drill from Home Depot.
- Rearrange cabinets – Done! – Free!
- Remove backsplash + repair drywall – Halfway done!
- Build Island – halfway done!
- Install flooring – Done!
- Order Countertops (hiring out, professionally installed) – Ordered waiting for install!
- Purchase barstools – picked them out! Need to go pick them up.
- Relocate microwave to (newly built!) pantry
- Build vent hood
- Build cabinets to ceiling
- Paint Cabinets (may hire this?)
- Install new lighting over island – DONE!!!!
- Install new drawer and cabinet pulls
- Install countertops (Quartz – New Carrara)
- Install backsplash – Marble Subway tile (I think!)
- (maybe) replace stove


This is amazing! We are in the middle of a kitchen reno as well and I can’ t wait to see how yours turns out. I love these pendants and looked at them on the site but your finish looks brighter than the gold they offer. Did you paint them yourself? Or is this the brushed gold? Thanks!!!
No I did not paint these pendants they are the actual ones from the link I had posted! The pendants are an antique silver finish but the light bulbs make them look gold-ish in the picture taken! Hope that helps xoxo
The beautiful wood cabinets, You should paint it white to harmonize with kitchen space, I think.
Did you secure your island to the laminate floor? How does it holding up? They say laminate floors need space to expand and if you secure the island it can go sideways because it can’t expand. Did you have anything like this?