
DIY Pixelated Cactus Artwork
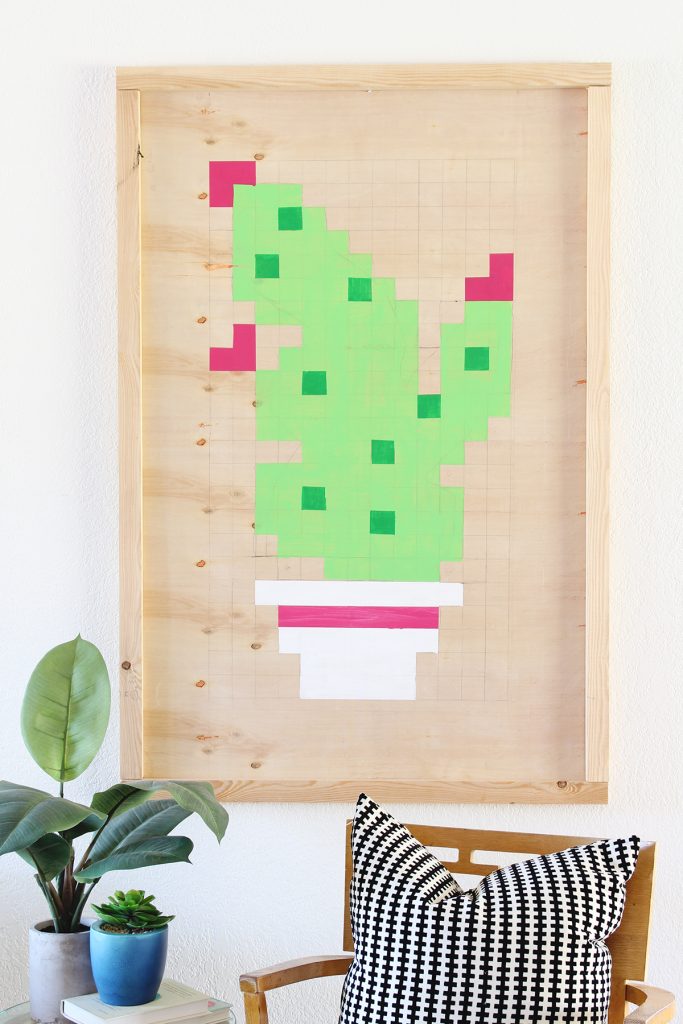
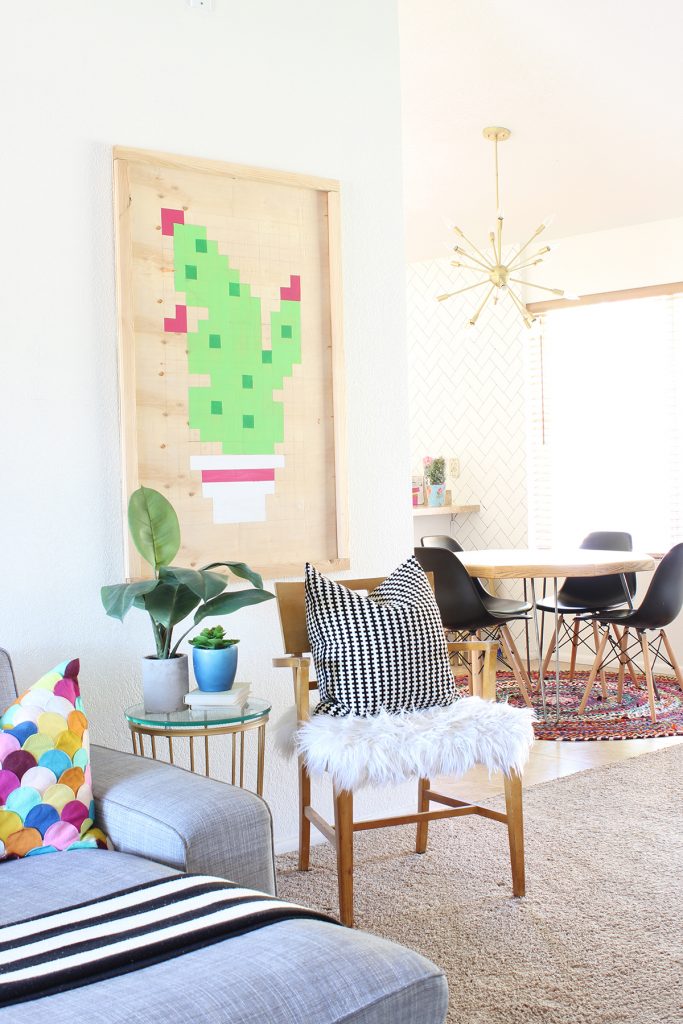
Hi friends! We are so excited to finally be sharing this funky cactus artwork with you today! This technique that we’re going to teach you is totally customizable and can be made into virtually any shape using any colors! We’re Arizona girls so we loved the idea of a trendy cactus, with pink flowers, of course.
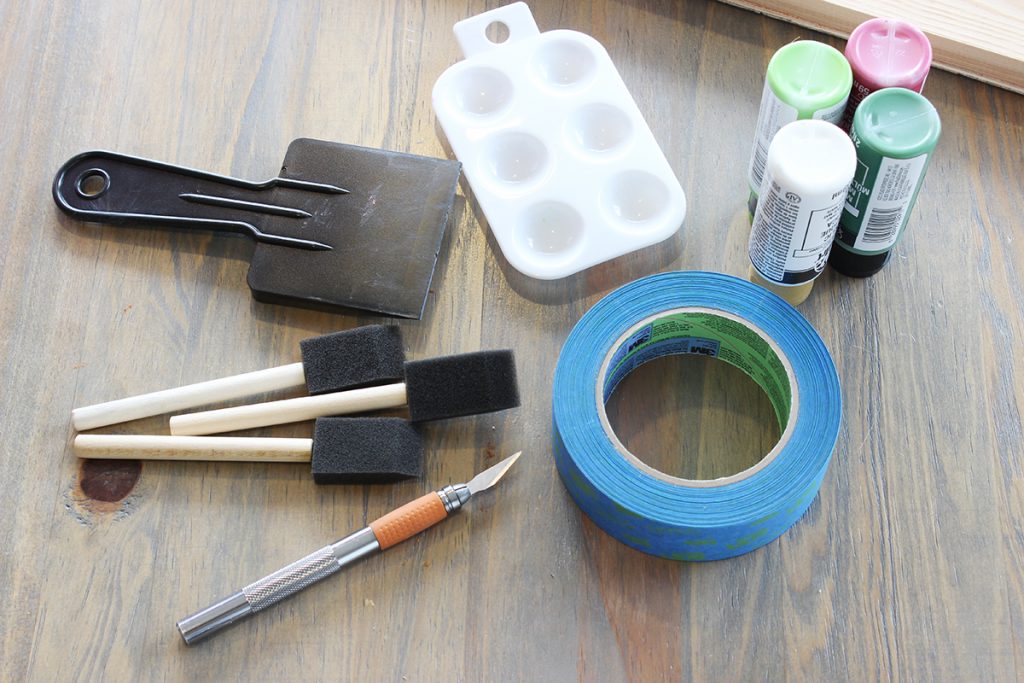
Materials Needed:
- 3×4 sheet of thin plywood, your choice!
- 1×2 boards for trim (optional)
- Carpenter’s square
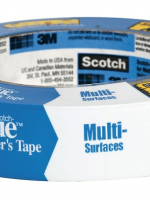
- ScotchBlue Multi-Surface Painter’s Tape
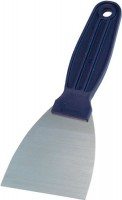
- Putty knife
- Pencil
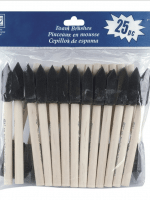
- Foam paintbrushes
- Utility Knife
- Acrylic Paints
 Note: Follow all ScotchBlue™ Painter’s Tape package instructions for proper surface cleaning and prep, adhesion and removal.
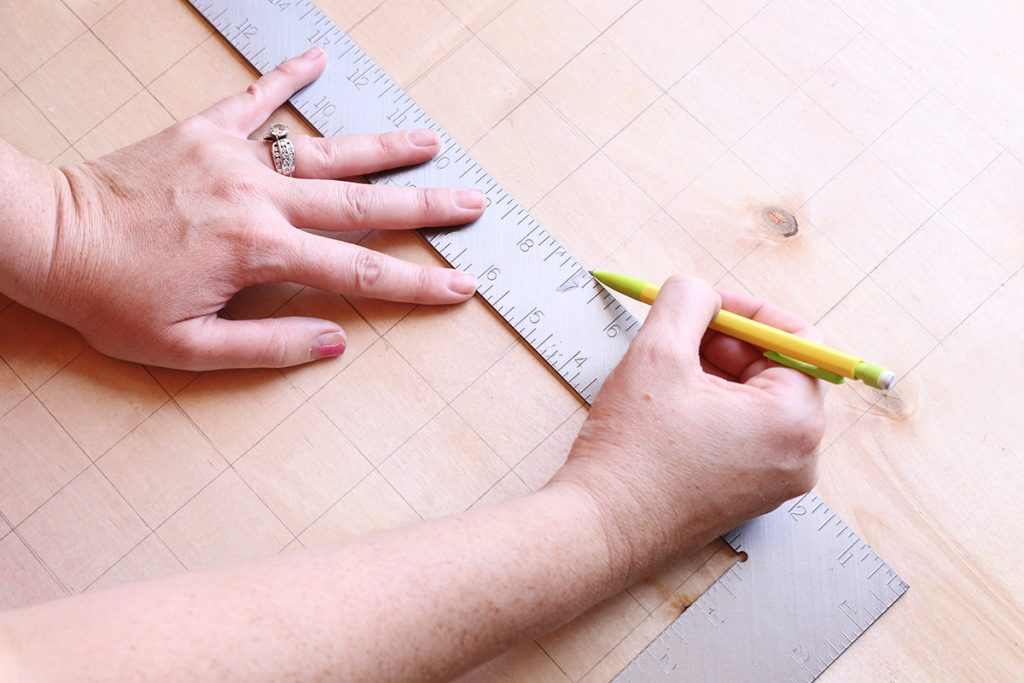
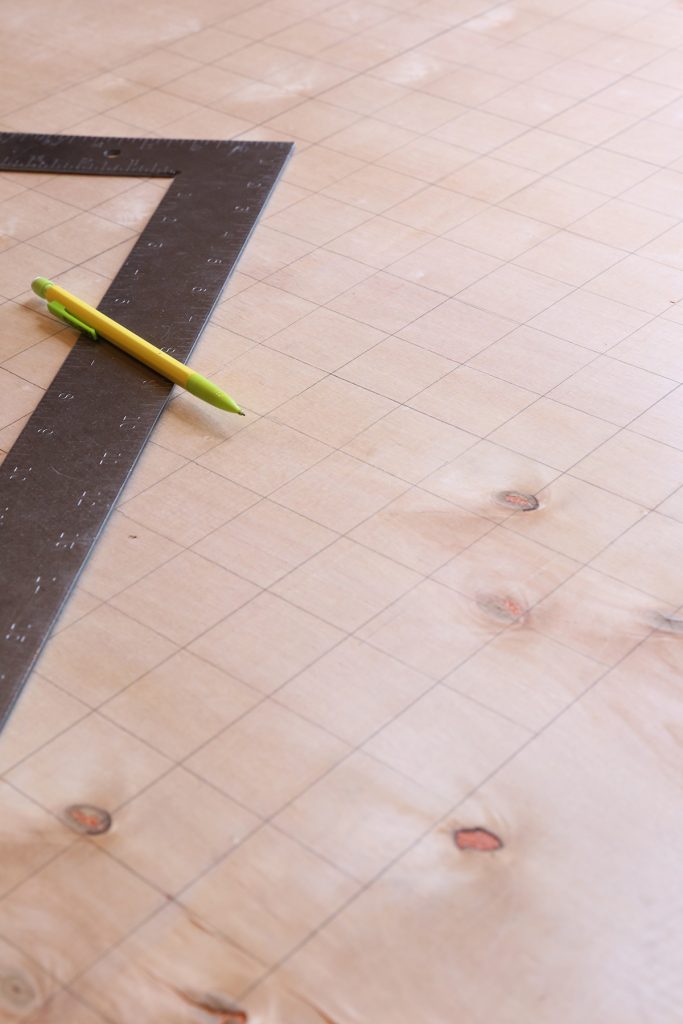
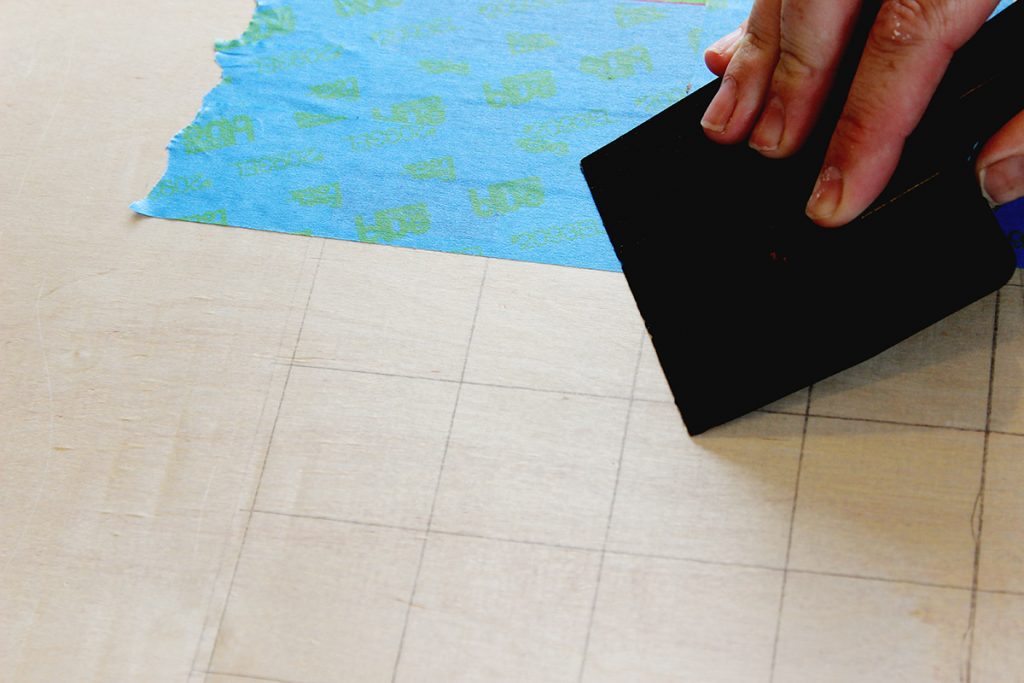
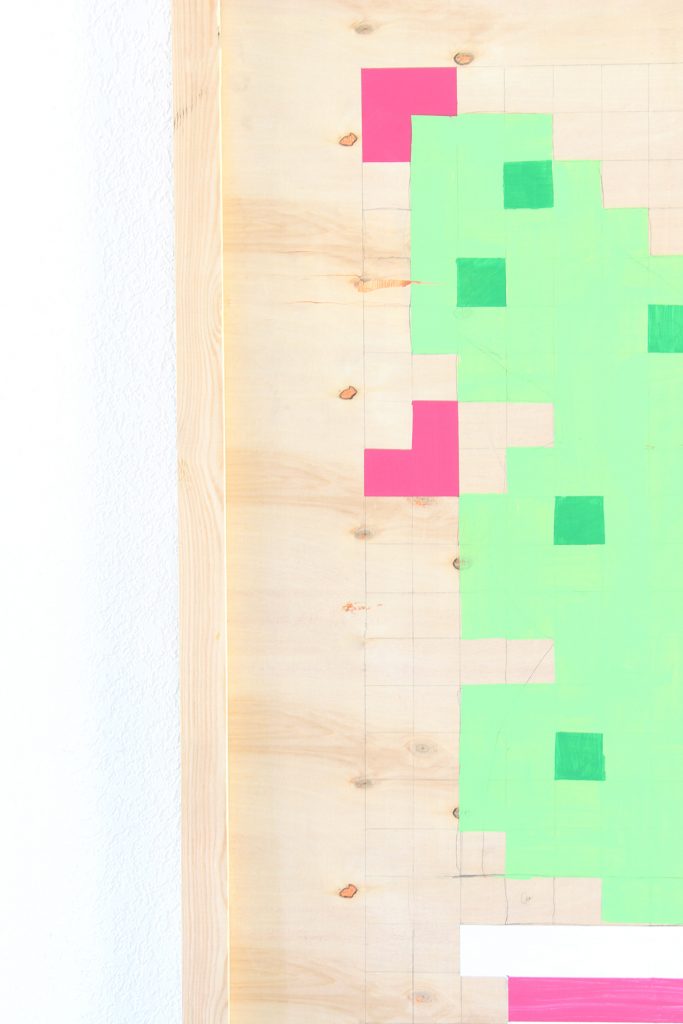
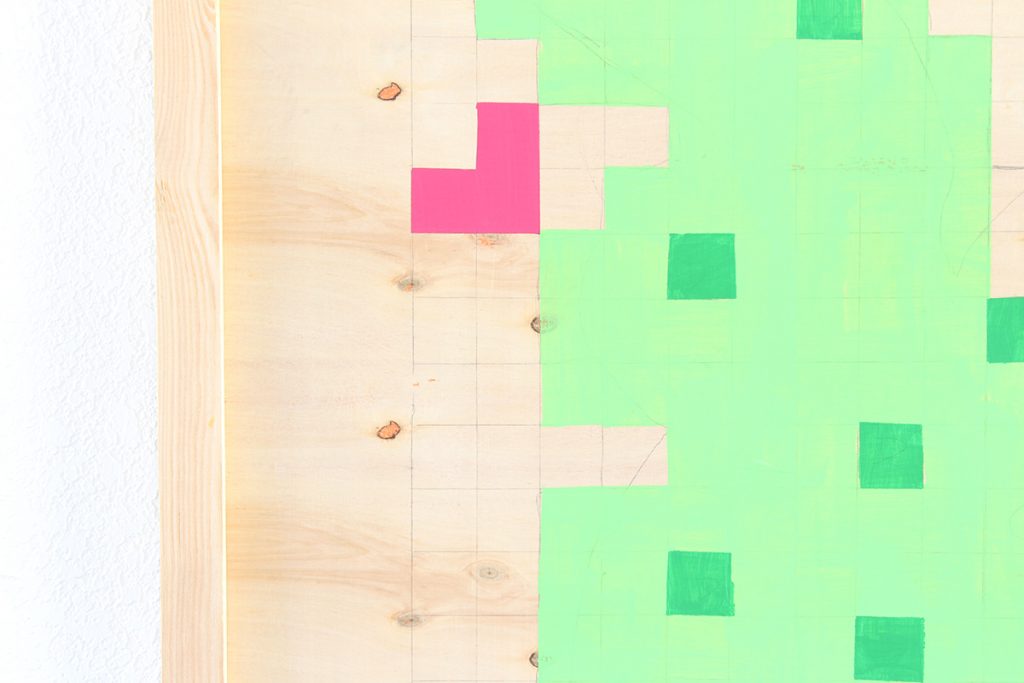
Step 1: Trace a grid of approximately 1” squares on your plywood. We left about a 6” border around the perimeter. Don’t overthink the measurements. This is really flexible.
Step 2: Trace a rough sketch of your cactus shape.
Step 3:We recommend sealing the plywood with clear polyurethane before applying tape. Once your poly is dry, tape your traced cactus shape and seal using ScotchBlue Multi-Surface Painter’s Tape around your cactus shape. You will tape off any square that your cactus sketch intersected. Again, don’t overthink it! Trim any edges with your utility knife and press and seal edges with a putty knife.
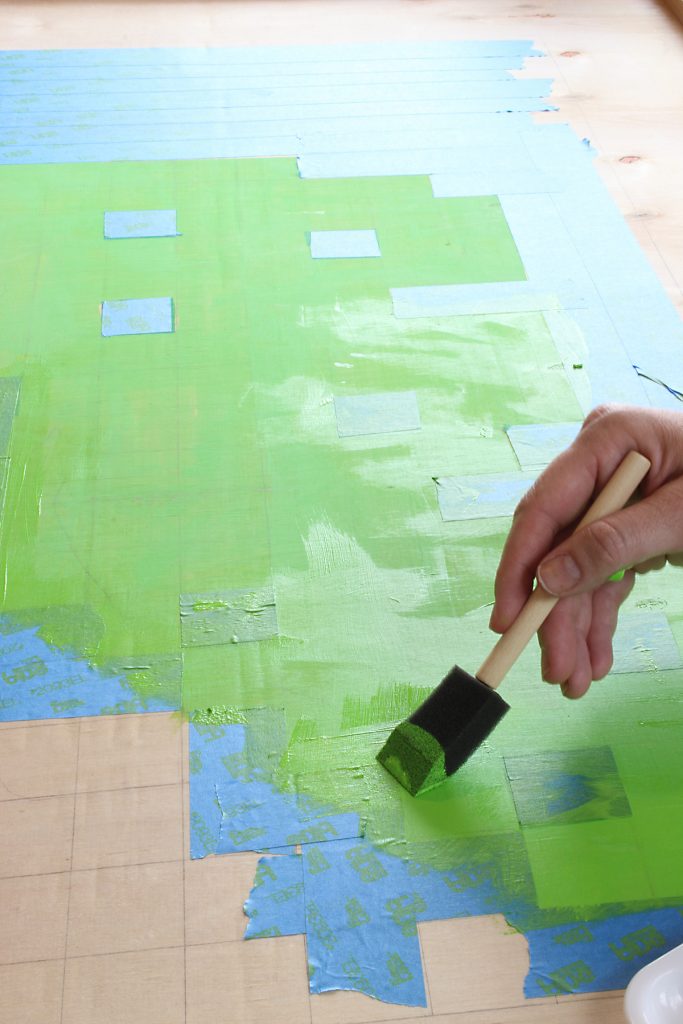
Step 4: Using foam brushes and acrylic paint, paint the inside of your cactus. We also taped off a few “prickles” that we later painted dark green.
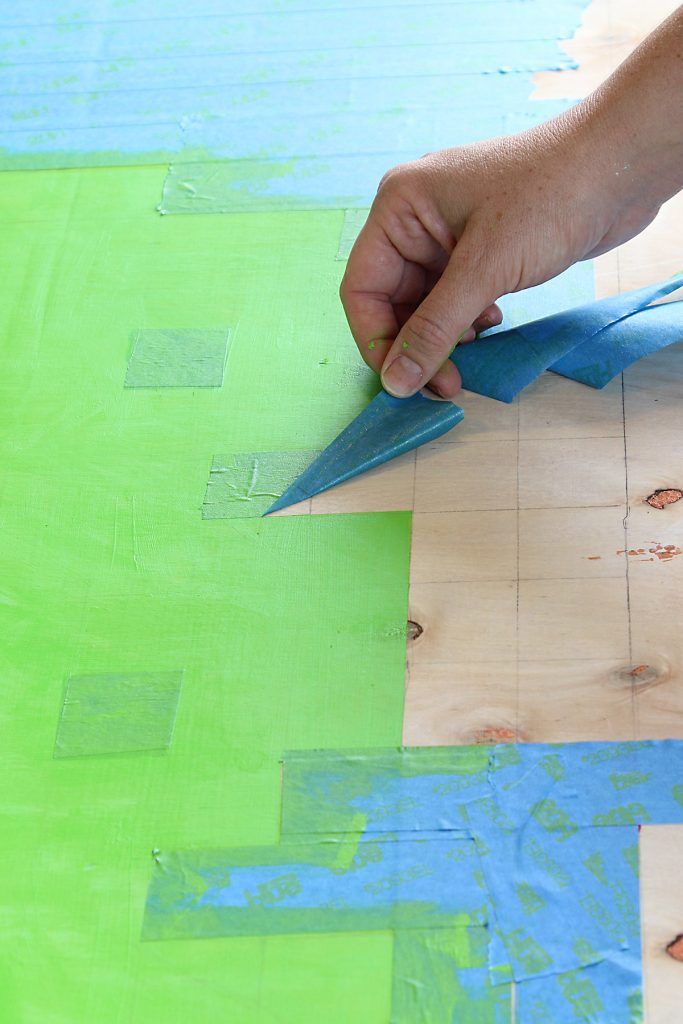
Step 5: Remove tape while paint is slightly tacky. Allow to dry completely. Once your overall cactus shape is created, you can tape off and paint any details you’d like to add to make your perfect cactus artwork piece. We added flowers and a planter.
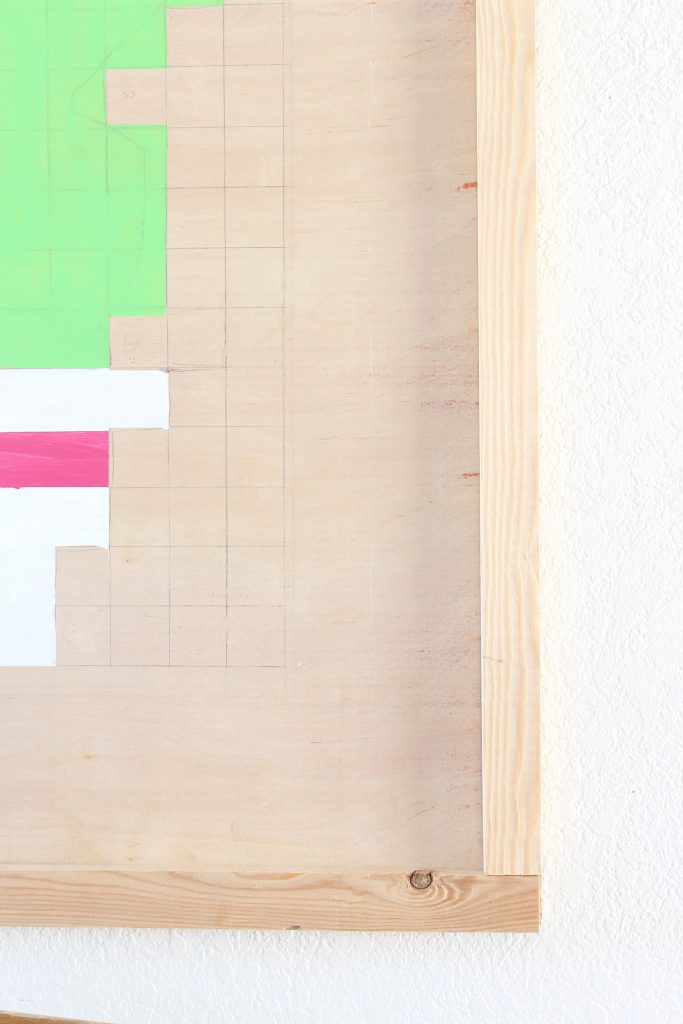
Step 6: If you’d like, use 1×2″ wood boards to trim the edges of your plywood board to use as a frame.
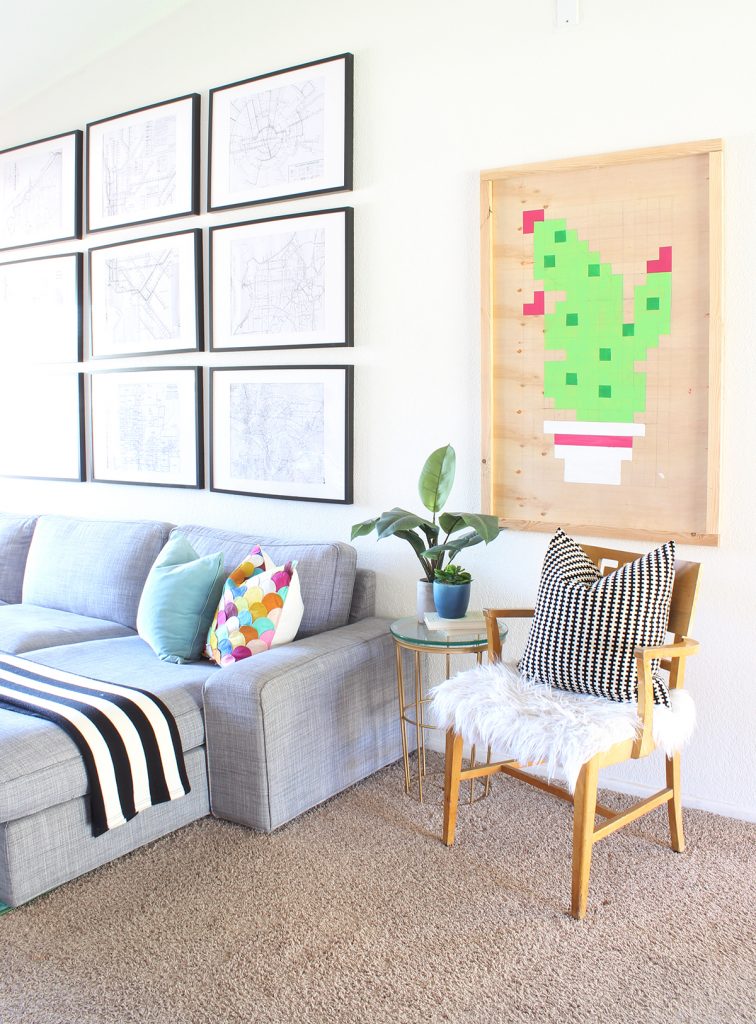
Oh man, this makes me miss our old house! I loved how bright and colorful it was! Isn’t the cactus artwork perfect in there?

This would be a fun weekend project! I’m itching to make one in the shape of a Christmas tree for the holidays! What shape would you choose?
We are excited to be 3M-sponsored bloggers. Opinions are my own and additional products used in the project were selected by us.

![]()


Looks great! I really like your idea of doing a Christmas tree for the holidays – I have such a hard time finding holiday decor that fits my style. And of course, a cactus in the meantime 🙂
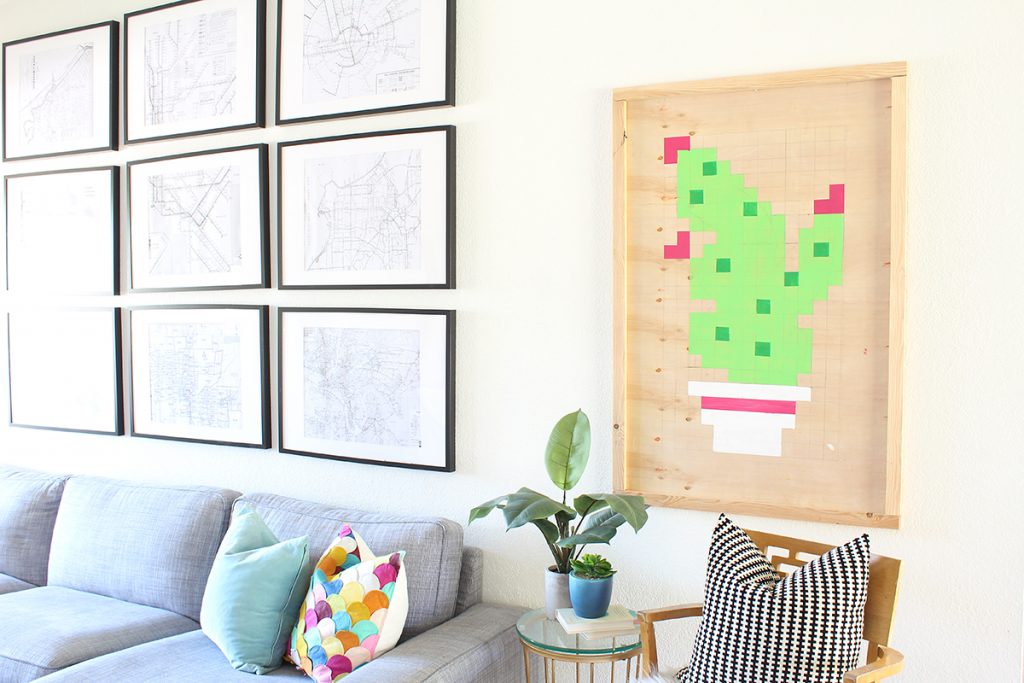
I’m also interested in what you have in those frames behind the couch?!
Thank you! I’m glad you enjoyed! The pictures behind my couch are maps of my favorite cities! xoxo
Holy cow, what you have done is so incredible looking, love, love it all. Love something different always, well done.
I’d love to do maps of my favorite cities, would be quite a few as yours are also.
I lived in Tucson for little over 20 yrs, grew up there after moving from Cleveland, OH when I was 10. We almost moved back about 3 yrs. ago but our house mtg. here in CO was upside down for while.
Love idea of you doing Christmas tree in pixelated, can hardly wait to see it.
Enjoy gorgeous Fall weekend
I have been a regular visitor of classy clutter for a long time. I really like your innovative ideas which you always represent with the clear snapshot.
Thanks I’m so glad you enjoy our site! Thanks for stopping by! Xoxo
Excellent piece of work! I suggest that it would be better with a triangle shape.
Oh thats a good idea we will try it next time! Thanks for stopping by xo
Thank you for your sharing. Thanks to this article I can learn more things. Expand your knowledge and abilities. Actually the article is very practical. Thank you!