
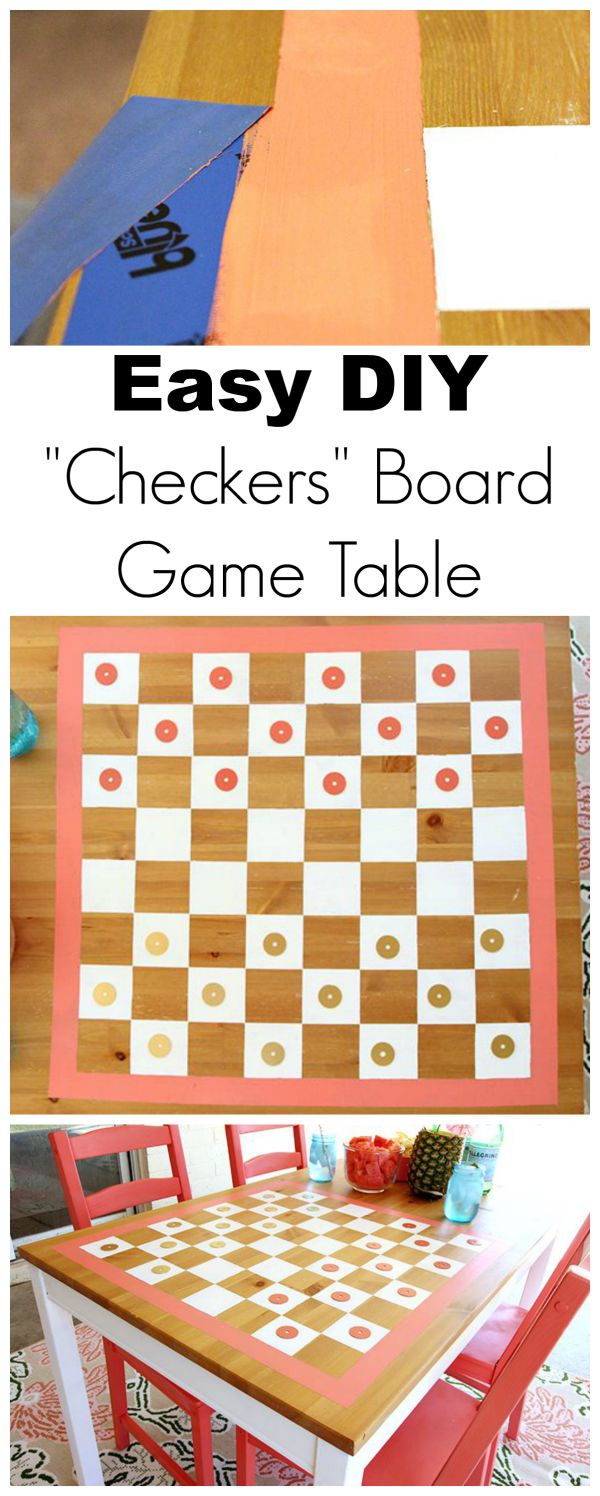
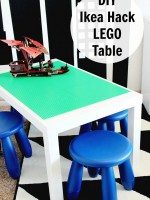
DIY Projects: Checkers Game Board Table
This post is sponsored by ScotchBlue Brand. All opinions and additional products were selected by us!
Summer is in full swing and on it’s way out! It’s the perfect time to enjoy the outdoors. It’s still super duper hot here in Arizona but we are excited for cooler temps to sit on the back patio and play games. We are partnering with ScotchBlue Painter’s Tape from 3M again to teach you how to make this super cute DIY Checkerboard table!
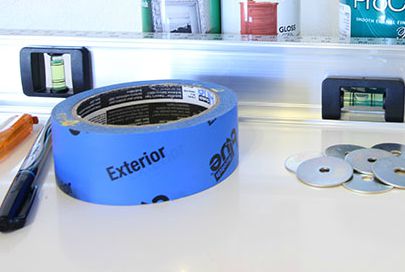
Materials Needed:
- Outdoor Table
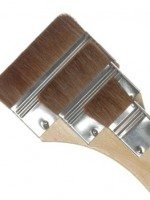
- Small paint brush
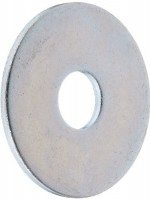
- Metal washers – this project used 24
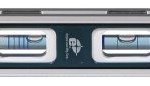
- Level
- Tape measure
- Ruler
- Pencil
- Titanium Knife
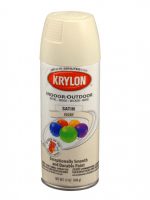
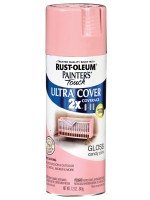
- Spray paint in two colors of your choice – this project used blush and tan
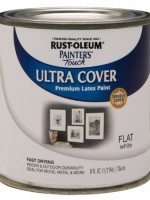
- Paint in the color of your choice – this project used white
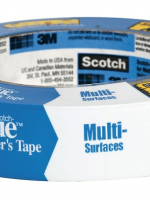
- ScotchBlue™ Painter’s Tape Exterior Surfaces (if painting outdoors) or ScotchBlue™ Painter’s Tape Delicate Surfaces with Advanced Edge-Lock™ Paint Line Protector
Step-by-Step Instructions:
- Clean the table surface thoroughly and let dry. Use a ruler to measure out a 24-inch by 24-inch square in the center of the table and mark with a pencil.

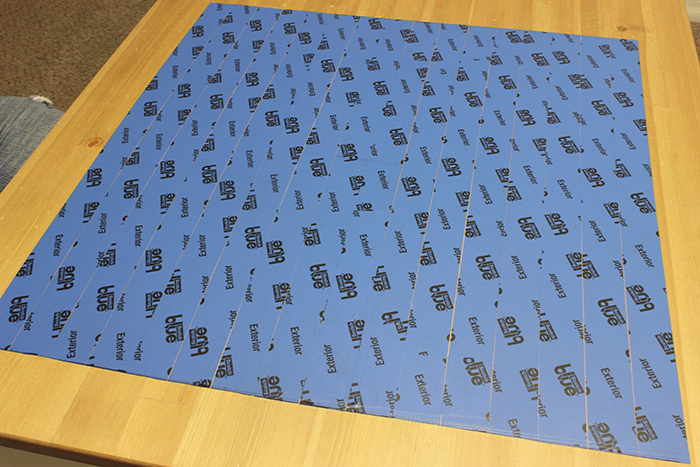
2. If painting the table outdoors, adhere 16 strips of ScotchBlue™ Painter’s Tape Exterior Surfaces over the square outlined in Step 1. If painting the table indoors, use ScotchBlue™ Painter’s Tape Delicate Surfaces with Advanced Edge-Lock™ Paint Line Protector.

3. To create the shape of the game board, use a pencil and straight edge to trace a straight line on the edge of the square, three inches from the side of the table. Use a titanium knife and straight edge to trim excess tape.
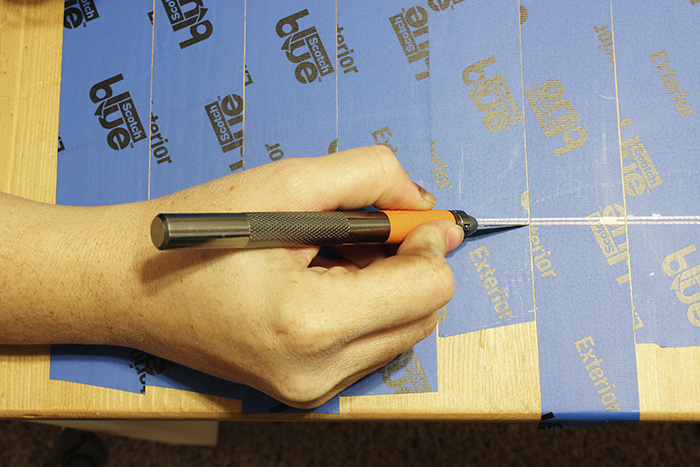
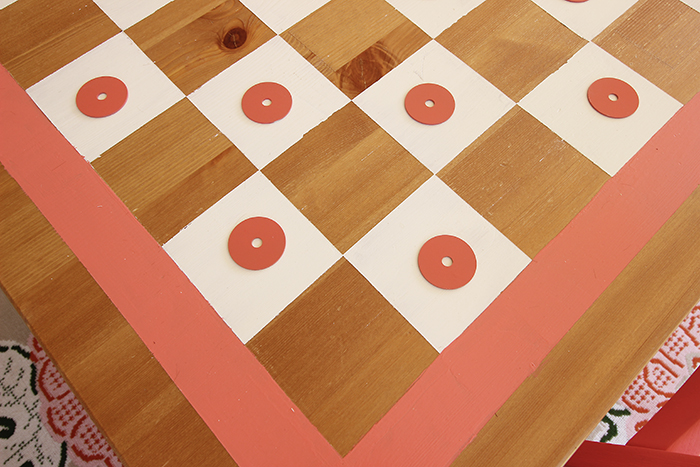
You should now have a perfect square to start creating the game board.
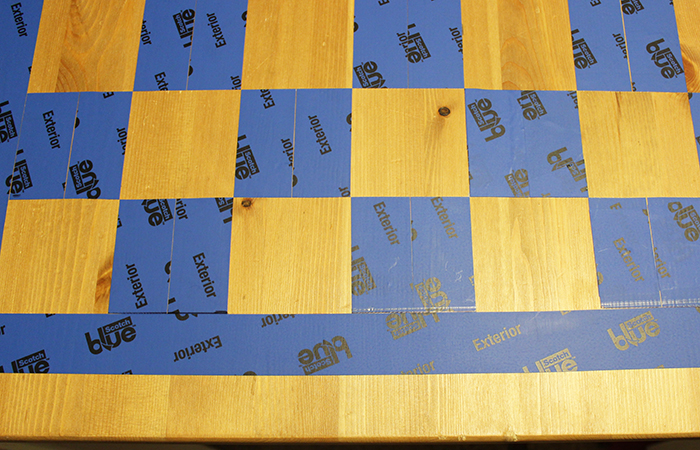
4. Measure and mark three-inch squares across the board to create a checkerboard grid pattern. Tape off a square border around the perimeter of the game board.


5. Using a straight edge and titanium knife, cut out every other three-inch square. We used a 3″ cardstock template that we made for this step to save time.
6. Paint over squares and allow to dry completely, following the manufacturer’s instructions on the paint can.

7. To reveal the painted checkerboard, remove each strip of tape from the board by pulling the tape slowly and back onto itself at a 45 degree angle.
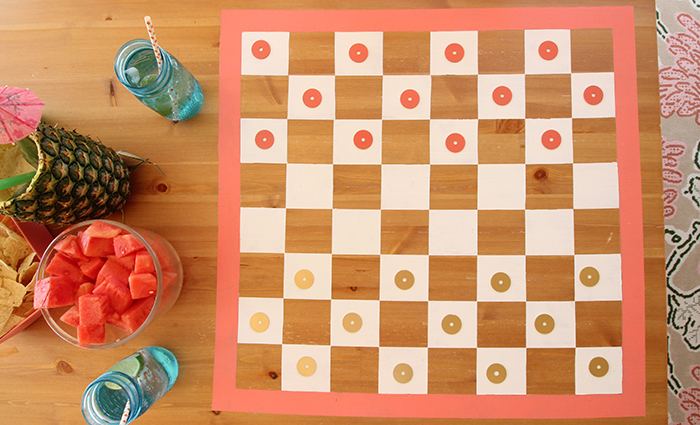
8. Create game pieces by spray painting 12 metal washers in one color and 12 metal washers in another color. Set aside to dry, following manufacturer’s instructions on the paint cans. We used a pretty coral and our favorite gold spray paint.
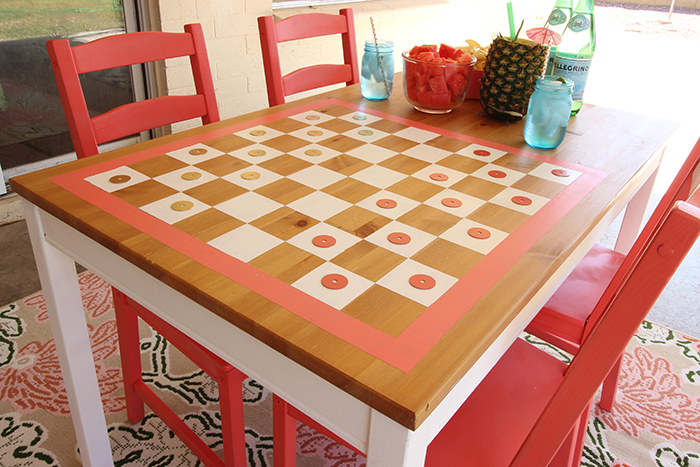
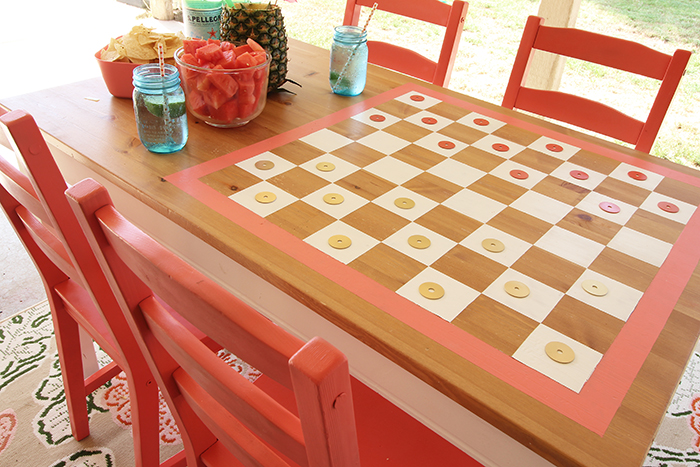


We can’t wait for the weather to cool off a bit here in Arizona so we can enjoy this cute game board on our back patio! Big thanks to our friends at 3M and ScotchBlue Painter’s tape for partnering with us on this project!


This turned out really cool. I keep saying that we need to get a special table to play games on and something like this would really be perfect!
I really love this idea…how fun is this! Great Project!