
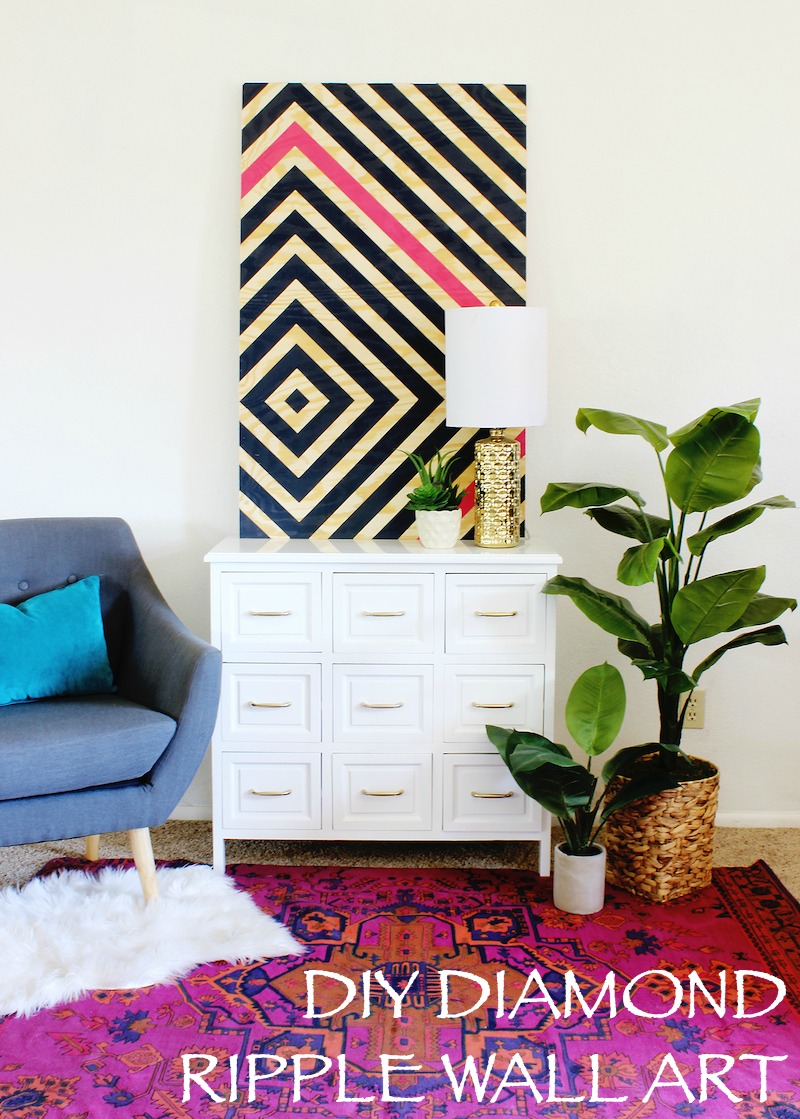
Home Decor Projects: DIY Diamond Ripple Wall Art
This post is sponsored by ScotchBlue Brand. All opinions and additional products were selected by us!

Hi friends! We are so excited to be partnering with ScotchBlue Painter’s Tape from 3M to bring you this shockingly simple, BIG impact wall art that will cost you a fraction of the cost of traditional wall art. We know wall art can be expensive and we’re excited to show you how we created this for less than the cost of a date night. Speaking of date night, let’s talk about diamonds. You know, diamonds are a girl’s best friend, right?

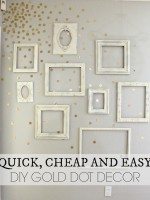
Diamonds are all over Pinterest, you guys. There are a ton of cool patterns that you create using a basic diamond shape!
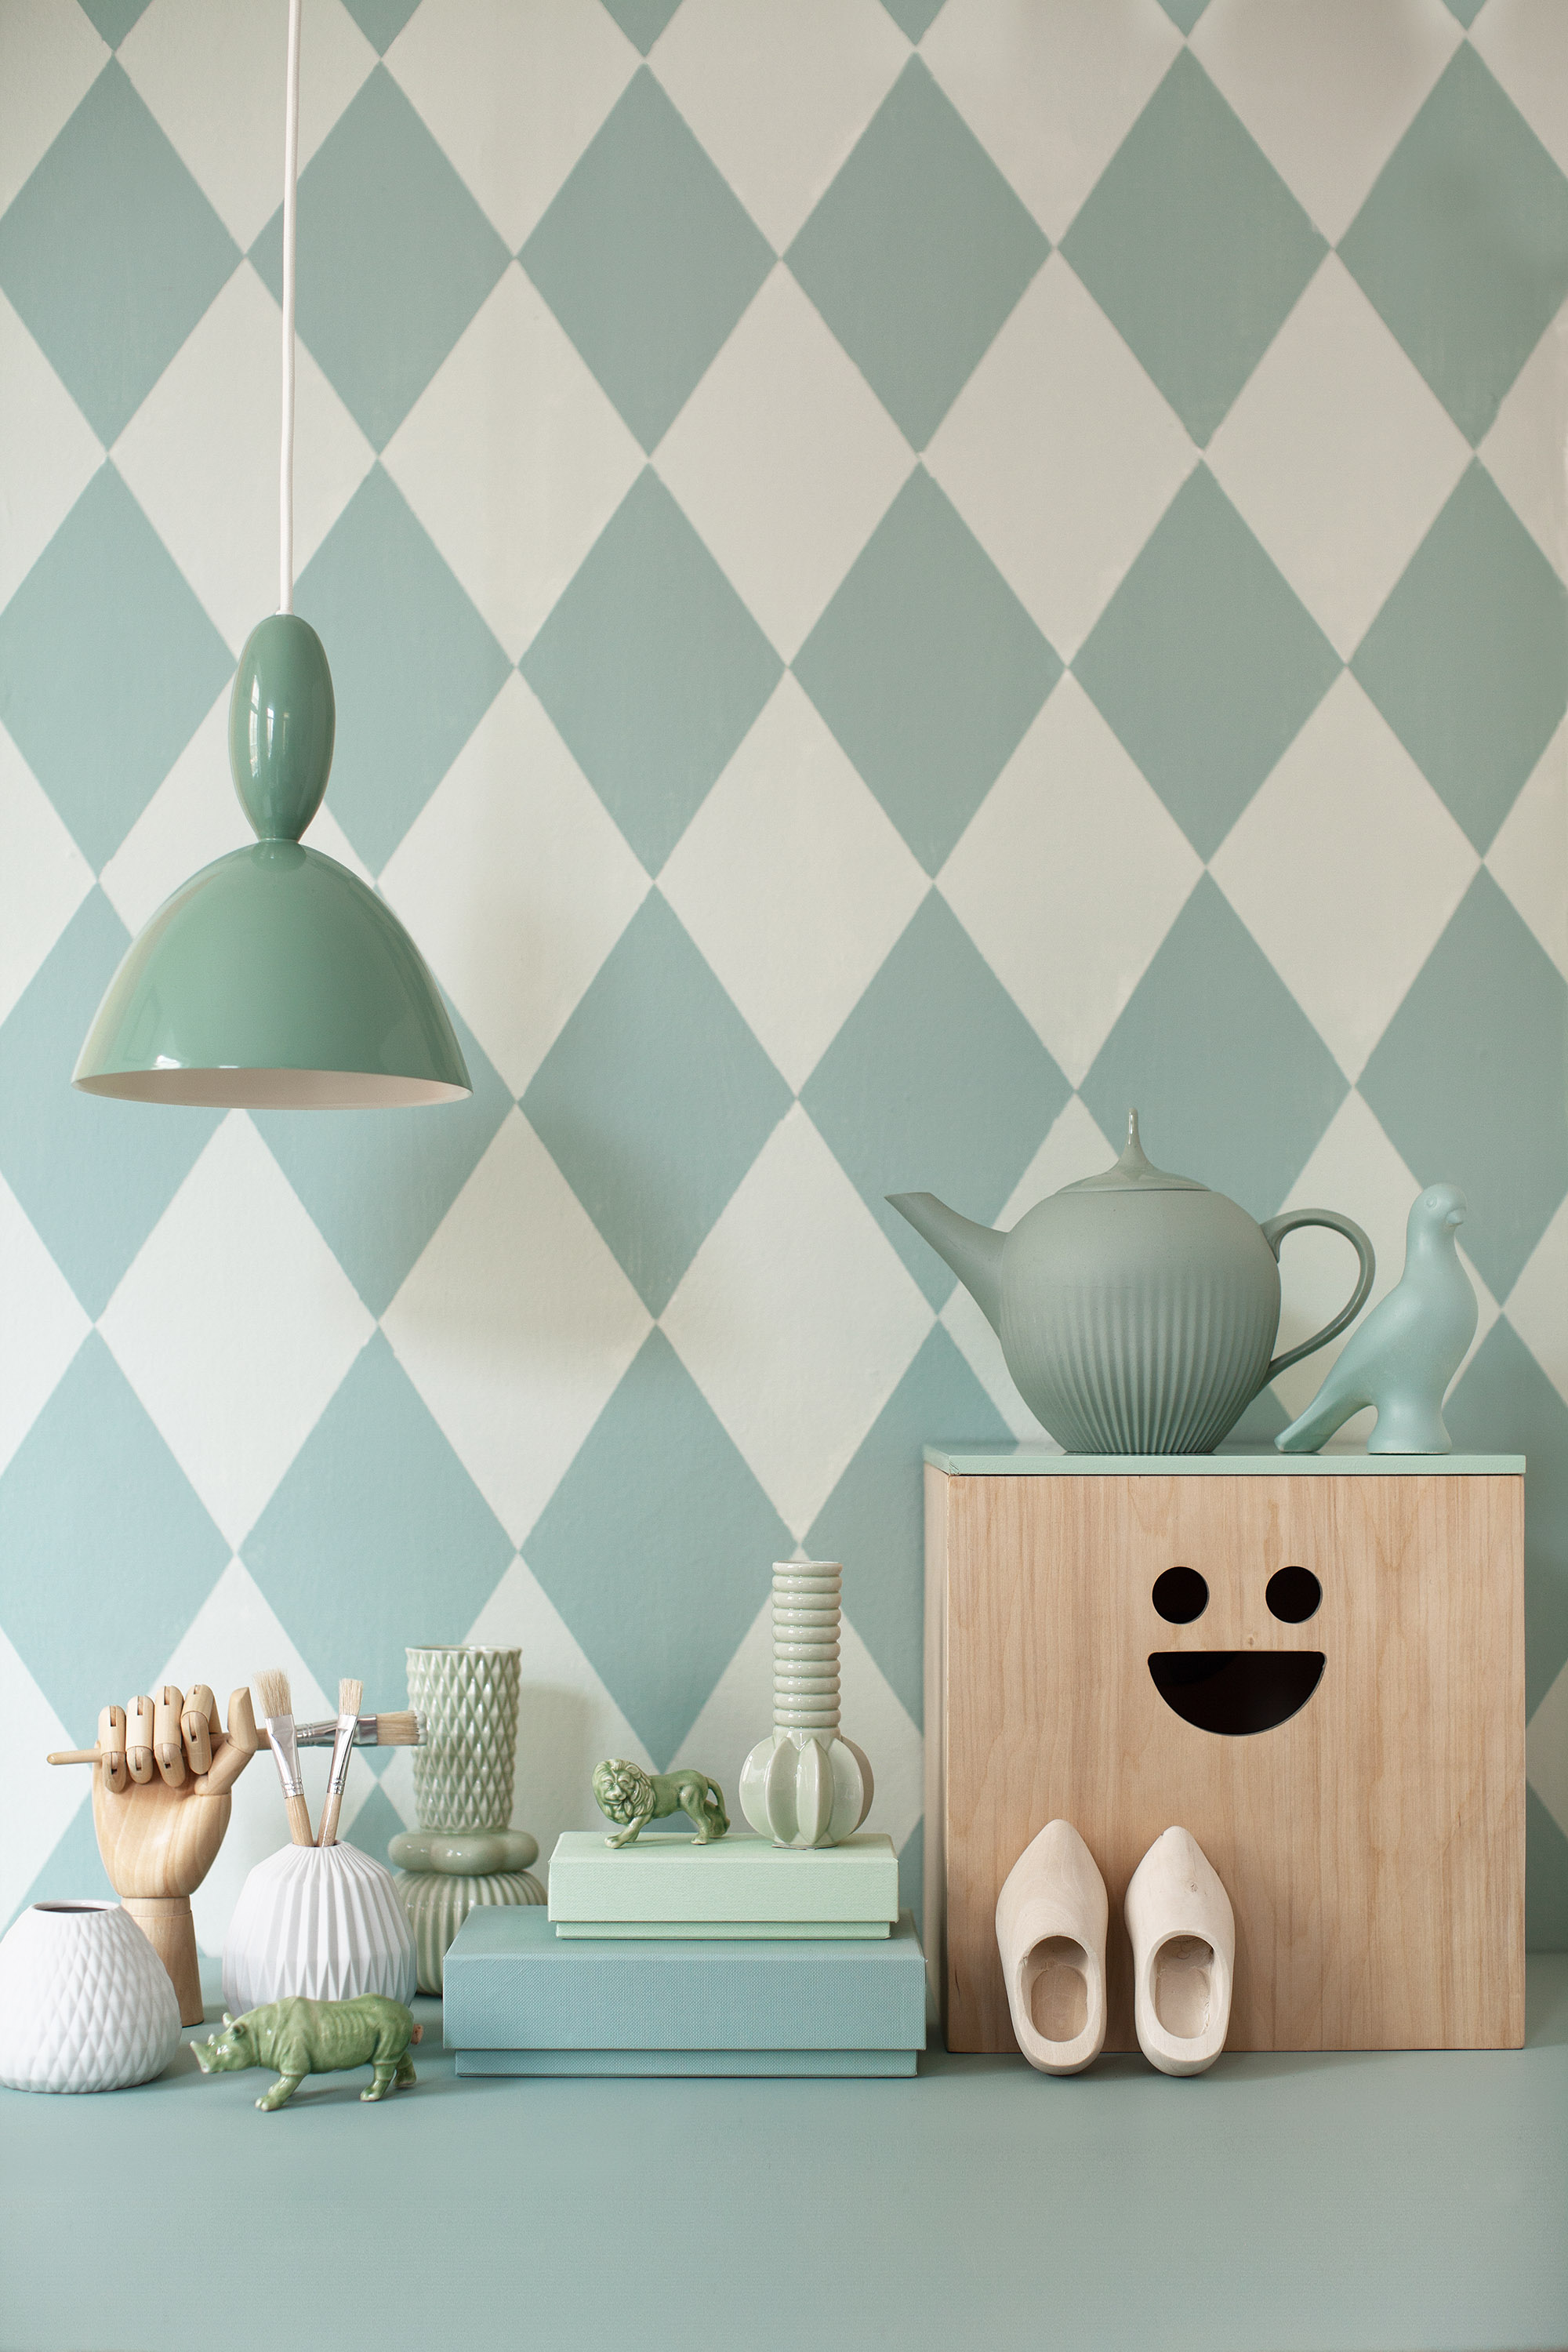
Source: Pinterest and Linda Ahman
The only problem is, some of them can be complicated and most of the pins we’ve seen lead to a pretty picture with no tutorial or instructions! Boo!! It’s nearly impossible to track one down! Our friends at ScotchBlue Painter’s Tape from 3M asked us to create a tutorial for a fun diamond pattern and you know we jumped at the chance. We’re always up for a challenge like that!

For this project, you will need a few materials but nothing very expensive and most you probably have on hand.
- 2 rolls of ScotchBlue Painter’s Tape Delicate Surfaces with Advanced Edge-Lock Paint Line Protector (1 narrow roll and 1 wider roll – exact widths are optional)
- Plywood – cut to the size of your choice. We did 30″ wide by 48″ tall. This fit nicely over our cute console table.
- 1+ latex paint colors. We used two colors. You can use sample size pots of paint to save a few bucks.
- Paint brush(es)
- Exacto knife
- Measuring tape
- Straight edge (we used a small ruler)
- Pencil
Let’s get started!
1. First, we traced a small square with the pencil, in the bottom left corner of the plywood. Make sure it is equal on all sides and perfectly square.
2. Starting with the narrow ScotchBlue Painter’s Tape, tape around the square and use your Exacto Knife and straight edge to trim it to be square. You may notice that this photo was take when we started this project on canvas.. then we changed our minds because we wanted to use wood so just pretend that’s plywood, mkay! #whoops
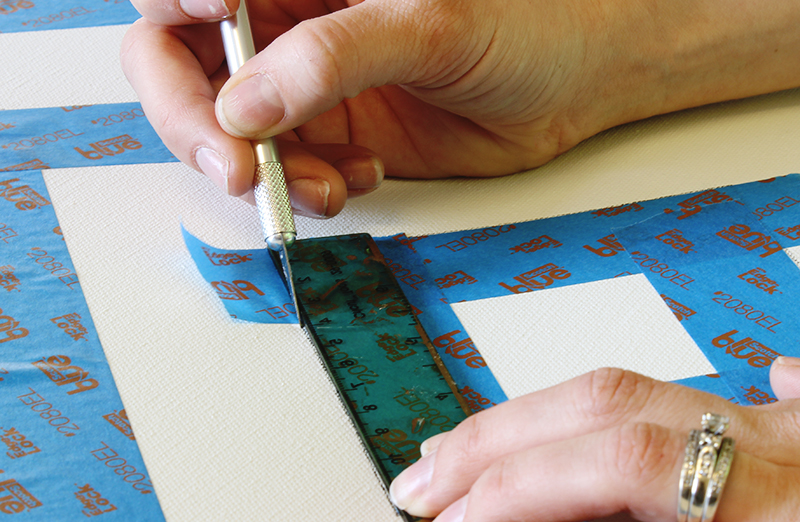
3. Next, grab your wider ScotchBlue Painter’s Tape and tape around the narrow taped off square. Repeat narrow square > wider square until your entire plywood sheet is covered.

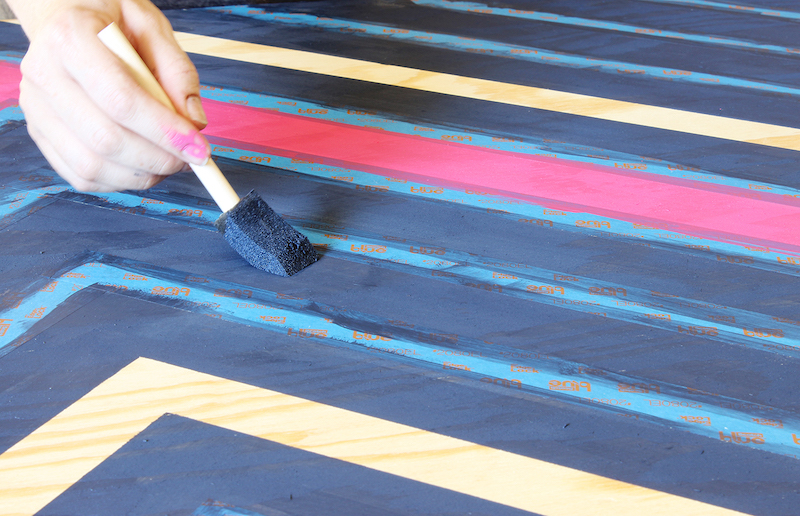
4. Remove all of the wider ScotchBlue Painter’s Tape to leave you with a diamond ripple effect pattern.

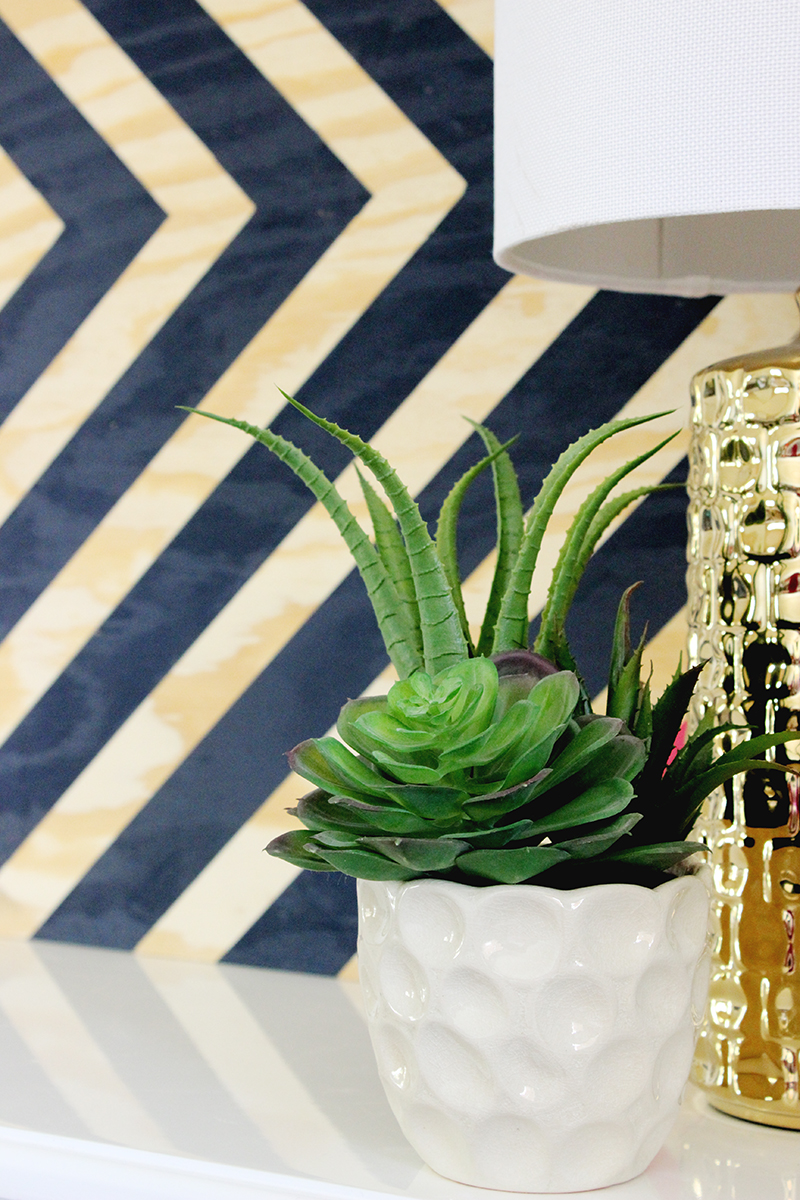
5. Paint all of the exposed wood with your choice of colored latex paint. We used navy and pink because navy and pink are awesome and pair perfectly with the living room makeover we are working on right now. We got a little excited to preview what it was going to look like so we peeled off some tape to check it out before it was completely painted. We get excited easily! 😉

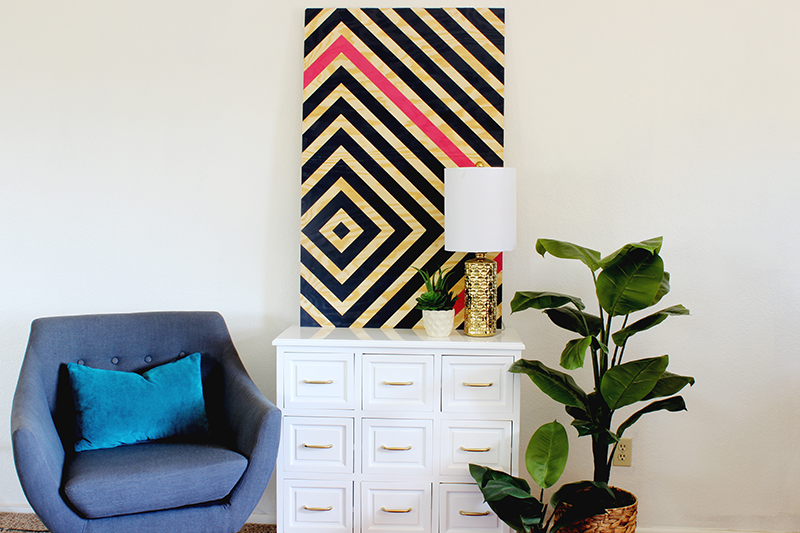
6. Remove all of the ScotchBlue Painter’s Tape on the board.

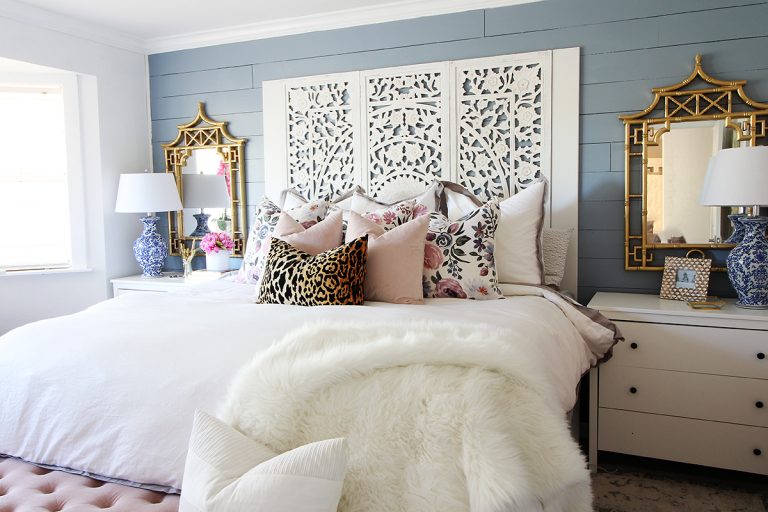
Voila! You’re done and left with a show stopper design! We know a lot of you are renter’s like us so it’s really cool to do a huge scale art piece that takes the focus off of renter friendly walls and wall color and allows you to pack big design, pattern and colors into your space!


We hope you love it as much as we do and we can’t wait to show you some more fun we have coming up with this room makeover! It’s coming along and we’re loving the direction it’s going!


very nice! love it..
Looooving this! The color combo is great, too.
Thanks for the article, looks amazing! Can’t wait to get started!
Love it!!!
I saw your design on Pinterest and made this today! I absolutely love it. The most challenging part is making sure the diamonds are aligned the whole time. To help me, I made a vertical line and a horizontal line that intersected. With these helpful markers, I made sure I lined up the points of each diamond on the horizontal and vertical lines and it turned out perfect. Thanks so much for the 3M inspired project!
Thanks for the additional tip Abby. I was already worrying about the alignment
Love this, so simple, so modern so classy. I love the colours you’ve used here but I also love that this could be done to suit any colour scheme. Fab!
Can acrylic paints be used for this project?
HI Kayli! Sure can!
I love this! just found your website and its amazing.
Where is that pink rug from though!? I am obsessed.
The pink rug is from Rugs USA
Love this and just bought the supplies to make my own. Question though – I bought paint samples as suggested but was warned that samples are not the same as actual paint and don’t have the same adhesive quality. Did you use actual paint samples on this?
We have never had a problem with sample but yes, we did use a sample can for our pink! Thanks for stopping by xo
Hi,
This is just gorgeous! Would you mind specifying the exact colors you used for your paints? Thanks!
It was just paint we had on hand. Sorry I can’t remember the exact colors! 🙁
Thank you! In our industry, we know that you only get a few crucial seconds to make a good impression and engage potential customers. We aim to help you make the best of it!
I really loved reading your blog. It was very well authored and easy to understand. Unlike other blogs I have read which are really that good.Thanks alot!
BBC Cargo Shipping Services had started its operations in Dubai, established by the experienced emarati management who have a great experience in freights fields.
If you are looking for custom tags printing company, you are at the right place to get wholesale custom cardboard tags. Custom hang tag can stand out your product when you placed on your products.
I am come here first time, i find the perfect article. Thanks for sharing interesting and informative post.