
DIY Letter Pillow
DIY Letter Pillow
Happy New Year from Ciburbanity, Classy Clutter readers!! Decorations are put away, the kids are back in school, and I’m ready for some projects! I will preface this entire tutorial with the words: I am not a sewer. I mean, I CAN sew, but… quasi-straight lines are about my limit. So take this whole thing with a grain of salt and leave comments with technique suggestions! That said, I LOVE this monogrammed pillow I made for my daughter, Martha. Did I mention it took no time whatsoever?

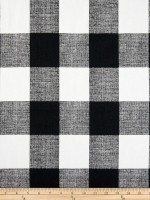
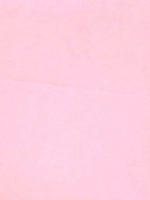
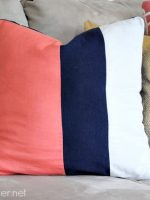
I love this project because it used fabric remnants of which I have many! Your first step is choosing which fabric you want. I opted for three different ones, but no reason you can’t go with one fabric all over.

Using a ruler and a fabric marker, I traced out my letter “M”. I allowed for 3/4″ seam all around. Cut your letter out of both top and bottom fabrics.

For the sides, I wanted something that was a little wider than 3″ so I cut strips of the 3rd fabric 4 1/2″ wide (the excess is for the seam allowance). This letter took two strips of fabric each as wide as the bolt of fabric.

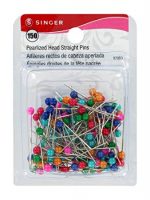
Start by placing the right sides of your fabric together and pinning the side strip to the top of your pillow. This gets a little tricky around any corners. The technique that worked for me was to fold over the fabric of the letter, and then to fold over the side fabric lining up the edges. I know. I’m making ZERO sense… hopefully the photos will *maybe* help explain?


I found that it was easier to sew one side at a time rather than one continuous seam all the way around the letter. Pin the second letter to the side piece in the same way. By now, each corner might not feel as awkward, but it might… sorry this tutorial isn’t more clear. #Fail. Sew the last piece in place leaving one corner free to stuff your letter.

I used more than 1/2 a bag of Polyfil, but obviously stuff as much as you’d like! (This letter is about 14″ tall.) Hand or machine sew the last seam after you’ve stuffed the pillow to your satisfaction.

I was tempted to include the ball fringe from the materials photo, but sewing around the edges was just tricky enough that I bailed. Maybe the next letter will get trim, but for Martha’s “M”, I think the three fabrics are detail enough!


It’s a nice little complement to the kids rocker I recently reupholstered (2015 is the year of upholstery for me…). Any goals or plans for 2015! The year is young, folks!


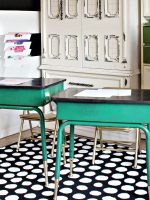
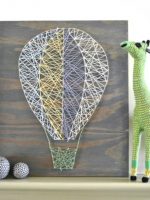
Here are a few of my other attempted sewing projects… as long as it’s only a straight line, then I give myself a B+.


xo
Charlotte


fab…i really like it and i want to try to make it
kisses
Oh, how wonderful! Can you tell me what that magical man & woman fabric is? Thank you…so great!