
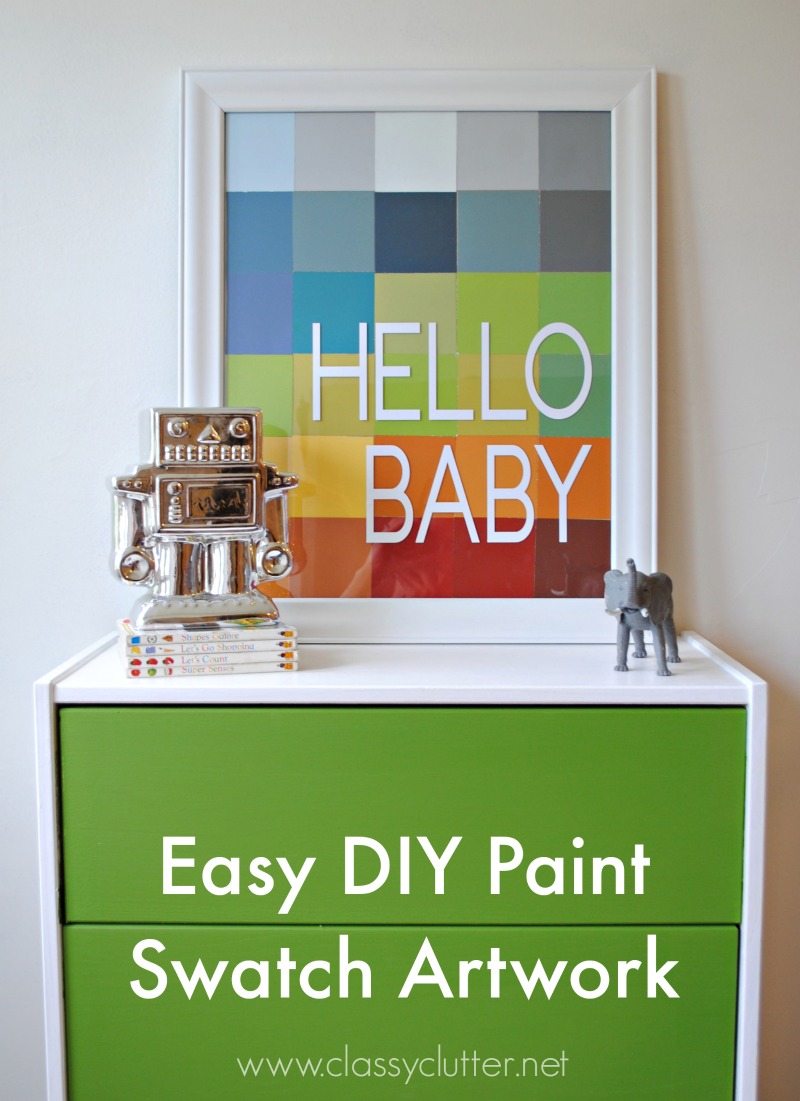
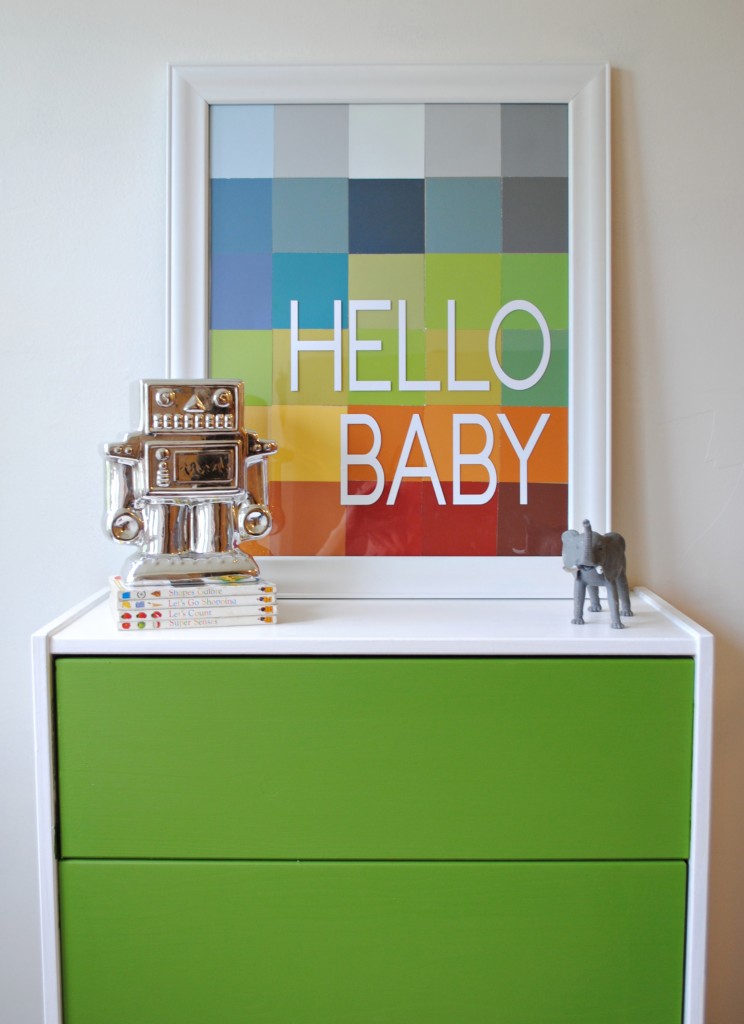
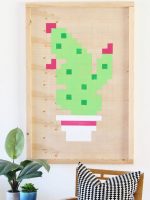
DIY Paint Swatch Artwork
I’ve been hard at work prepping for the new baby and working on the boys’ superhero room. I have always wanted to do a fun project with some paint swatches because I just love all of the awesome colors out there. My kids always want to collect them when we go to Home Depot. They love picking out their “favorite color” that day. It changes on a daily basis, you know.
This DIY Paint Swatch Artwork was awesome because (A.) let’s face it, it’s cute! (B.) It’s super duper easy and (C.) it was free! Heck yeah!

Materials:
- Paint swatches – Pick the colors of the room you want to display this in or get creative and let this project bring some color into the room. You can also use scrapbook paper, construction paper or colored cardstock. Be sure that you double check with your store if they mind if you take a few swatches for your project. Most are more than willing to donate them to you for your project.
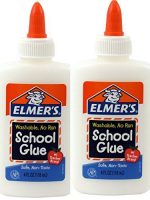
- Glue dots, glue or double sided tape
- Paper cutter or scissors
- An old frame (not pictured above)
- Vinyl Decal (not pictured above) – available in my Etsy Shop. I have added a “Hi there” and “Hello Gorgeous” for little girls. Message me on Etsy if you want a different saying.
Instructions:
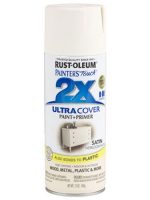
- Spray paint your frame to the color of your choice. My frame was grey and I sprayed it white.
- While your paint is drying, cut your paint swatches into squares if they aren’t already. Mine were rectangles.
- Lay out your swatches on the frame backing in whatever color arrangement you like. Mine had a piece of paper that came in the frame that I used for my back piece. You could use a poster board cut to size for this if you’re frame doesn’t have paper in it already.
- Use your glue dots to adhere the dots to the paper.
- Put your swatches (now stuck to the paper) inside your frame and assemble it as usual, glass and all.
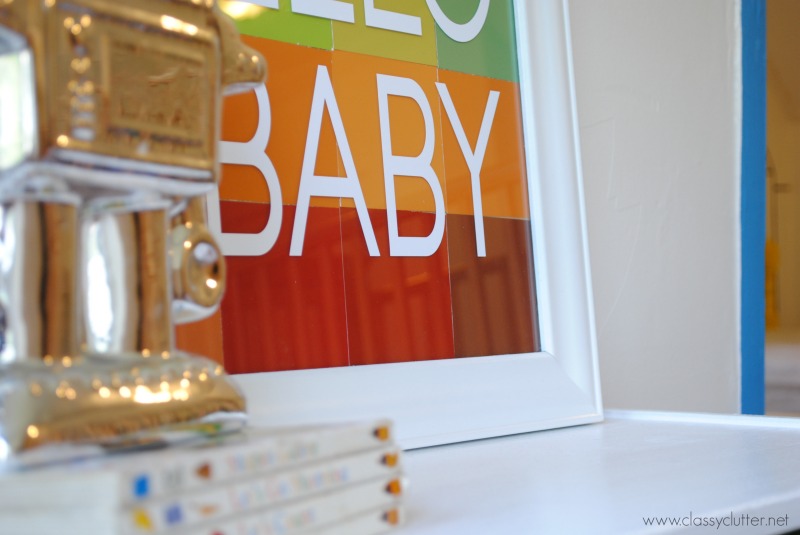
- Attach your vinyl decal to the front of the glass. I did this so if I ever want to change the decal out, I can just peel it off without damaging the paint swatches.
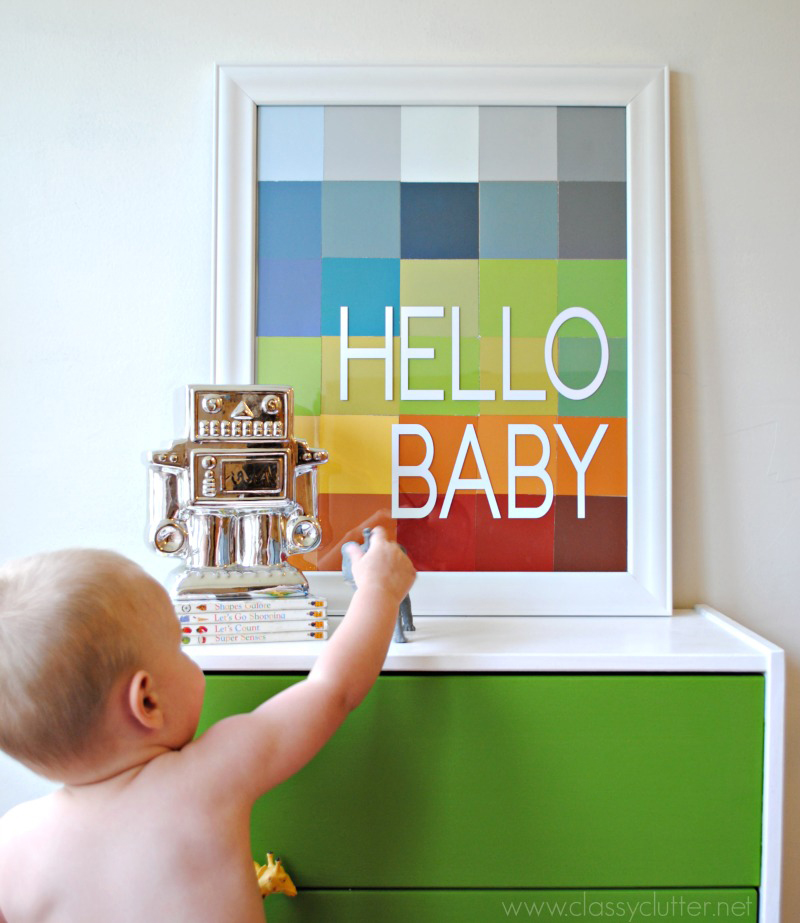
Little T just loved my props too much and he’s was too cute to not share. 😉
This will eventually hang over the crib for the new baby but I haven’t assembled it quite yet. I can’t wait to show you the superhero room with the little nursery nook in it! I’m dying to finish it!
What do you think about my free artwork?


This is awesome!!! Lucky baby!!
This is adorable!! Love it! Pinning 🙂
Love this!! Where is that dresser from?? It’s beautiful!!
Hi Marissa! It’s the Ikea Rast night stand! I just painted it. I will share the tutorial soon! Thanks so much! xoxo – Mallory
Ahhhh! Yes please! I was just wanting to do the exact thing to an Ikea dresser but wasn’t sure how to go about it. LOVE it!
I love how bright and cheery this is. Plus I love a good paint swatch project! 🙂