
DIY Macramé Hanging Planter
DIY Macramé Hanging Planter

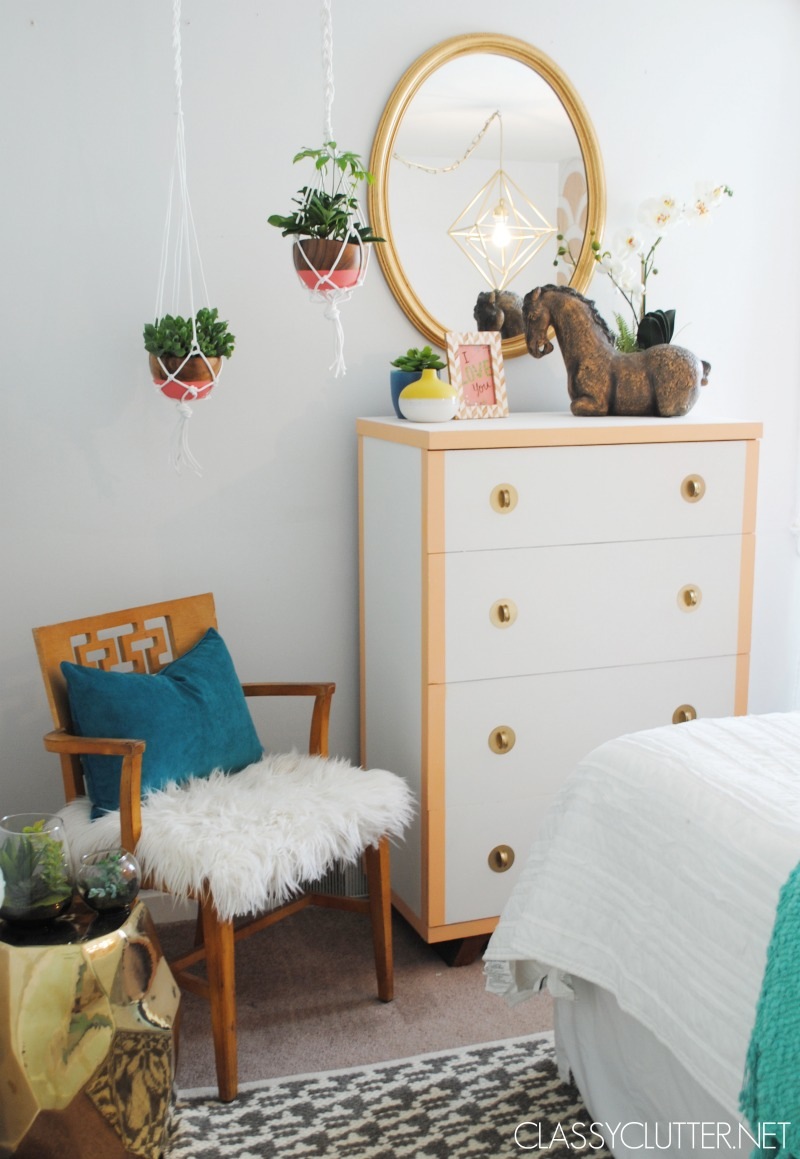
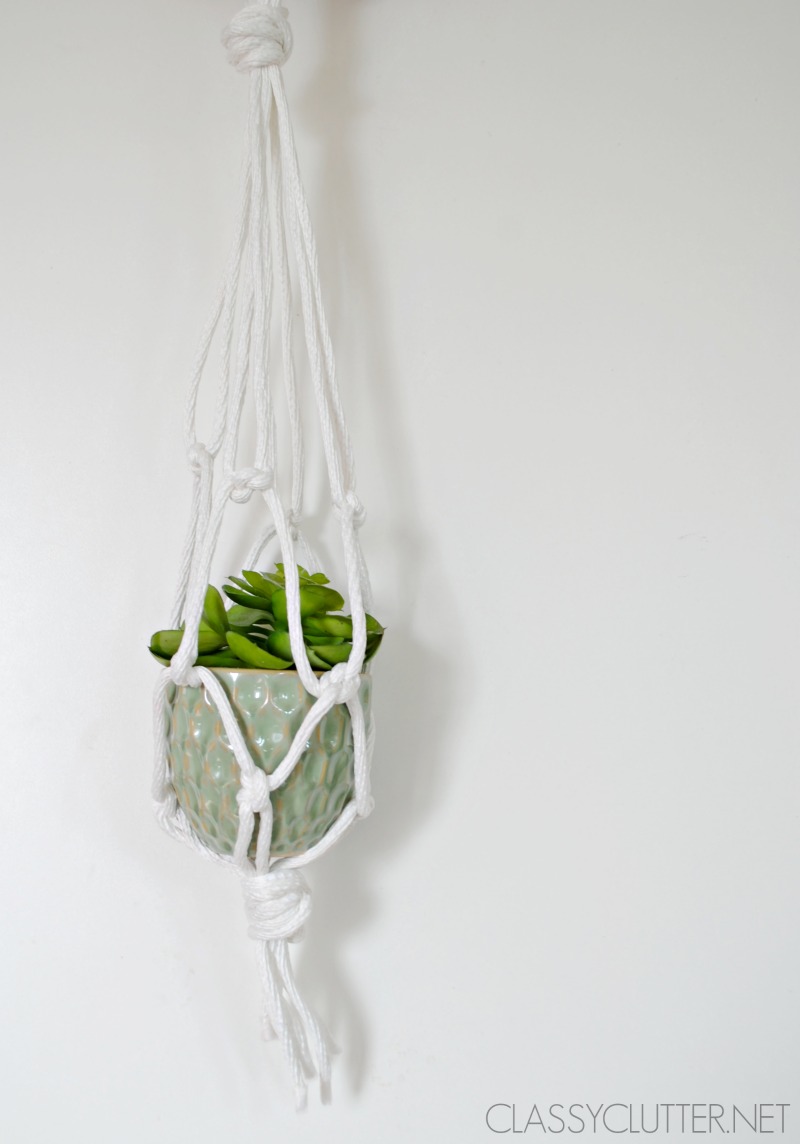
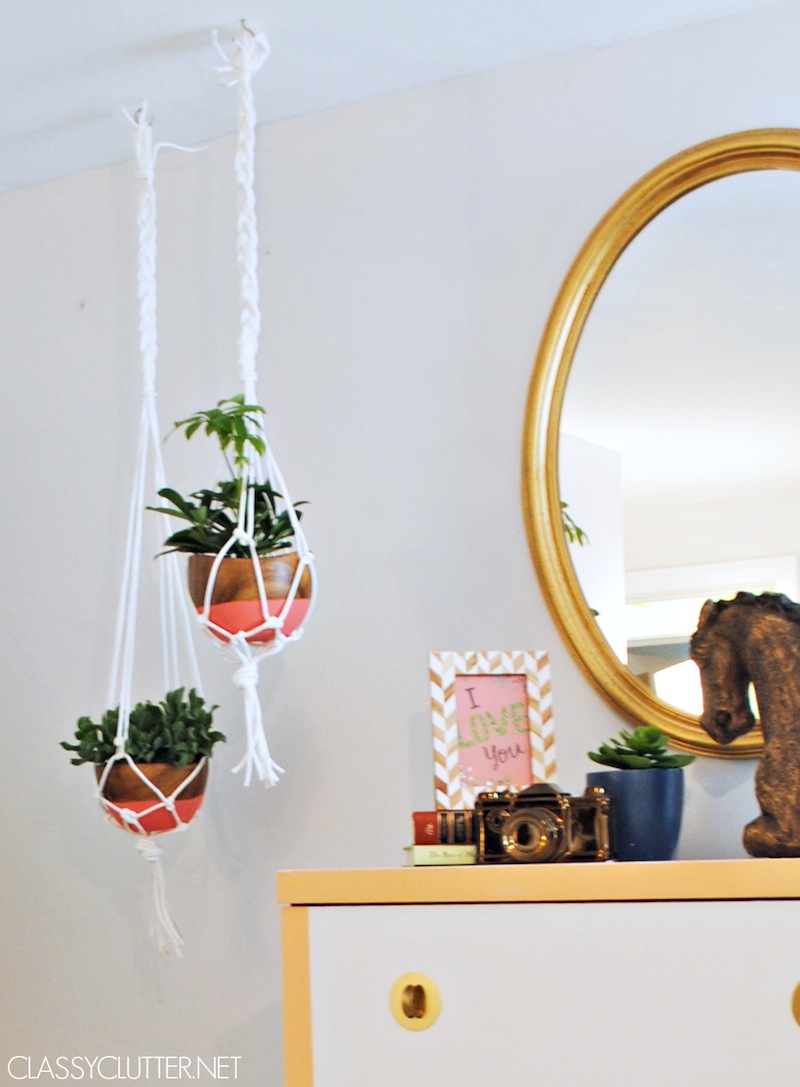
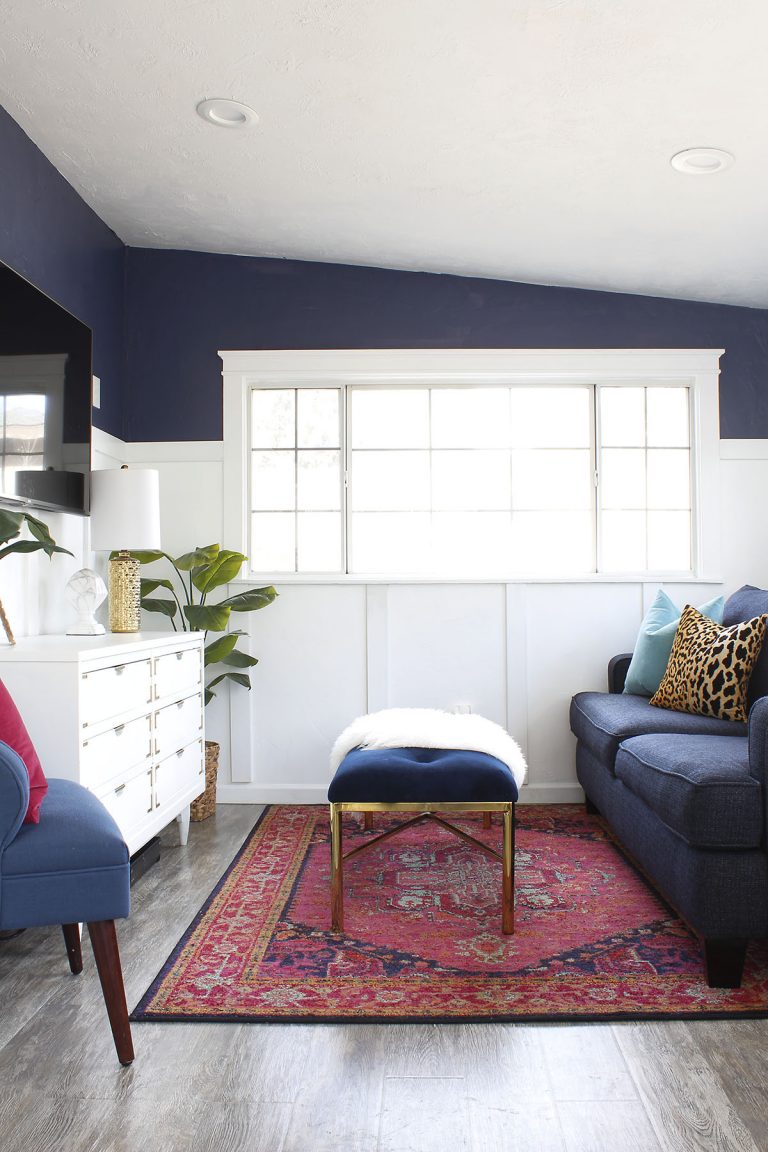
When Savannah and I did my master bedroom makeover, we made these stinkin’ cute macramé planters. I’m excited to show you how to make them today. They’re super easy and you can make two planters for $10 (not including the bowl and plant). For the tutorial, I made one using a little bit smaller plant but I prefer the bigger bowl. You can use whichever you like!
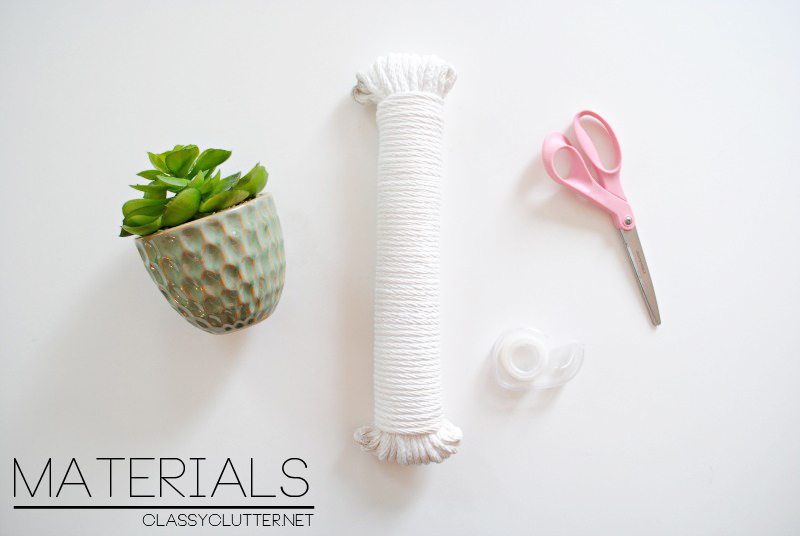
Materials:
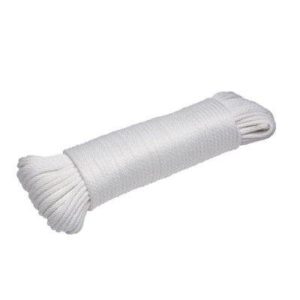
- Clothesline Rope from Home Depot – I use the 100 foot rope and can get 2 small/medium sized planters out of it.
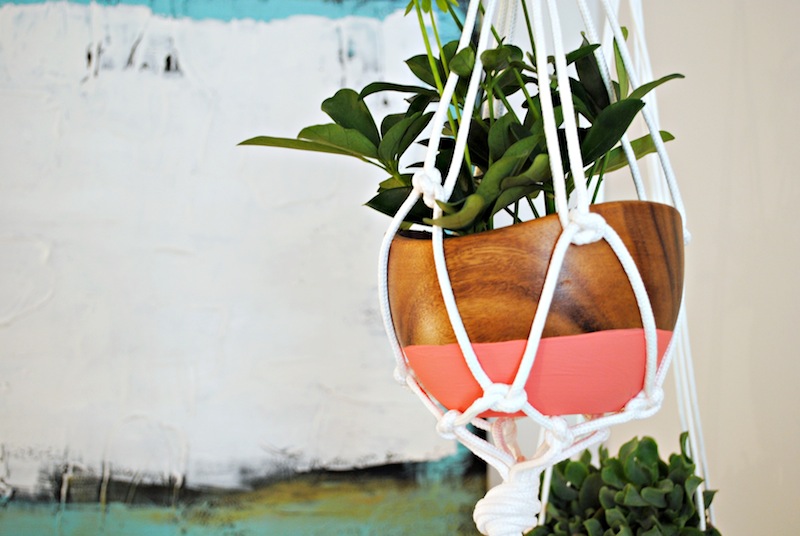
- Bowl (similar here)– The wood bowls are from Home Goods and we painted the bottom half with coral acrylic craft paint for that “dipped” look.
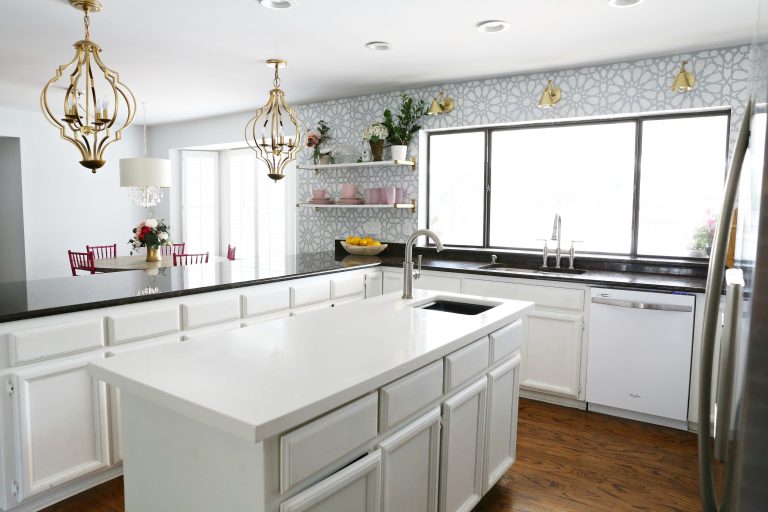
- A small plant (Home Depot also has great house plants that require minimal care! Yes, please!)
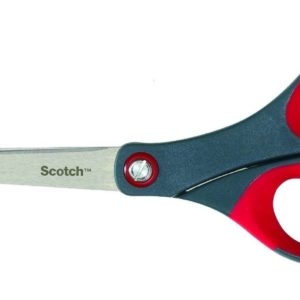
- Tape
Instructions:
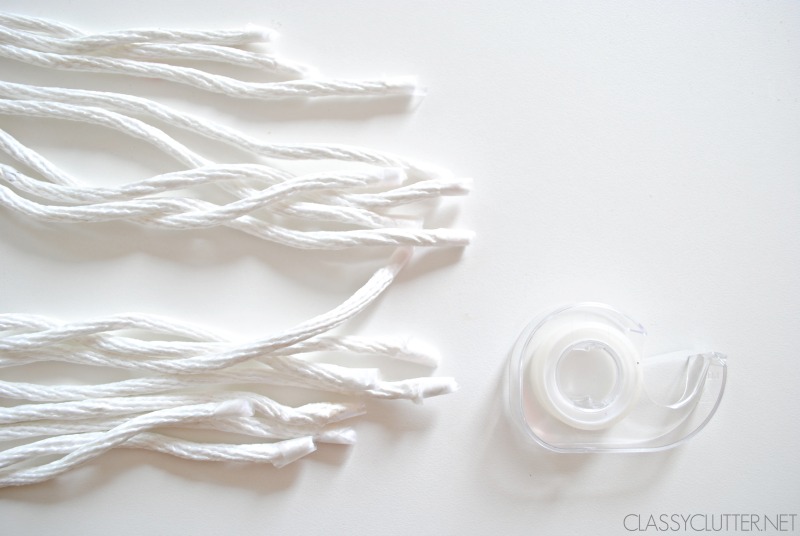
1. Cut 8 pieces of rope about 4-5 feet each. Make sure they’re the same length. You can always trim it down at the end really easily. Tape the edges right after you cut them because the rope will start to unravel as you work with it. You can also use a lighter to slightly melt the edges but I didn’t like that it made the ends brown.
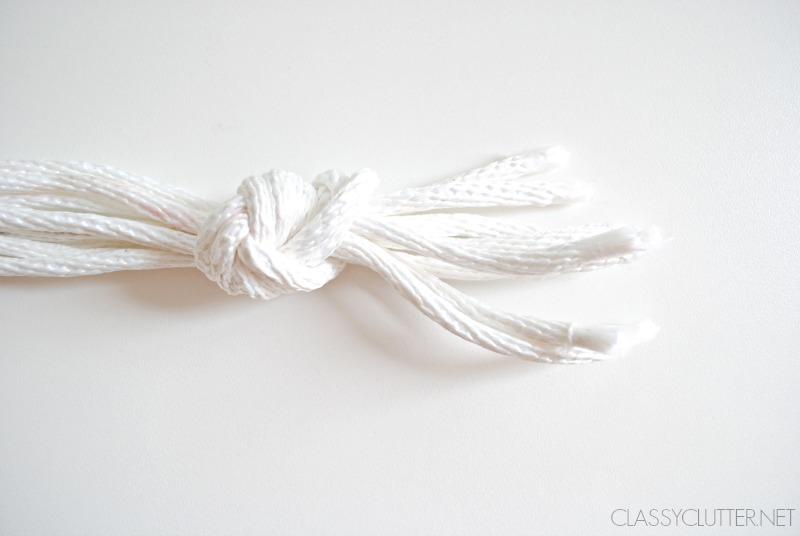
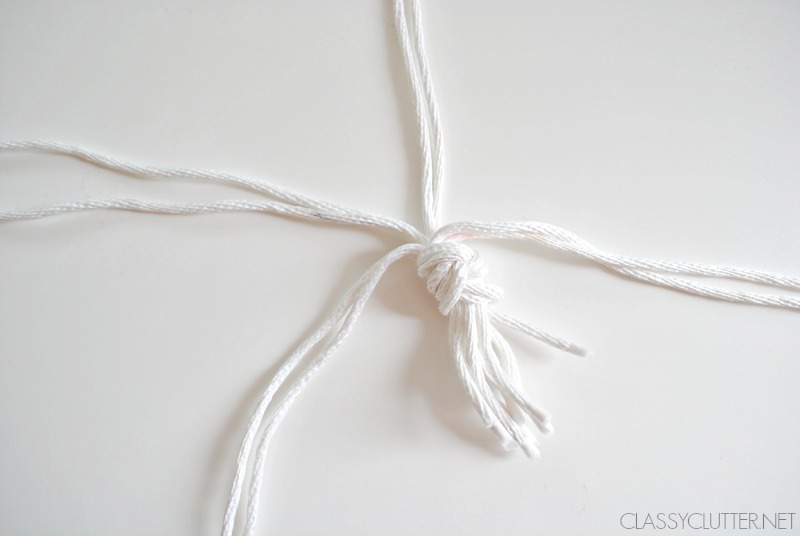
2. Gather your 8 pieces together and tie a knot at one end leaving a few inches at the bottom for your tassel.
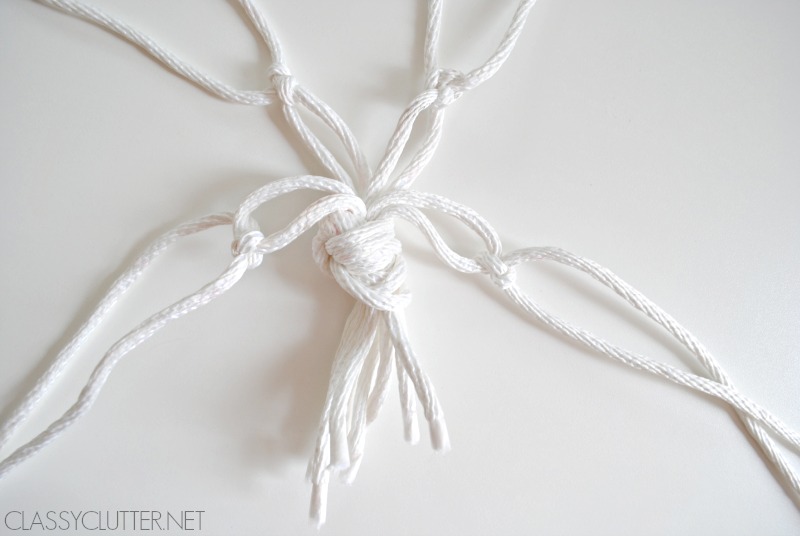
3. Split your rope into 4 sections, 2 strands each.
4. About an inch above your first knot (that tassel knot) tie a double knot on each 2 strand section.
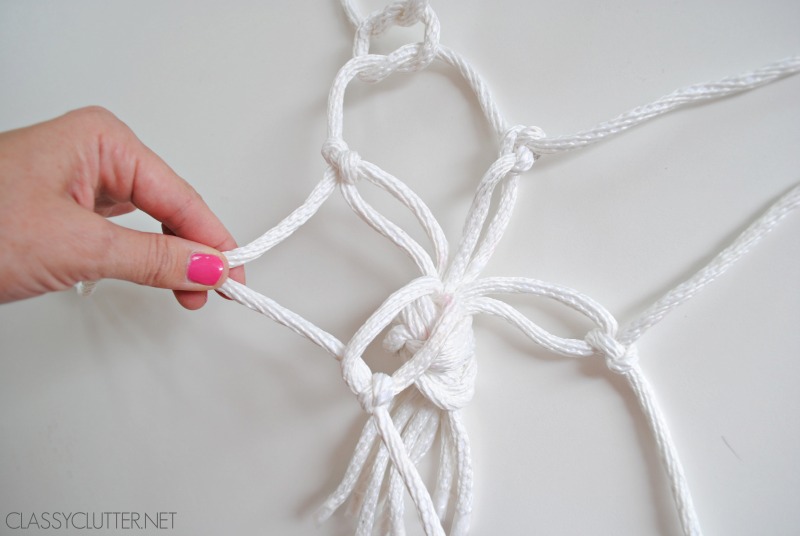
5. Once you have your four knots, lay your piece flat. Then take one strand from each knot and tie it with a double knot to one strand from the knot next to it. Repeat on all sides.
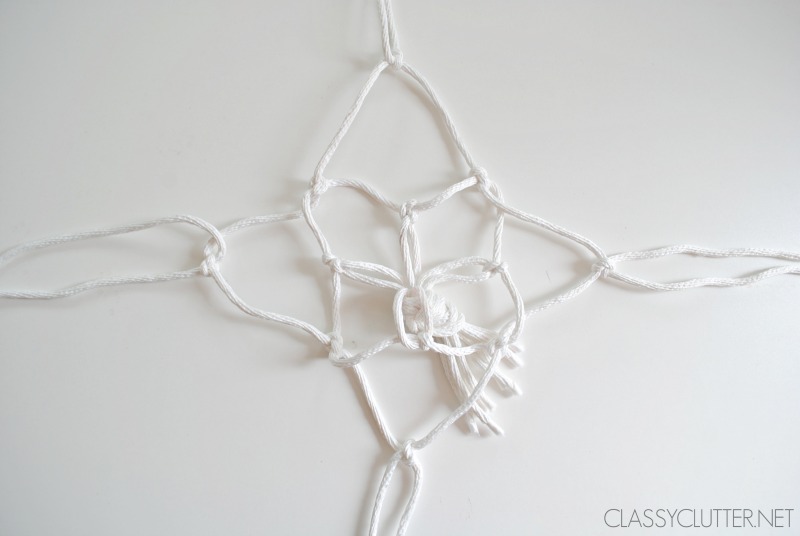
6. Repeat Step 5. This should give you a cross shape with square shape inside of it and a small cross in the middle.
9. Lay your piece flat and place your bowl/plant in the center and gather the rope around the outside of the bowl to create the planter.
10. Tie a knot at the top of your planter then braid or twist the remaining strands until you’ve reached how long you want your planter/how far down you want it to hang. You can cut it down if you’d like now.
That’s it! So super easy and so cute! I love having fresh plants in my bedroom.


Love this! p.s. Your mani looks great! I always seem to forget that half my nail polish is chipping off when I have a close up tutorial.
haha Elisha! Thanks, my husband did it! LOL!
What a neat idea! I love it a lot!!!
I’m doing a vintage show in august and I will incorporate a few of these in my booth:)
Very pretty!!
Stopping by from http://www.baycreekboutiquehomedecor.wordpress.com
To say hello:)
How pretty! I love the pop of color from the bottom of the bowl. You make the macrame look so easy!
Make me some of these cute planters!! SO fun!
These are so pretty! Pinning for sure!
It would be much easier to reverse the order of all steps to have much nicer finish in the form of metal ring. Otherwise you deal with a bunch of rope ends that are not that easy to tie in a nice knot. Still, nicew plant hanger.