
DIY Wooden Growth Chart Tutorial
Growth charts and height charts for kids have been all the rage! They are absolutely perfect for any kid’s room and I LOVE that you can take it with you when you move. My family measured me on the back of my parent’s bathroom door and now… someone else lives there and I’m sure it’s been painted over 🙁 Here’s the solution my friends! A super easy, super cute DIY Growth Chart!
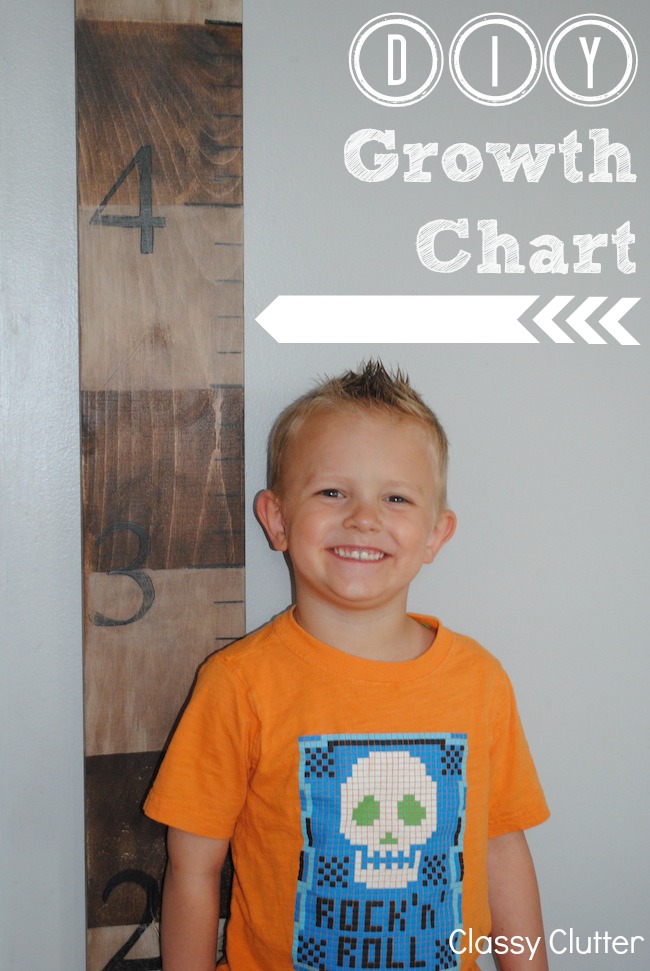
I’m going to share two versions for you. One where you can hand paint the tick marks on the giant ruler and one where you simply paint and apply vinyl to the board! Couldn’t be easier and your kids will love it! Mine sure do; the proof is in that big giant smile on Mr. C’s face!

1. First, you will need a board. You can use a 6 inch or 8 inch x 6 foot board. These are precut and readily available at Lowe’s, Home Depot, and most home improvement stores.
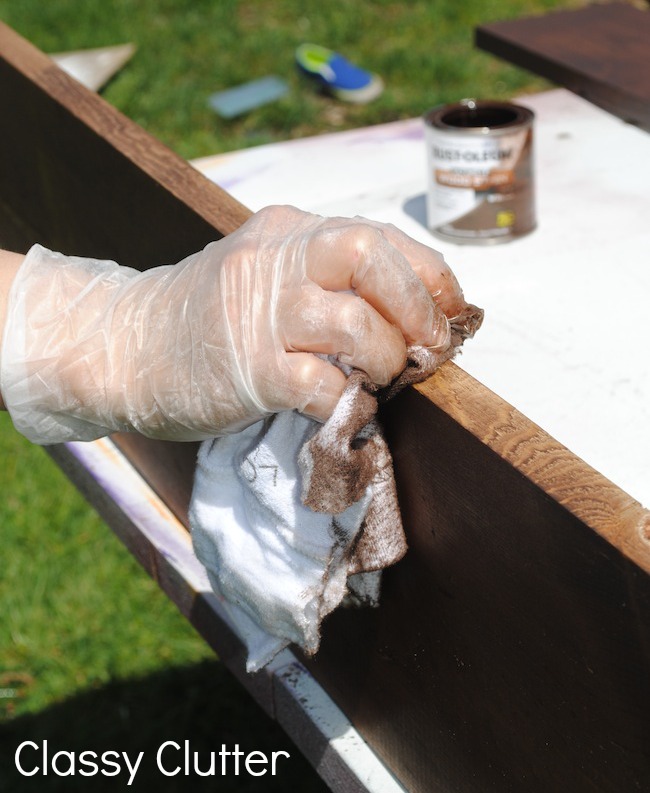
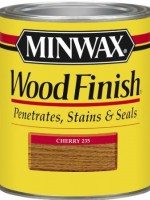
2. Next, stain or paint your board! I chose to do painted and stained stripes on the one for my boys’ room and you can see that my friends did an all stained look.
*Don’t mind the Relief Society board. That was another project! 😉

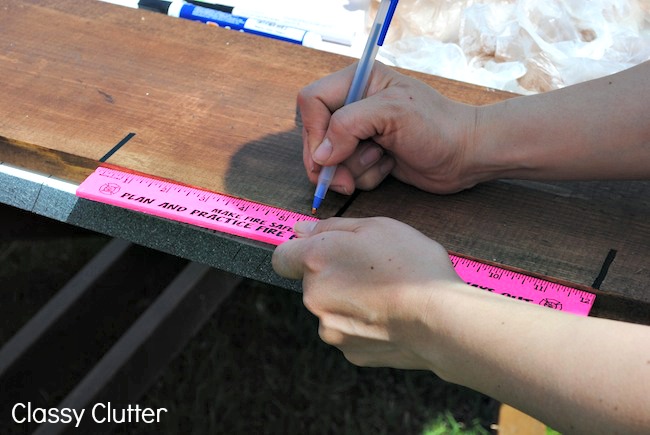
3. Next, if you’re painting your tick marks and numbers on, you will start measuring your board and marking every inch. Skip to step number 7 if you are planning on using vinyl.
4. Then, we used a black paint pen (available at most craft stores) and went over our previously measured tick marks.
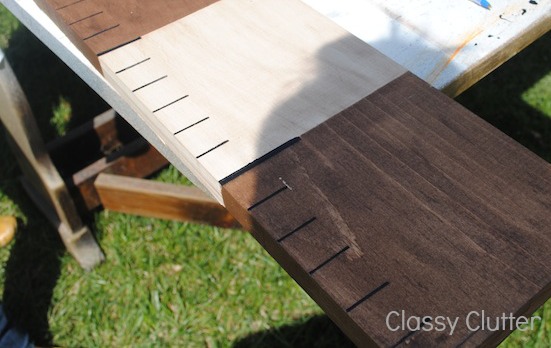
It should look something like this when you’re done. I did 1″ markings on the “inch” tick marks and a 2″ marking where each “foot” would be marked.
5. Next, we printed off some numbers (1-6) on a regular inkjet printer and used it as a template for painting on our numbers at each foot.

6. All you do is take an ink pen and trace the number over top of the paper, pressing firmly to make a light marking in the wood so you know where to paint. It’s okay if some ink leaks through if you are painting the numbers a dark color.
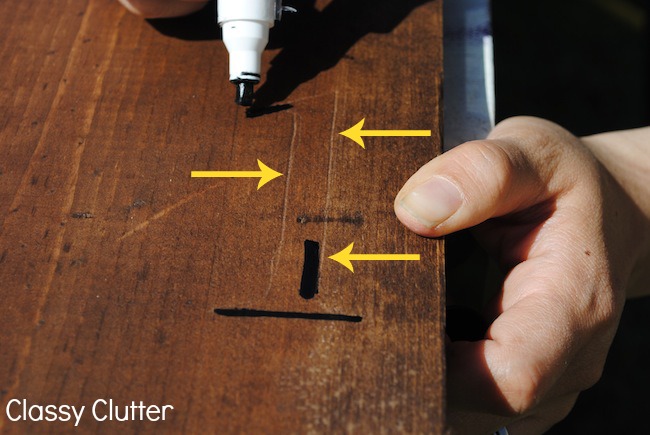
Can you see the “1” lightly marked in the wood? Now, take your paint pen, or your super steady hand and a small paintbrush and paint the numbers on.
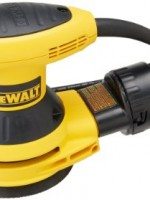
7. After my painted marks and numbers dried, I took my sander and distressed the whole piece but that’s totally optional!
If you plan to use vinyl, all you need to do is paint or stain your board then apply the vinyl to it! Couldn’t be easier.
The vinyl decal is available on my etsy shop here.

I also sell this personalized growth chart available in my shop.

Do you keep track of your kids’ height in a special way?


Love it! My kids are basically grown, but I’d love to have one anyways!
So sweet. I have a piece of driftwood that I want to turn into a height chart.
Oh my gosh Mal! This is SO cute!! I want one!! Little Carty man looks adorable!!
HUGS,
Jen 🙂
sooo making this!
Very cute!! Love the stripey effect of the wood stains. I have to make one of these soon!!
Krista
These are awesome! I really liked the striped one. Did you just stain every other foot and leave the stripe in between the original wood color? Thanks!
I loved these and made one for our whole family last Christmas, I used a soldering iron to burn the marks and numbers for a different effect. Then we use grey lead pencil to mark people’s heights dates. Hopefully well get to see this passed down through a generation or two 🙂
This is fantastic and the decals make it so easy! As we are heading back to school this would be a fun gift for a teacher to use in her room! Thank you again!!!
I love this!! I made one and it is amazing! I have one little problem, I made it as a baby gift and now need to ship it. Haha. Any tips on how you ship your from the website?
I love your blog! Thanks for the great tutorial. It will be my go to baby gift.
Debora
What product specifically do you use to protect the finished project?
How did you hang it when it was done?
Hello, I love this idea but what size font did you use for the numbers? And what type & size of lettering did you use for the name?
thanks
I bought a board from Home Depot but mine has wax on both cut ends. Did yours and if it did, how did you get it all off?
You can use an orbital sander to remove the wax from the wood! Good luck! Thanks for stopping by!
Do you think the paint or vinyl works better? I’m getting ready to do one and nervous!
Would really like to know how you sell these for. I would like one for my nephew