DIY Felt Poinsettia Wreath
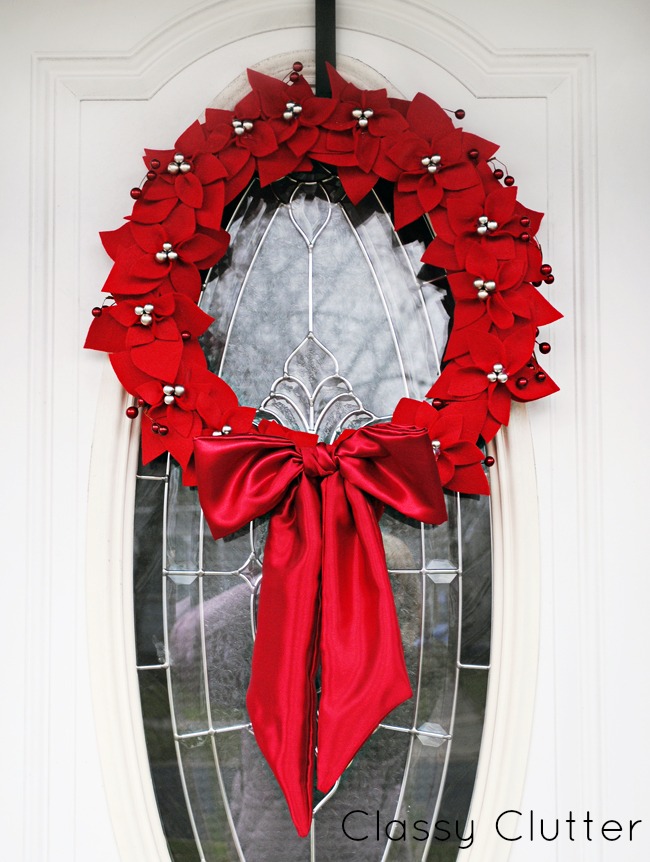
Today, I’m going to share with you a super easy, inexpensive and most importantly CUTE Christmas wreath! If you don’t have a wreath on your door yet this year, you’ve gotta try this.
You will need:
A wreath form
Red felt
Red satin for bow (optional)
Red ribbon
Berry embellishments
Let’s get started!
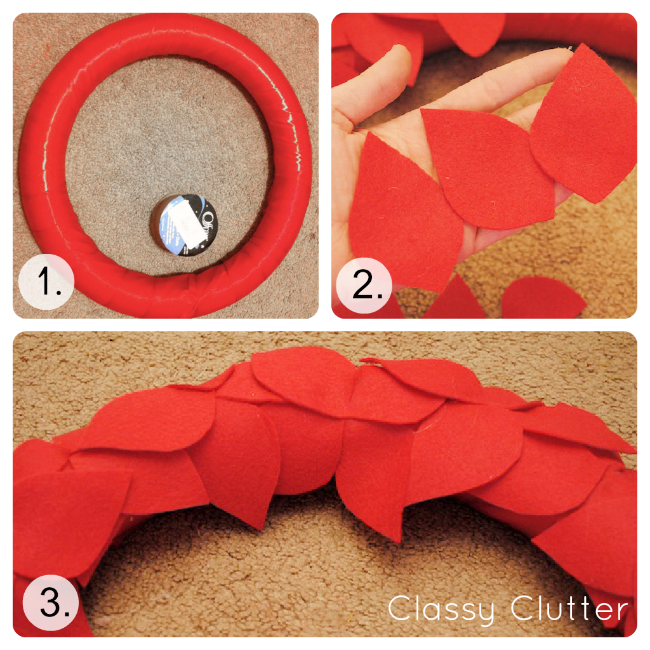
1. First, you’ll take your wreath form and wrap it in red ribbon. I used red, satin ribbon.
2. Next, cut out lots and lots of petals! I did two sizes of a tear drop shape with a point on both ends to get the look of the poinsettia petal.
3. Third, layer your larger size petals in the shape of a flower on your wreath form, using hot glue to hold them in place.

4. Next, take your smaller petals and run a thin line of hot glue along the bottom.
5. Pinch your felt petal where you’ve placed your glue to create a 3D look. This helps your top layer of the flower really pop off the wreath form.
6. Finally, Glue 5-6 petals in a cluster to create your poinsettia. I did some flowers with 5 petals and some with 6 depending on how full I wanted it to look.
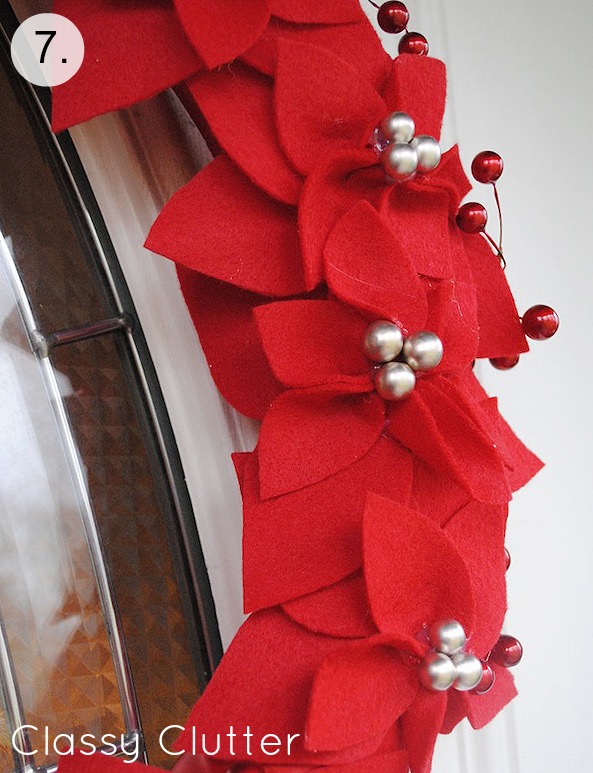
7. Last, take some faux berries, pearls, or beads to embellish the center of each flower.
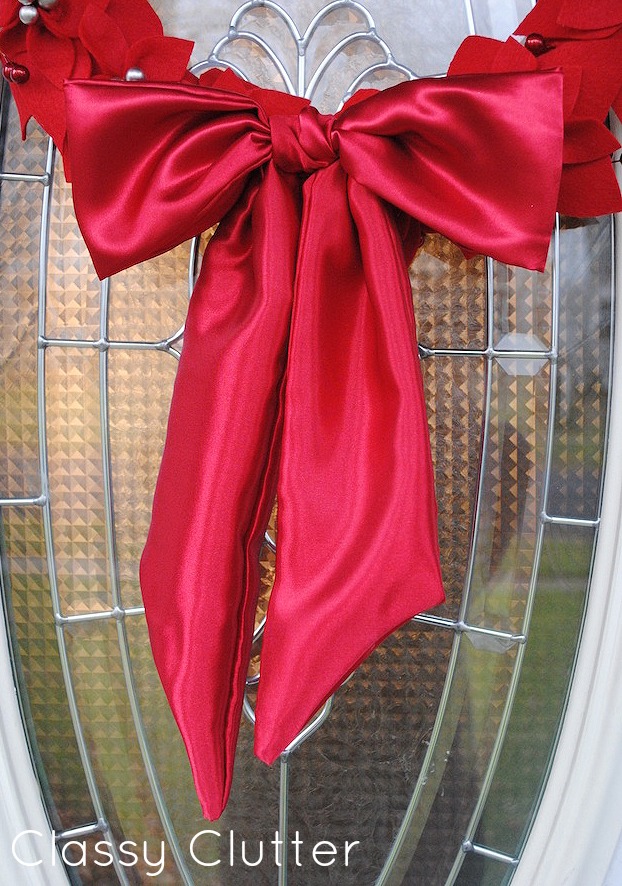
Oh! I also decided to add a satin bow to the botton of my wreath. I sewed a long satin sash, tied it in a bow and pinned it to the wreath form. You could also use ribbon or a pre-made bow if you want to add one! I think it would be so pretty to do a contrasting color like white or silver.
Hope you’ll give it a try!