
DIY Bat Garland for your Halloween party!
One week until Halloween! Are you excited? Are the kiddos? Mine are! They can’t wait to dress up (and eat too much candy! hehe!) We get to dress up on Friday since we are having a Halloween Party at our church! YAY! Somehow, my good friend and I got put in charge of decorating a photo booth for the party! I’m super excited with what we came up with and we spent less than $10!
Today I’m going to show you one of the elements we added to the backdrop of the photo booth. This project costs $0 since I already had black felt at home. Felt is super duper cheap and you an always use a coupon to buy it from Joann’s or Hobby Lobby so if you don’t have some on hand, you can still do this project for next to nothing.

First, you will want to download and print the templates. I have a smaller one that is about an 7-8″ bat. You can print that one here.

If you’re a fan of the bigger bat for a thicker garland, which I am, you can print that one here.

Then, you’ll cut out as many bats as you want, depending on long you want your garland. If you use the large bat template, you wont have to cut out as many bats to get a longer, fuller looking garland.
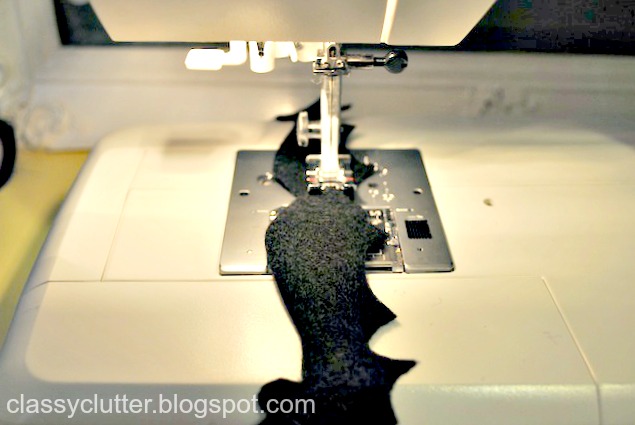
Once they’re all cut, you’ll simply stitch (or hot glue) them together. I ran a stitch down the entire length of the bat so I didn’t have to keep cutting thread and reloading my machine a zillion times.
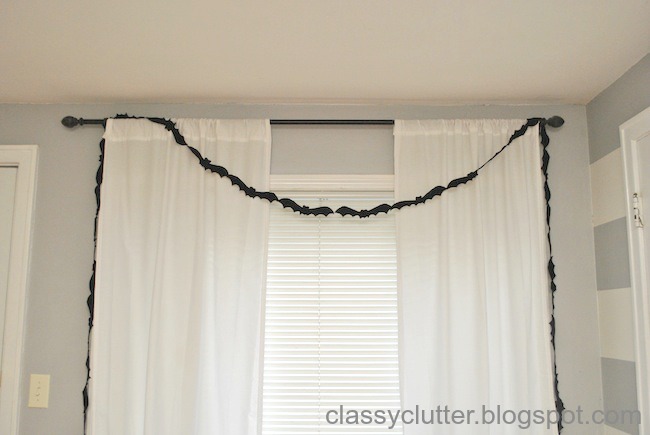
Once you’ve stitched enough together, that’s it! Super cute, super cheap, spooky Halloween garland!
Now hang it all over the place like we did! *winks*

Thanks so much for stopping by today! I hope you like it!

Check out more Halloween posts here.


Thanks for the template and sharing this super cute project.
This is so cute and easy to do, thanks Mallory <3
EID SALE – don’t miss it!
Every year, Many Best Halloween Party organizes by BONZA BASH Productions. They deliver Seattle’s most amazing Halloween experience.