Hello Commoner’s Castle Readers! We’re Mallory and Savannah, the author’s of the DIY/Home blog, Classy Clutter. We are beyond thrilled to be over at Lauren’s blog sharing a post with you today! We hope you enjoy our post and we’d love to have you stop by our blog!
While I was in Arizona over the Christmas break, Savannah and I tackled a few projects! Of course! It’s pretty much our favorite thing to do when we are together! That and going out for sushi 😉 One project we really wanted to get done was her youngest daughter’s bed. Her (almost) two year old little angel was done with her baby crib and needed a big girl bed! Savannah knew exactly what she wanted but she was a little nervous to tackle it herself. It was definitely a two person job but turned out to be a really fun project!
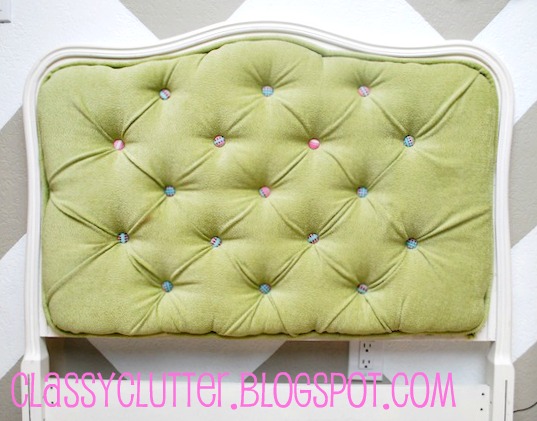
Savannah had an adorable twin bed that she found at a local thrift store for a steal. Most people would look at it and think… “great lines, cute bed, I’ll paint it and it’ll be fantastic!” well… that would be true BUT Savannah wanted to take it one step further! She wanted a white girly bed with a soft lime green upholstery and some killer cute colorful buttons! Not a tall order or anything.. 😉
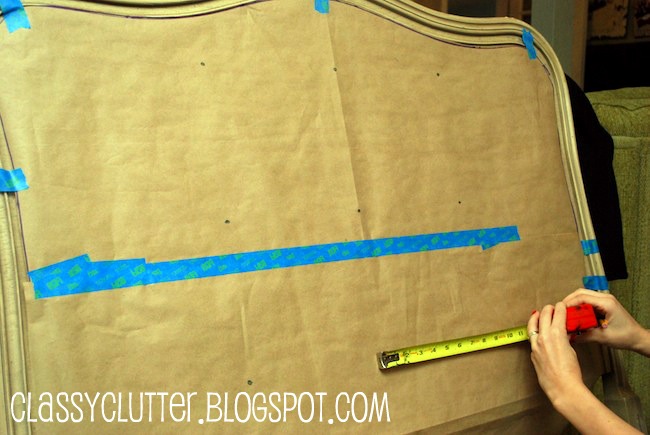
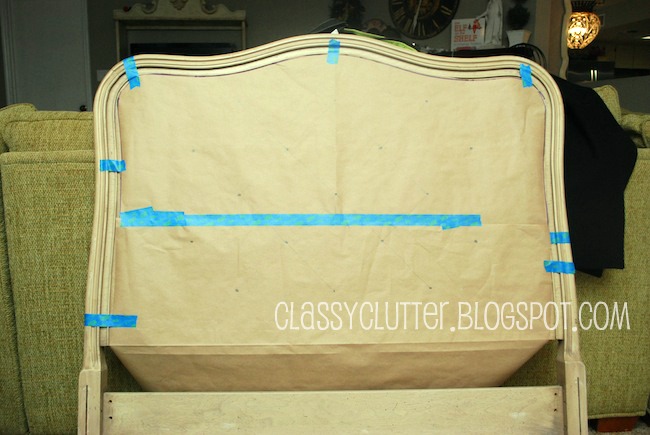
First, we made a template of where we wanted the upholstery. We used butcher paper and taped it to the bed frame.
Then we measured and marked where we wanted the tufts and buttons to be.
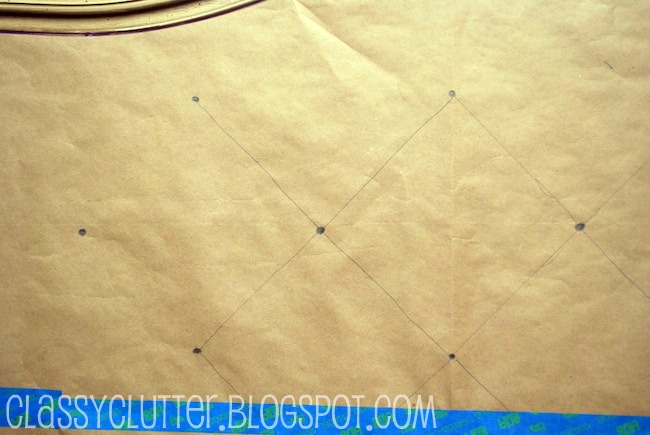
Next, we drew straight lines from each point to get an idea of where the folds in the tufts would be.
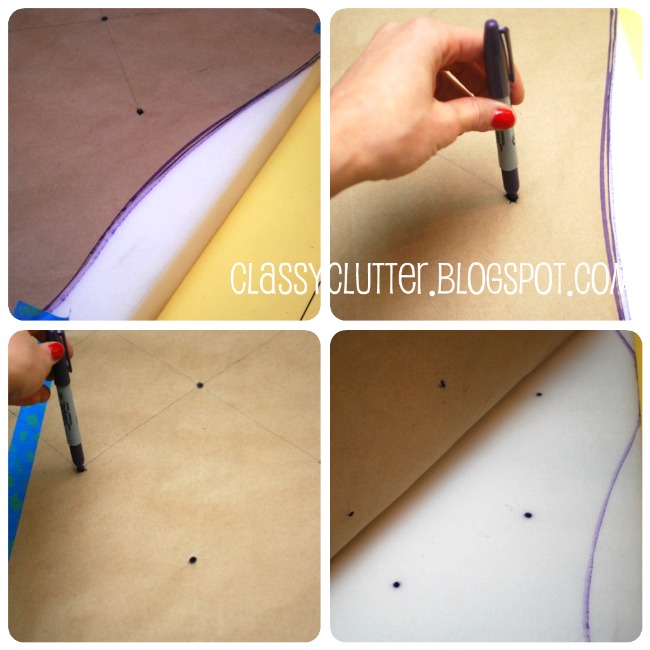
Next, we removed the template from the headboard and I traced and marked the foam while Savannah painted the headboard a gorgeous creamy white!
I laid the butcher paper template on the foam (we used 2″ upholstery foam from the fabric store) and traced in with a sharpie. (Yes, a purple one!)
Then, we cut around the traced edge of the foam using a serrated knife. We also poked holes in the tuft markings. (didn’t get a pic of this step! Sorry!)
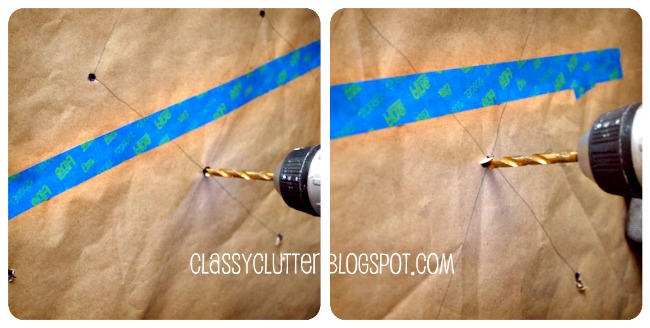
Next, we re-taped the template to the bed, after the paint dried. Then, we drilled holes in the headboard using the template tuft markings as a guide.
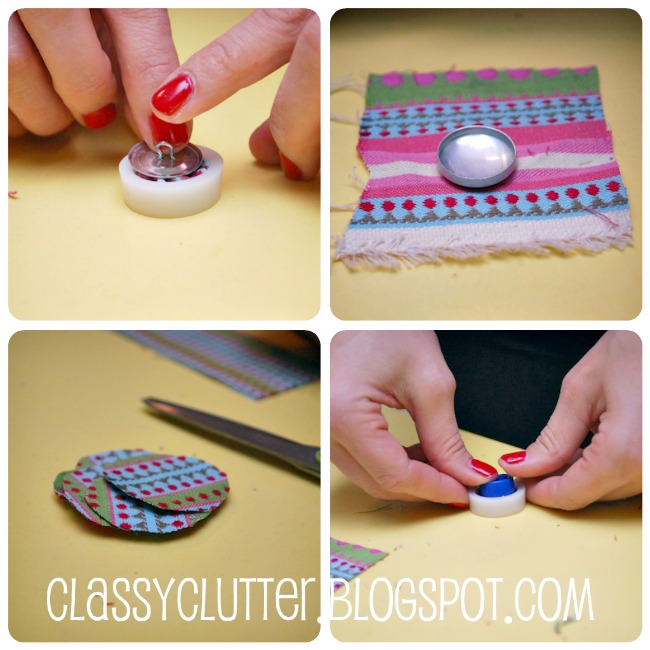
Then, we made 17 fabric covered buttons for the tufting. They were so stinkin’ cute! Totally worth the sore thumbs! You can get these button kits at a fabric store. We got hers at JoAnn’s Fabrics.
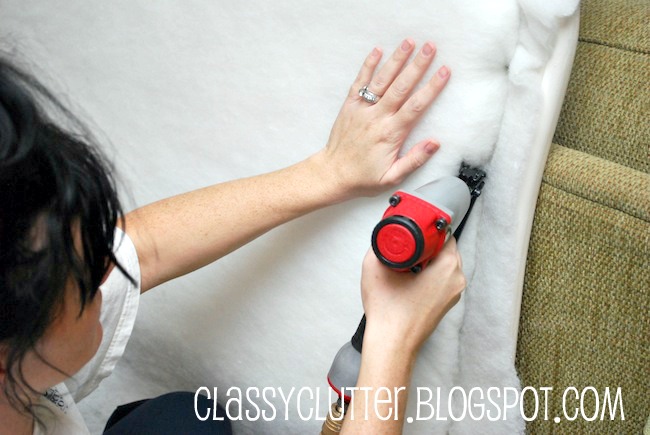
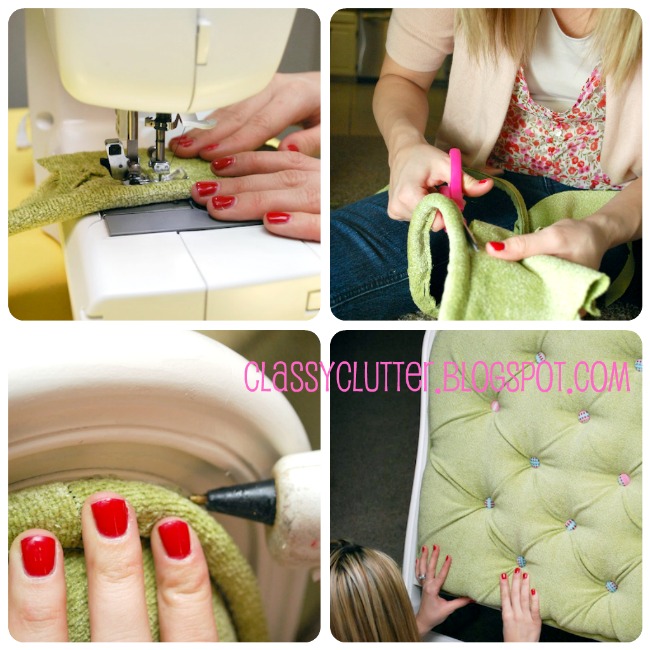
Next, the upholstering began! We used spray adhesive to attach the 2″ foam piece to the headboard. Then we stapled a large piece of batting over the foam. We used a staple gun for the upholstery.
Then, we trimmed the excess batting and we used some clamps to hold the upholstery fabric in place so we could begin the tufting process.

TIP: Do you tufting before you staple. If you staple the fabric first, your tufting may look too tight. We wanted nice deep tufts so we did not want to pull the fabric tight until the very end!
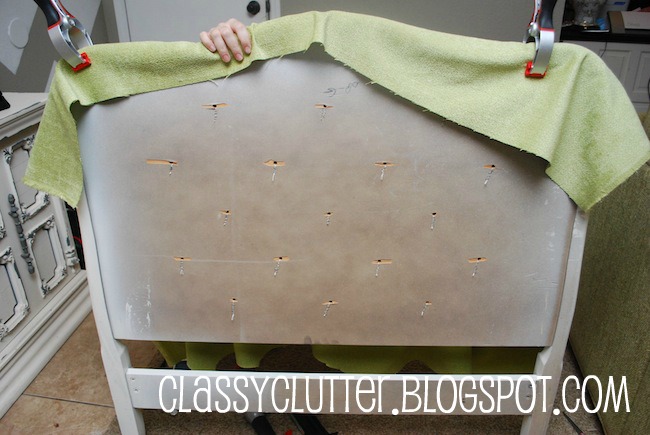
We used a long upholstery needle and upholstery thread. Start from the back fo the headboard and feed your needle through to the front, through the fabric. Attach the button and run the needle back through to the back of the headboard and staple the remaining thread securely to the back. Make sure to pull the needle really tight to get really deep tufts!
The back should look like this when you’re done with this step.
Next, we stapled the fabric to the headboard and trimmed the excess.
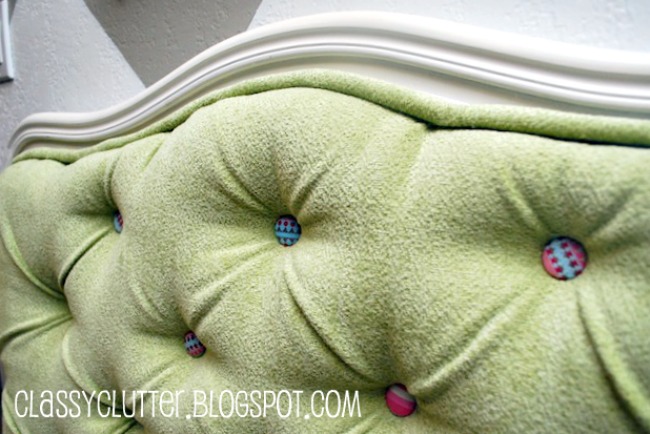
Lookin’ good! But we’ve got one more important step! Piping!
Finally, we started making our own piping so it would match the green fabric. We already knew how to make piping but if you need help, here is a great tutorial. Click
here.
Then, hot glue your piping around the raw edges and TA-DA!!! DONE!
Here’s an up close picture of the piping and tufting…
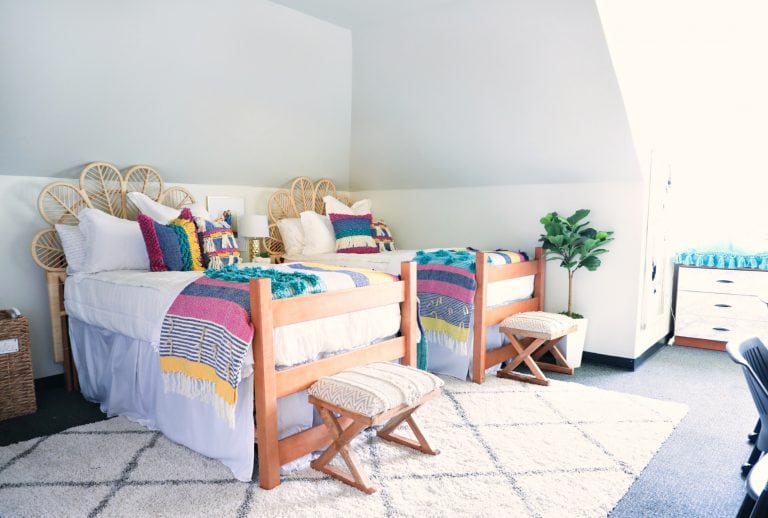
We were so excited to tackle a project together since we haven’t been able to do that in about 6 months! BAH! Sad huh!? It couldn’t have turned out any better! We are a team and our team work always pays off! We both are in love with little Millie’s bed! Savannah is working her tail off to get the rest of Millie’s nursery turned into her big girl room!
Thanks so much for having us Lauren! We’d love for ya’ll to stop by
our blog and say hello!
Are you ready to tackle your next project yet?? Head over to
Classy Clutter for more furniture and home decor inspiration!
 Mallory and Savannah are best friends and the brains behind Classy Clutter, a one-stop shop for all things creative with a focus on Furniture and Home Décor. Both are moms with a mission for being creative on the cheap! Mallory is a full-time mom of two little boys and a student. She runs her Etsy Shop –Heartfelt Designs and Photography Business from her home in New York. Savannah is a cosmetologist at an Arizona salon called Hair Do and keeps busy doing furniture, crafts and activities with her two little girls! Classy Clutter keeps them connected from NY to AZ! Classy Clutter is your place for inspiration, tips and tutorials! Please hop over and check us out! We’d love to have you!