
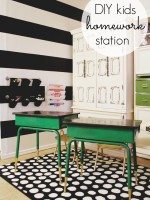
DIY book shelf ledges – Easy, inexpensive and AWESOME!
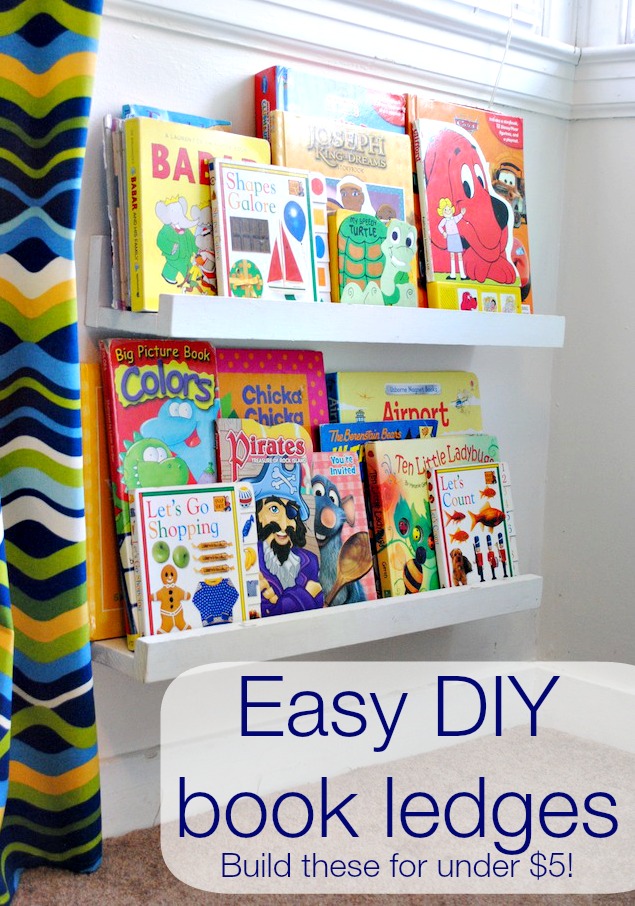
I have admired little ledges to hold books for little kids’ rooms for quite some time now. I’ve seen that a few of my friends have made some of these little ledges and I think they are just perfect. I decided to tackle them on my own and I was BLOWN AWAY over how easy (and inexpensive) they were!
Seriously, if you can hammer a nail into a piece of wood, you can make these!
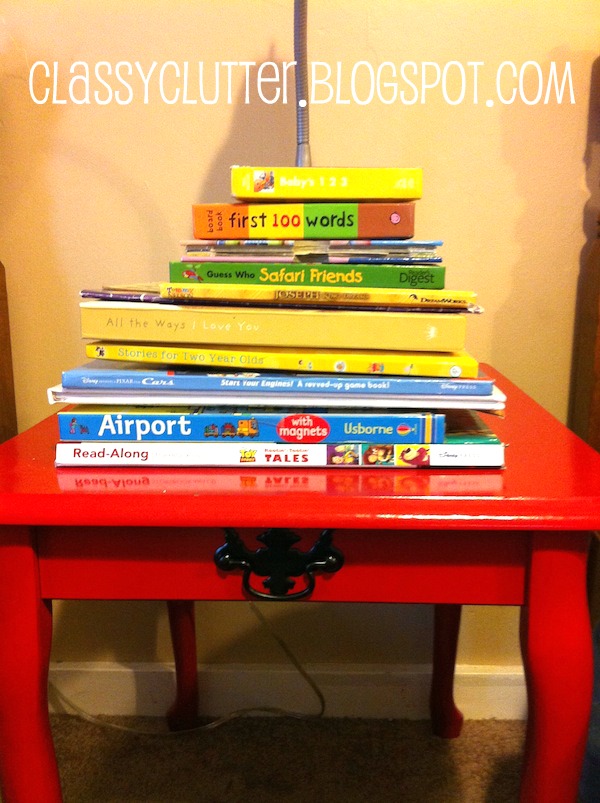
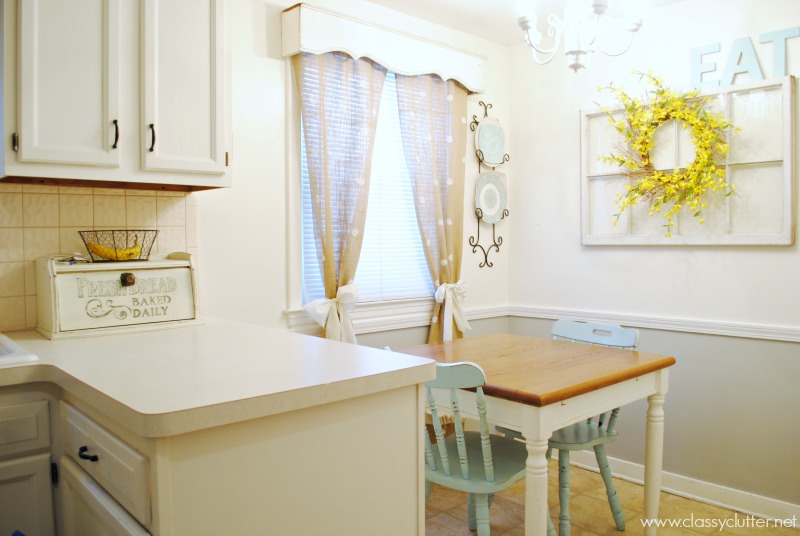
This was the typical storing place for bedtime books. They usually just ended up under the beds or scattered all over the floor. Not cool.
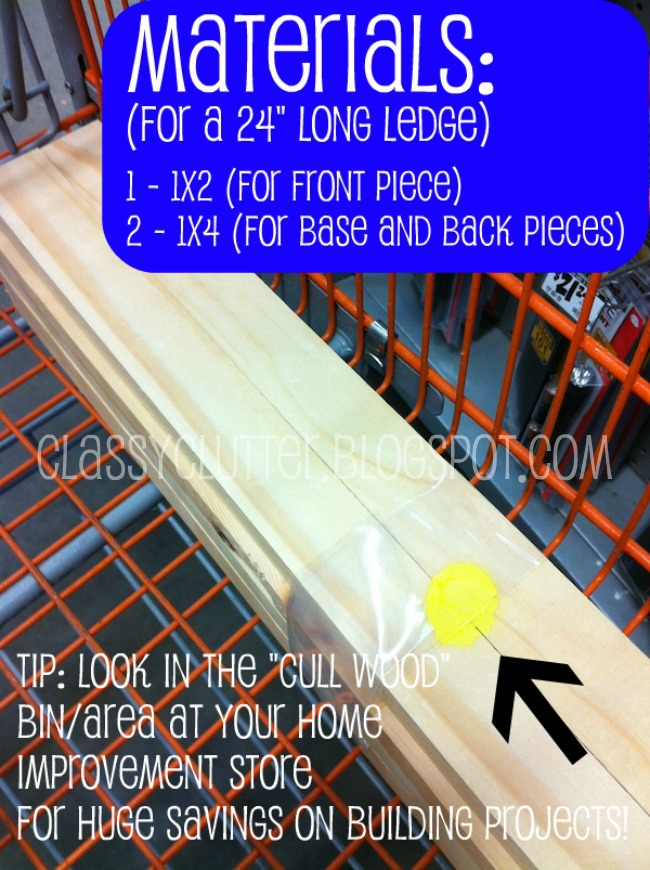
For each ledge you will need:
1 – 1×2 piece of wood cut to your desired length. Mine was 24″ (this is your front piece)
2 – 1×4 wood boards also cut to your desired length.
Hammer & nails
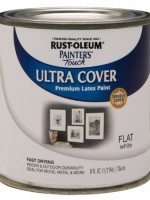
Paint
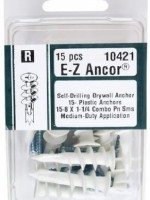
2 drywall anchors and screws to mount them into place OR screws if you can find two studs to hang them on
**I made two 24″ ledges so my materials list was doubled**
BIG FAT HUGE TIP: Check your home improvement store (Lowe’s, Home Depot, etc) for “cull” wood. This is wood that someone has cut and was either a mistake or extra. I got ALL of my wood for this project from that bin and the Home Depot guys cut the boards to the right length for me and I paid a grand total of $1.01 for two ledges!! Cha-ching!!!
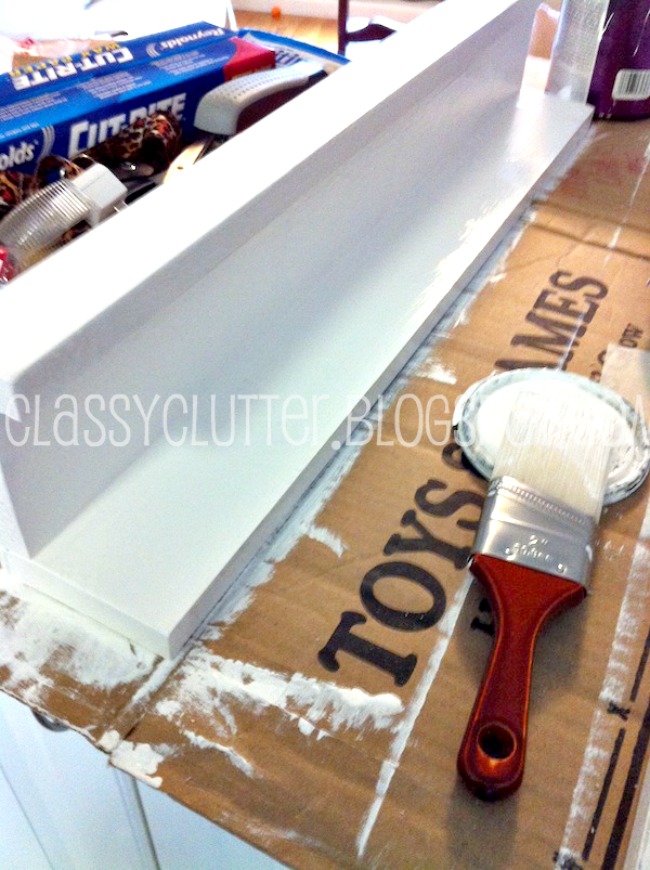
Once you gather all of your materials, lay out your ledges like so.. (see photo). Then, use at least 1″ nails and a hammer to secure them together.
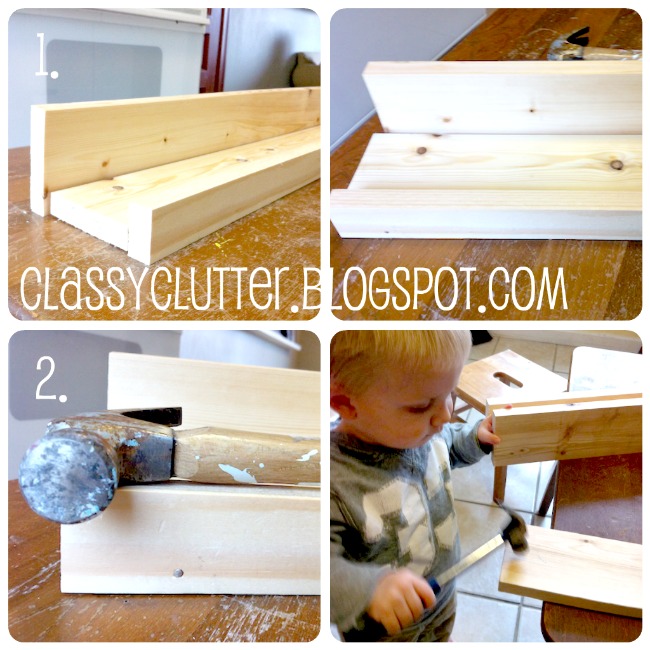
I’m pretty sure I have the cutest little helper around. 😉
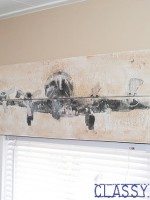
Then, PAINT and HANG those babies up! I used trim paint in white gloss that I had lying around.
Then, let your little ones put their books on their new shelves!
…Then rearrange them to accomodate your OCD tendencies. Or is that just me? My boys love it and that makes Mommy happy!


AWESOME job!! Love projects that keep things tidy 🙂
Sounds simple enough…though I’m not a handy woman! 😀 But at that price, I’d love to try it. Did you just screw them into the wall? BTW, I found this post at Iheartnaptime’s blog linky party.
AWESOME! I would definitely love to try that! We are your newest followers.
Cari
twosasters.com
Thanks for the tutorial! I am planning on doing this in my nursery and have been gathering different tutorials on how. You win for the cheapest version! 🙂
great great job on this!!!
Love this! The design shows say to go vertical. Excellent job. I hope I can make it as well as you.
~~~~~~~~~~~~~~~~~~~~~~~~~~~~~~~~~~~~~~~~~~~~~~~
I have wanted some of these too! Thanks for linking up with DIY under $5! I will be featuring on Saturday!
Very Cute! I’ll have to start checking our home depot for cull wood.
these are great just what we need in our house and at 1.01 how can we say no
This is fabulous!!! Would you please share this with our readers for Fun Stuff Fridays? http://www.toysinthedryer.com/2012/01/fun-stuff-fridays-5.html
I wanted to let you know about this new blog I just started called http://www.linkycandy.com It’s one big linky party with tons of options and categories to link up your blog and as many posts as you want! I just launched it last night, and would love for you to be apart of it! Thank you so much! If there is anything I could help you with anytime just let me know! Oh yeah… There is a really cool feature on it too! Each week there will be a featured blogger for each category! The blog with the most clicks gets featured! And each linky party will start over at the beginning of each month, so everyone can get a chance to be the first to link up. Thank you so much!
I am just starting work on my son’s reading nook and have been looking at all of the different book shelves out there! I think yours definitely comes in at the cheapest (and one of the easiest!)and still looks fabulous! Pinning!
Jenn 🙂
This project is perfect! My daughter just finish gutting and re-doing her upstairs (cape cod home) and her boys now have a new bedroom. Something like this would not just look cute but be so practical and useful!
Kindly, Lorraine
Great job! I may just try to make some!
Great idea! I had this idea about a month ago but I used the picture ledges from Ikea. It would have saved 90% to do this. What are those drawers set into the wall. Did you build those? I would like to see how that works.
These are great for the kids rooms! But I bet these could easily find other uses in other rooms of the house, too!
I just put this tutorial to use and it came out perfectly! My 3 year old and I are so excited about them. SHe has so many books I think I will need to make 2 more. I’m gonna find a bean bag chair to nestle nearby for a little story time nook. I havent painted them yet I was in too much of a hurry to get them on a wall to wait for paint to dry. I will take them down later and paint them. Thanks for a great idea and tutorial!
I love these! As a librarian, my two year old already has a pile of books, lol! Now I need a cute way to store them =)
We made several shelves just like these a couple years ago and they are still our favorites. You did a great job with yours.
I love this! I’m so going to have to create these for my daughter’s room!
Perfect! Love the price and simplicity of the project. Pinning for future reference cause I already have a place in mind in the house where I want to do this. I am hosting a Best of 2012 Showcase Party if you’d like to swing by and share your favorite posts/projects of the year. No need to brush your hair or even put on a party dress;)http://delightfullynoted.blogspot.com/2012/12/showcase-partybest-of-2012-share-your.html
Love the Book f Mormon Stories reader!
I love how your books are like mine, “beat up” or some might say “well loved”.
I am really digging these shelves! In fact, went out the next day and got the supplies to make them, and now they are assembled and waiting to be painted and hung. I have a question, though – did you have to prime your shelves or did you just paint them? Raw wood tends to be porous, I think, and I am wondering if one coat will be enough or if it needs more. Also, did you have to let your shelves and paint cure before putting books on them or did you use them right away? Thanks for any help! Not particularly handy, unfortunately, though I wish I were!
Yay! So glad you made them! You may need a few coats of paint! I use paint + primer a lot of times so it does the job at once but still usually need 2 coats for great coverage. Make sure to let each coat dry thoroughly before applying the next coat. I would also wait overnight to put the books on just in case. Hope that helps!
How did you mount them as I’m looking to make these and am not sure how they are mounted
Hi Pat,
I just drilled screws through the front into the wall. The books cover the screws/holes.
Thanks!!!
Love this DIY! Me and my son are going to love having these in his room! Thanks so much for sharing! Also, approx. $5 vs $30-40? Yes please! So great!